How to Draw Cerberus: Easy 10-Step Mythical Creature Guide
Ready to bring a legend to life? This tutorial is perfect for young artists ages 8+ who want to tackle a fun, multi-headed challenge. Grab your pencil, eraser, and paper to follow along as we break down this mythical guardian into manageable, simple shapes.
🎯 Final Result

Step-by-Step Instructions
Step 1: Sketching the First Snout

Draw a backward C-shape near the top of your page for the first head. Add a parallel line underneath and a wide, rounded triangle for the nose. Teacher's Tip: Keep your pencil pressure light here; we are just mapping out the structure of the first head.
Step 2: Adding the Mouth and Tongue

Inside the mouth, draw small, rounded hill shapes for the teeth. Add a heart shape for the tongue with a second heart behind it for depth. Teacher's Tip: Use short, quick strokes for the teeth to give them a sharp, jagged look.
Step 3: Developing the Second Head
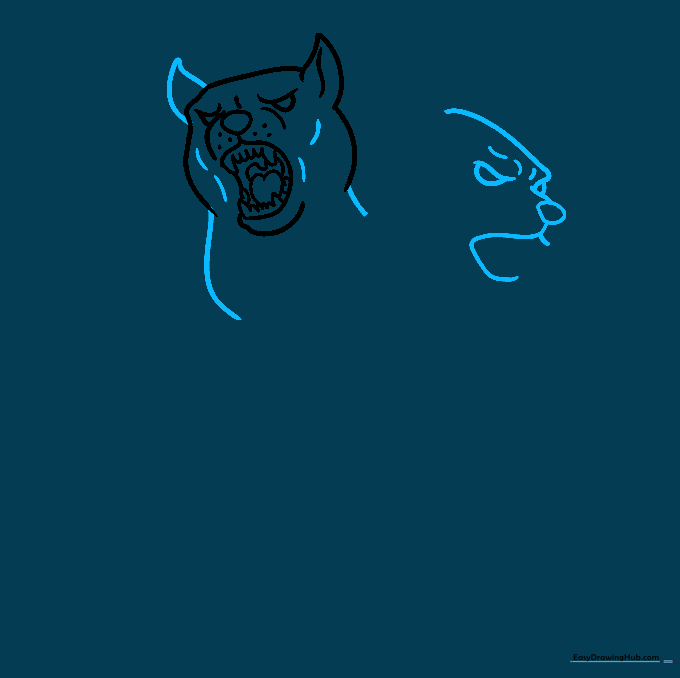
Add a triangle for the ear and sketch the neck lines. On the right, draw a downward-pointing line to start the second head's snout. Teacher's Tip: Ensure the neck lines connect smoothly to the first head to keep the anatomy looking consistent.
Step 4: Detailing the Second Snout
Add more hill-shaped teeth and a peach-shaped tongue for the second head. Use curved lines to define the jawline. Teacher's Tip: Try to make the teeth slightly different sizes to give the creature a more natural, wild appearance.
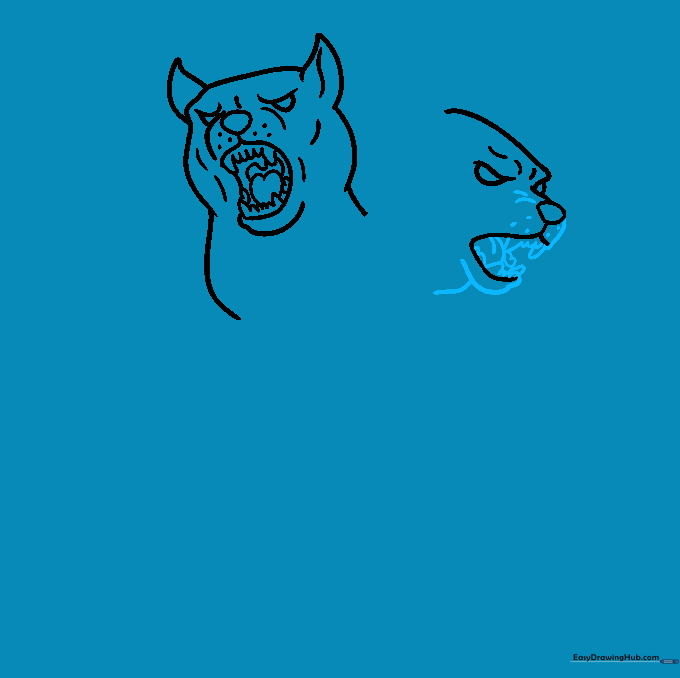
Step 5: Sketching the Third Head
Draw triangles for the ears and use curved lines to complete the head shape. On the left, draw a loop for the third snout and add the nose. Teacher's Tip: Overlapping the nose slightly onto the snout helps create a 3D effect.
Step 6: Connecting the Heads
Connect the third head to the body with a curved line. Draw the mouth using an S-shape and add teeth. Teacher's Tip: Use a darker pencil stroke for the jawline to help separate the three heads visually.
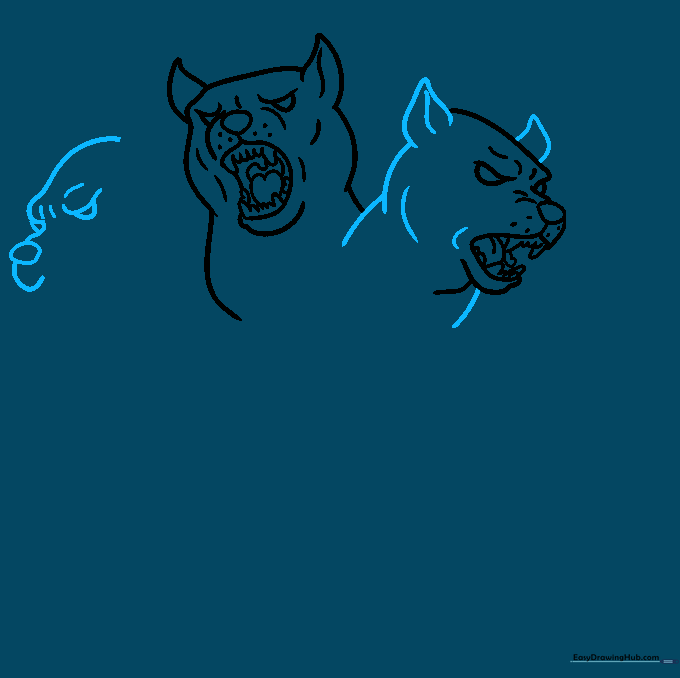
Step 7: Building the Body
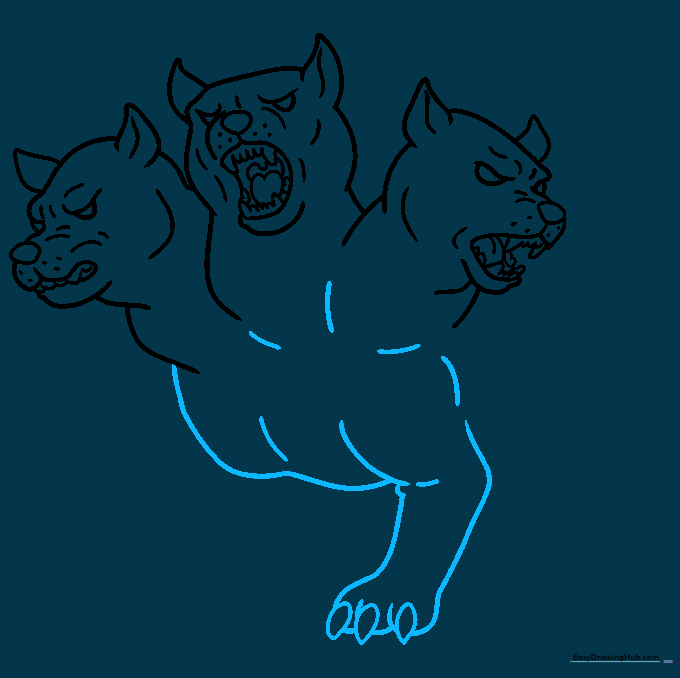
Draw a large curve for the back and vertical lines for the front legs. Add round shapes for the toes. Teacher's Tip: Keep the legs slightly thick to give Cerberus a strong, muscular look.
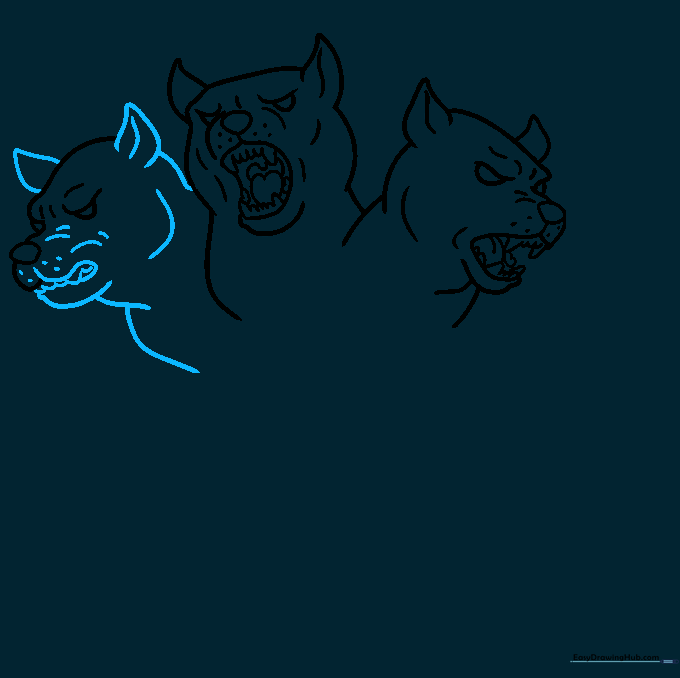
Step 8: Adding Claws and Leg Detail
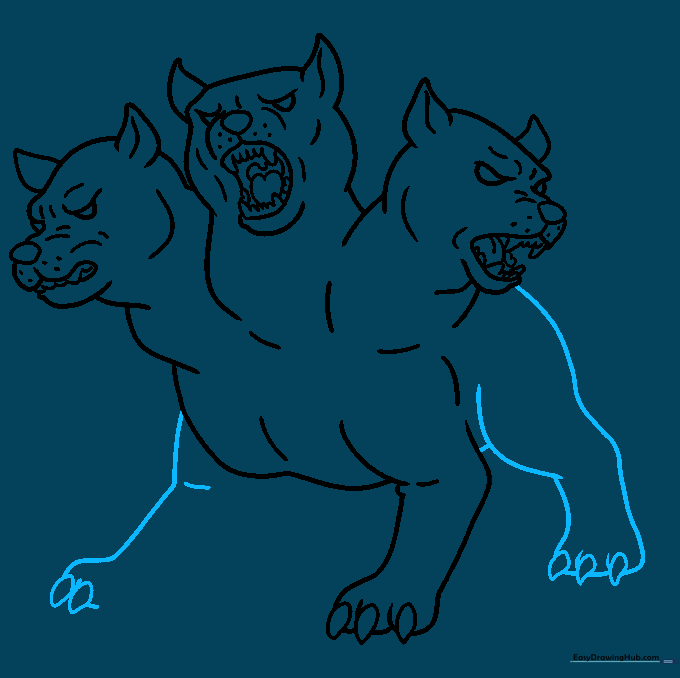
Add loops at the bottom of the legs and draw overlapping triangles for the claws. Teacher's Tip: Claws are just simple triangles—don't overthink them, just keep them sharp!
Step 9: The Tail and Final Outline
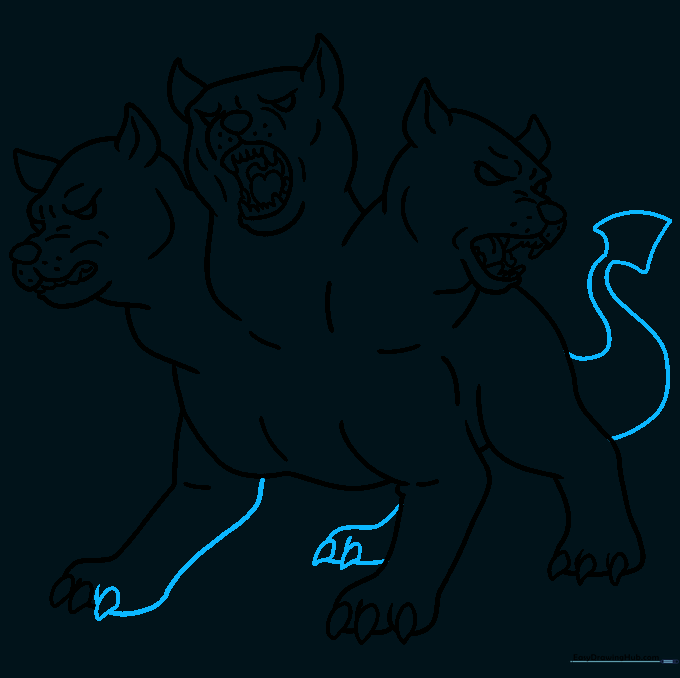
Draw a long S-shape for the tail with an arrow tip. Once you're happy with the pose, trace over your lines with a black pen. Teacher's Tip: Use a steady hand when outlining to ensure your lines are clean and bold.
Step 10: Bringing Cerberus to Life with Color

Use dark grey for the body, light grey for the snouts, yellow for the eyes, and dark red for the mouths. Teacher's Tip: Use a lighter shade of grey on the snouts to make them pop against the darker body color.
More Tutorials


