How to Draw the Coraline Cat: Easy 9-Step Tutorial
Bring the mysterious cat from Coraline to life with this beginner-friendly drawing guide. Designed for young artists ages 6+, this tutorial requires only a pencil, eraser, and paper to practice essential shape-building skills. Follow along to capture his iconic, clever expression in just a few simple steps.
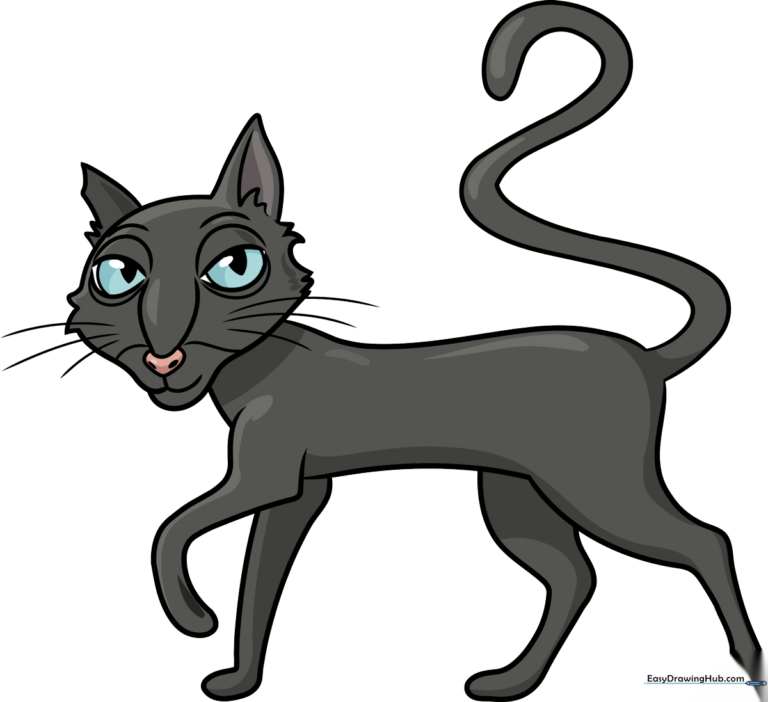
🎯 Final Result
Step-by-Step Instructions
Step 1: Sketching the Eyes

Draw two lemon-shaped outlines for the eyes, keeping the left one slightly compressed. Add smaller 'lemon' pupils inside. Teacher's Tip: Keep your pencil pressure light here so you can refine the shapes later.
Step 2: Defining the Eye Sockets

Draw angled curves around each eye to create the socket structure. Add two small, parenthesis-like curves between the eyes. Tip: Use smooth, fluid motions to make the lines look natural.
Step 3: Drawing the Nose

Sketch a loose heart shape with a deep center dip for the nose. Add two hook-like curves below it and a 'coat hanger' curve with diagonal lines. Tip: The dashes inside the nose add depth and realism.
Step 4: Shaping the Head
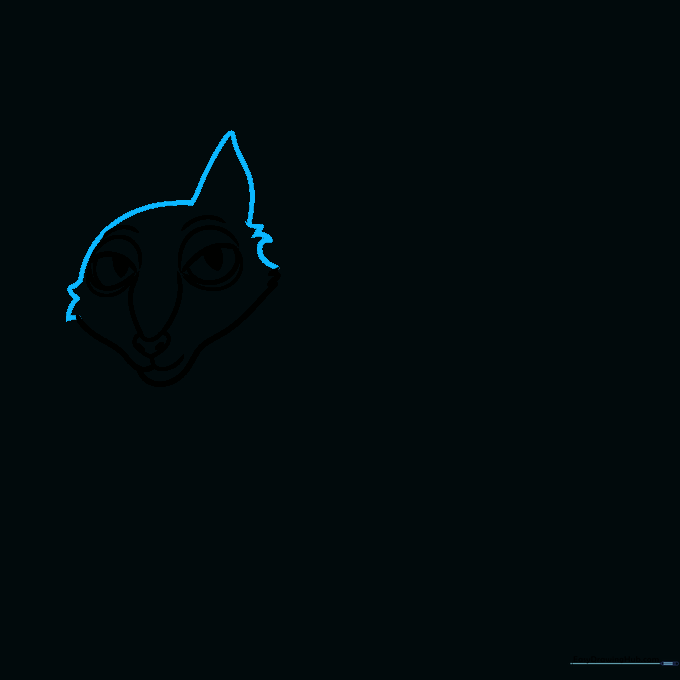
Draw a loose triangle on top of the head. Outline the face with a curve, adding wavy, triangular tufts of fur on both sides. Tip: Vary the size of the fur tufts to make the cat look more organic.
Step 5: Adding Ears and Whiskers
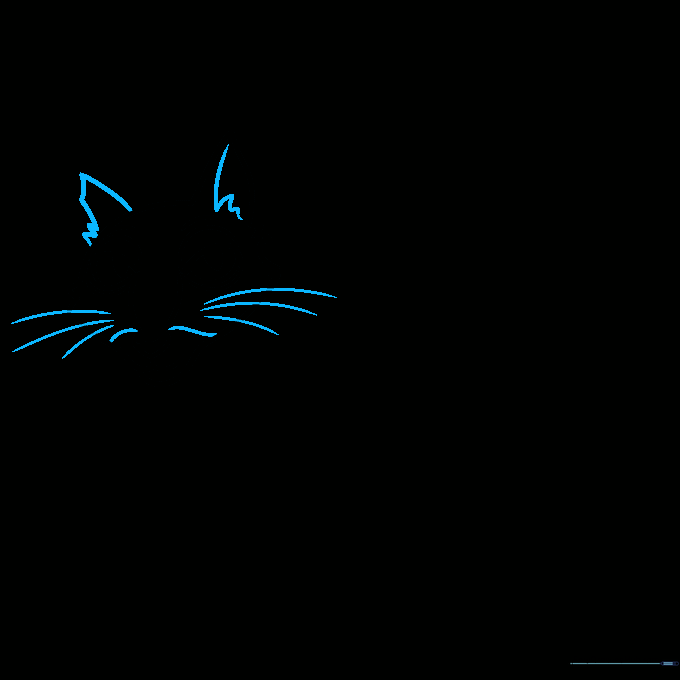
Use jagged lines to define the left ear, adding a vertical squiggle inside for detail. Sketch the whiskers and two lines on the face. Tip: Whiskers should be drawn with quick, confident strokes.
Step 6: Starting the Body
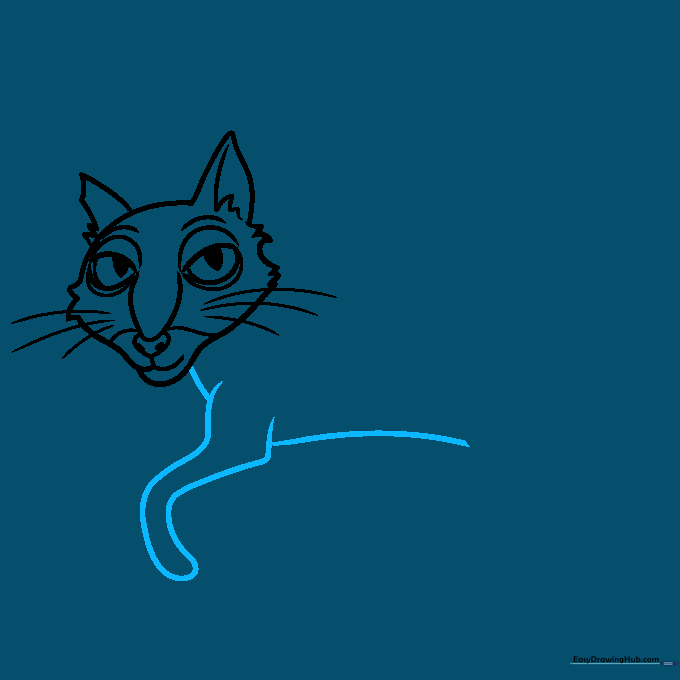
Draw two vertical lines connected by a tube shape to form the first leg. Connect it to the head with a smooth, curved line. Tip: Ensure the leg looks sturdy by keeping the lines parallel.
Step 7: Developing the Torso
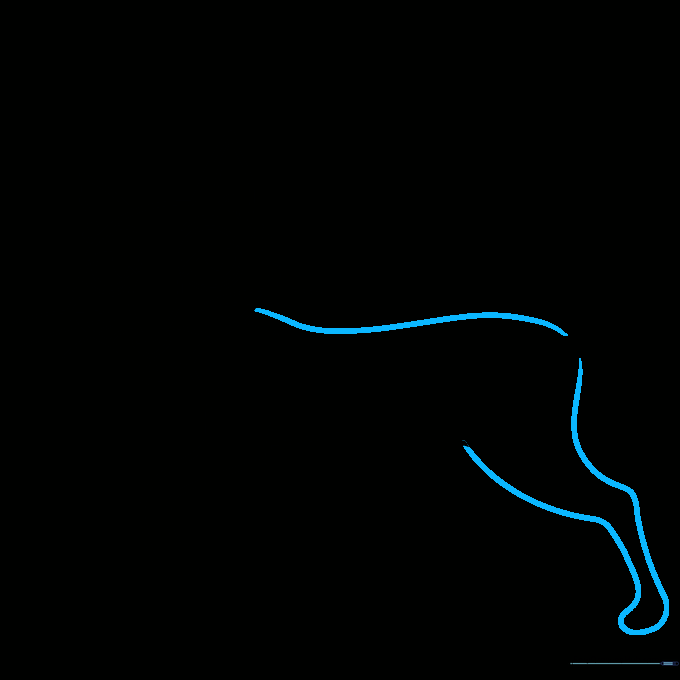
Sketch a curvy line for the back. Draw two parallel lines for the second leg, ending in a bulbous foot shape. Tip: Use a light touch to create the curve of the back, as this defines the cat's posture.
Step 8: Adding the Final Legs

Repeat the process for the remaining legs, creating a 'drumstick' shape for the upper leg and a cylinder for the lower part. Tip: Check that all legs look balanced before moving to the final step.
Step 9: The Tail and Final Touches
Add a long, squiggly line for the tail to give your cat that classic, spooky silhouette. Tip: Make the tail curve gracefully to add movement to your drawing.
Step 10: Coloring Your Masterpiece

Outline your drawing in black to make the shapes pop. Color the cat in dark gray, using lighter shades for highlights and darker tones for shadows. Use pink for the nose and light blue for the eyes.
More Tutorials


