How to Draw the Canadian Flag: Easy 10-Step Tutorial
Looking for a fun way to celebrate Canada? This tutorial is perfect for ages 6+ and requires only a pencil, eraser, and markers. Follow these steps to master the iconic maple leaf and create a realistic waving flag effect.
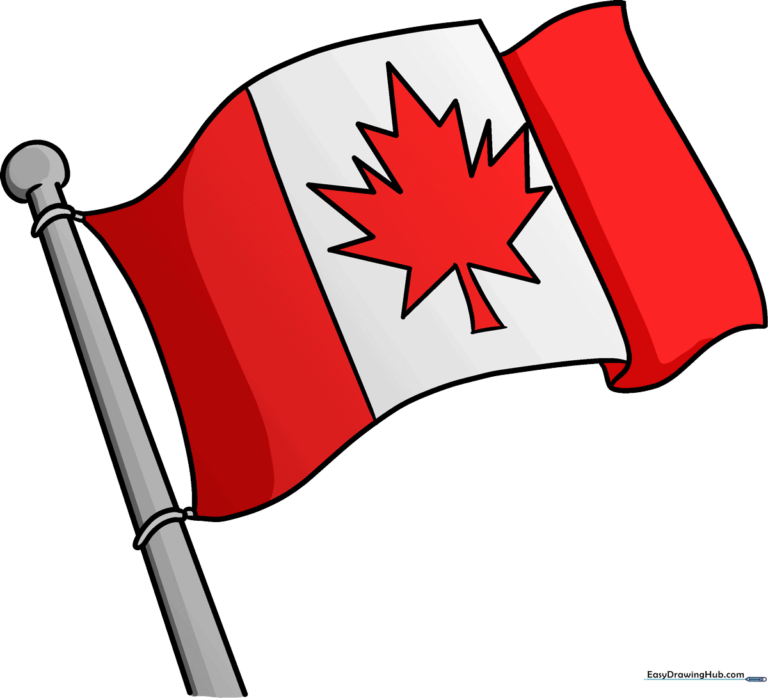
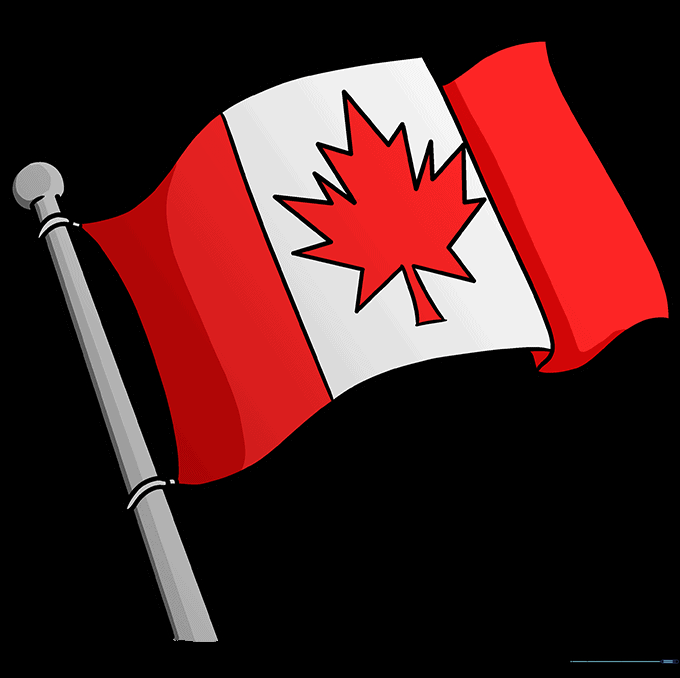
🎯 Final Result
Step-by-Step Instructions
Step 1: Sketching the Flagpole

Draw two long, parallel vertical lines to create the flagpole. Teacher's Tip: Use a ruler if you want a perfectly straight pole, or keep it freehand for a more organic, artistic look.
Step 2: Adding Flag Mounts

Cap the top of the pole with a small circle, then draw two sets of curved lines along the pole to represent the rings. Teacher's Tip: Keep these shapes small; they act as the anchor points for the fabric.
Step 3: Creating the Waving Fabric
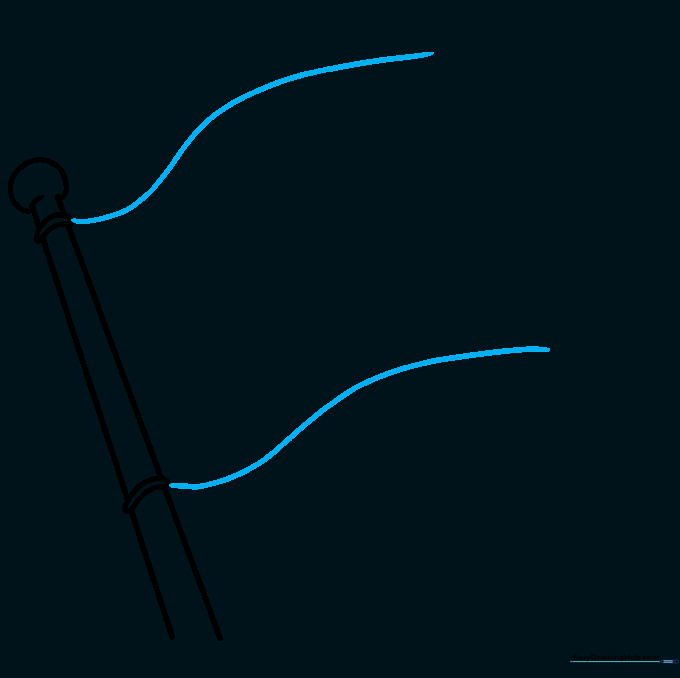
Extend long, sweeping curved lines from the rings to outline the top and bottom of the flag. Teacher's Tip: Imagine the wind blowing from the left to help you get that natural, wavy motion.
Step 4: Closing the Flag Edge
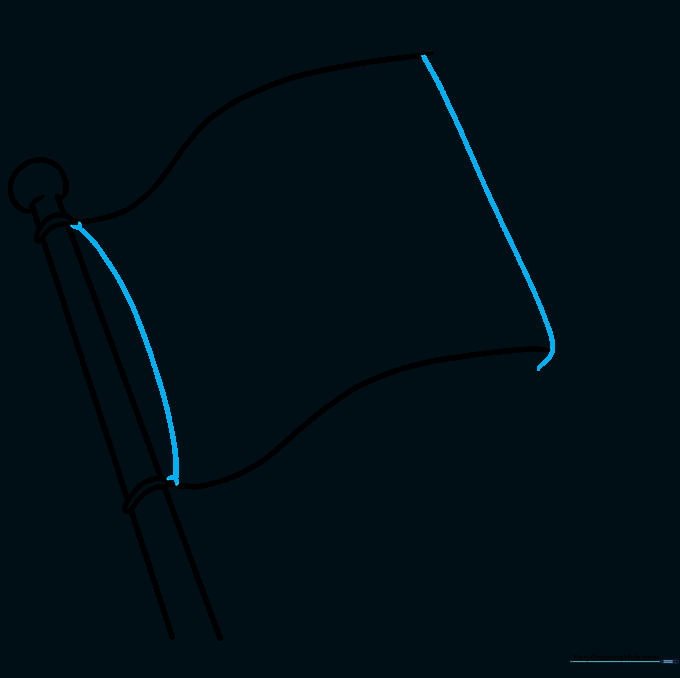
Connect the top and bottom lines with a curved edge. Teacher's Tip: Make sure the corner overlaps slightly to give the drawing depth and a 3D feel.
Step 5: Adding Folds
Add extra curved lines near the top and bottom to create the look of fabric folds. Teacher's Tip: Keep your pencil lines light here so you can easily erase any overlapping lines later.
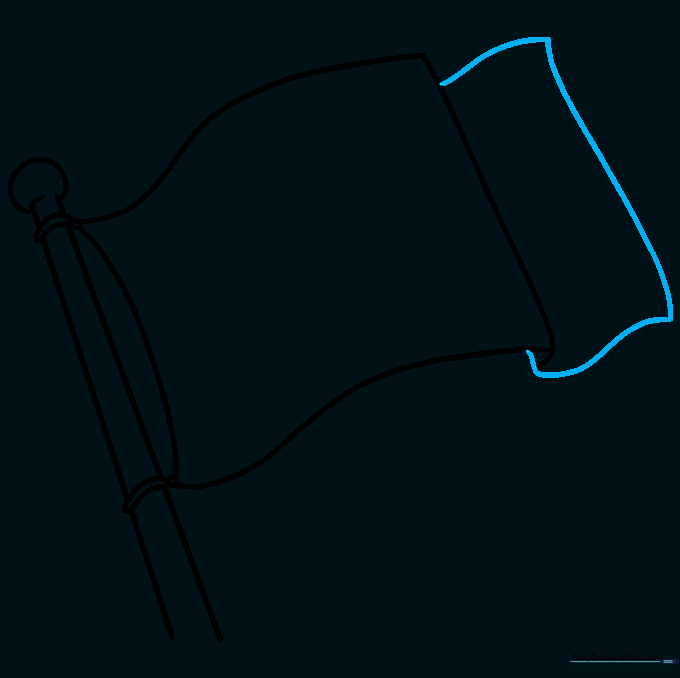
Step 6: Defining the Panels
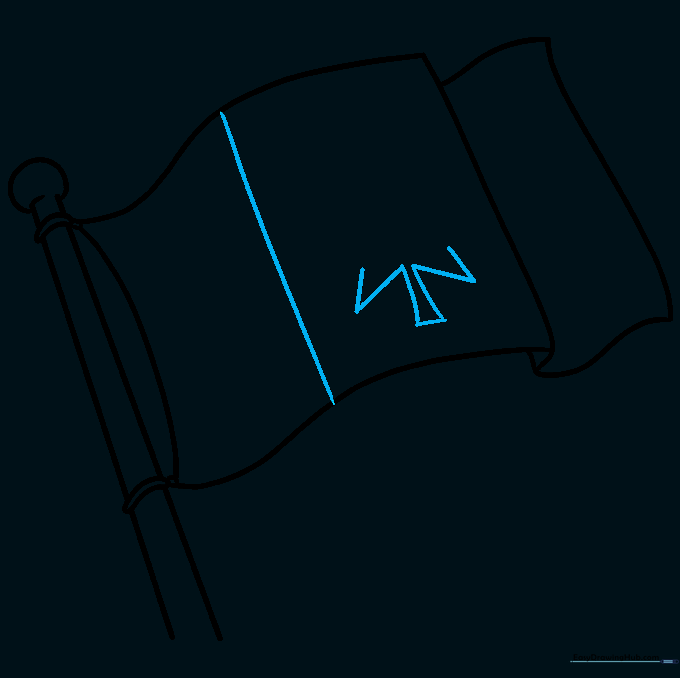
Draw two vertical lines to divide the flag into three sections. Start sketching the maple leaf in the center. Teacher's Tip: The center panel is square, while the side panels are rectangles.
Step 7: Drawing the Leaf Lobes
Use V-shapes to form the bottom lobes of the maple leaf. Teacher's Tip: Keep your strokes sharp and angular to capture the signature look of a maple leaf.
Step 8: Continuing the Leaf
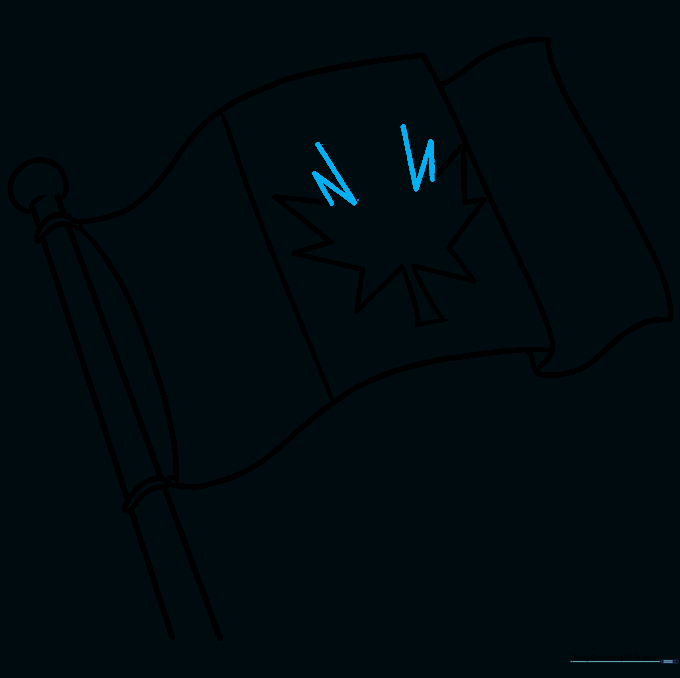
Add the middle lobes of the leaf. Teacher's Tip: Focus on symmetry; try to make the left side match the right side as closely as possible.
Step 9: Finishing the Leaf
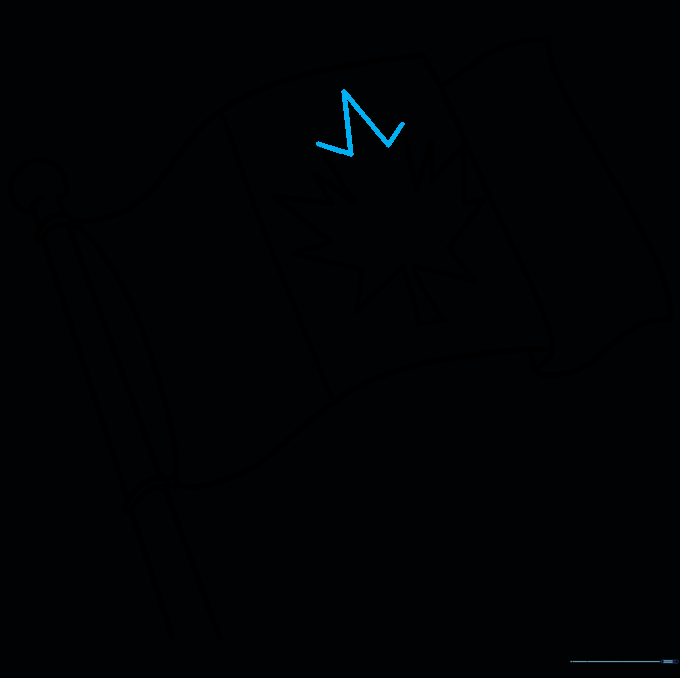
Draw the top point of the maple leaf. Teacher's Tip: This is the final detail—make sure the point is centered at the top of the middle panel.
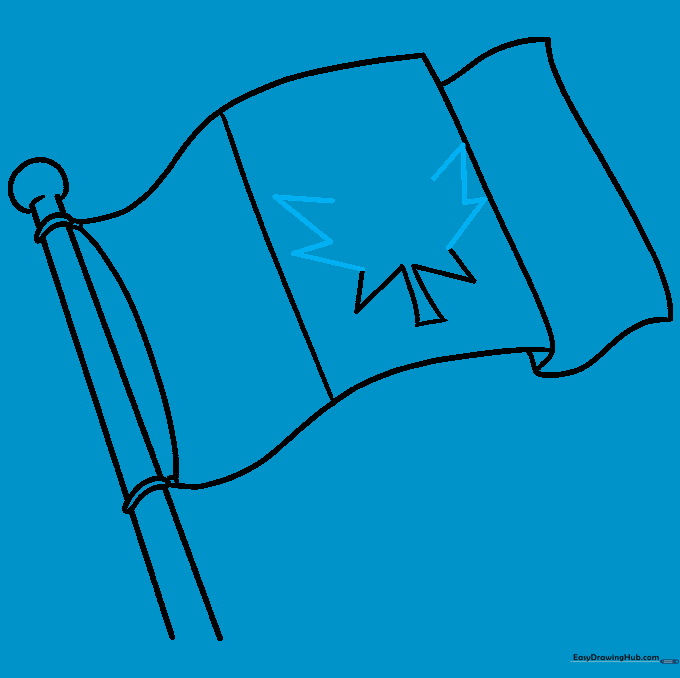
Step 10: Adding Color
Color the side panels red and the center panel white with a bright red maple leaf. Teacher's Tip: Use a bold red marker to make the flag pop, and ensure your white space stays clean!
More Tutorials


