How to Draw the Bat Signal: Easy 9-Step Guide
Bring Gotham City to life with this fun, screen-free drawing activity perfect for young superhero fans ages 6+. You will need a pencil, an eraser, and a black marker to complete this scene. Follow along to master the art of drawing the iconic signal against a night sky.
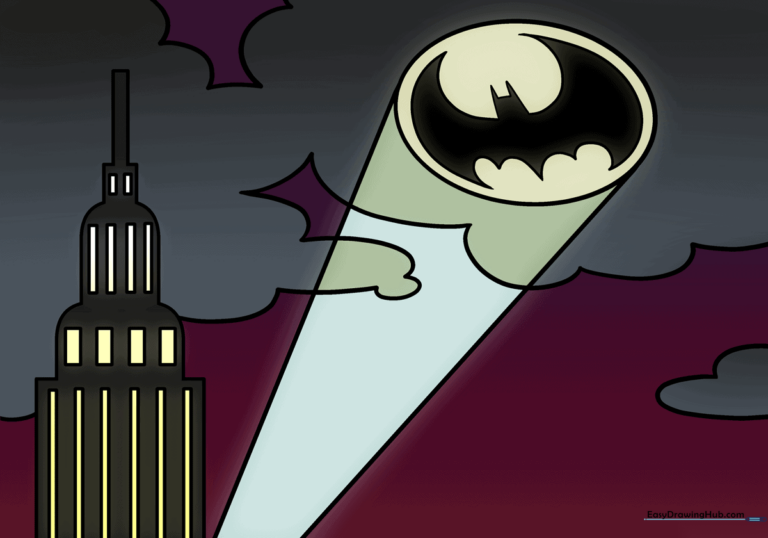
🎯 Final Result
Step-by-Step Instructions
Step 1: Sketching the Searchlight Base
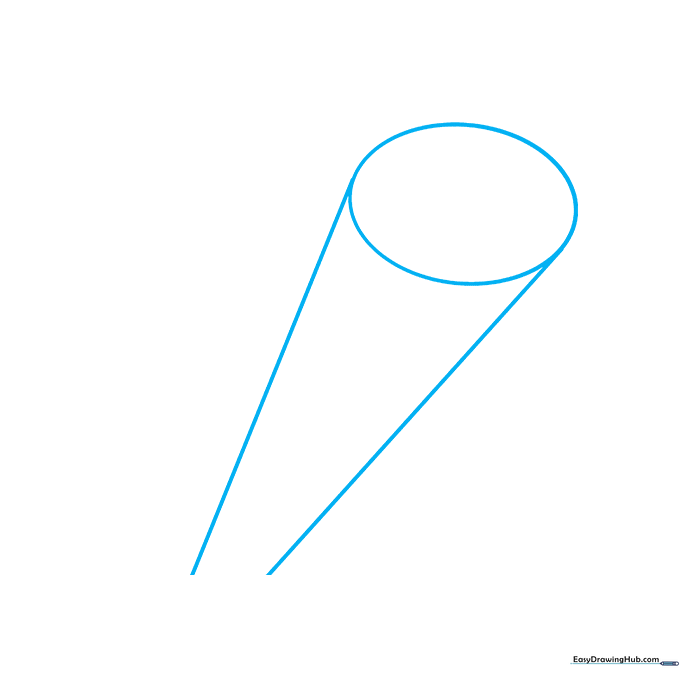
Draw a horizontal oval to represent the front of the searchlight. Extend two long, slightly angled lines from the sides to create the housing. Tip: Keep these lines light—they act as your guide for the light beam.
Step 2: Outlining the Bat Wing
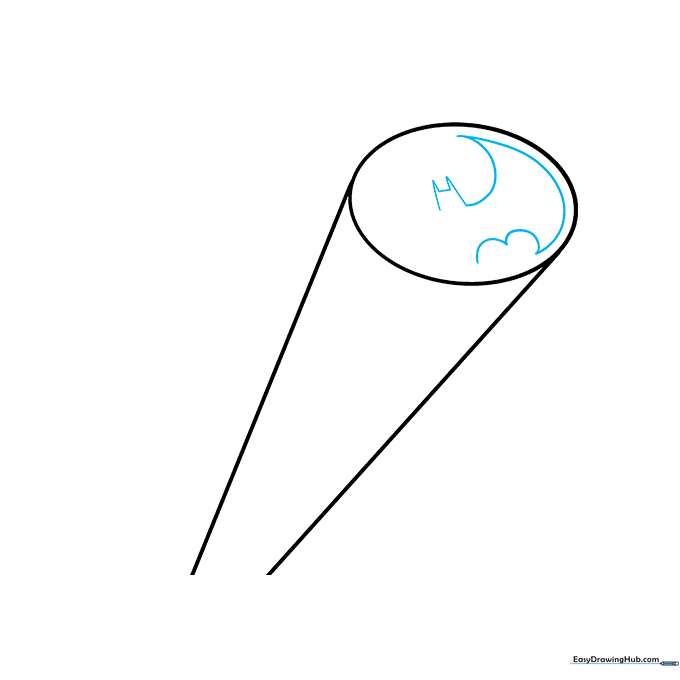
Begin the iconic logo inside the oval. Use sharp, angular lines to form the bat's ear and the top of the wing. Tip: Focus on making the points sharp to give the logo that classic comic-book look.
Step 3: Completing the Bat Logo
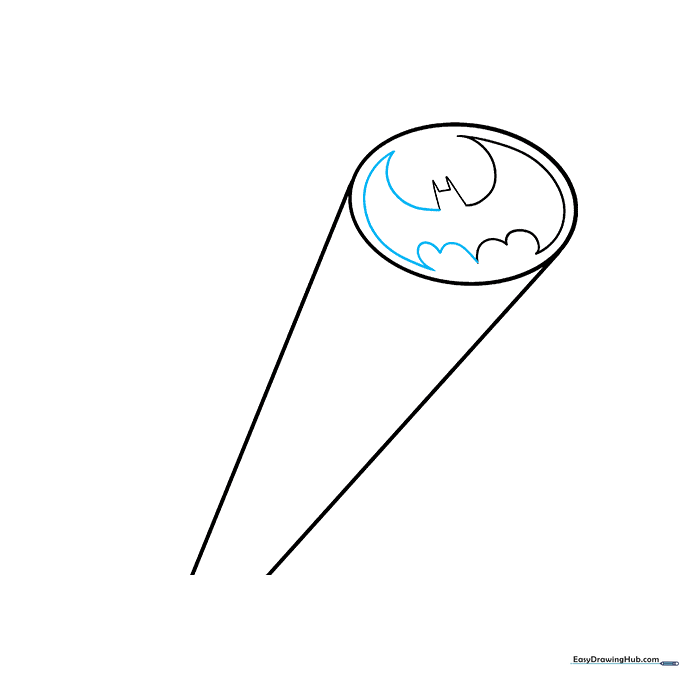
Mirror the wing shape on the opposite side to finish the bat silhouette. Ensure the bottom of the wings curve inward toward the center. Tip: Check that your logo is centered within the oval for a balanced look.
Step 4: Sketching the Skyscraper
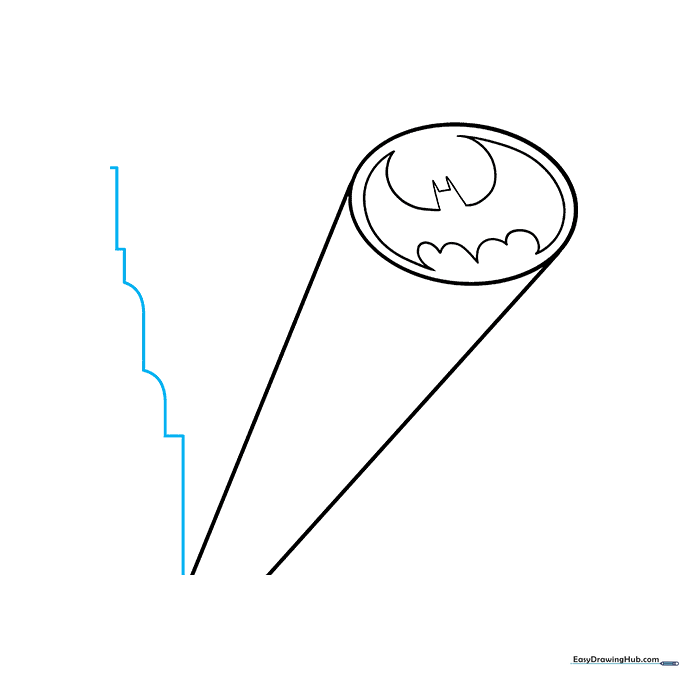
Draw a series of L-shaped and vertical lines to the left of the searchlight to represent the edge of a building. Tip: Use a ruler if you want the building edges to look perfectly straight.
Step 5: Defining the Building Structure
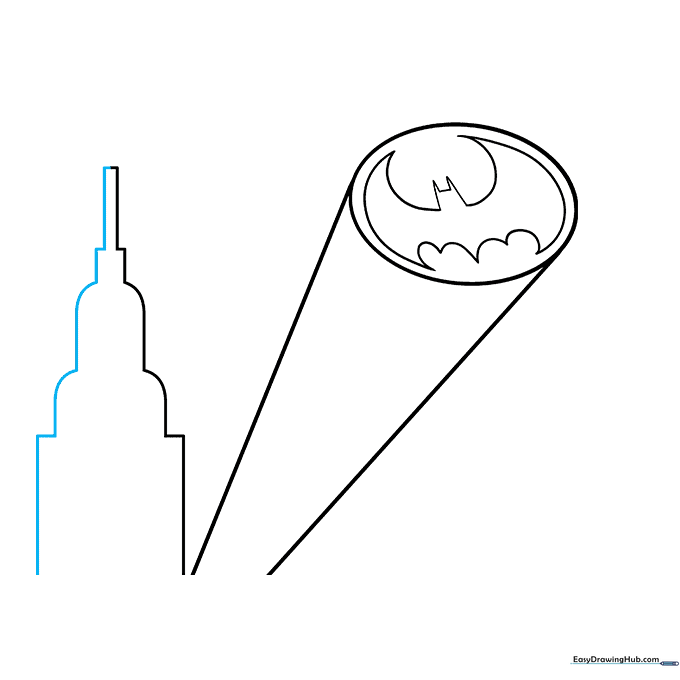
Draw the right side of the building to mirror the left. This creates a solid base for your Gotham skyline. Tip: Keep your lines parallel to give the building a sense of height.
Step 6: Adding Vertical Windows
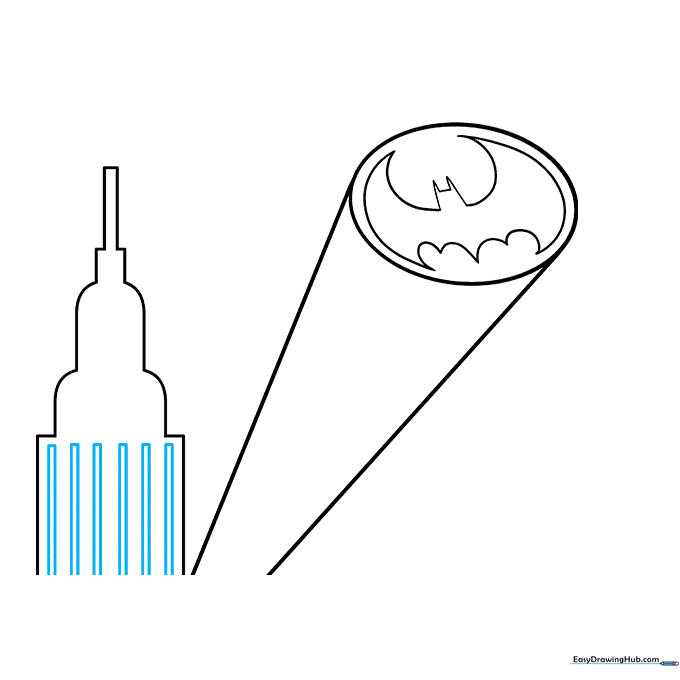
Draw long, narrow rectangles on the building face to represent windows. Tip: Vary the height of the windows slightly to make the building look more realistic.
Step 7: Detailing the Lower Windows
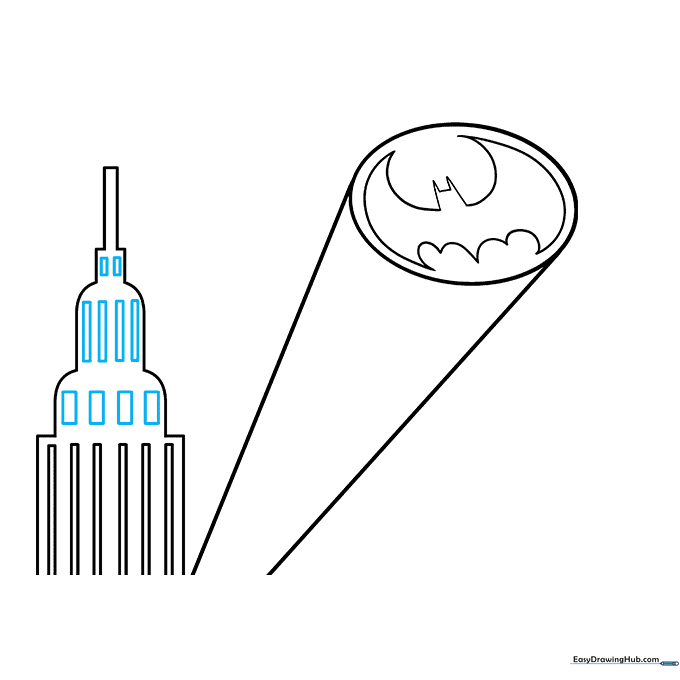
Add more rectangular windows to the lower levels of the building. Tip: Group them in rows to keep the building looking organized.
Step 8: Sketching Night Clouds
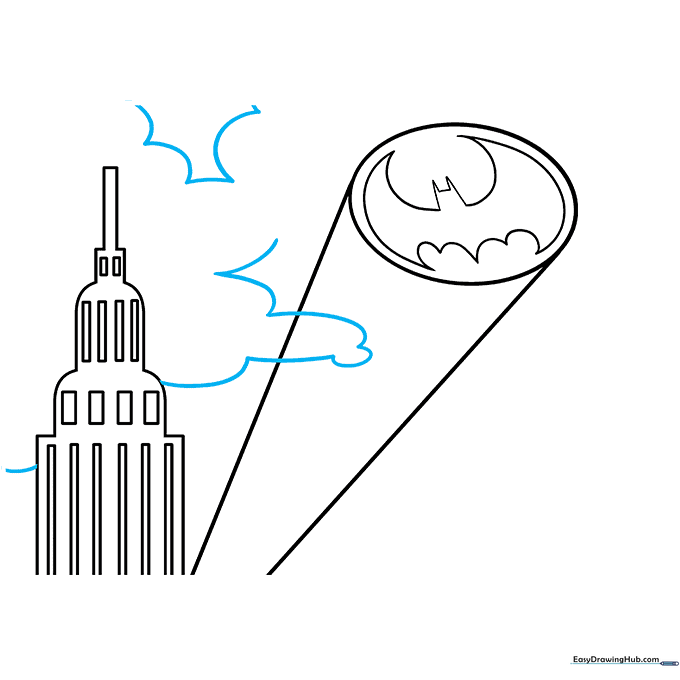
Use soft, connected curved lines to draw clouds around the signal beam. Tip: Don't worry about making them perfect; clouds are naturally irregular and fluffy.
Step 9: Finalizing the Sky
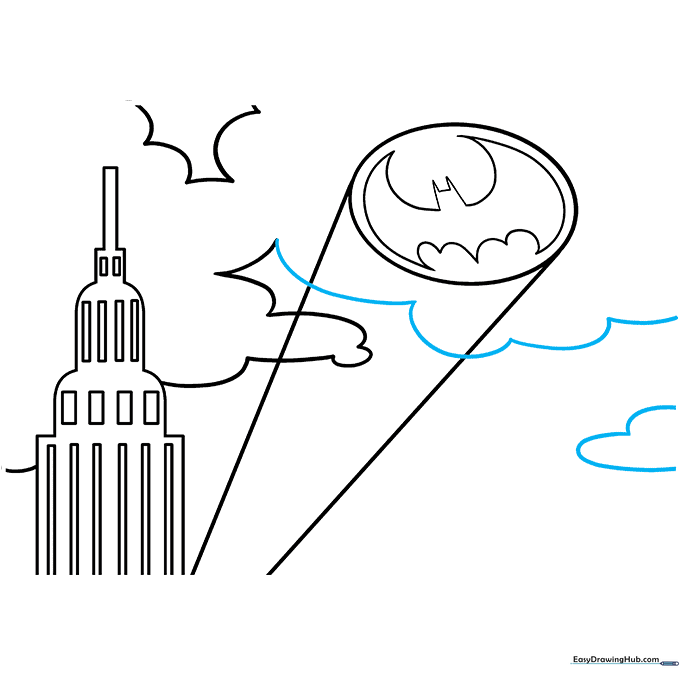
Add more cloud layers to fill the night sky. Tip: Overlap some of the lines to create depth and make the clouds look voluminous.
Step 10: Coloring Your Masterpiece

Color the beam yellow to show the light, and use black or dark blue for the night sky and building. Tip: Use a bright yellow for the windows to make them 'glow' against the dark building.
More Tutorials


