How to Draw an Autumn Scene: Easy Step-by-Step Guide
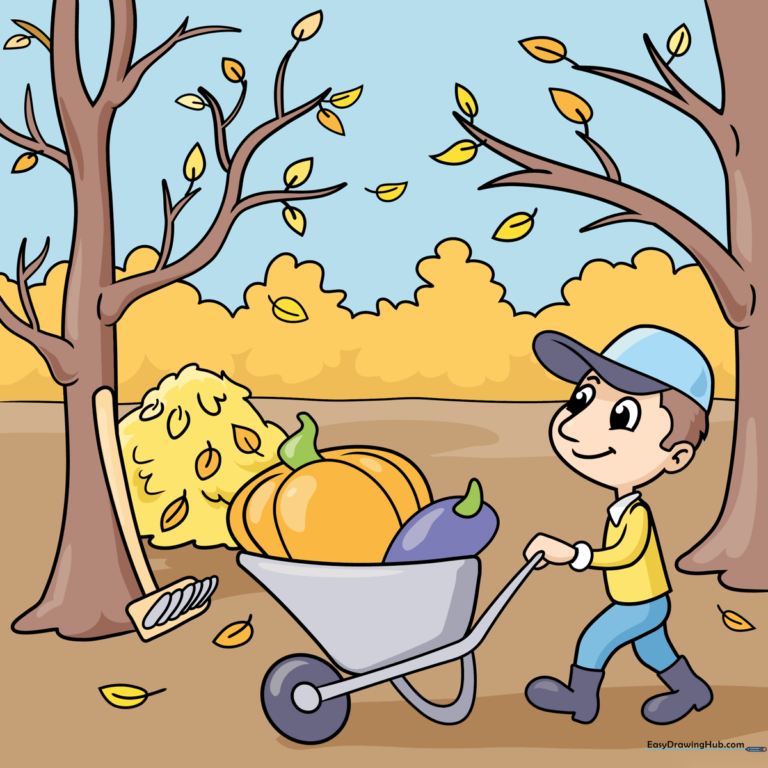
Capture the magic of fall with this fun, screen-free drawing activity perfect for artists ages 5 and up. You will need a pencil, an eraser, and your favorite markers or colored pencils to bring this harvest scene to life. Follow these simple steps to build confidence and improve your spatial awareness while creating a charming seasonal landscape.
🎯 Final Result
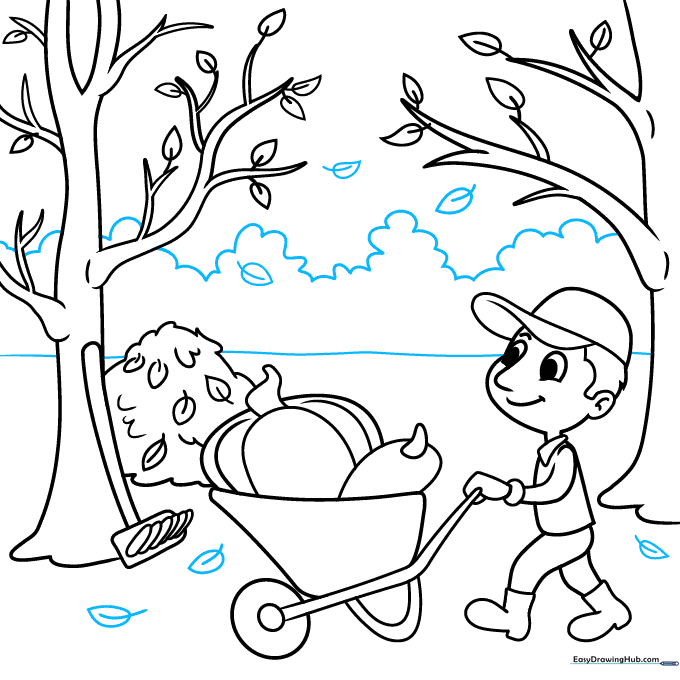
Step-by-Step Instructions
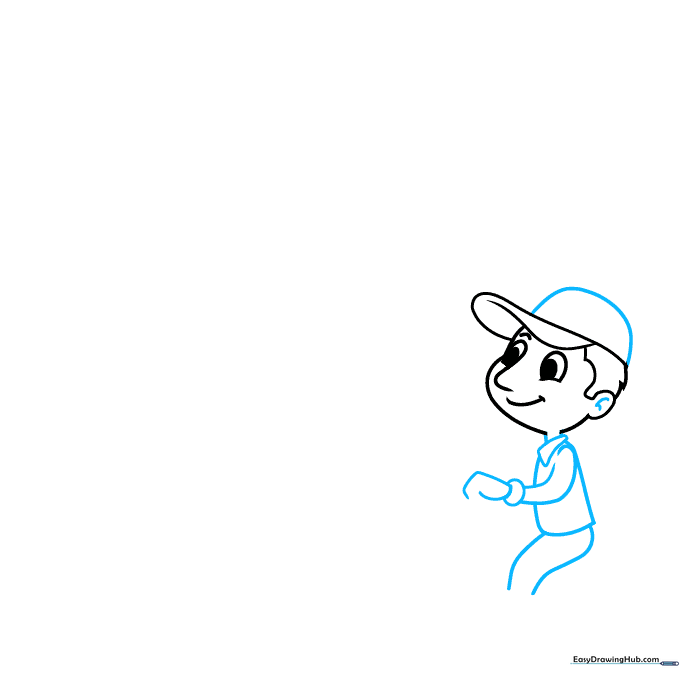
Step 1: Sketching the Character's Face

Start by drawing the outline of the character's face using soft, curved lines. Add the nose, mouth, eyebrows, and ears, then sketch the bill of the cap. Tip: Keep your pencil strokes light so you can easily erase any mistakes as you refine the features.
Step 2: Adding the Upper Body
Complete the cap with a curved line, then add the ear details. Sketch the shirt collar, arm, cuff, hand, and torso. Tip: Focus on the flow of the lines to make the character look natural and relaxed.
Step 3: Drawing the Legs and Wheelbarrow
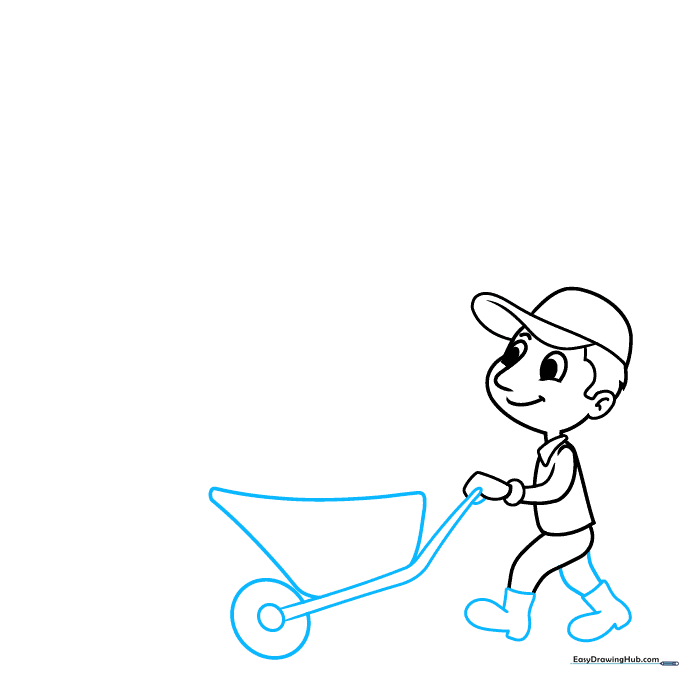
Extend two lines for the legs and add boots at the base. Draw the wheelbarrow by creating handles, an axle, and two circles for the wheel. Tip: Use a steady hand for the wheel circles; if they aren't perfect, remember that nature is rarely perfectly round!
Step 4: Adding Harvest Vegetables and Rake
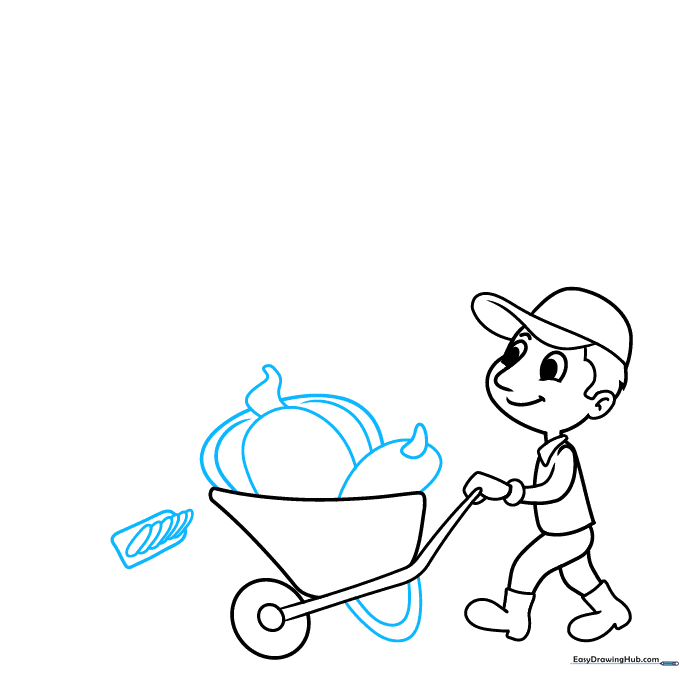
Draw 'U' shapes for the wheelbarrow base. Sketch a pumpkin and squash inside. Add the rake head with protruding tines. Tip: Keep the pumpkin shapes slightly irregular to make them look more realistic and organic.
Step 5: Sketching the First Tree
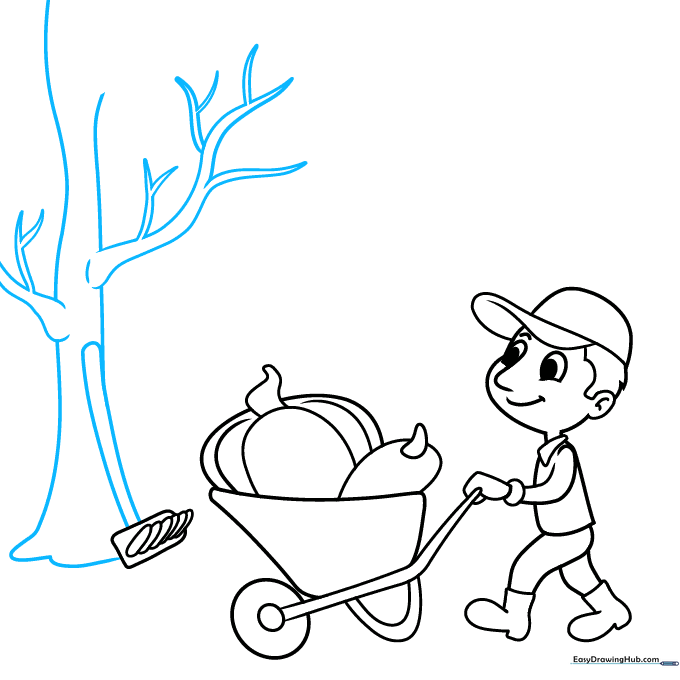
Use long, sweeping curved lines to sketch the trunk and branches of a tree. Ensure the branches taper to sharp points. Add the rake handle by doubling back your lines. Tip: Vary the thickness of the branches to give the tree depth.
Step 6: Adding More Trees
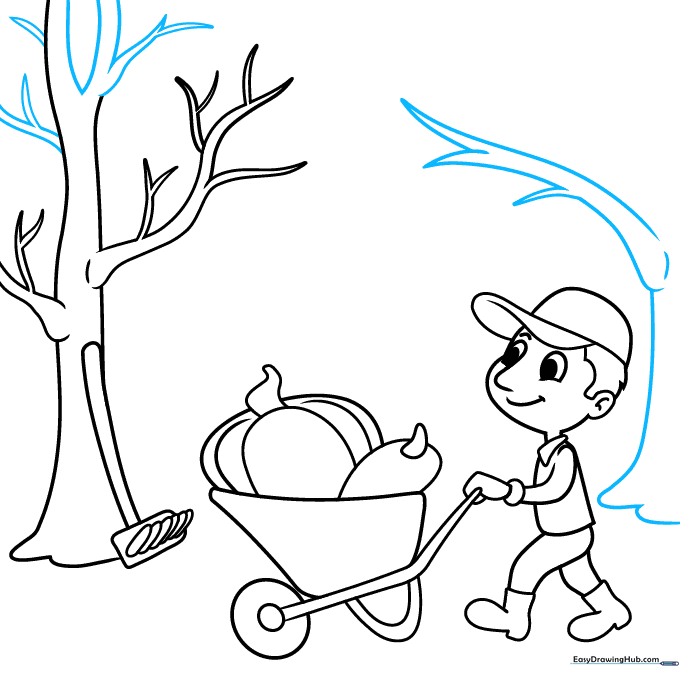
Add extra limbs to your first tree and begin sketching the silhouette of a second tree in the background. Tip: Overlapping the trees slightly helps create a sense of distance in your landscape.
Step 7: Creating the Leaf Pile
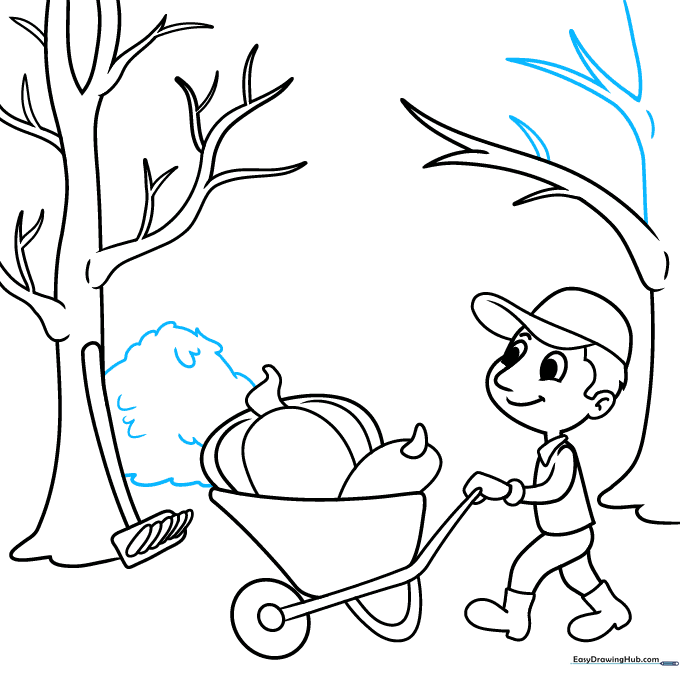
Sketch a triangular pile of leaves using curved lines. Add texture with small 'U' shaped marks to represent individual leaves. Tip: Don't worry about making every leaf identical; variety makes the pile look more realistic.
Step 8: Adding Individual Leaves
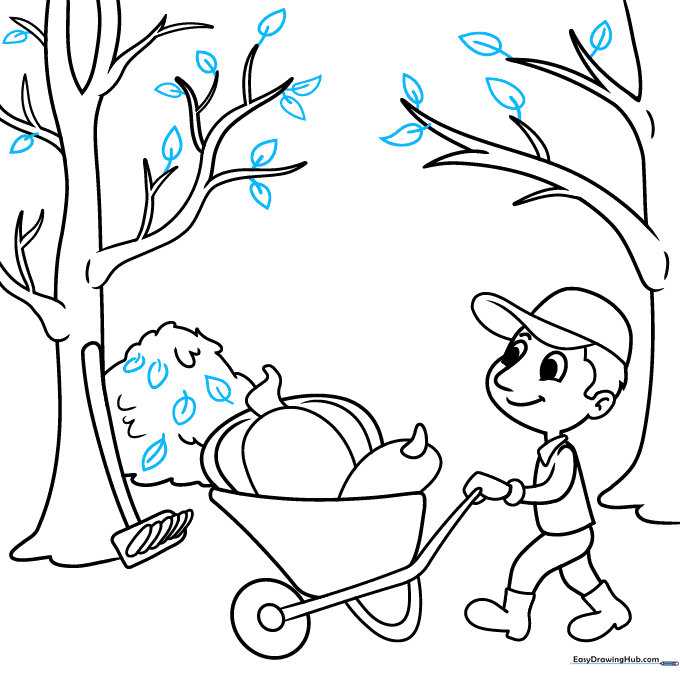
Draw teardrop-shaped leaves on the branches and scattered in the pile. Add a short stem to each one. Tip: Placing leaves at different angles makes the drawing feel dynamic, as if they are falling in the wind.
Step 9: Finalizing the Background
Draw a horizon line behind the trees and a distant treeline using short, choppy lines. Add a few more leaves floating in the air. Tip: This creates a sense of depth and completes your autumn landscape.
Step 10: Coloring Your Masterpiece
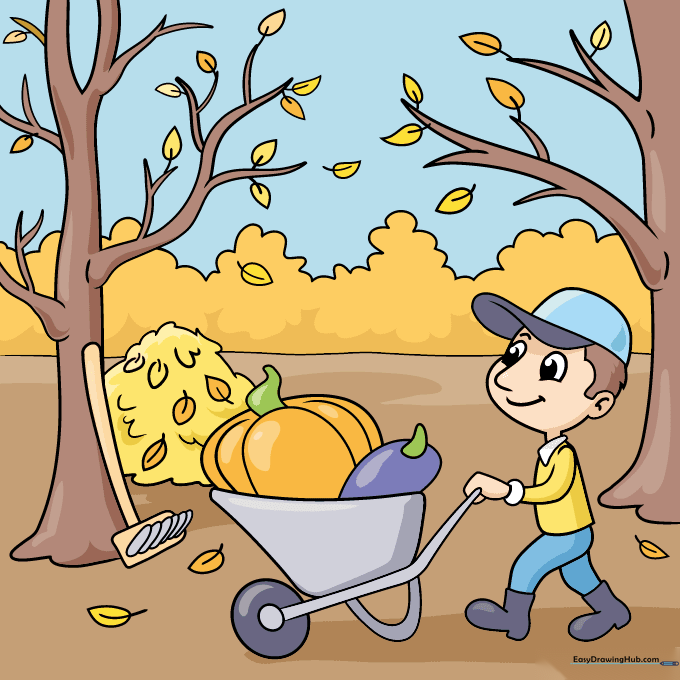
Bring your drawing to life with warm autumn colors! Use golds, oranges, reds, and browns for the leaves and pumpkins. Tip: Use light pressure with your colored pencils to blend colors together for a more professional look.
More Tutorials


