How to Draw the Autobots Symbol: Easy Step-by-Step Guide
Ready to join the fight for Cybertron? This tutorial is perfect for young artists and Transformers fans ages 6+ who want to master the Autobot insignia. All you need is a pencil, an eraser, and a piece of paper to bring this legendary robot face to life.
🎯 Final Result

Step-by-Step Instructions
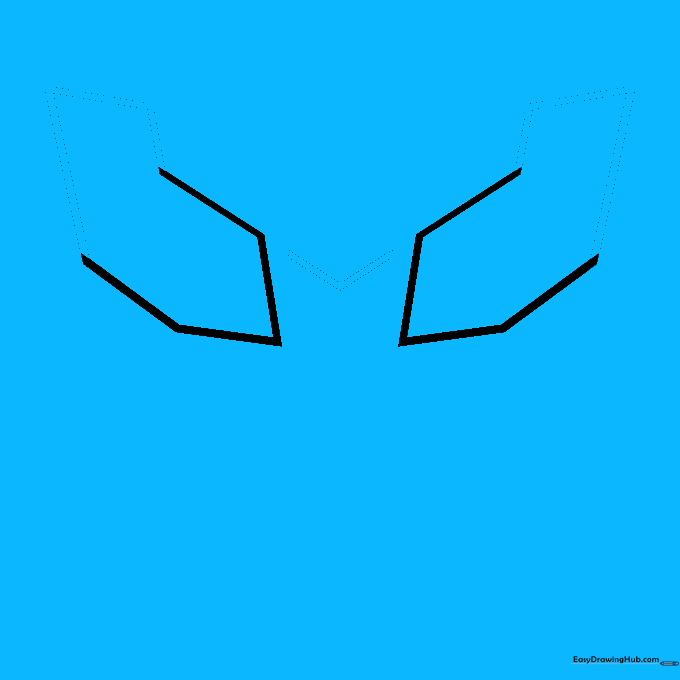
Sketching the Autobot Eyes

Start by drawing two open-ended pentagon shapes for the eyes. Teacher's Tip: Keep your pencil pressure light here; these shapes act as the anchor for the rest of the face, and you'll want to erase any overlapping lines later.
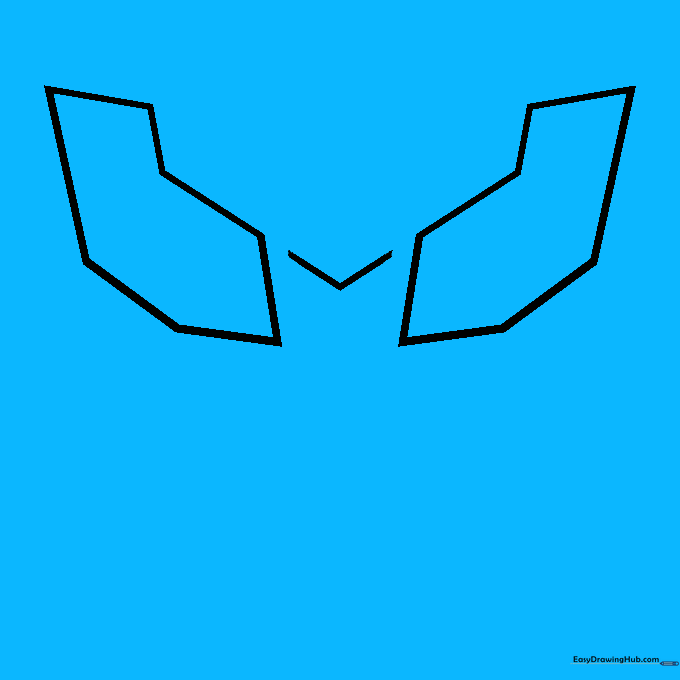
Defining the Eye Structure
Add a small rectangle behind each eye using three straight lines. Then, draw a sharp 'V' shape between the eyes. Tip: Use a ruler if you struggle with straight lines, but try freehand first to build your confidence!
Adding the Nose and Cheeks
Draw a rectangle below the 'V' for the nose, and add a zigzag 'S' shape under each eye. Tip: Think of these as mechanical gears—keep the angles sharp to give the logo that metallic, robotic look.
Building the Face Armor
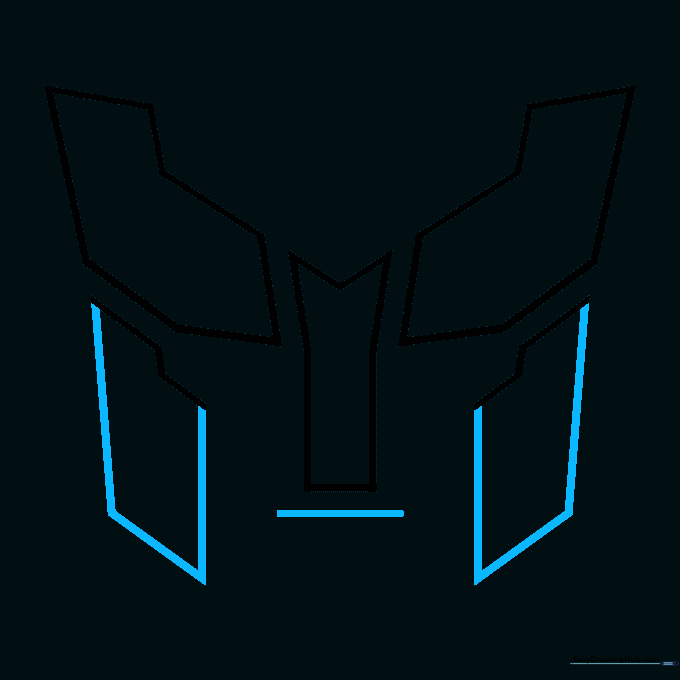
Draw rectangles beneath the zigzag lines to form the armored sides of the face, and add a horizontal line for the mouth. Tip: Symmetry is key here! Try to make the left and right sides match as closely as possible.
Refining the Mouth
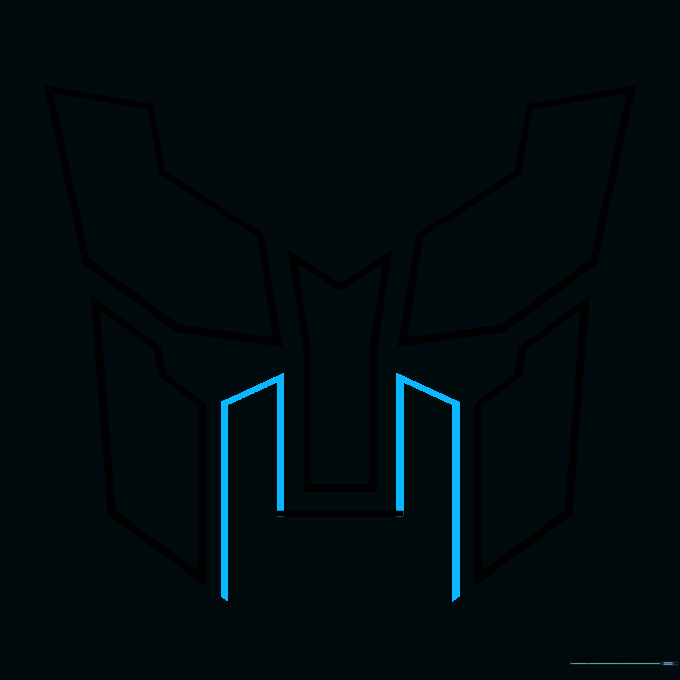
Add partial rectangles on each side of the mouth line. Tip: These small details define the 'mechanical' aesthetic of the Transformers universe, so take your time with these small shapes.
Creating the 'H' Mouthpiece

Enclose the mouth area into an 'H' shape and add a horizontal line below the crossbar. Tip: This creates the chin guard—make sure your lines are crisp and clean.
Adding the Forehead Detail

Draw a trapezoid below the chin, then a large 'V' across the forehead with two short lines extending upward. Tip: The forehead 'V' is the most recognizable part of the symbol, so ensure it looks sharp and bold.
Finishing the Head Crest

Draw an inverted triangle with a rounded top above the 'V' and connect the arms of the 'V' with a curved line. Tip: This creates the 'helmet' look of the Autobot head.
Finalizing the Outline

Complete the drawing by adding two narrow, diagonal parallelograms on each side of the face. Tip: These act as the 'ears' or side panels of the symbol. Check your drawing against the reference to ensure all lines are connected.
Coloring Your Autobot Symbol

Time to bring it to life! Use a bold red for the classic look, or try metallic silver for a more industrial feel. Tip: Use markers for a vibrant, flat color or colored pencils if you want to add shading to make it look 3D.
More Tutorials


