How to Draw Thanos: Easy 10-Step Marvel Art Guide
Ready to bring the Mad Titan to life? This tutorial is designed for young artists and Marvel fans looking to level up their character drawing skills. Grab your pencil, eraser, and paper to follow along as we break down Thanos’ iconic armor and powerful stance into manageable, simple shapes.
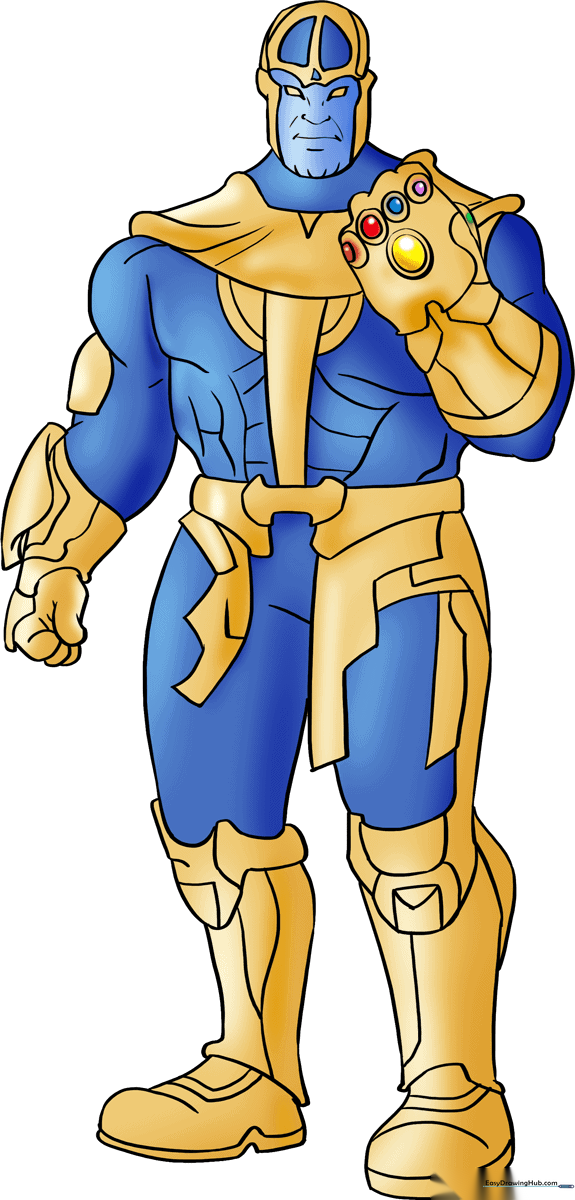
🎯 Final Result
Step-by-Step Instructions
Step 1: Sketching the Helmet Base

Start by sketching an irregular rounded shape for the head. Add a gentle wavy line across the center, then extend wavy lines downward from the edges. Teacher's Tip: Keep your pencil pressure light here; this is just the foundation for his helmet.
Step 2: Building the Armor Shoulders
Extend short lines beneath the head and connect them with a curved line. Add a second, longer parallel curve to create the shoulder plate. Teacher's Tip: Add small bumps or ridges at the corners to give the armor a sturdy, metallic look.
Step 3: Defining the Torso Structure

Draw two lines downward from the armor, enclosing them at the bottom with a bone-like shape. Extend straight lines from the sides to frame the chest. Teacher's Tip: Ensure these lines are symmetrical to keep Thanos looking balanced and powerful.
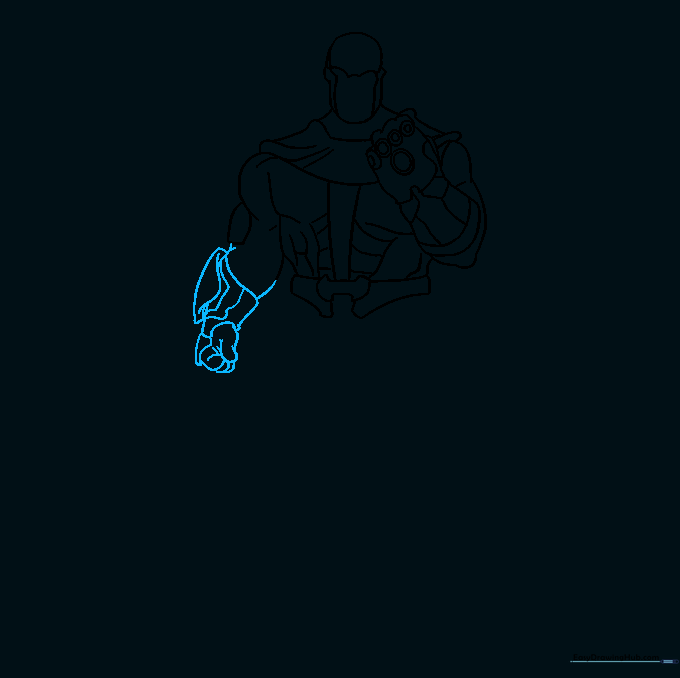
Step 4: Sketching the Infinity Gauntlet
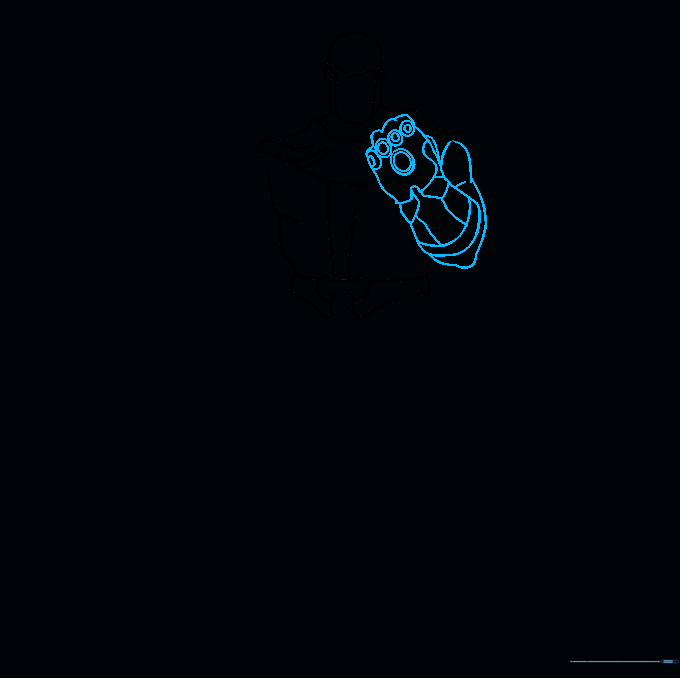
Outline the arm with a curved line, doubling it back to show the elbow bend. Add circles on the hand for the Infinity Stones. Teacher's Tip: Draw the stones slightly larger than you think—they are the focal point of the gauntlet!
Step 5: Adding Muscular Detail
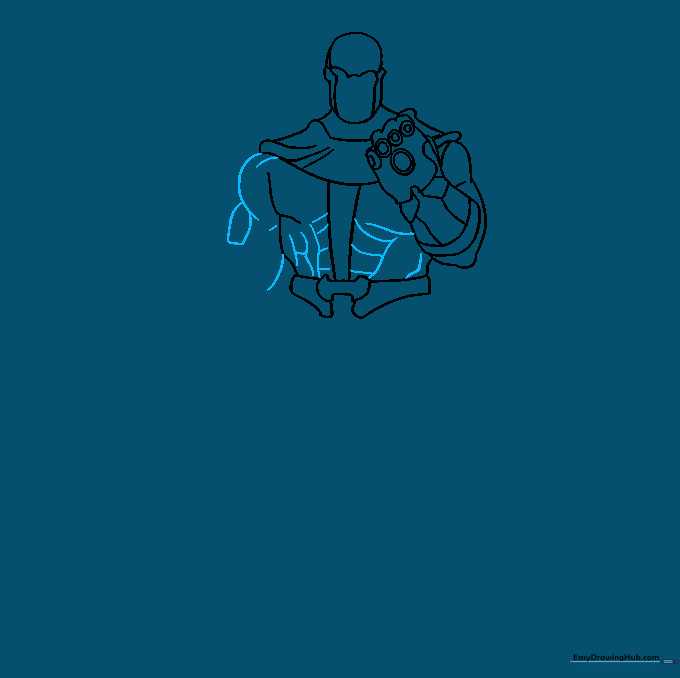
Use overlapping curved lines to define the chest muscles. Start outlining the arm using 'C' shaped curves. Teacher's Tip: Think of these as rounded shapes rather than sharp lines to make Thanos look more muscular.
Step 6: Refining the Gauntlet Details
Refine the hand and arm shape. Add lines for the gauntlet cuff and finger joints. Teacher's Tip: Use short, straight lines for the metal plates to contrast with the curved lines of the muscles.
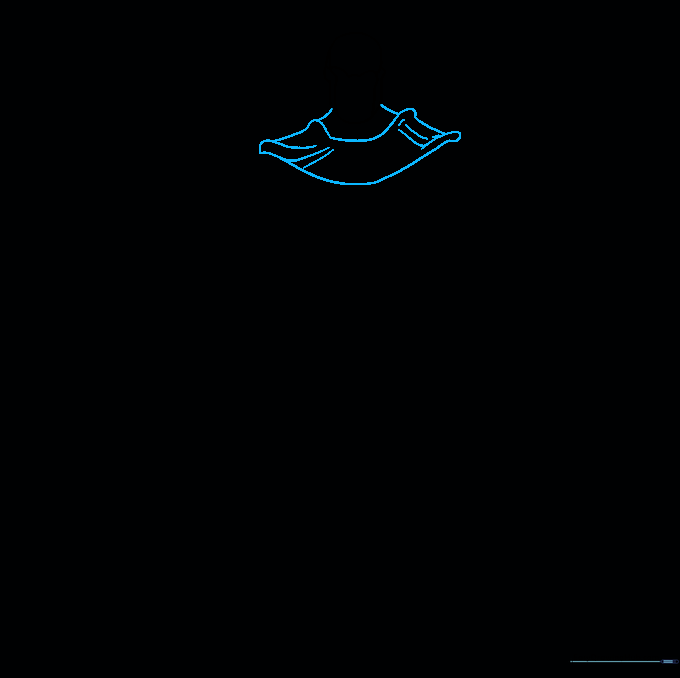
Step 7: Drawing the Leg Armor
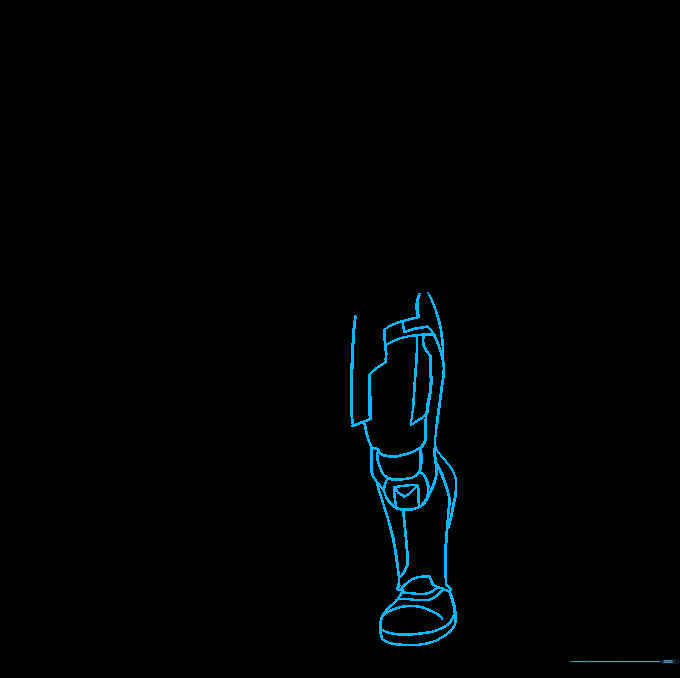
Use a long, curved line to form the leg. Add stair-shaped lines at the top for the armor plating. Teacher's Tip: Pay attention to the knee area—keep the lines sharp to show the armor's hard surface.
Step 8: Completing the Lower Body
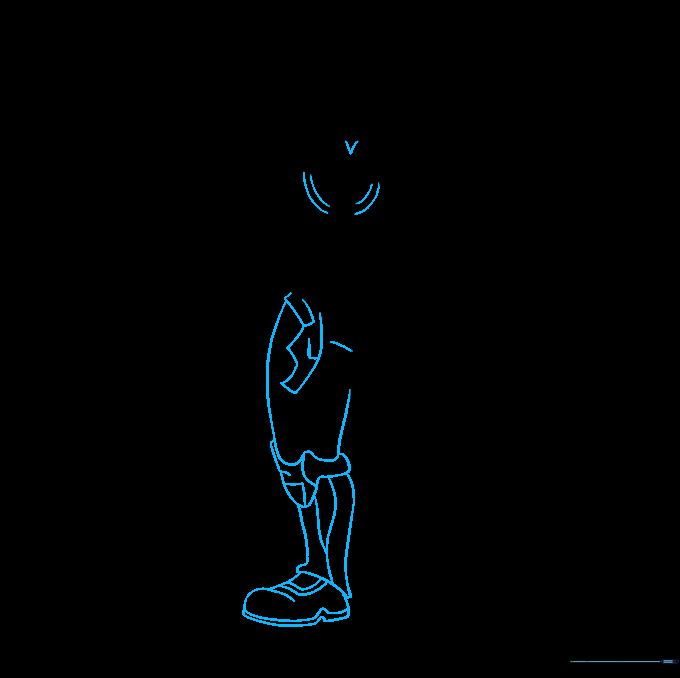
Draw the second leg using similar curved lines. Add an inverted triangle to the center of the chest plate. Teacher's Tip: The triangle acts as a great anchor point for the chest design.
Step 9: Facial Features

Add rounded shapes within the helmet for the eyes, nose, and mouth. Teacher's Tip: Keep the expression stern by angling the eyebrows downward toward the nose.
Step 10: Final Coloring
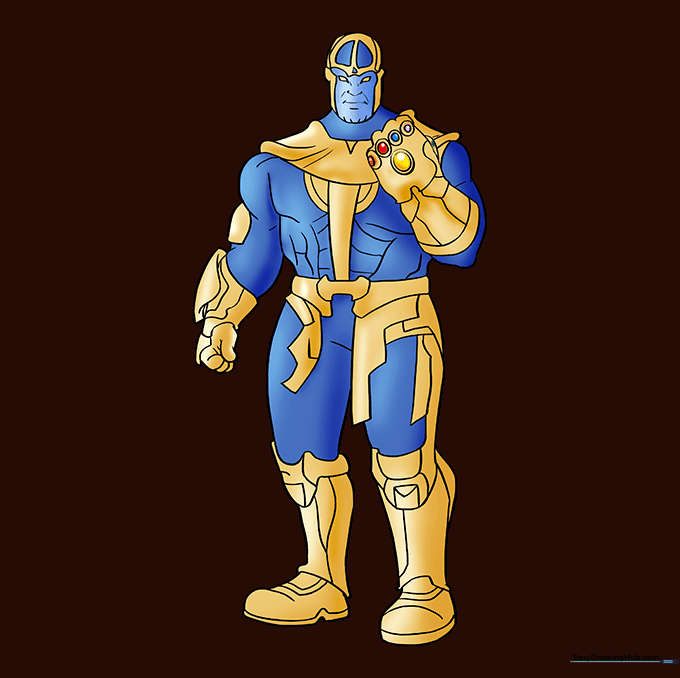
Erase any stray pencil marks and color your drawing. Use deep purples for his skin and gold for the armor. Teacher's Tip: Use a darker shade of purple in the shadows to make the muscles look more 3D.
More Tutorials


