How to Draw Sushi: Easy 10-Step Guide for Beginners
Ready to create your own sushi masterpiece? This tutorial is perfect for young artists ages 5 and up. All you need is a pencil, an eraser, and some markers to bring this colorful, tasty scene to life while practicing your geometric shapes and fine motor control.
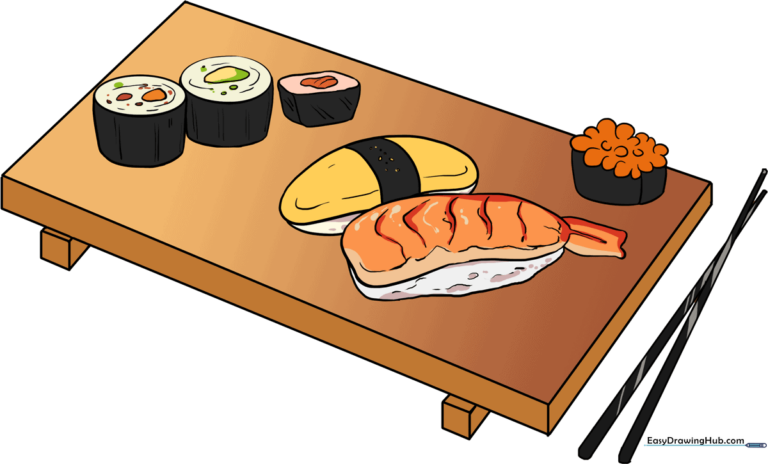
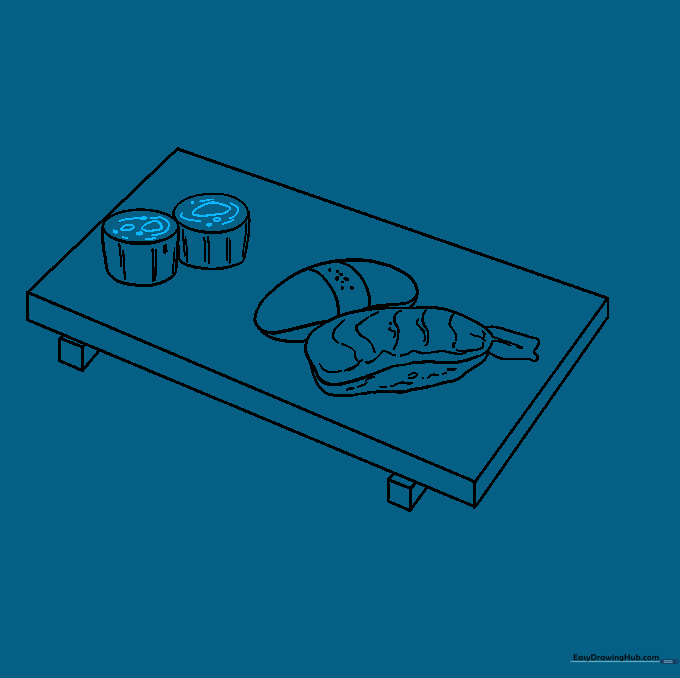
🎯 Final Result
Step-by-Step Instructions
Step 1: Sketching the Serving Tray
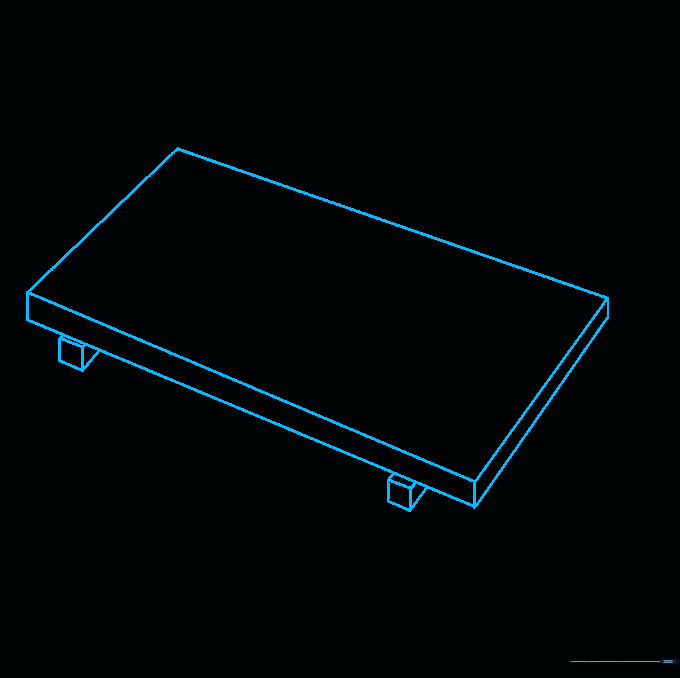
Start by drawing a tilted rectangle to form the base of your tray. Add short lines extending from three corners to give it depth, then connect them to create a 3D effect. Tip: Keep your pencil lines light so you can easily adjust the perspective if the tray looks a bit wobbly.
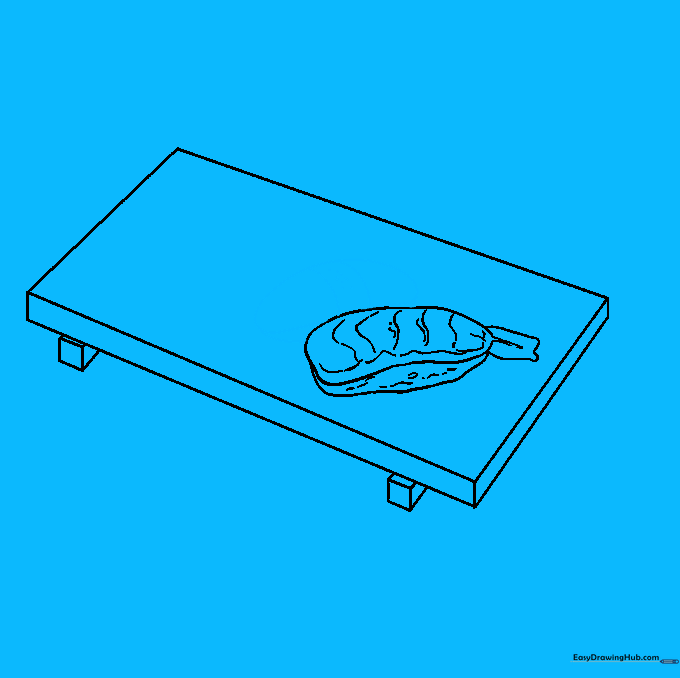
Step 2: Adding the Nigiri

Draw an irregular rounded shape on the tray for the rice base, then add a curved band on top for the fish. Use small dots and short dashes to give the rice a fluffy, textured look. Tip: Vary the length of your dashes to make the rice look more realistic.
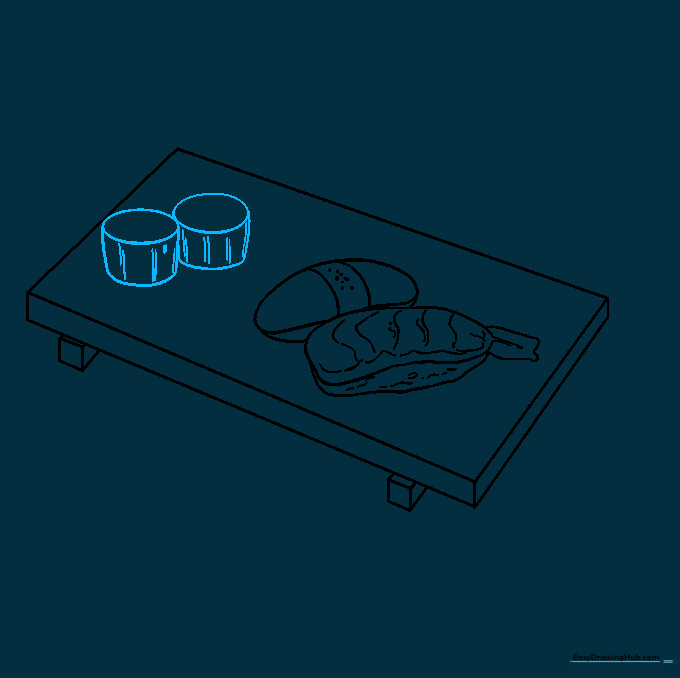
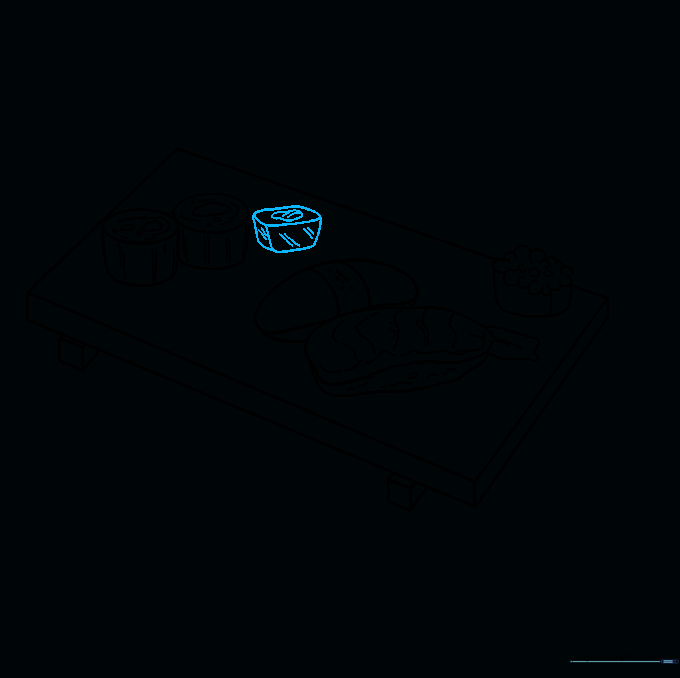
Step 3: Drawing the Tamago Sushi
Create an oval shape next to your first piece, then add a curved band across the middle to represent the nori (seaweed) wrap. Use small dots to add texture to the egg omelet. Tip: Ensure your nori band looks tight and snug against the egg.
Step 4: Sketching the Maki Rolls
Draw two ovals to represent the circular maki rolls. Add curved lines descending from the sides to show the seaweed wrap. Tip: Use vertical lines on the sides of the rolls to mimic the texture of nori sheets.
Step 5: Filling the Maki Rolls
Add small, irregular shapes inside your rolls to represent the cucumber, fish, or avocado fillings. Tip: Don't worry about making these shapes perfect; real ingredients inside a roll are naturally irregular!
Step 6: Adding Roe Topping

Draw a rounded shape on top of a roll and fill it with small 'U' shapes to represent fish eggs (roe). Add three lines descending from the roe to show it sitting on the roll. Tip: Keep your 'U' shapes small and clustered to make them look like tiny eggs.
Step 7: Adding More Sushi Pieces
Draw another rounded rectangle for an additional piece of sushi. Add an irregular shape inside for the filling and texture the seaweed with short, quick lines. Tip: Varying the sizes of your sushi pieces makes the drawing look more like a real, abundant platter.
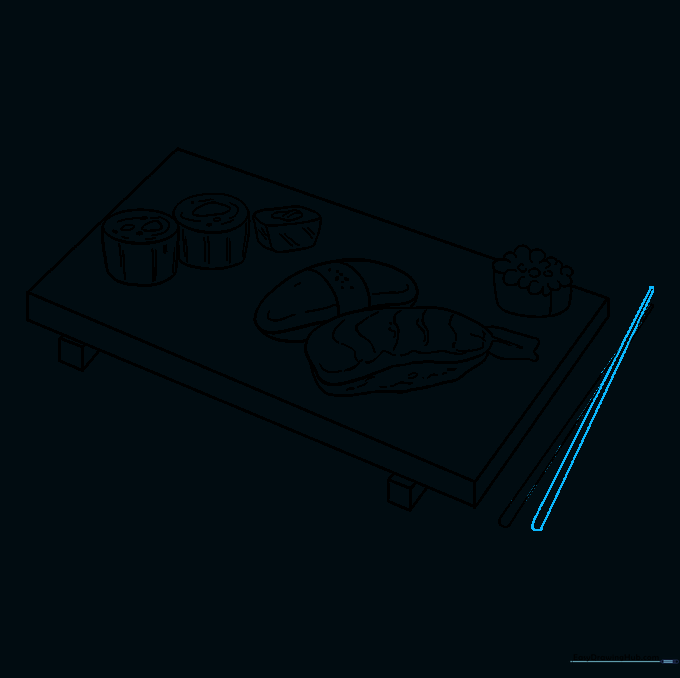
Step 8: Drawing the Chopsticks

Draw a chopstick resting beside the tray using two long, straight lines connected at the ends. Make one end slightly sharper than the other. Tip: Use a ruler if you want perfectly straight lines, or go freehand for a more organic, artistic look.
Step 9: Completing the Chopsticks
Draw a second chopstick overlapping the first one to complete the set. Erase any overlapping guide lines to keep the drawing clean. Tip: Ensure the chopsticks look like they are resting at an angle to create a sense of space.
Step 10: Adding Color

Bring your sushi to life with vibrant colors! Use soft pinks for the fish, creamy whites for the rice, and deep greens or blacks for the seaweed. Tip: Use light pressure with your colored pencils to create gradients, making the sushi look fresh and appetizing.
More Tutorials


