How to Draw Sunglasses: Easy 10-Step Guide for Kids
Ready to design your own summer shades? This tutorial is perfect for artists ages 5 and up. All you need is a pencil, an eraser, and a piece of paper to get started. Follow these steps to master symmetry and basic geometric shapes while creating a stylish pair of sunglasses.
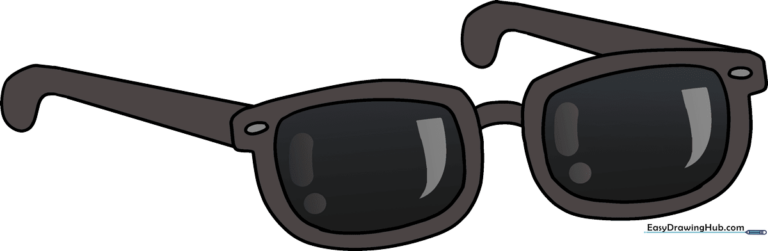
🎯 Final Result
Step-by-Step Instructions
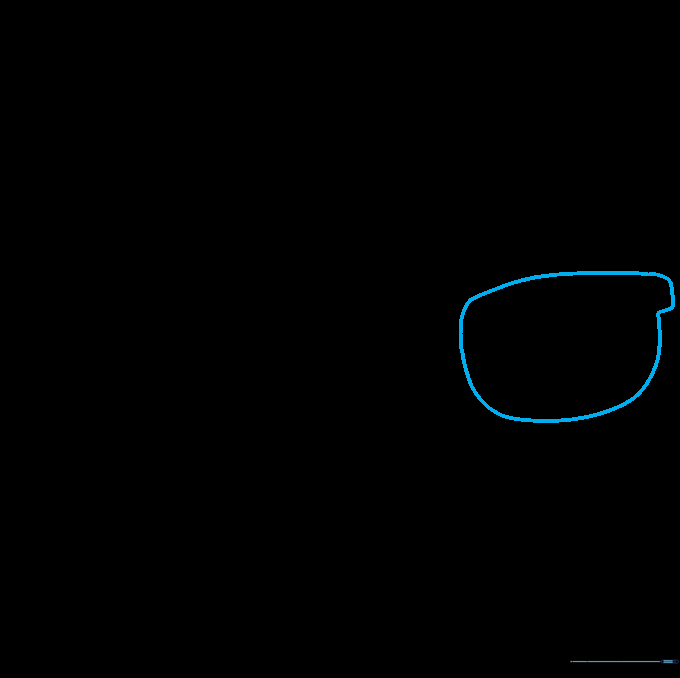
Step 1: Sketching the Outer Frame
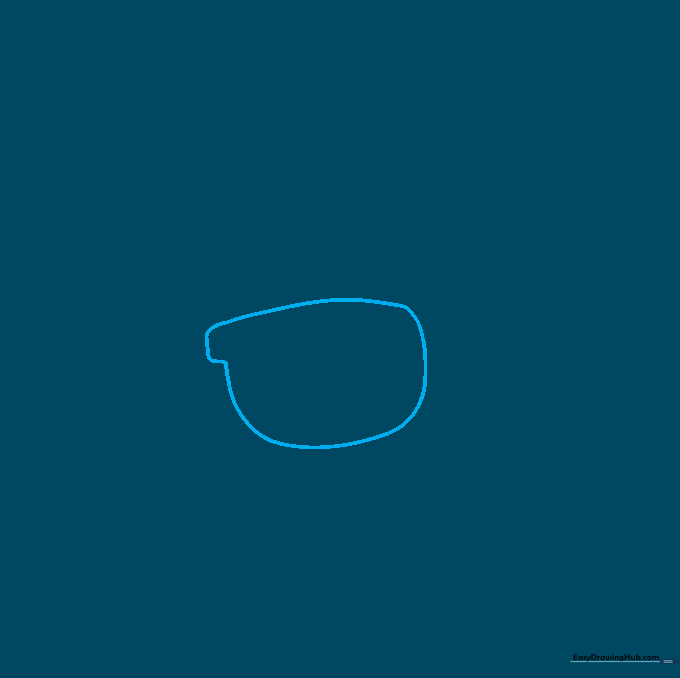
Start by drawing the top and bottom curves of the left frame. Keep your pencil pressure light so you can easily adjust the shape. Tip: Think of this as a slightly flattened oval with a small rectangular notch on the side for the hinge.
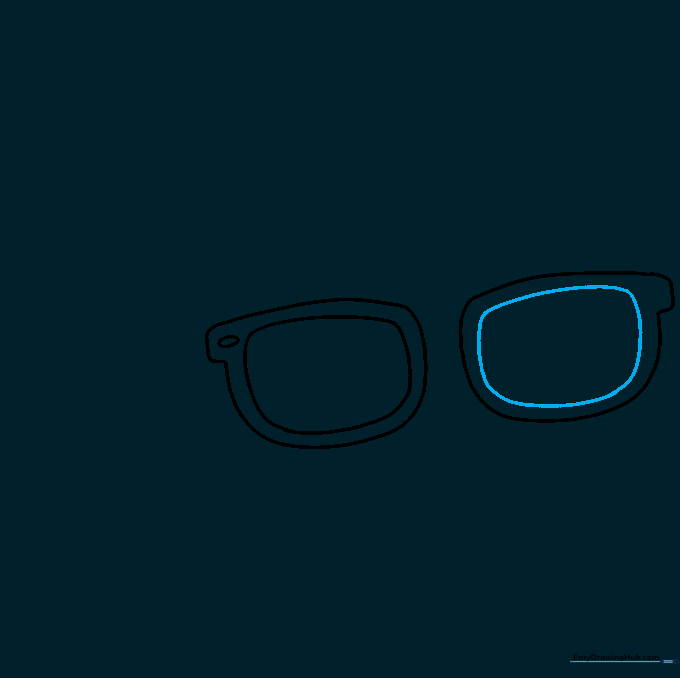
Step 2: Defining the Lens
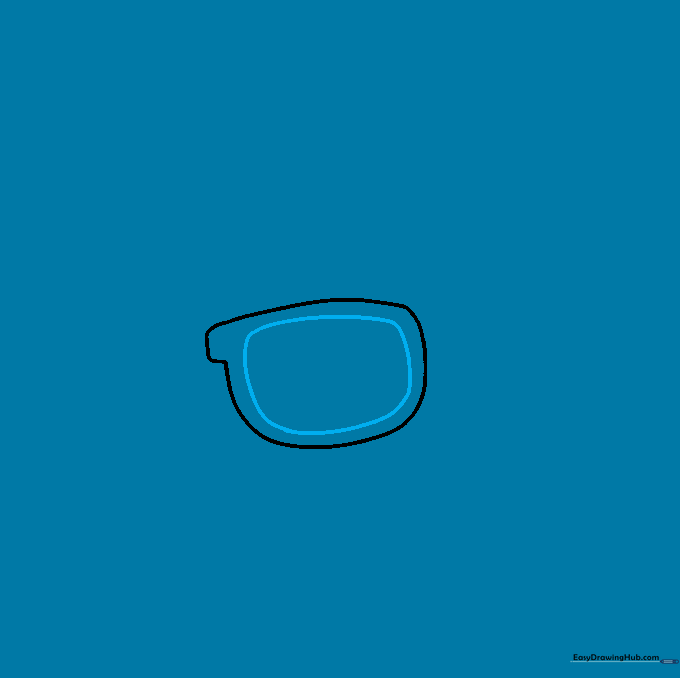
Draw a curved line inside the frame to create the lens. Tip: Try to keep the distance between the lens line and the frame edge consistent all the way around for a professional look.
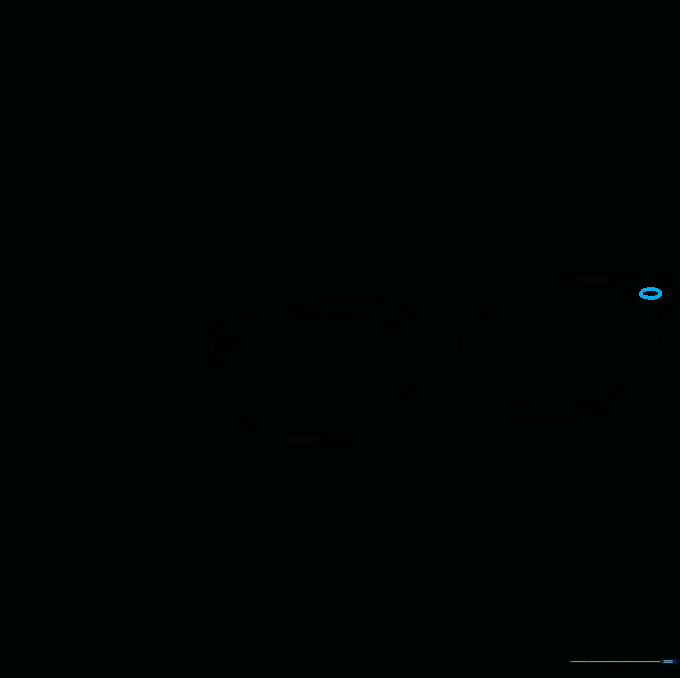
Step 3: Adding the Hinge Detail
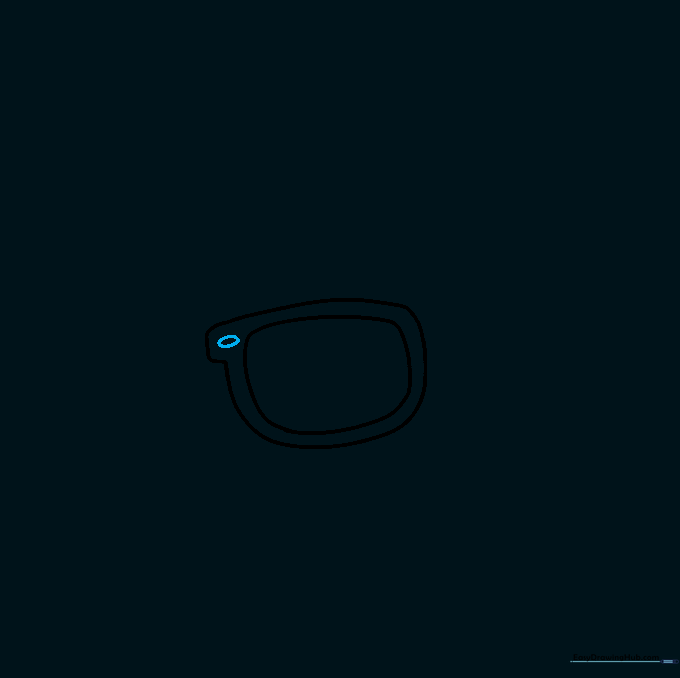
Draw a small oval on the rectangular extension you created in step one. This represents the hinge that connects the frame to the arm. Tip: A small circle or oval here adds a realistic mechanical touch to your drawing.
Step 4: Drawing the Second Frame
Now, repeat the process for the right side. Use curved lines to outline the second frame. Tip: Focus on keeping the size and shape similar to the first frame to maintain balance.
Step 5: Adding the Second Lens
Draw the lens inside the right frame just as you did for the left. Tip: If your lenses look a bit uneven, don't worry! Real glasses often have slight variations, and it adds character to your art.
Step 6: Completing the Right Hinge
Add the small oval hinge to the right side of the frame. Tip: Ensure it is placed at the same height as the left hinge to keep your sunglasses looking level.
Step 7: Connecting the Frames
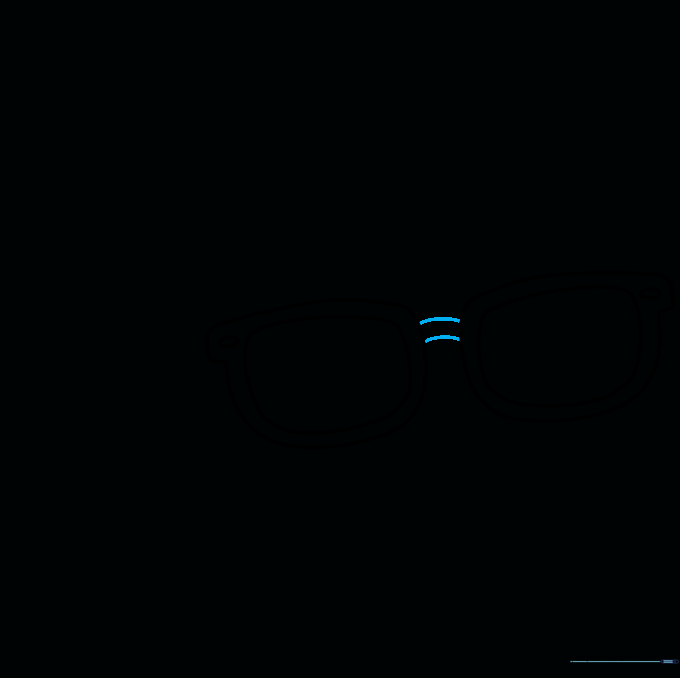
Use two curved lines to connect the two frames in the center. This is the bridge that rests on your nose. Tip: Keep this bridge small and delicate so it doesn't overpower the lenses.
Step 8: Drawing the First Earpiece
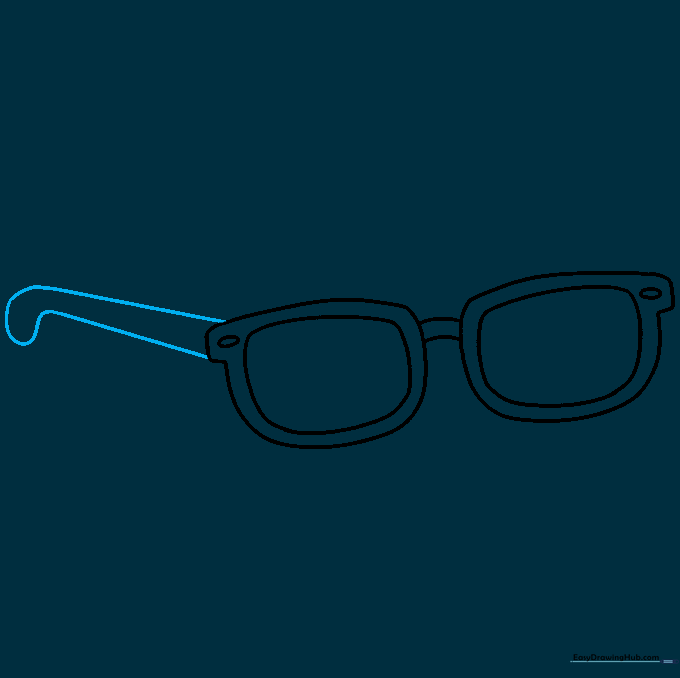
Draw the arm (or temple) of the glasses starting from the hinge. Use a long, sweeping curved line that doubles back at the end to create the ear hook. Tip: Imagine the shape of your own ear to get the curve just right.
Step 9: Adding the Second Earpiece
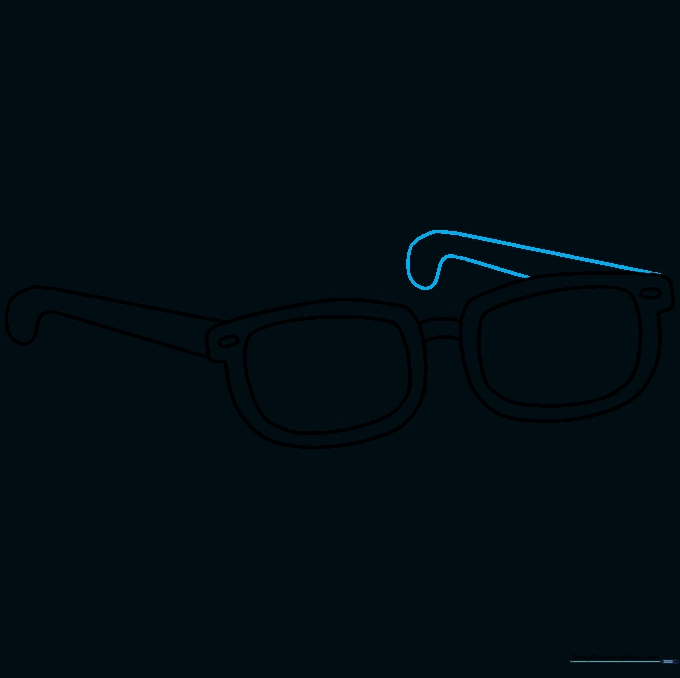
Draw the second arm on the other side. Try to match the angle and length of the first one. Tip: If you're having trouble, lightly draw a horizontal guideline across your paper to keep both arms aligned.
Step 10: Adding Color
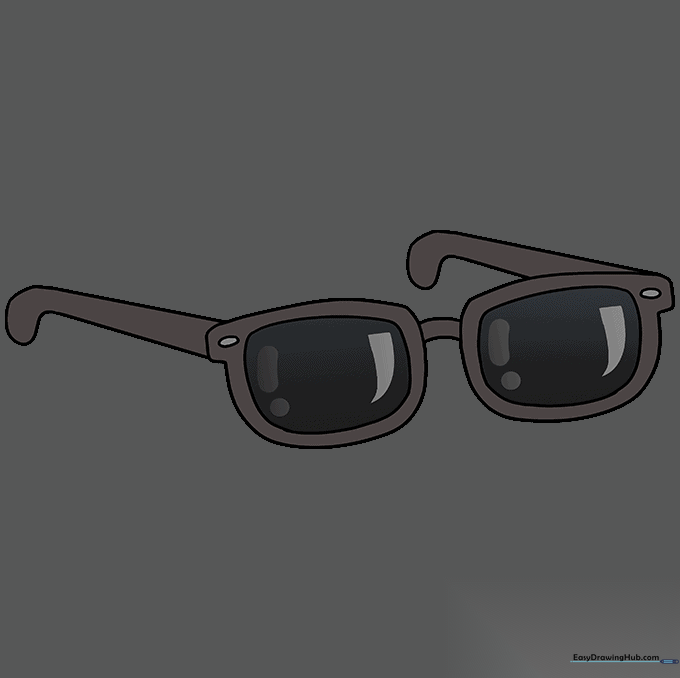
Bring your drawing to life with color! Use dark blues or blacks for the lenses to give them that classic 'sunglasses' look, or go wild with neon colors for the frames. Tip: Use a white colored pencil to add a small 'shine' or reflection on the lenses to make them look like glass.
More Tutorials


