How to Draw Sully: Easy Step-by-Step Guide for Kids
Bring James P. Sullivan to life with this fun, guided drawing activity perfect for ages 6+. You will need a pencil, an eraser, and your favorite coloring markers or crayons. Follow these steps to master Sully's iconic fur and friendly monster features while building confidence in your artistic skills.
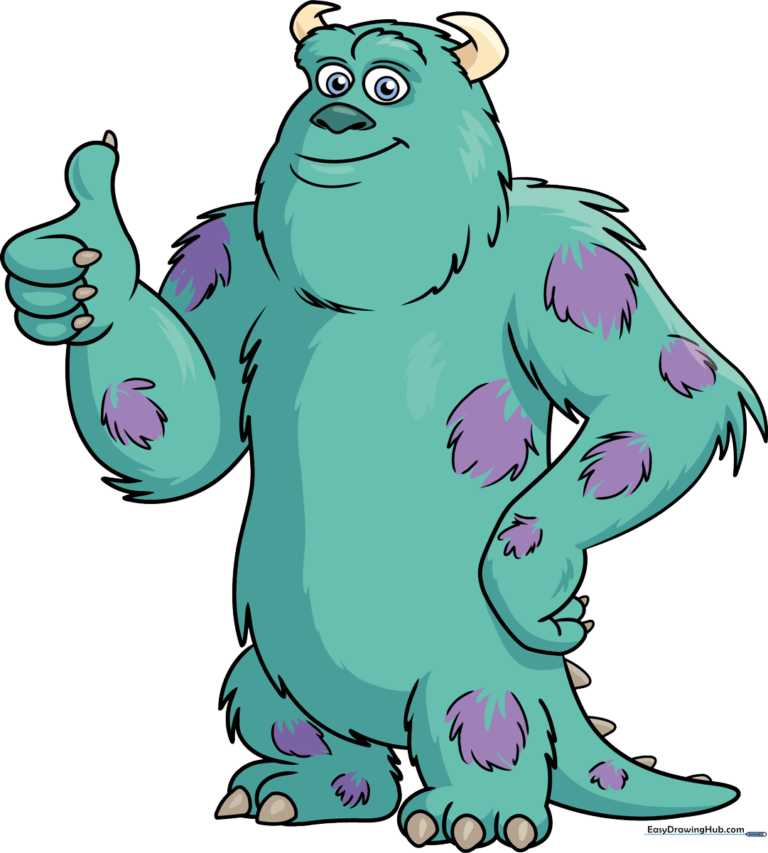
🎯 Final Result
Step-by-Step Instructions
Step 1: Sketching the Head and Face

Near the top of your paper, draw two lemon-shaped ovals for the eyes. Add small circles inside for the pupils. For the nose, sketch a rounded triangle pointing up and another pointing down, then connect them with curved lines. Teacher's Tip: Keep your pencil lines light so you can easily erase any mistakes later!
Step 2: Defining the Furry Head

Use short, jagged, squiggly lines to create Sully's bushy eyebrows and the top of his head. These lines should look like little hills. Teacher's Tip: Don't worry about making the lines perfect; the messier the lines, the more 'furry' he will look!
Step 3: Adding Shoulders and Horns
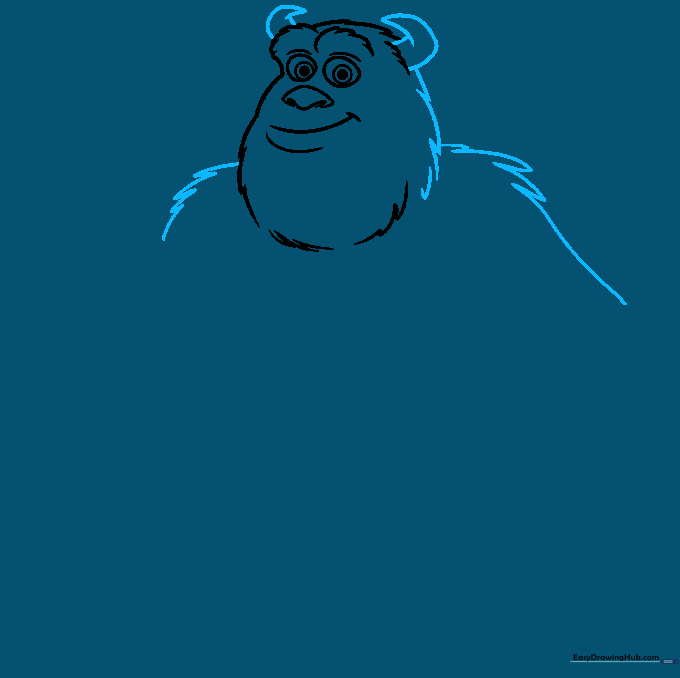
Draw curved, pointed lines for the shoulders that look like porcupine quills. Add two C-shaped horns on top of his head. Teacher's Tip: Make the horns slightly asymmetrical to give your monster a bit of personality.
Step 4: Sketching the Hand
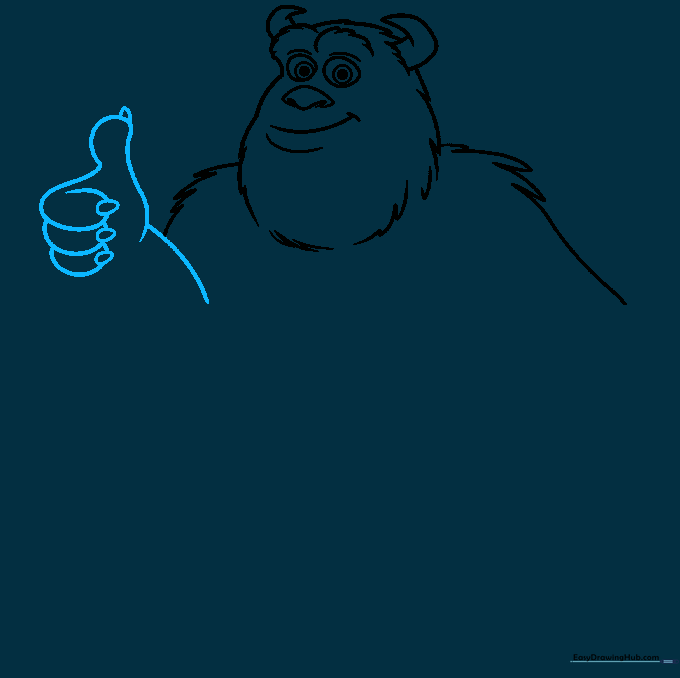
Draw a large loop for the thumb and three smaller, overlapping loops for the fingers. Add small triangles at the tips for claws. Teacher's Tip: Use a 'sausage' shape technique to make the fingers look thick and strong.
Step 5: Defining the Torso
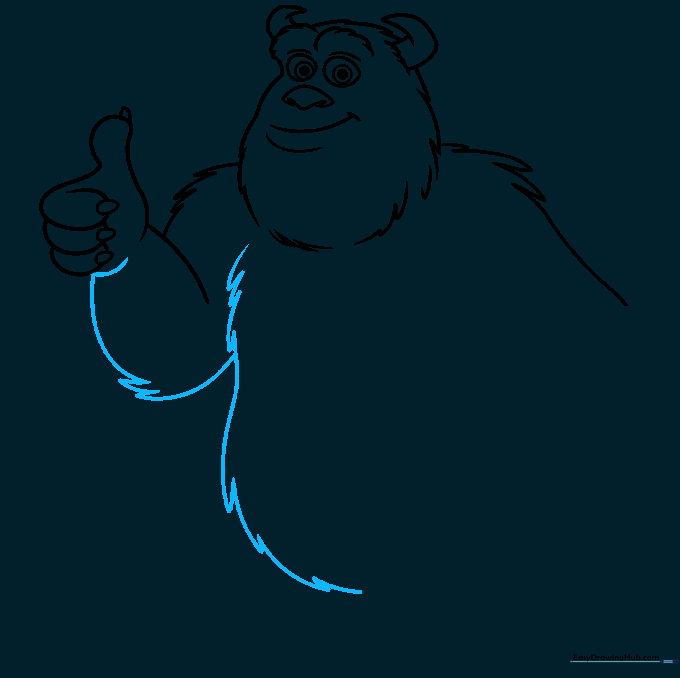
Use broad, dashed, and pointed lines to outline the body and elbow. This creates the illusion of thick, shaggy fur. Teacher's Tip: Keep your strokes rhythmic to maintain the 'furry' look throughout the body.
Step 6: Adding the Second Arm
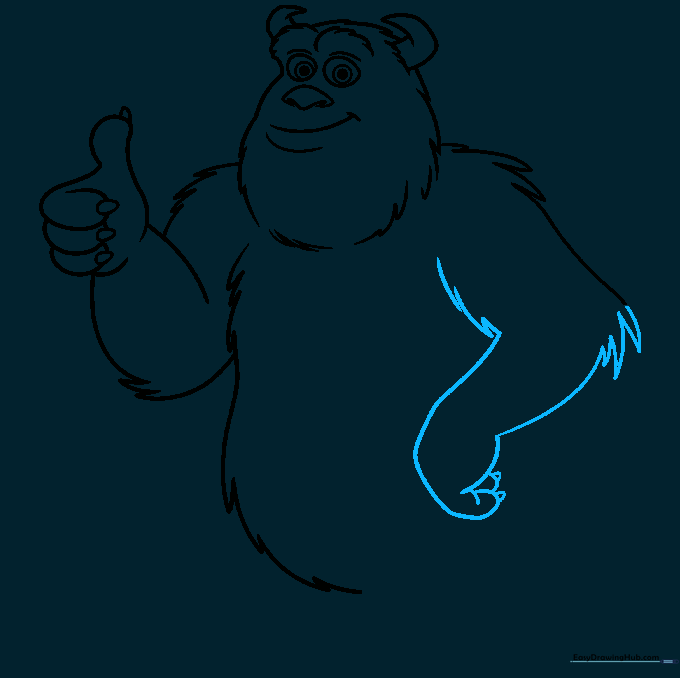
Draw the second arm using diagonal lines and thick loops for the fingers. Don't forget the small triangles for the claws! Teacher's Tip: Ensure the arm looks connected to the shoulder by overlapping your lines slightly.
Step 7: Legs and Tail
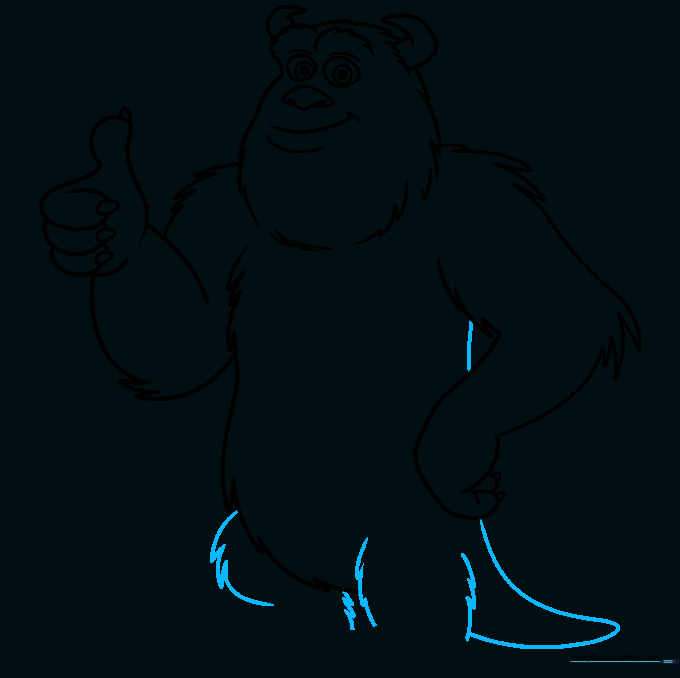
Use jagged lines to create the legs and a tapering shape at the base for the tail. Teacher's Tip: Make the tail look thick at the base and thinner at the tip for a natural look.
Step 8: Adding Toes and Spikes
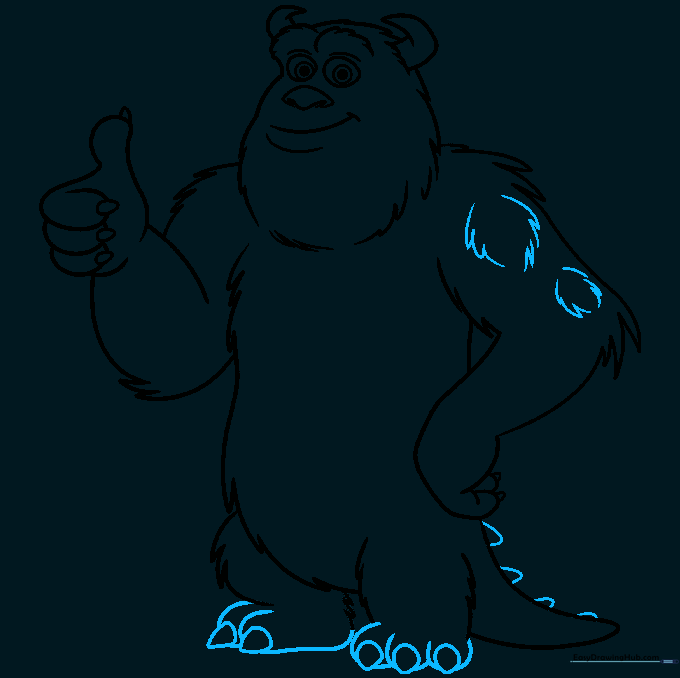
Draw thick, sausage-like toes with triangular claws. Add rounded triangles along the tail for spikes. Teacher's Tip: Use varying sizes for the spikes to make them look more realistic.
Step 9: Final Fur Details
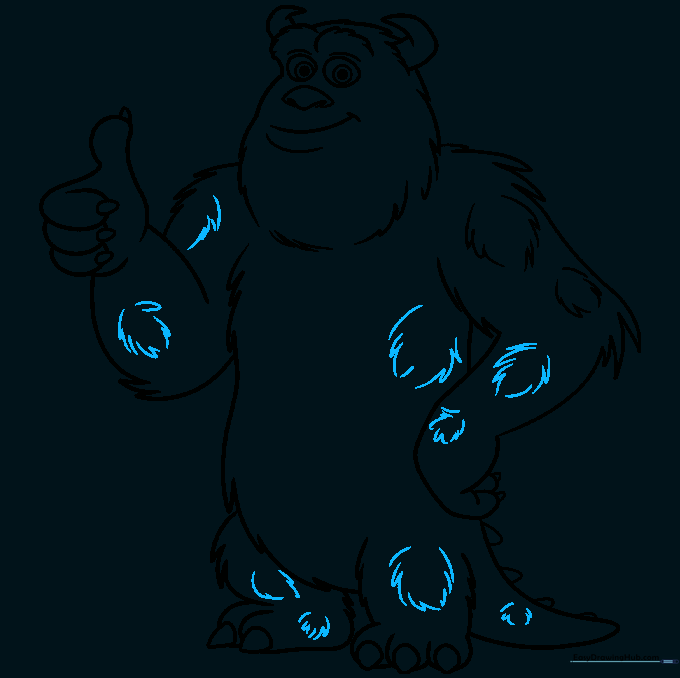
Add small patches of fur using zigzag lines across the body and arms to complete the texture. Teacher's Tip: Focus on the elbows and knees for these extra details to make him look extra fluffy.
Step 10: Bringing Sully to Life with Color

Great job! Now, color his fur teal with purple spots. Use brown for the claws and tan for the horns. Teacher's Tip: Use light pressure with your crayons to blend the colors smoothly for a professional look.
More Tutorials


