How to Draw Stitch: Easy 10-Step Guide for Kids
Bring Experiment 626 to life with this fun, step-by-step drawing guide. Designed for children ages 5 and up, this tutorial requires only a pencil, paper, and an eraser. Follow along to build confidence in your character sketching skills while creating your own version of everyone's favorite alien.
🎯 Final Result

Step-by-Step Instructions
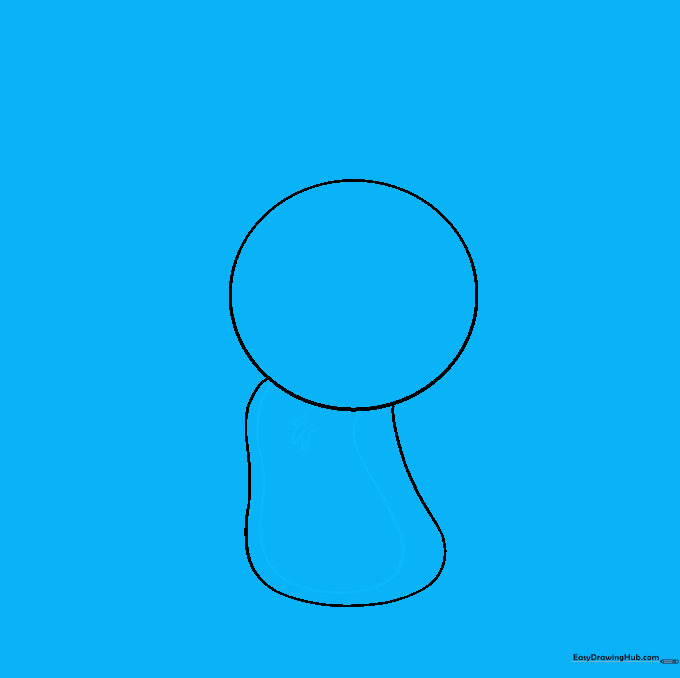
Step 1: Sketching the Head

Draw a light, medium-sized circle to serve as the base for Stitch's head. Teacher's Tip: Keep this circle loose and light; it's just a guide for placement, not the final outline!
Step 2: Defining the Body

Draw a long, curved peanut-like shape extending downward from the head. This creates the torso. Teacher's Tip: Make sure the body is slightly wider at the bottom to give him that classic, sturdy Stitch silhouette.
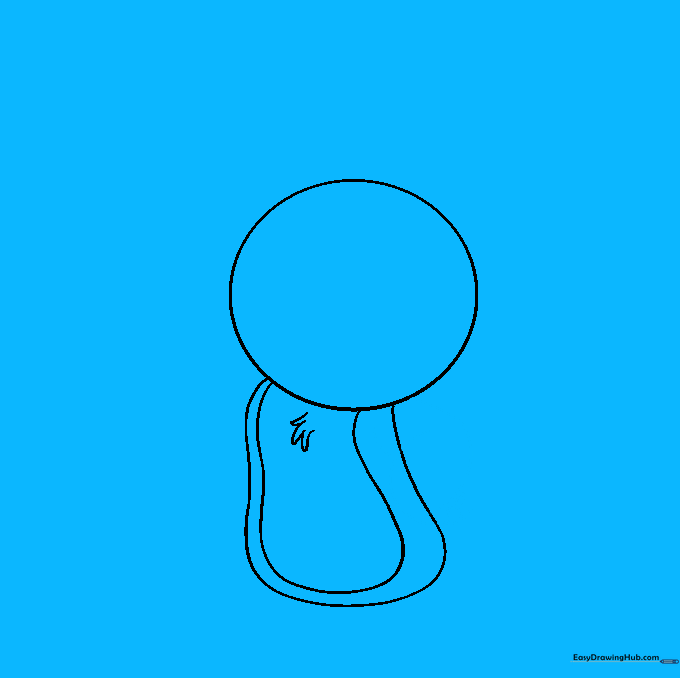
Step 3: Adding the Underbelly
Sketch a smaller, parallel curve inside the body to define his lighter chest area. Add tiny 'V' shapes along the edges to suggest soft fur. Teacher's Tip: Use short, quick strokes for the 'V's to make the fur look textured rather than stiff.
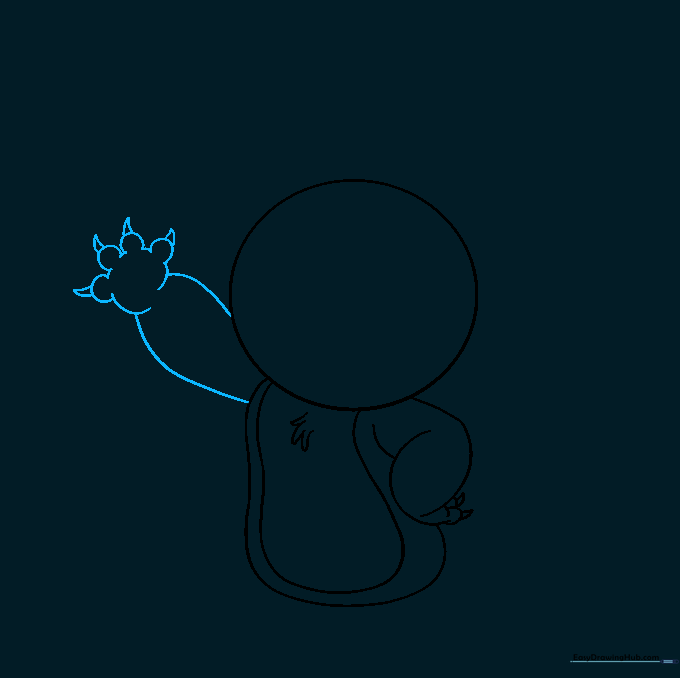
Step 4: Sketching the First Arm
Draw the upper and lower arm using curved lines, ending in a bent hand with fingers. Add small triangles at the tips for claws. Teacher's Tip: Keep the joints rounded so he looks friendly, not sharp.
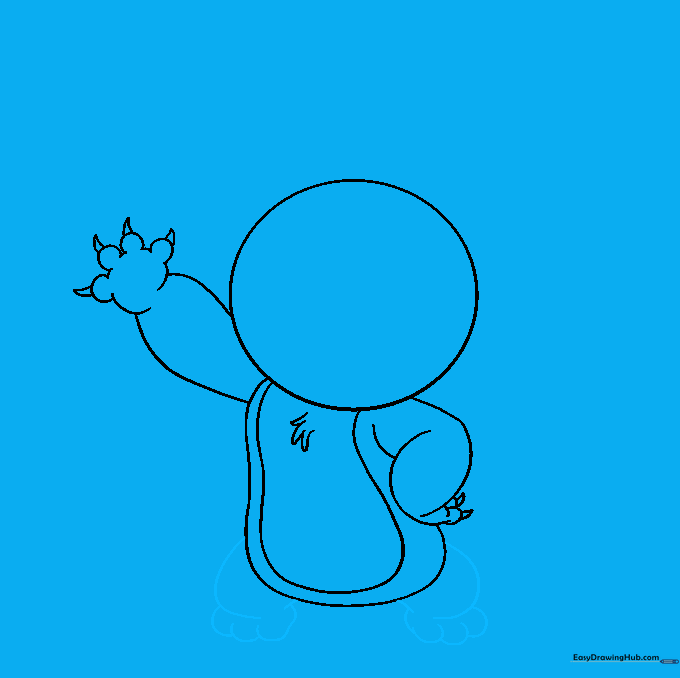
Step 5: Cleaning Up

Carefully erase the overlapping guide lines where the arm meets the body. Teacher's Tip: Use a kneaded eraser if you have one—it’s gentler on the paper and picks up graphite without smudging.
Step 6: Adding the Second Arm
Draw the outstretched arm using similar curved lines and 'C' shapes for fingers. Don't forget the sharp claws! Teacher's Tip: Try to match the thickness of this arm to the first one for balance.
Step 7: Drawing the Legs
Sketch the legs using curved lines and 'C' shapes for the toes. Teacher's Tip: Stitch has wide, flat feet, so make them look sturdy to support his body.
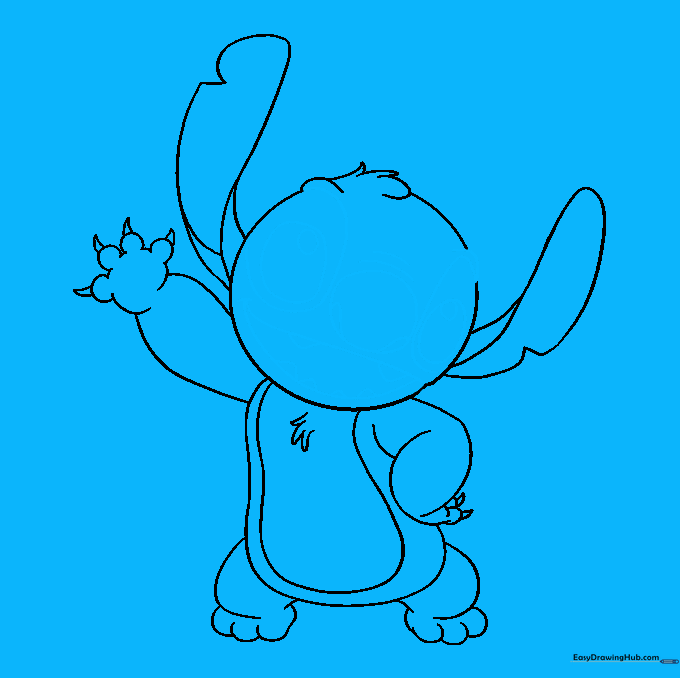
Step 8: Ears and Fur Details
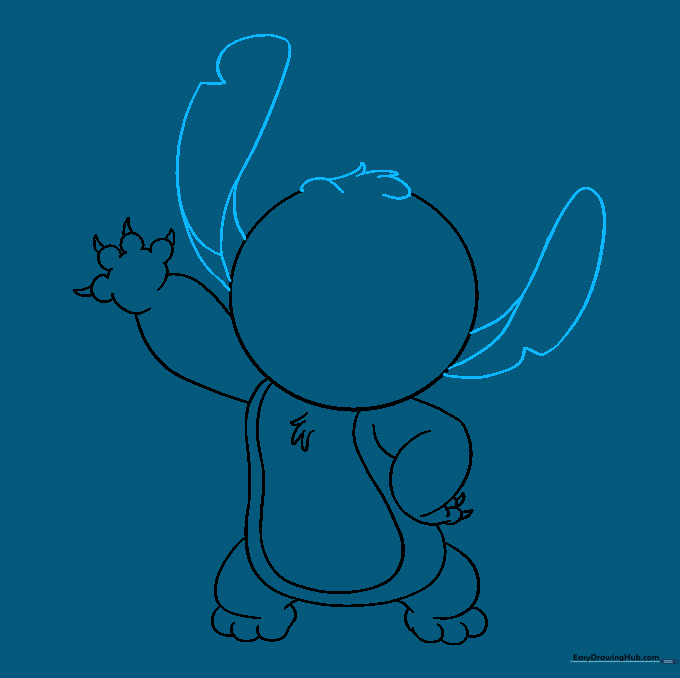
Draw his iconic large ears with a 'V' notch. Add tufts of fur on top of his head. Teacher's Tip: The ears are very expressive—make them large to capture his personality!
Step 9: Facial Features
Draw the nose, eyes, and mouth. Use layered circles for the eyes to create depth. Teacher's Tip: Take your time on the mouth—the small teeth give him that mischievous Stitch grin.
Step 10: Bringing Stitch to Life with Color

Color your drawing using shades of blue for his fur and pink for the inside of his ears. Teacher's Tip: Use a darker blue for the shadows to make your drawing look 3D!
More Tutorials


