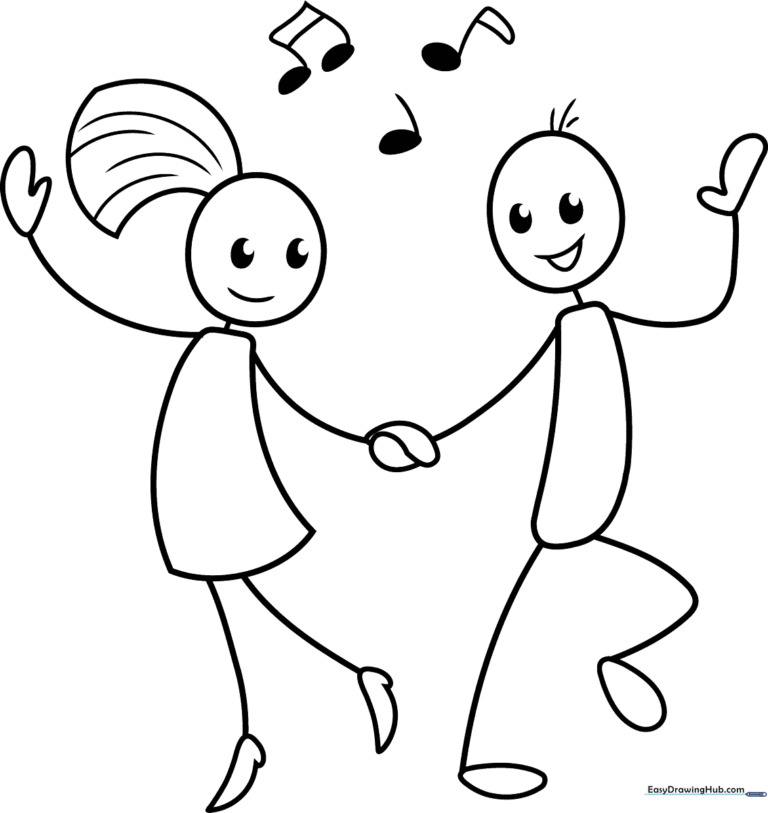
How to Draw Dancing Stick Figures: Easy 10-Step Guide
Bring your characters to life with this fun, energetic drawing activity perfect for artists ages 5 and up. You only need a pencil, paper, and an eraser to get started. By the end of this lesson, you will master the art of capturing movement and rhythm in your stick figure characters.
🎯 Final Result
Step-by-Step Instructions
Step 1: Sketching the Happy Face

Draw a clean circle for the head and two small ovals for the eyes. Tip: Leave a tiny white dot inside each eye to create a 'sparkle' effect, making your character look extra cheerful!
Step 2: Forming the Torso and Arm
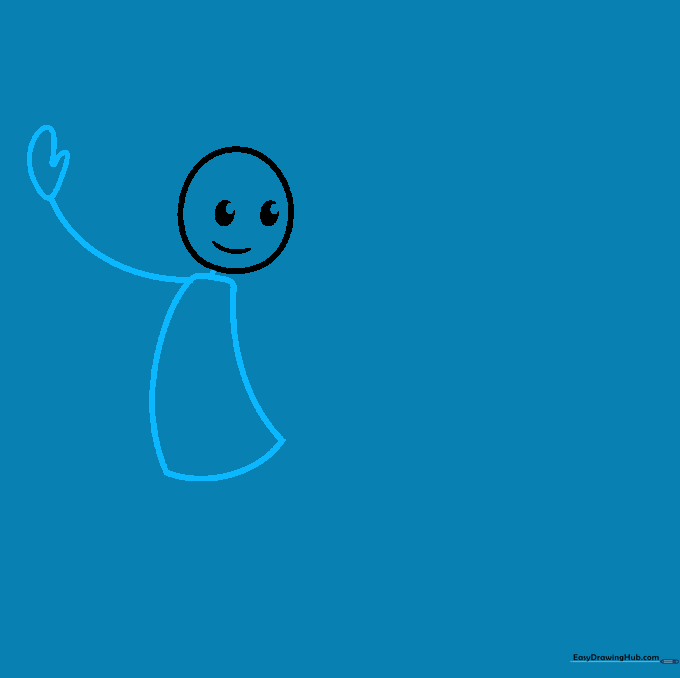
Draw a narrow, curved trapezoid for the body. Connect it to the head with a short neck line, then extend a long line for the arm, ending in a small heart shape for the hand. Tip: Keep your lines loose and fluid to give the character a sense of motion.
Step 3: Adding the Second Arm and Leg
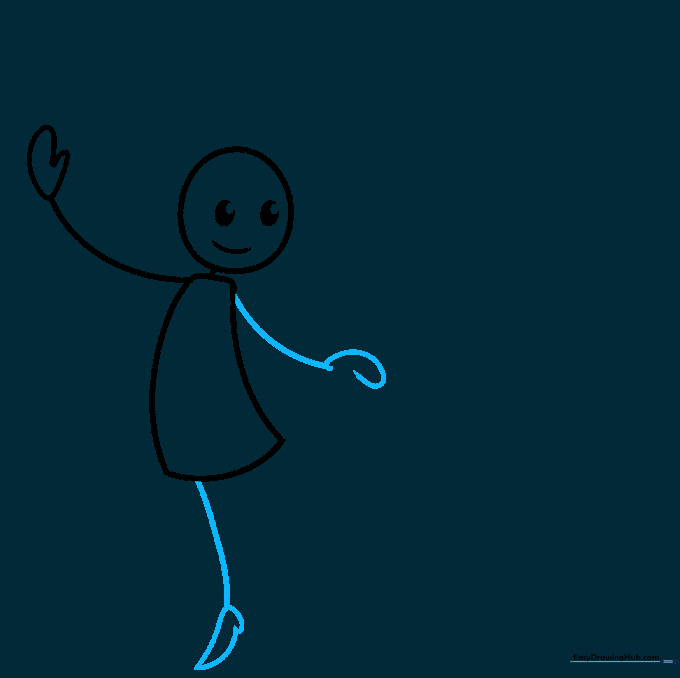
Draw the second arm using a spiral-shaped hand, then draw a long, slightly curved line for the leg. End the leg with a pointed shape to represent a high-heeled shoe. Tip: If the shoe looks tricky, think of it as a small triangle pointing downward.
Step 4: Completing the First Dancer
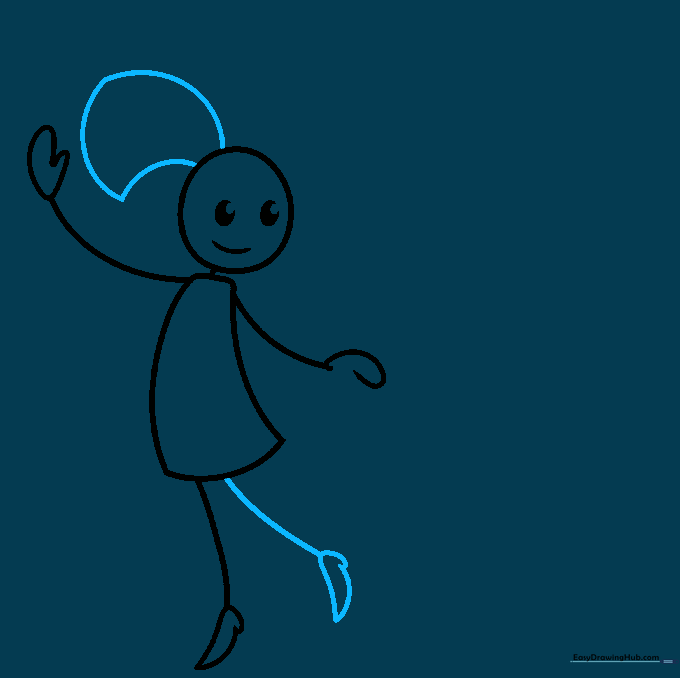
Draw the second leg and shoe to match the first. Finally, add the hair by drawing curved lines from the top of the head that meet in a point. Tip: Make the hair look bouncy to emphasize that the character is dancing!
Step 5: Starting the Second Dancer
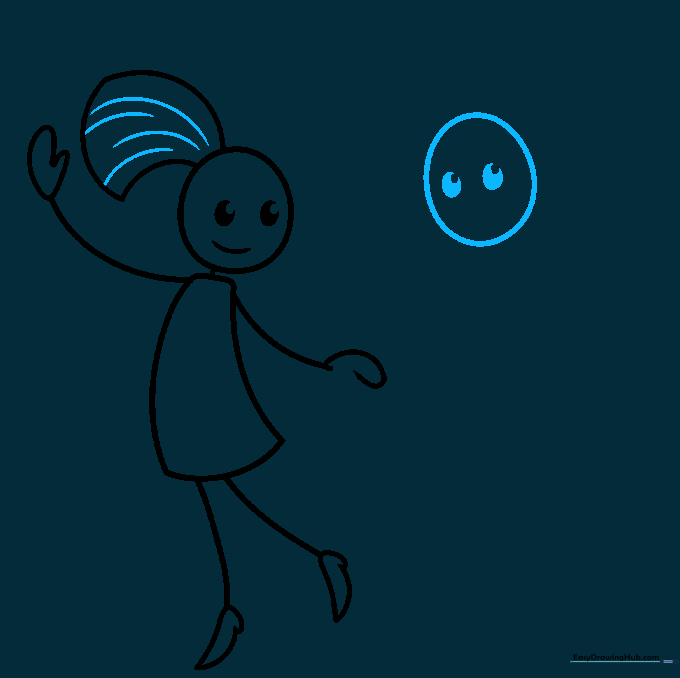
Begin the second character by drawing another circular head with two shaded oval eyes. Tip: Keep this head close to the first one so it looks like they are holding hands.
Step 6: Adding Character Details

Draw a wide, happy smile and three small lines on top of the head for hair. Draw the body shape and connect the arm toward the first dancer. Tip: Use light pressure with your pencil so you can easily adjust the arm position if it doesn't quite touch the other hand.
Step 7: Connecting the Dancers
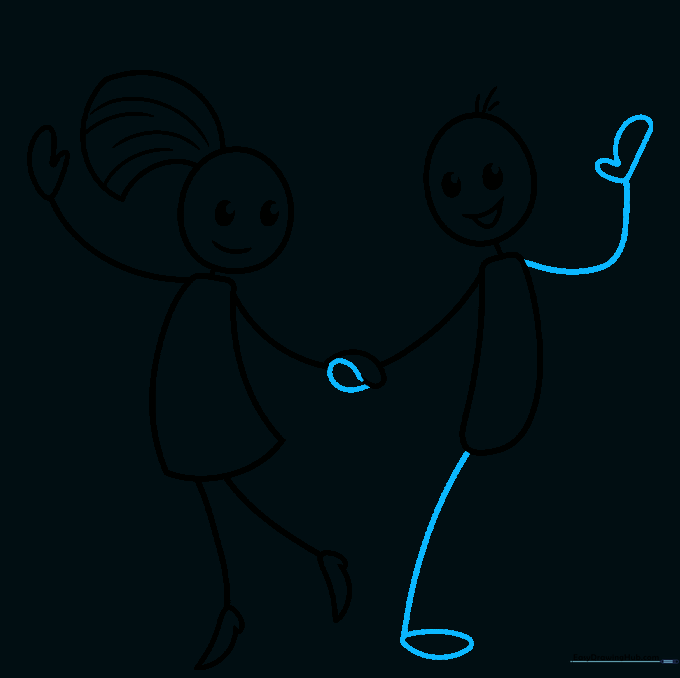
Draw the hand grasping the first dancer's hand. Add the remaining arm and legs with simple, curved lines. Tip: Ensure the legs are angled outward to make the characters look like they are mid-dance step.
Step 8: Adding Musical Notes
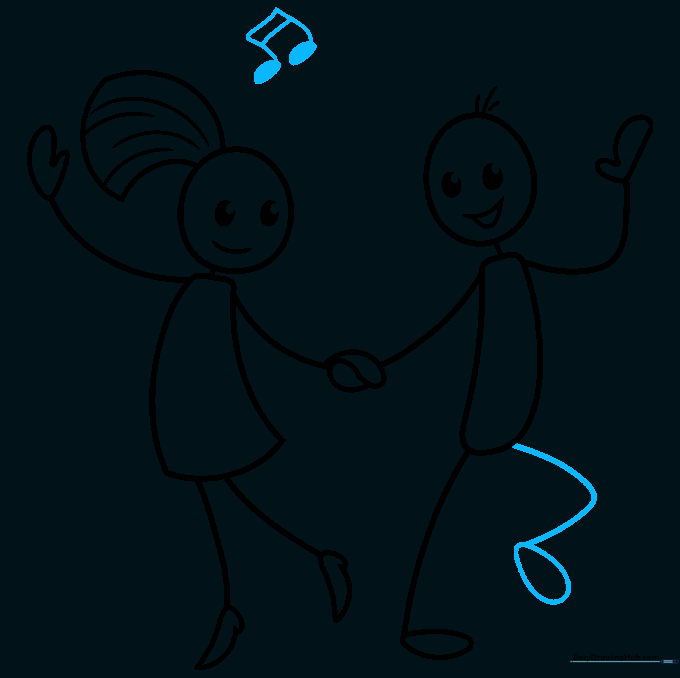
Draw the second leg and foot. Above the dancers, draw a sixteenth note: two curved lines connected by parallel bars with shaded ovals at the bottom. Tip: Music notes are just shapes—take your time with the parallel bars to keep them neat.
Step 9: Final Touches
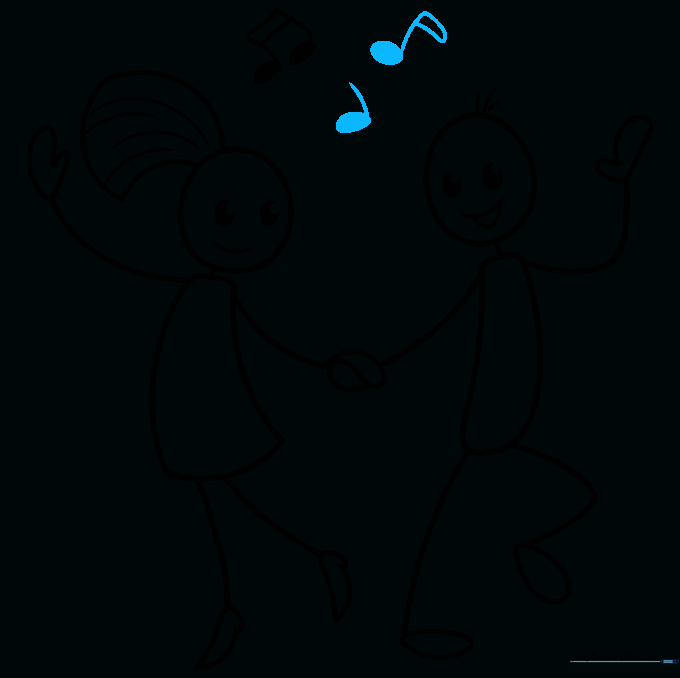
Add more musical notes like quarter notes and eighth notes around the dancers to show the music is playing. Tip: Vary the sizes of the notes to create a sense of depth in your drawing.
Step 10: Bring Your Drawing to Life with Color

Use your favorite markers or colored pencils to fill in your dancers. Tip: Use bright, energetic colors like yellow or red to match the happy mood of the drawing!
More Tutorials


