How to Draw Starfire: Easy Step-by-Step Guide
Ready to bring the Tamaranian princess to life? This tutorial is perfect for young artists and fans of Teen Titans who want to practice character design. Grab your pencil, eraser, and paper, and follow along to master Starfire’s iconic look in just a few simple steps.
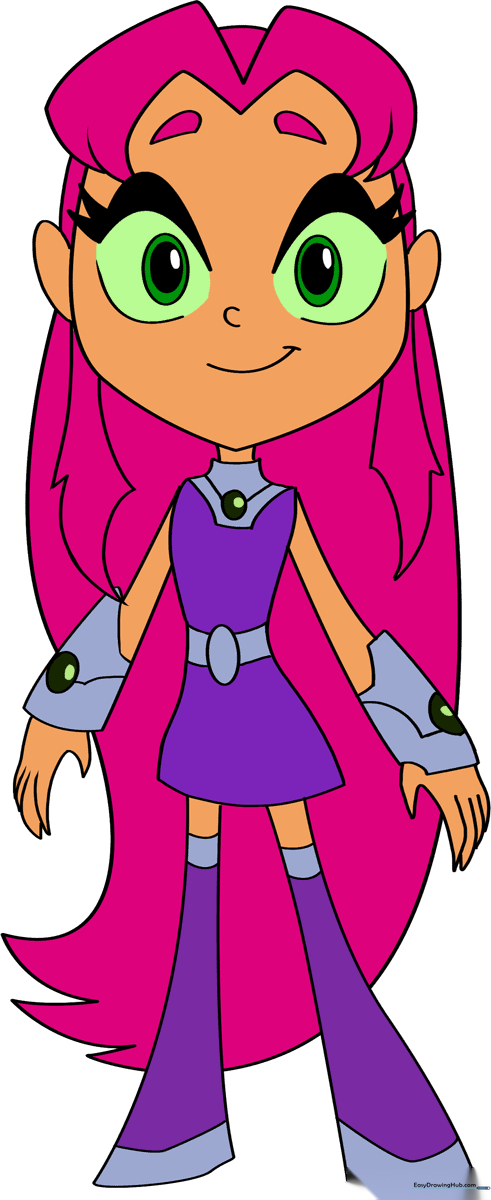
🎯 Final Result
Step-by-Step Instructions
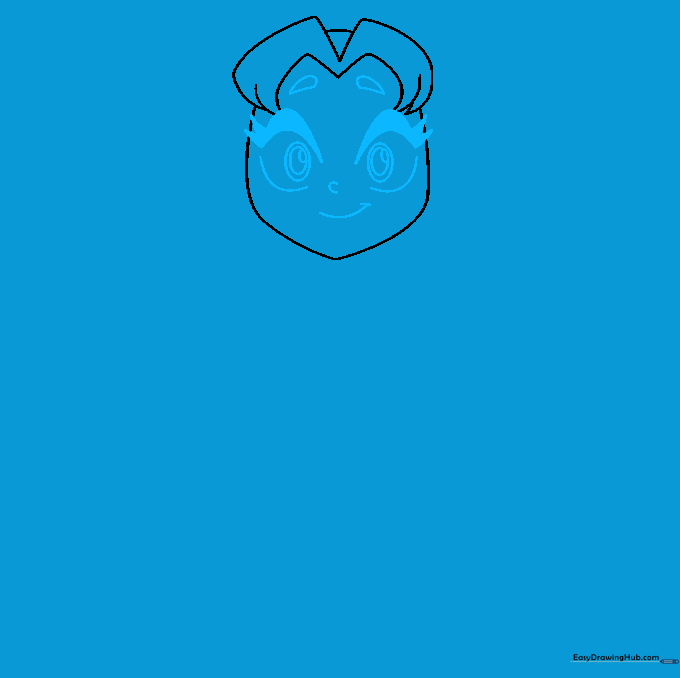
Step 1: Sketching the Face and Hairline

Start with a wide 'U' shape for the chin and cheeks. Add two 'M' shapes at the top for her hair, connecting them with curved lines. Teacher's Tip: Keep your pencil strokes very light here so you can easily adjust the shape of her hair later.
Step 2: Defining Facial Features
Draw her expressive eyes using three nested ovals. Add thick, curved lines above the eyes for lashes and simple curves for the nose and mouth. Teacher's Tip: Take your time with the eyes—they are the most important part of capturing her personality!
Step 3: Adding Ears and Hair Strands
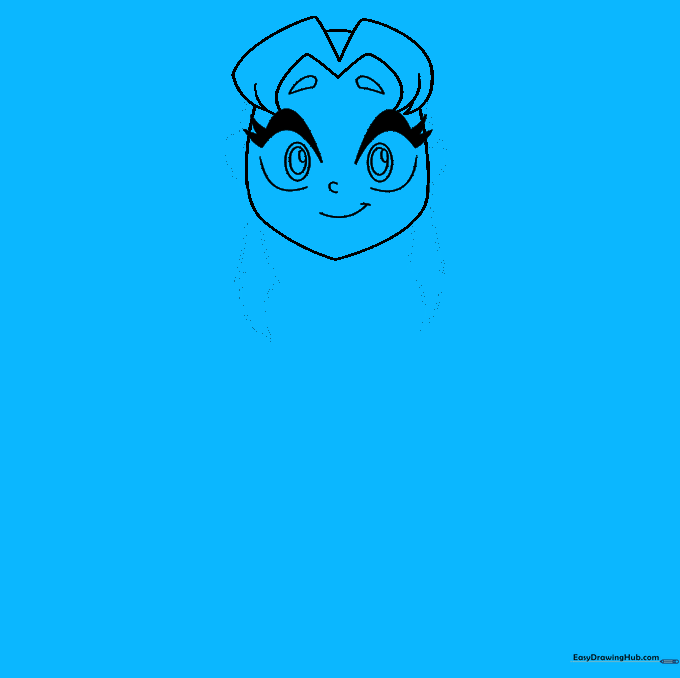
Use 'C' shaped lines for the ears and connect them to the hair. Add jagged, flowing strands of hair beneath the ears to frame her face. Teacher's Tip: Use varying lengths for the hair strands to make them look more natural and dynamic.
Step 4: Drawing the Neck and Torso
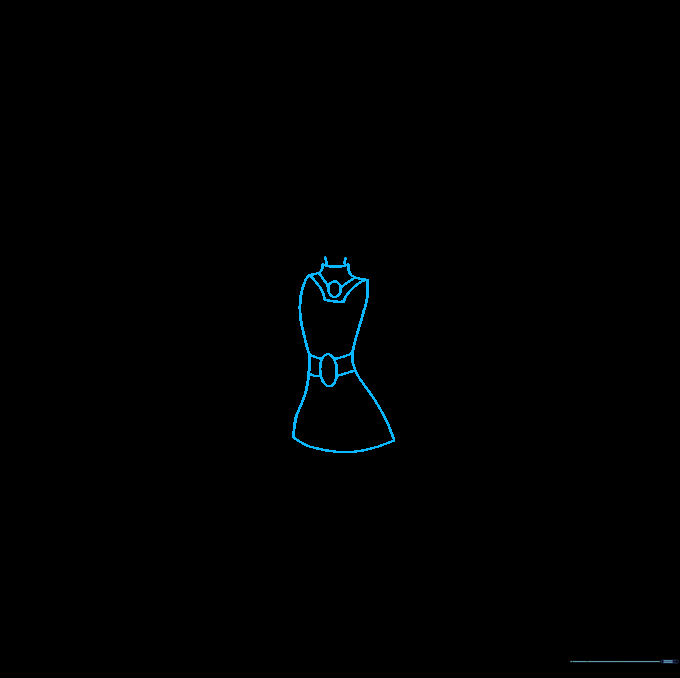
Draw two curved lines for the neck and add her belt with an oval buckle. Teacher's Tip: Ensure the belt is centered to keep her proportions balanced.
Step 5: Sketching the First Arm
Extend curved lines from the shoulder to form the arm, then draw the wrist gauntlet and fingers. Teacher's Tip: If drawing hands is tricky, focus on the overall shape of the gauntlet first before adding the fingers.
Step 6: Adding the Second Arm

Repeat the process for the second arm, ensuring the gauntlet matches the first one in size and detail. Teacher's Tip: Symmetry is key here, so check that both arms look like they belong to the same character.
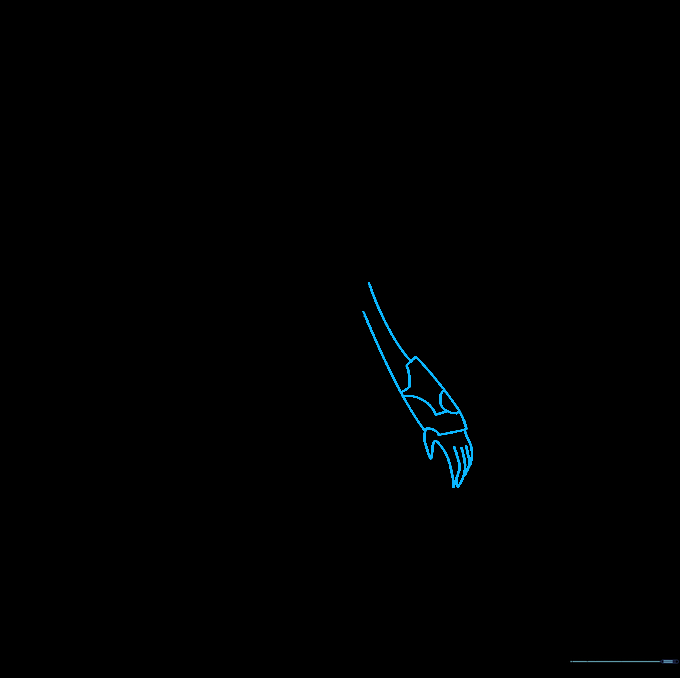
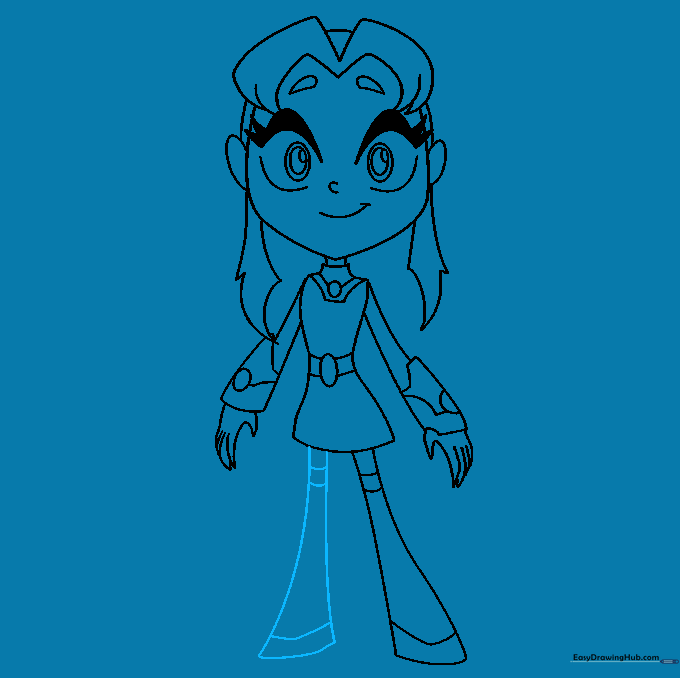
Step 7: Drawing the First Leg
Extend curved lines downward to form the leg, adding bands at the top and bottom. Teacher's Tip: Keep the lines smooth to give her a sleek, superhero appearance.
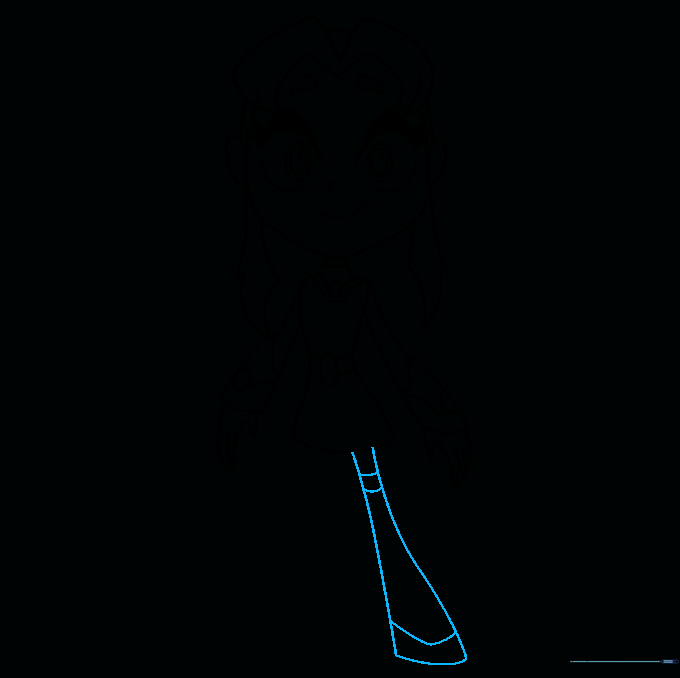
Step 8: Adding the Second Leg
Complete the lower body by drawing the second leg with matching bands. Teacher's Tip: Don't worry if the legs aren't perfect; focus on getting the overall stance right.
Step 9: Finalizing the Hair
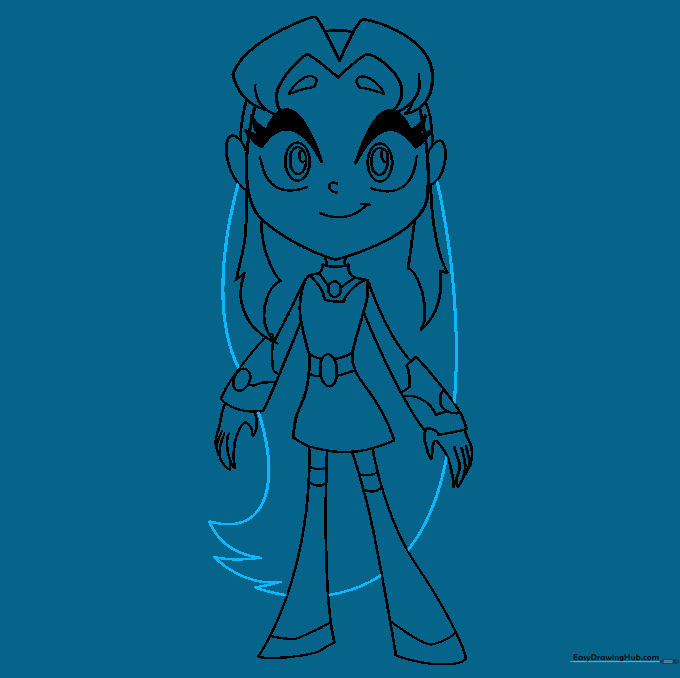
Finish the drawing by adding long, flowing lines for her hair, using jagged points to create volume. Teacher's Tip: Long, sweeping strokes work best for Starfire’s iconic hair.
Step 10: Adding Color
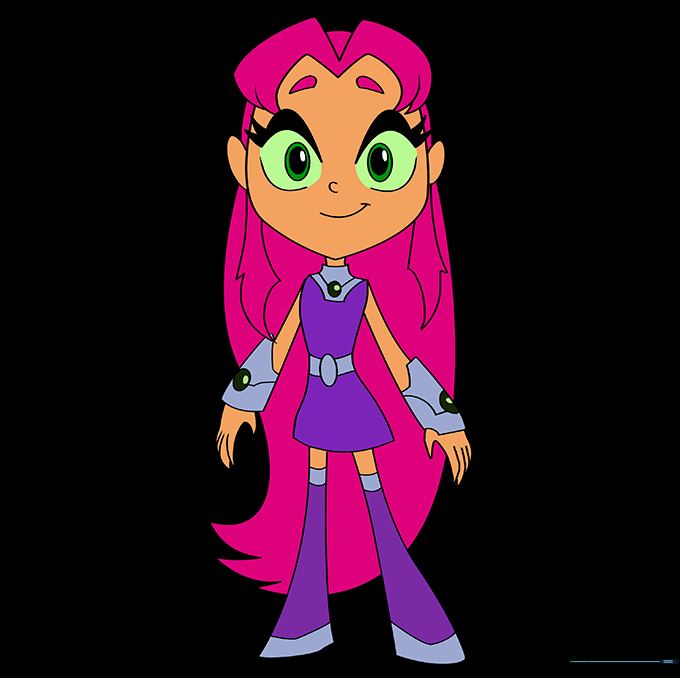
Bring your drawing to life! Use vibrant pink for her hair and shades of grey and purple for her outfit. Teacher's Tip: Use light pressure with your colored pencils to blend the colors smoothly.
More Tutorials


