How to Draw Stacked Halloween Pumpkins: Easy 9-Step Guide
Ready to create a spooky centerpiece? This tutorial is perfect for artists ages 5 and up who want to practice layering shapes. Grab your pencil, eraser, and paper, and let’s build a festive pumpkin tower together!
🎯 Final Result

Step-by-Step Instructions
Step 1: Sketching the Base Pumpkin
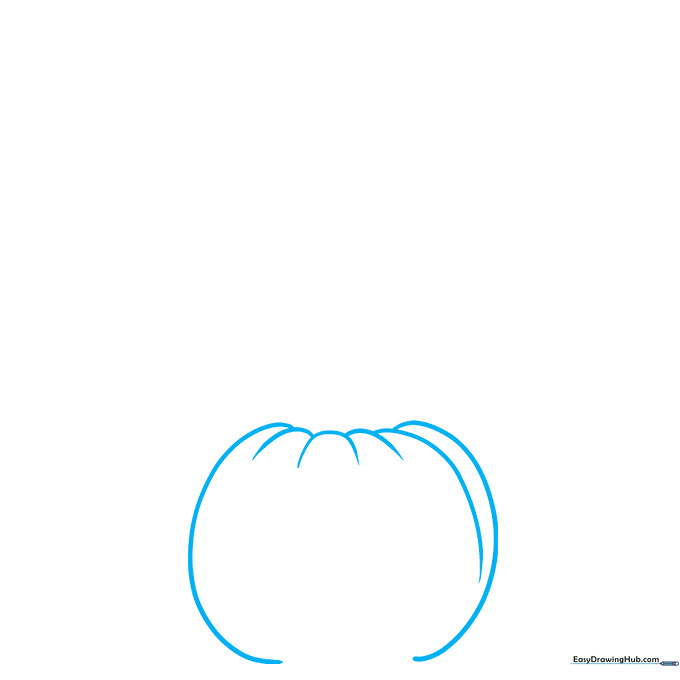
Start by drawing the bottom pumpkin. Use a series of overlapping curved lines to create the round body. Teacher's Tip: Keep your pencil lines light and loose so you can easily adjust the shape if it looks a bit lopsided.
Step 2: Defining the Pumpkin Ribs
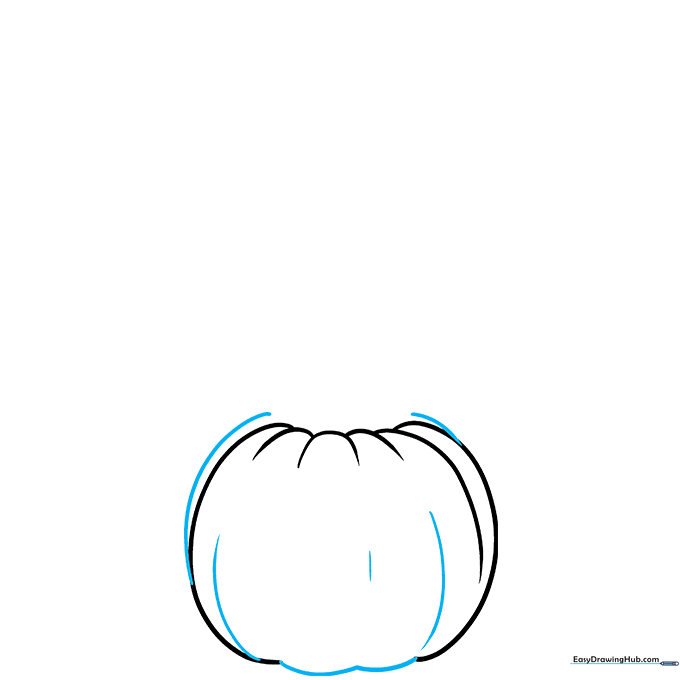
Add depth to your base pumpkin by drawing curved lines along the sides and bottom. Tip: Think of these as the 'ribs' of the pumpkin; drawing them slightly different sizes makes the gourd look more natural.
Step 3: Carving the First Face

Draw triangular eyes and a nose. Notice the notch at the top of the nose to give it a leaf-like shape. Tip: Add parallel lines inside the shapes to create a 'depth' effect, then shade the area above them to make the cutouts look hollow.
Step 4: Adding a Spooky Mouth
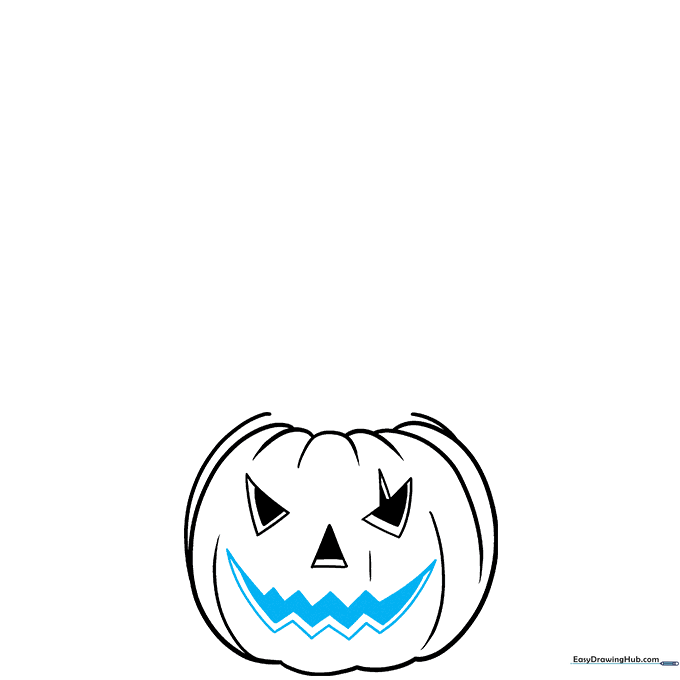
Use three zig-zag lines to create a wide, toothy grin. Shade the area above the second line to give the mouth a dark, hollow appearance. Tip: Don't worry about making the teeth perfectly symmetrical—a little irregularity makes it look more 'hand-carved'!
Step 5: Sketching the Middle Pumpkin
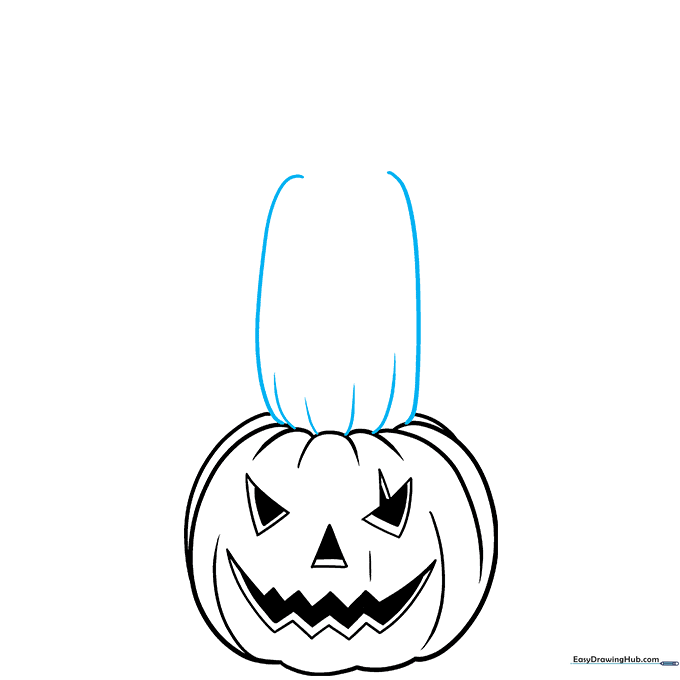
Draw a taller, skinnier pumpkin sitting directly on top of the first one. Use long, vertical-leaning lines for the sides. Tip: Ensure the bottom of this pumpkin curves slightly to match the rounded top of the one below it.
Step 6: Carving the Middle Face

Give this pumpkin moon-shaped eyes and a triangular nose. Add parallel lines for depth and shade the upper sections. Tip: Varying the eye shapes between pumpkins helps give each one its own unique personality.
Step 7: Adding the Top Pumpkin
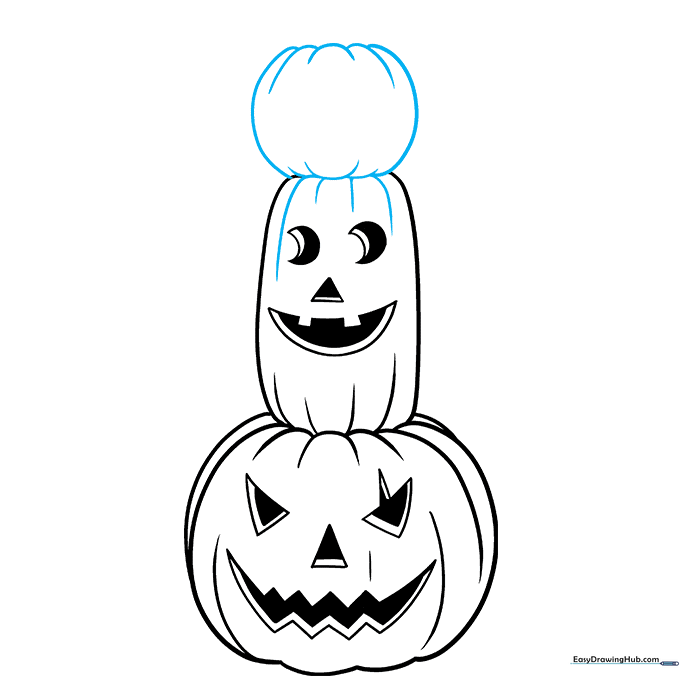
Finish the top of the middle pumpkin with curved lines, then sketch the final, smallest pumpkin resting on the very top. Tip: Keep the top pumpkin small to make the stack look balanced and stable.
Step 8: Final Carving Details
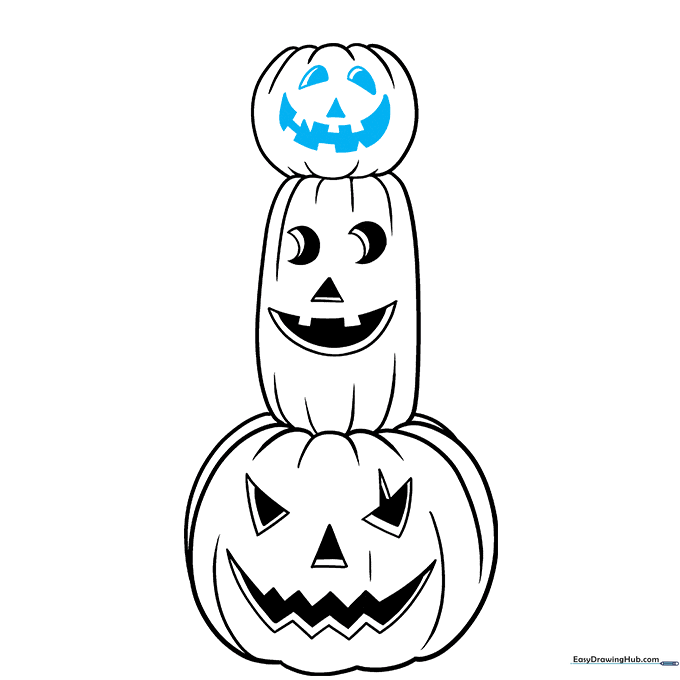
Draw the final face on the top pumpkin. Use curved lines for a toothy smile and small triangles for the nose and eyes. Shade inside the carvings to finish the look. Tip: Use a darker pencil stroke for the final outlines to make the faces pop.
Step 9: Final Touches
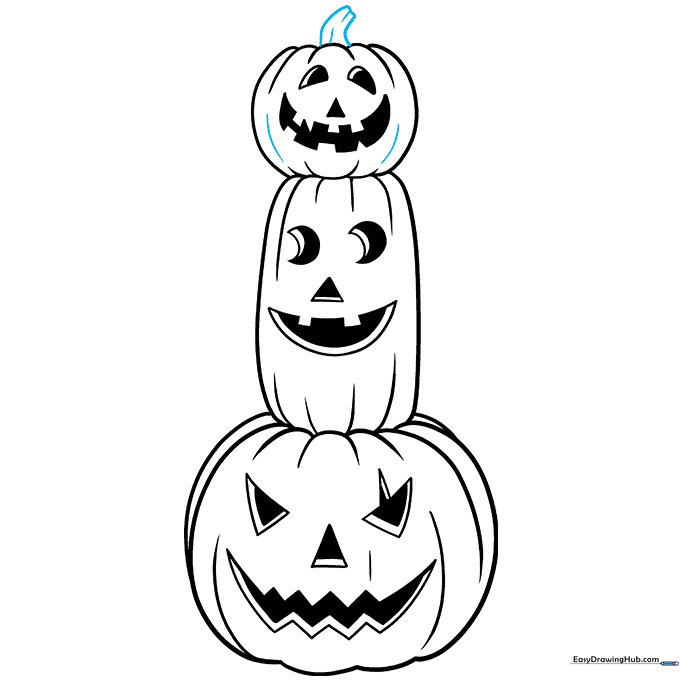
Add a few final curved lines to the ribs of the top pumpkin to match the others. Tip: Check your drawing for any stray pencil marks and erase them now for a clean, professional finish.
Step 10: Coloring Your Masterpiece
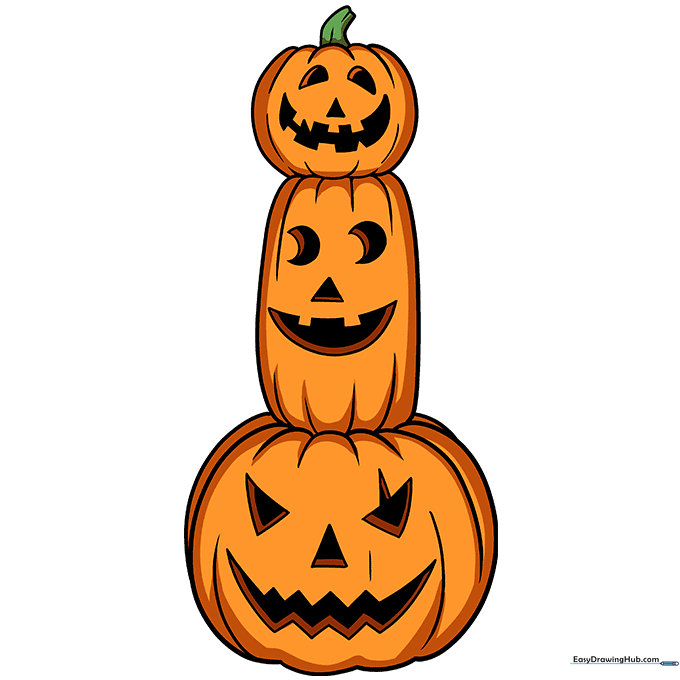
Time to bring your pumpkins to life! Use vibrant oranges for the skin and dark yellows or oranges for the glowing faces. Tip: Try using a lighter shade of orange on the rounded parts of the ribs to create a 3D highlight effect.
More Tutorials


