How to Draw Squirtle: Easy 10-Step Pokémon Guide
Ready to bring your favorite Water-type Pokémon to life? This tutorial is perfect for young artists ages 6+ who want to practice basic shapes and character proportions. Grab your pencil, eraser, and paper, and let's start sketching this iconic turtle together.
🎯 Final Result

Step-by-Step Instructions
Sketching the Head and Jaw

Start by drawing a light circle for the head. Then, add a rounded jawline extending from the bottom. Teacher's Tip: Keep your pencil pressure light so you can easily erase the overlapping lines later!
Forming the Body

Draw a larger circle beneath the head to serve as the main body. Ensure the two shapes overlap slightly to create a natural neck connection.
Drafting the First Arm
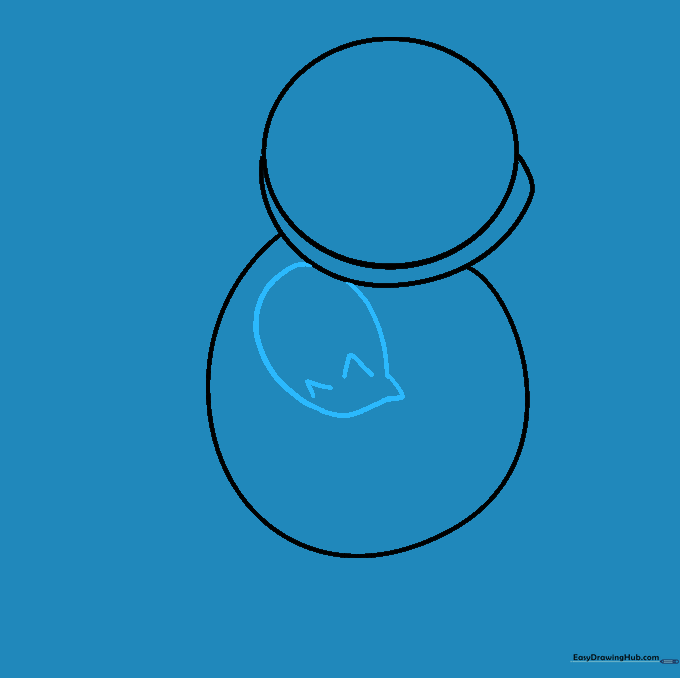
Sketch an irregular shape for the arm using curved lines. Add two small 'V' shapes at the end to define the fingers. Tip: Keep the fingers rounded to match Squirtle’s soft, cartoon style.
Adding the Second Arm
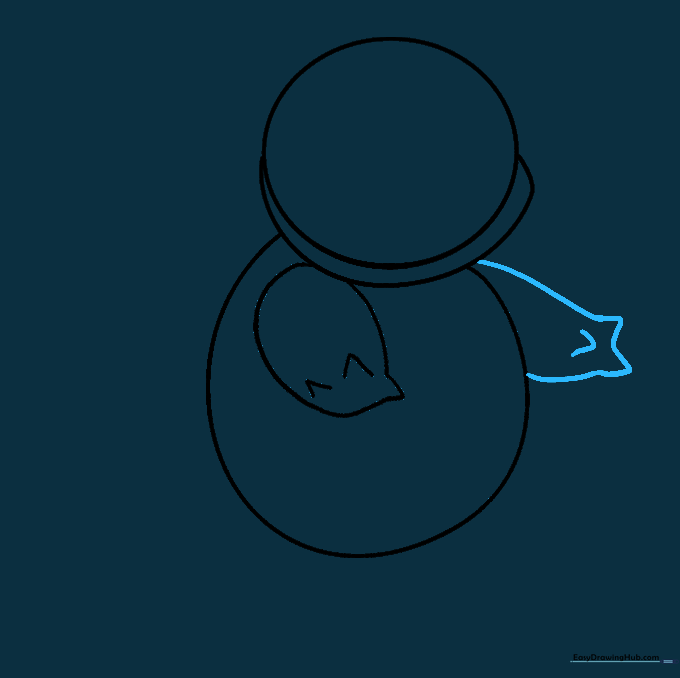
Repeat the process for the opposite arm. Try to mirror the size of the first arm to keep your character balanced.
Sketching the Legs

Draw two irregular shapes at the base of the body for the legs. Add three small points at the end of each foot to represent toes.
Cleaning Up Your Sketch
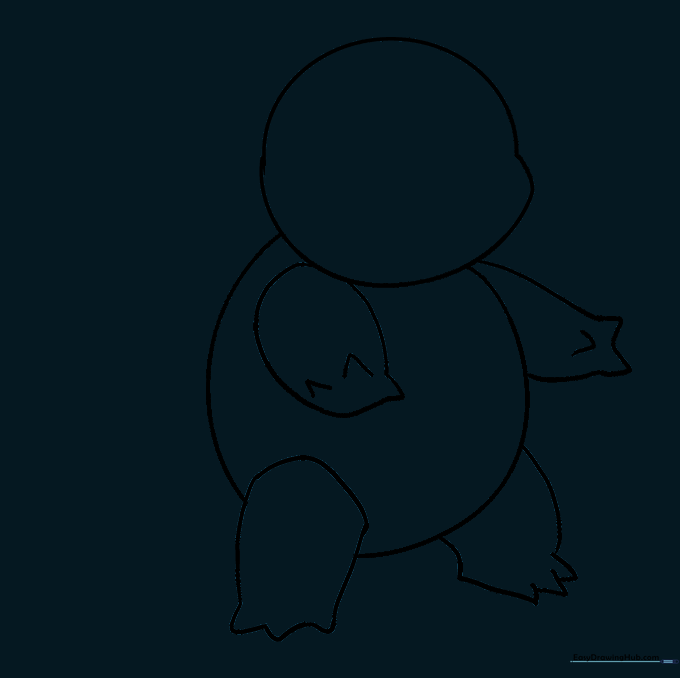
Carefully erase the overlapping guide lines inside the head and legs. This makes your drawing look clean and professional.
Detailing the Shell and Belly
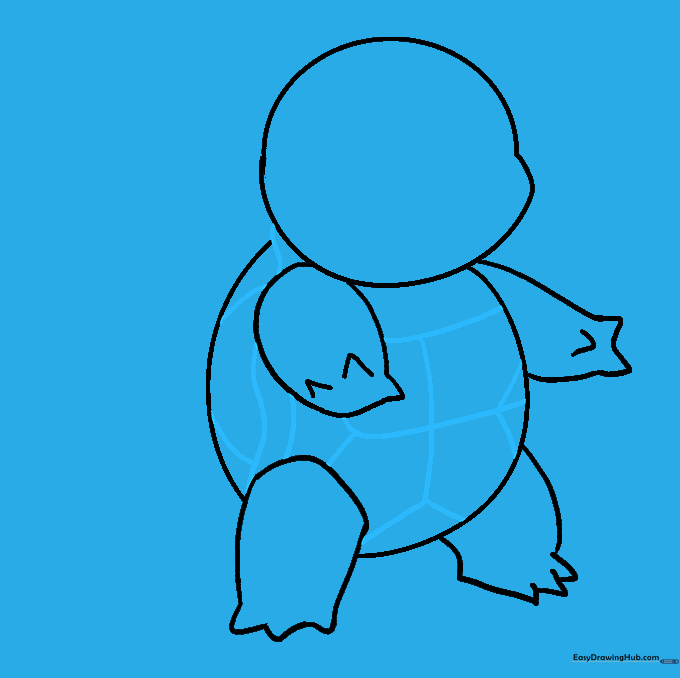
Draw the shell edge using wavy lines. Add a curved line across the chest and 'V' shapes for the belly plates. Tip: Use a ruler or steady hand to keep the perpendicular lines on the belly straight.
Drawing the Tail
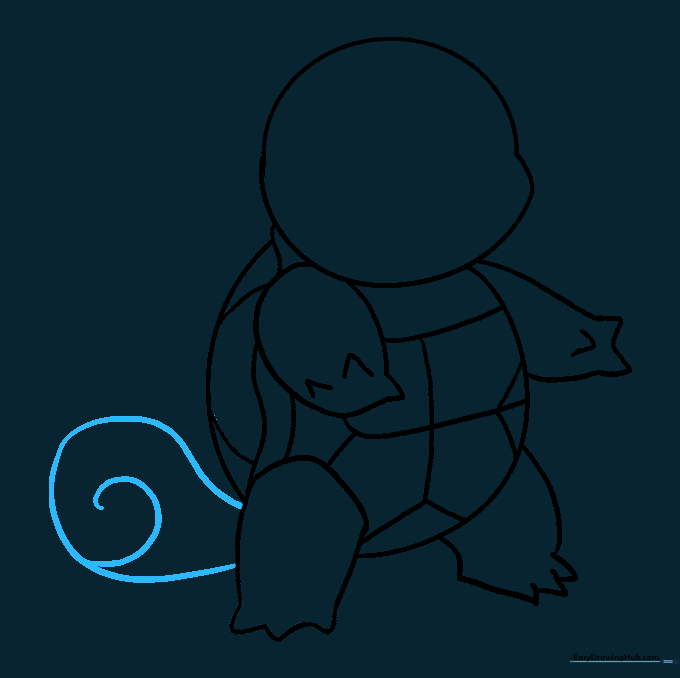
Draw a rounded, swirling shape for the tail. This gives Squirtle his signature look! Make sure the spiral starts from the center of the tail shape.
Adding Facial Features
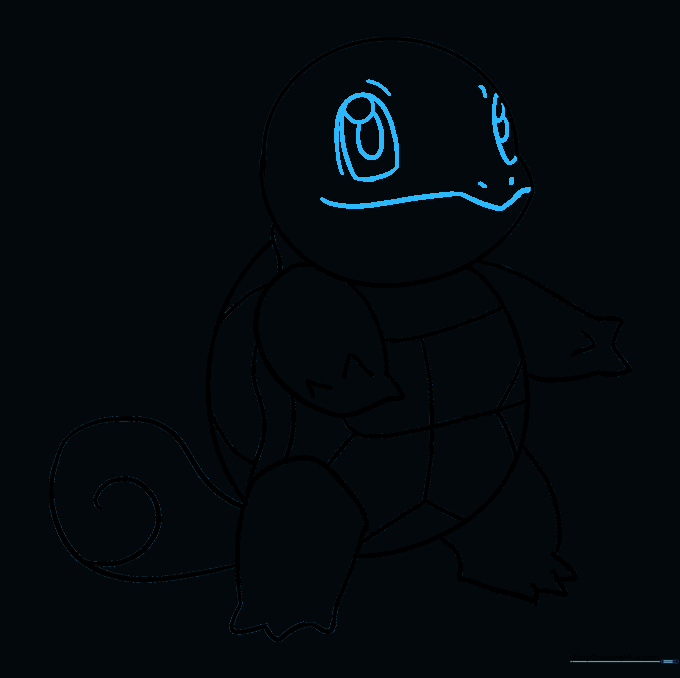
Draw a curved mouth and two small nostrils. For the eyes, draw two large ovals with smaller ovals inside for pupils. Add a small line above each eye for the brow.
Adding Color

Time to bring him to life! Use shades of light blue for the skin, and yellow and brown for the shell. Tip: Try using colored pencils and layering your colors for a smooth, vibrant finish.
More Tutorials


