How to Draw Spilt Milk: Easy 10-Step Cartoon Guide
Looking for a fun, quirky drawing project? This step-by-step guide is perfect for young artists ages 5+ to practice perspective and character design. All you need is a pencil, an eraser, and your favorite markers to bring this clumsy carton to life.
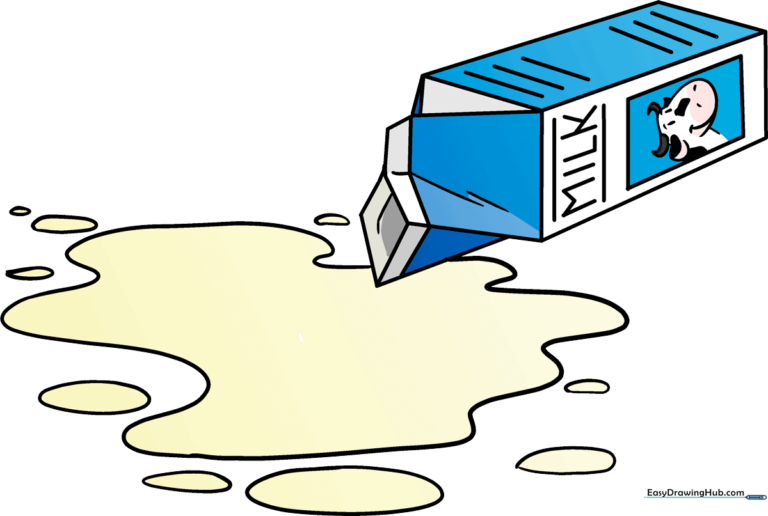
🎯 Final Result
Step-by-Step Instructions
Step 1: Sketching the Carton Base
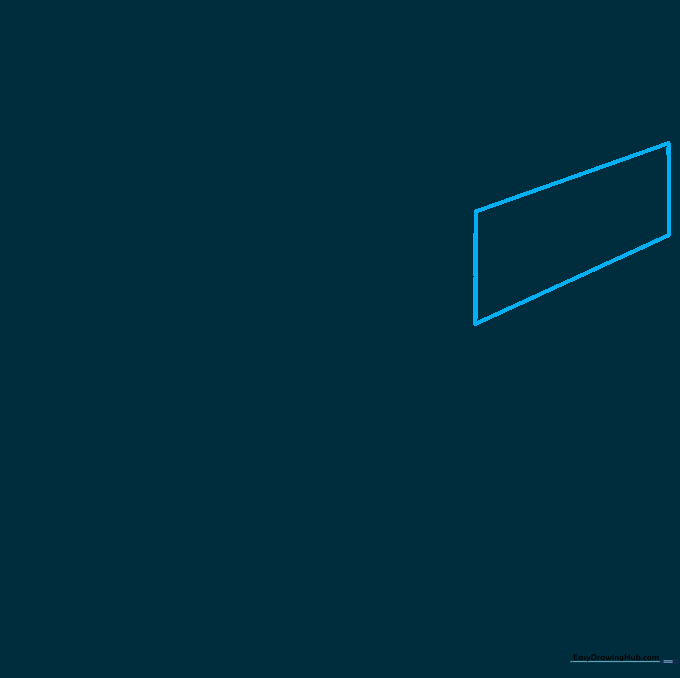
Draw a slanted rectangle to form the main side of the milk carton. Teacher's Tip: Keep your lines light and loose; think of this as the 'skeleton' of your drawing.
Step 2: Adding Depth
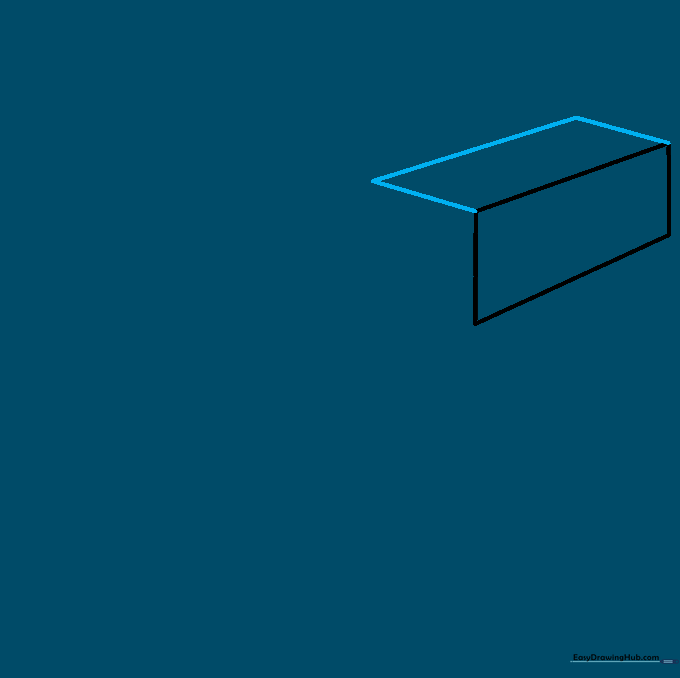
Draw three straight lines to create a second parallelogram attached to the first. This creates the 3D effect of an overturned carton. Tip: Ensure the corners meet perfectly to make the carton look solid.
Step 3: The Gable Top
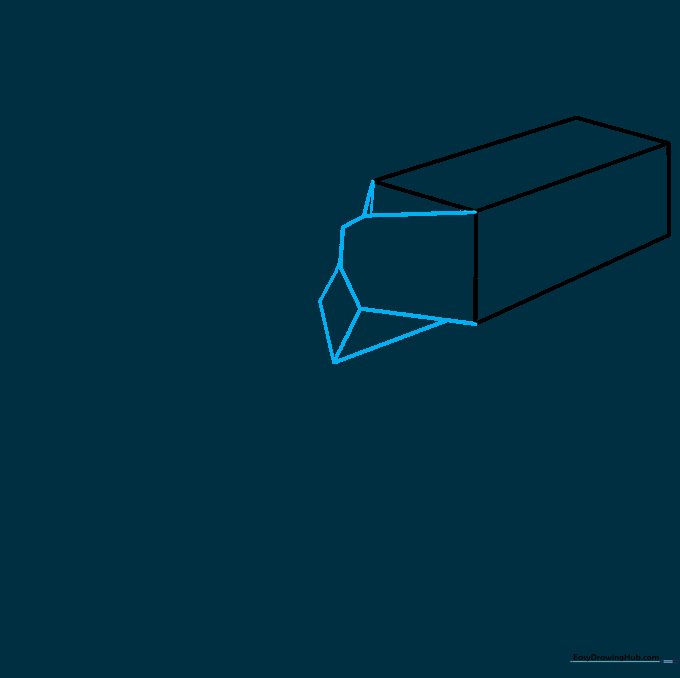
Sketch the open top using an irregular hexagon and a triangle. This shows where the milk pours out. Tip: Use a ruler if you struggle with straight lines, but don't worry if it's not perfect—cartons get squashed!
Step 4: Refining the Edges
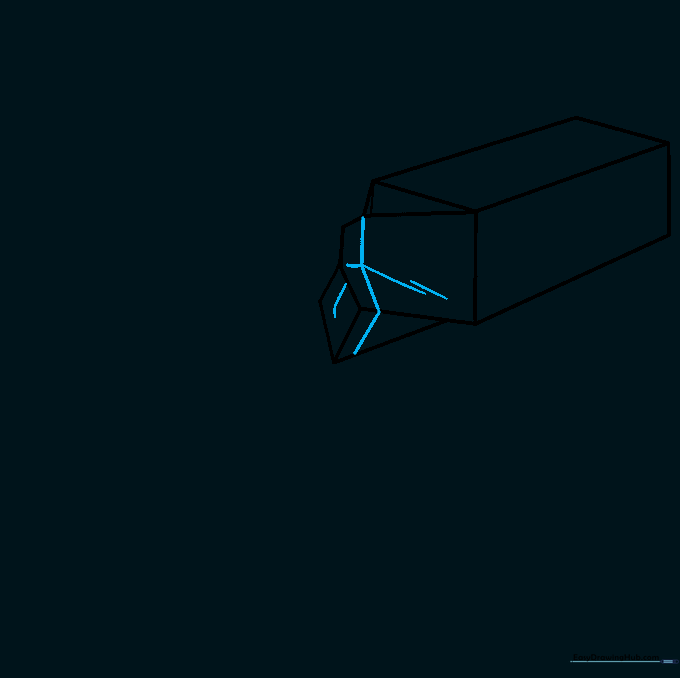
Add contour lines to the cardboard edges to give the carton a realistic, folded look. Tip: Use slightly curved lines to suggest the cardboard is bending.
Step 5: Labeling the Carton
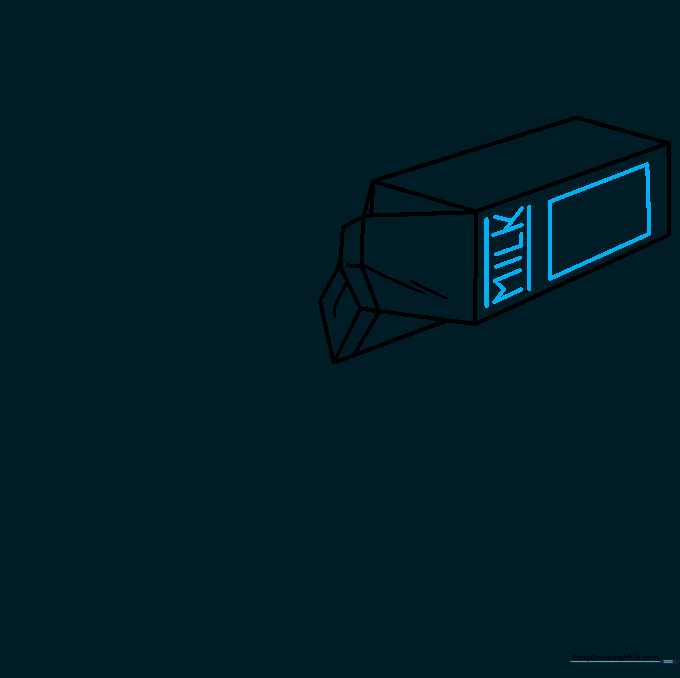
Draw a rectangle on the side and write 'MILK' inside. Tip: Use block letters to make the label pop, just like a real grocery store carton.
Step 6: Adding Text Details
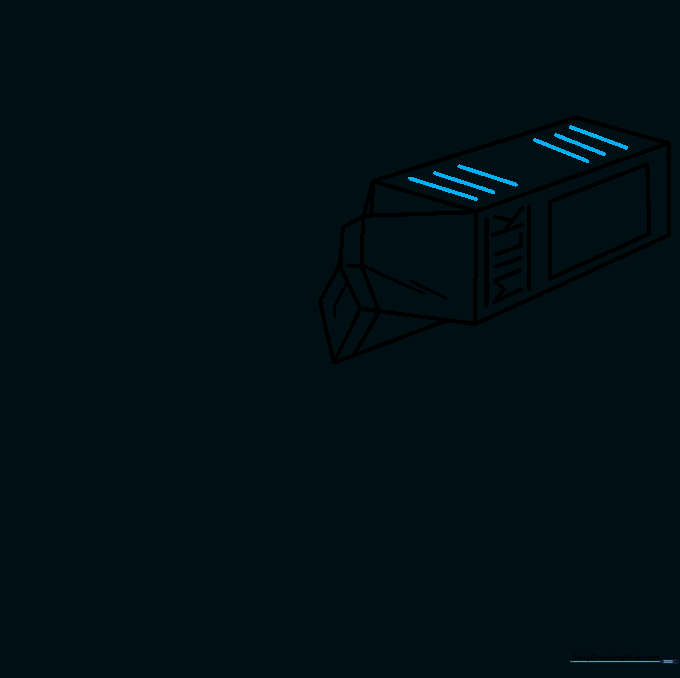
Draw parallel lines on the upturned side to represent nutritional info or branding. Tip: Keep these lines thin and close together to look like small printed text.
Step 7: Drawing the Cow Mascot
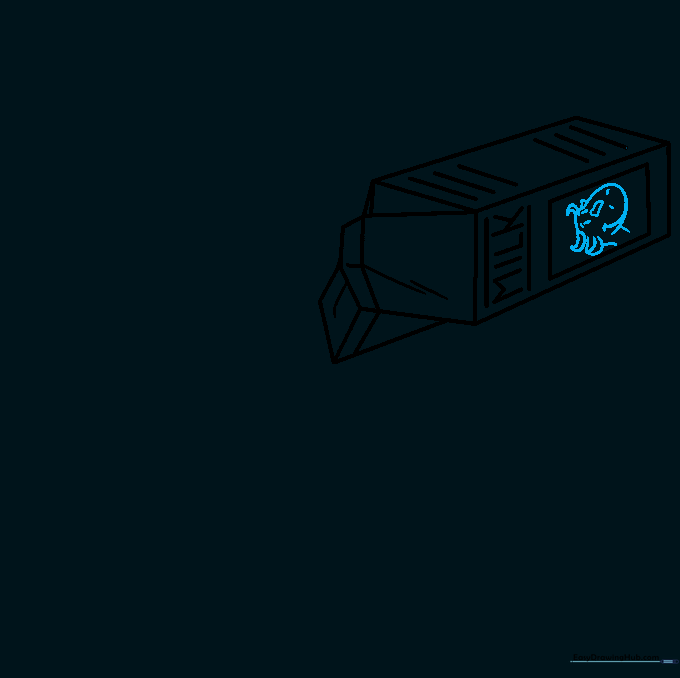
Draw a cute cartoon cow face on the carton. Use simple ovals for eyes and a curved line for the smile. Tip: Give the cow a spot on its face to make it look more expressive.
Step 8: The Milk Puddle
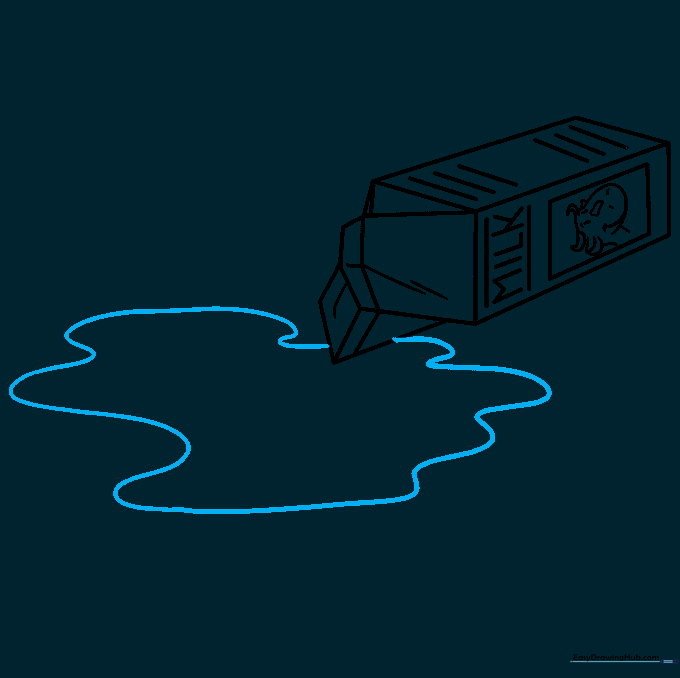
Draw a long, wavy line flowing from the mouth of the carton to create the puddle. Tip: Make the line uneven to show the liquid splashing naturally.
Step 9: Adding Splashes
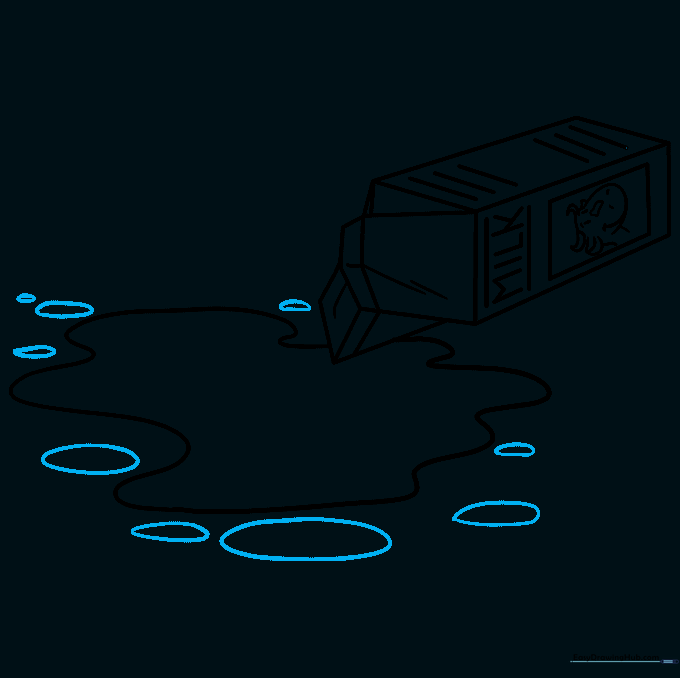
Add small ovals around the puddle to show splashes. Tip: Vary the size of the ovals to create a sense of motion and energy.
Step 10: Final Coloring
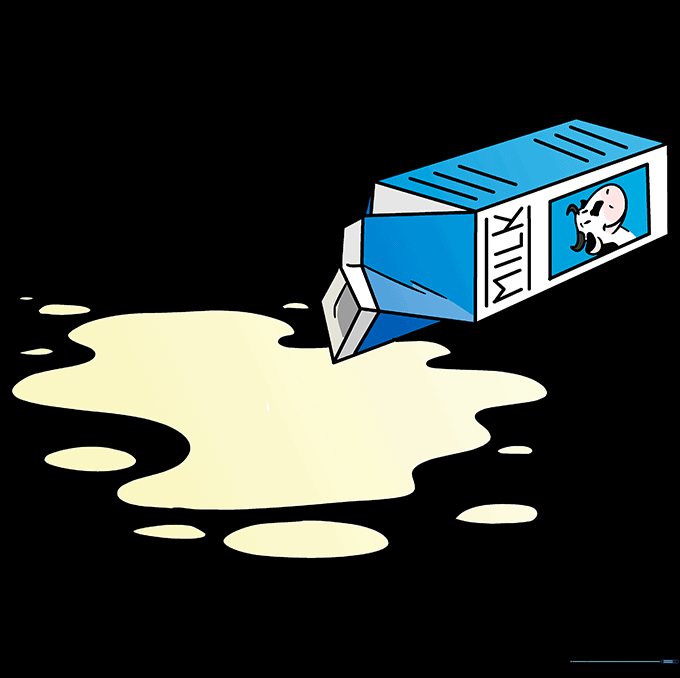
Color your drawing! Use white for the milk and bright colors for the carton. Tip: Use a light blue marker to shade the edges of the puddle to make it look wet.
More Tutorials


