How to Draw Spider-Gwen: Easy Step-by-Step Guide
Ready to bring Ghost-Spider to life? This tutorial is perfect for young artists ages 6+ who want to capture Spider-Gwen’s iconic look. All you need is a pencil, an eraser, and some markers to start building your own superhero masterpiece.
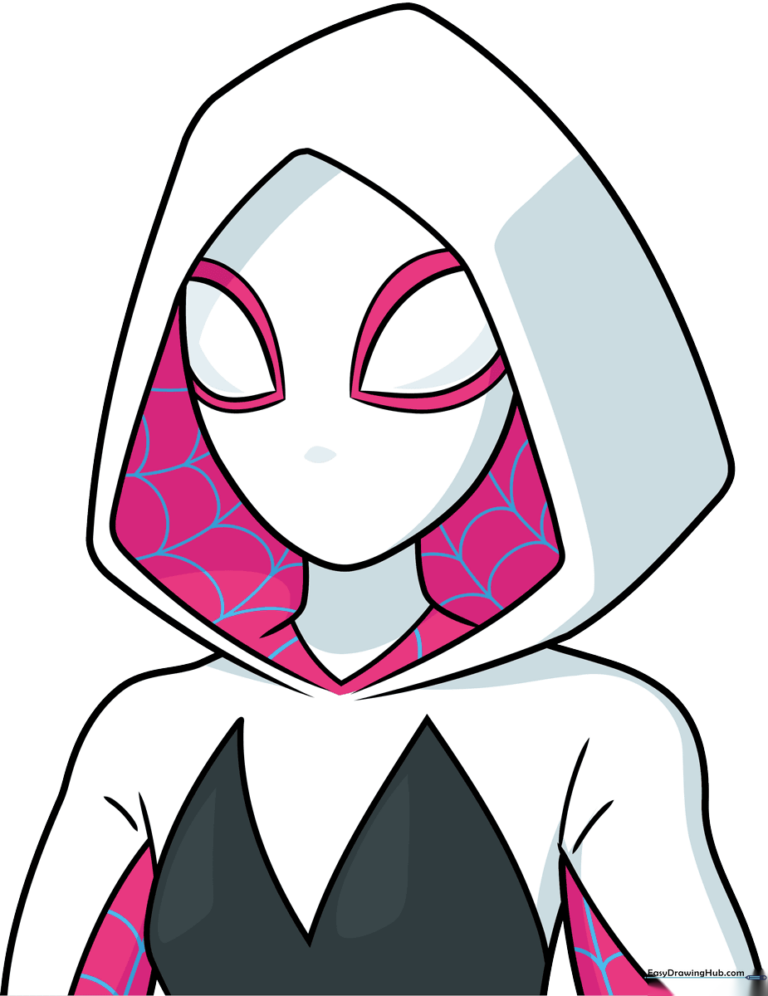
🎯 Final Result
Step-by-Step Instructions
Step 1: Sketching the Head and Hood
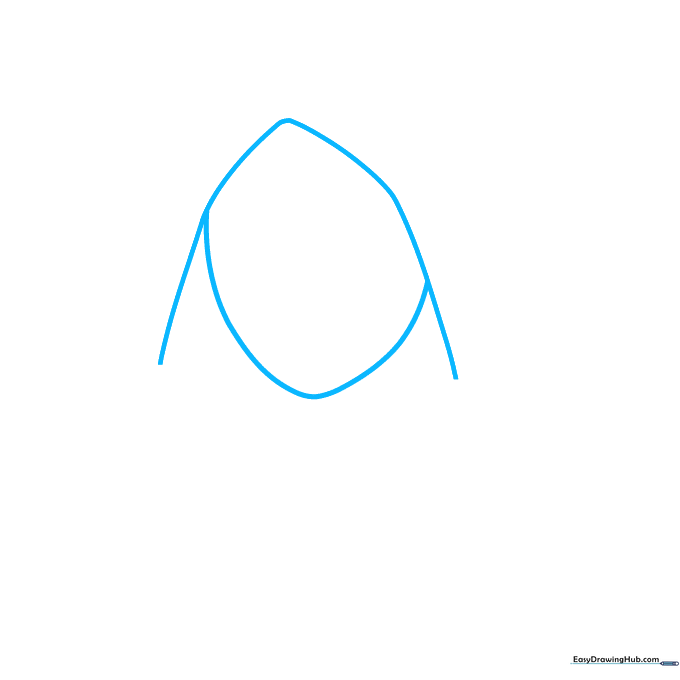
Draw a soft triangle with rounded corners for the head, then sketch a loose, egg-shaped oval beneath it for the hood. Teacher's Tip: Keep your pencil pressure light here; these are just guidelines that we will refine later.
Step 2: Defining the Mask Eyes
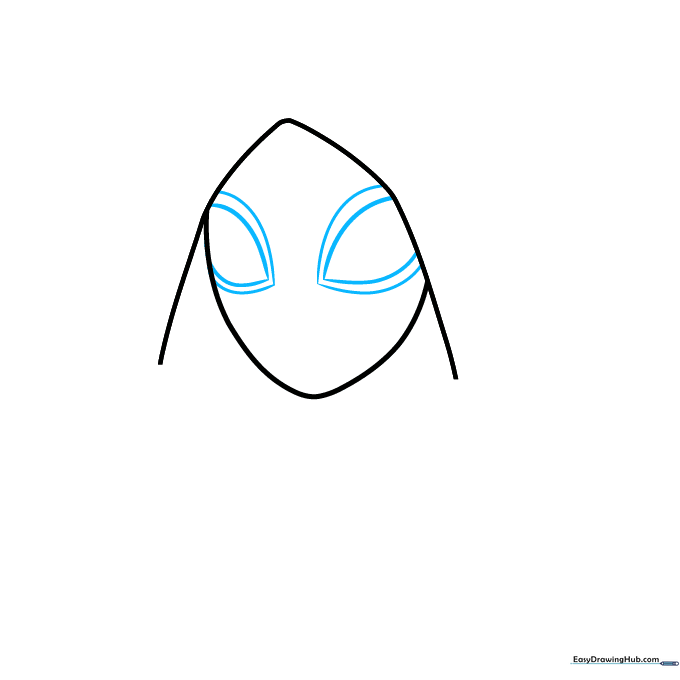
Sketch two large, curved shapes that look like lemon slices for the eyes. Add a second, slightly larger outline around them to define the mask's border. Teacher's Tip: Make sure the eyes are symmetrical to give her that heroic, focused expression.
Step 3: Shaping the Hood
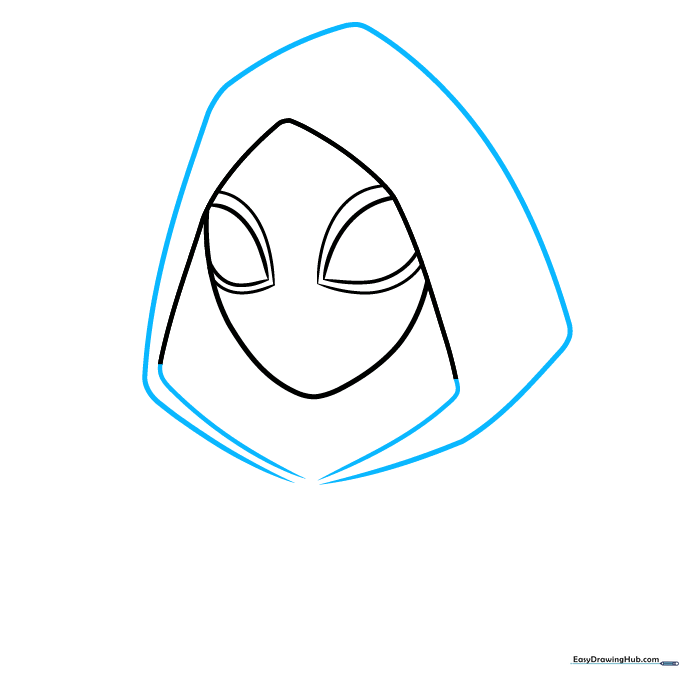
Outline the hood using diagonal lines that drop down from the head. Connect the top with a soft triangle shape. Teacher's Tip: Think of the hood as a frame for her face; keep the lines smooth to show the fabric's drape.
Step 4: Drawing the Shoulders
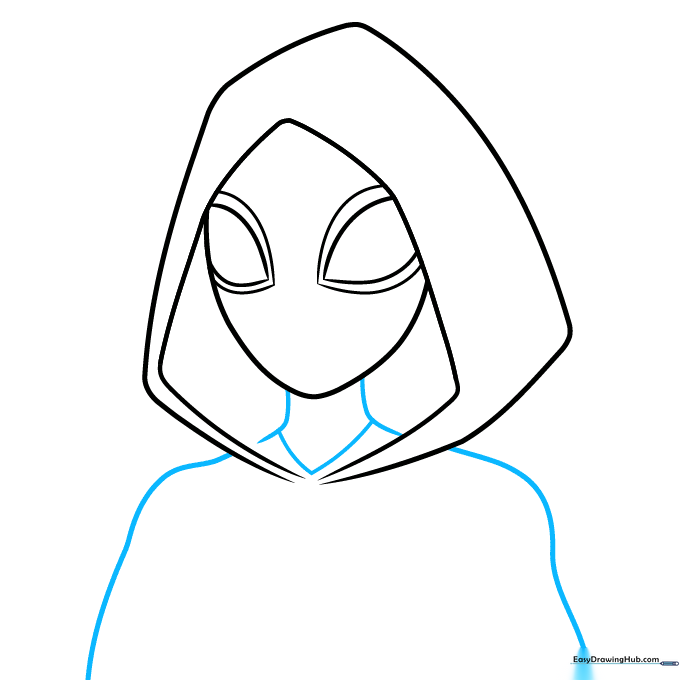
Sketch the neck using two rounded L-shapes, then connect them with a triangle. Add wavy lines trailing downward for the shoulders. Teacher's Tip: Wavy lines help suggest the movement of her suit fabric.
Step 5: Adding Chest Details
Add two triangles on the chest area. On the right side, extend two diagonal lines to form the arm and torso. Teacher's Tip: Keep these lines clean so the chest emblem stands out clearly.
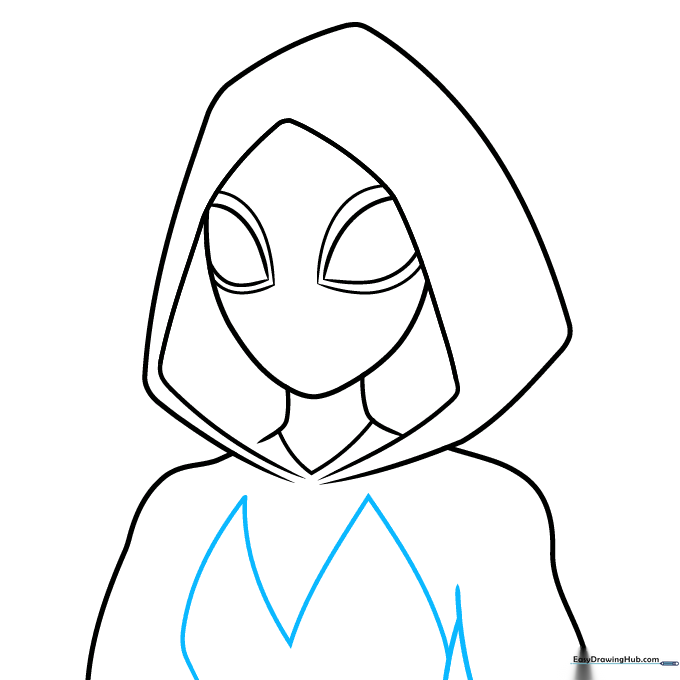
Step 6: Refining the Arms and Hood

Draw two curves on the left arm to show the sleeve, then add curves inside the hood to create depth. Teacher's Tip: Adding these inner curves makes the hood look like it has real volume.
Step 7: Starting the Web Pattern
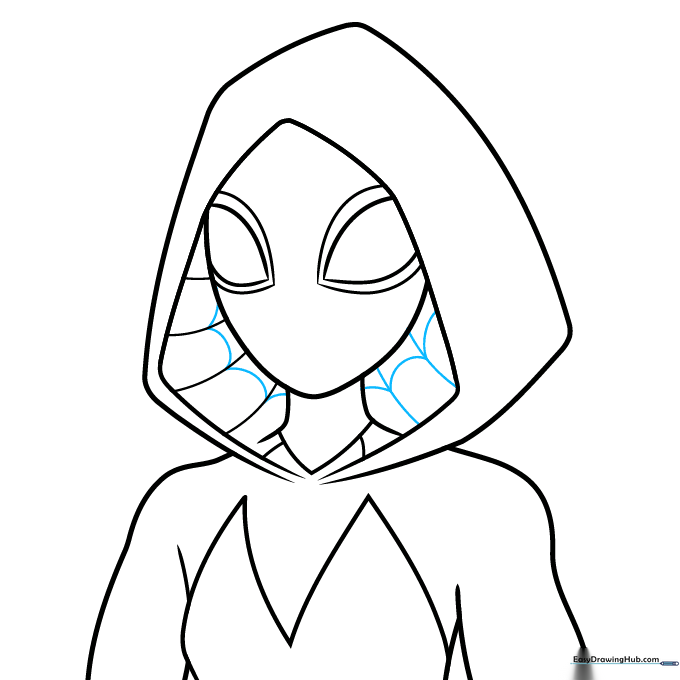
Add more curves inside the hood and start drawing small loops to create the signature spiderweb pattern. Teacher's Tip: Don't worry about making the loops perfect; they look more natural when they vary slightly in size.
Step 8: Adding Web Details
Add seven more loops inside the hood and sketch one diagonal line on each arm to define the sleeve pattern. Teacher's Tip: These lines act as guides for where your colors will go later.
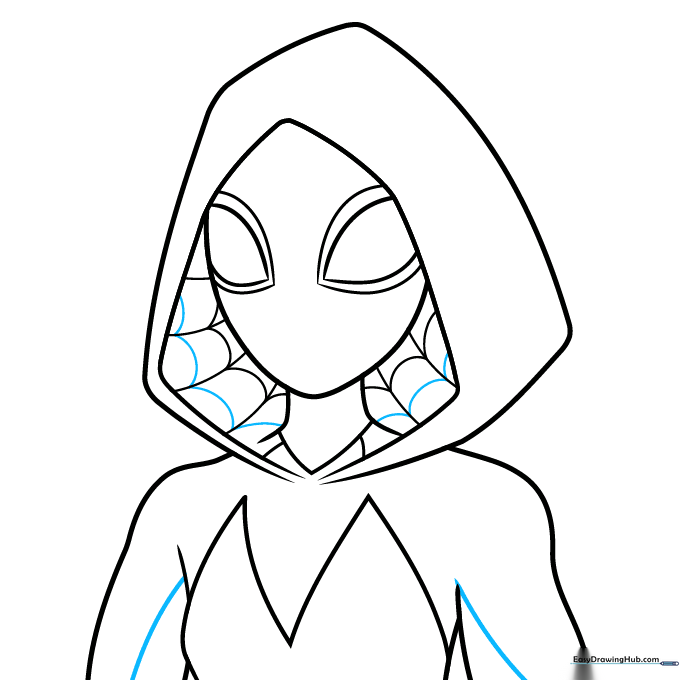
Step 9: Finalizing the Outline
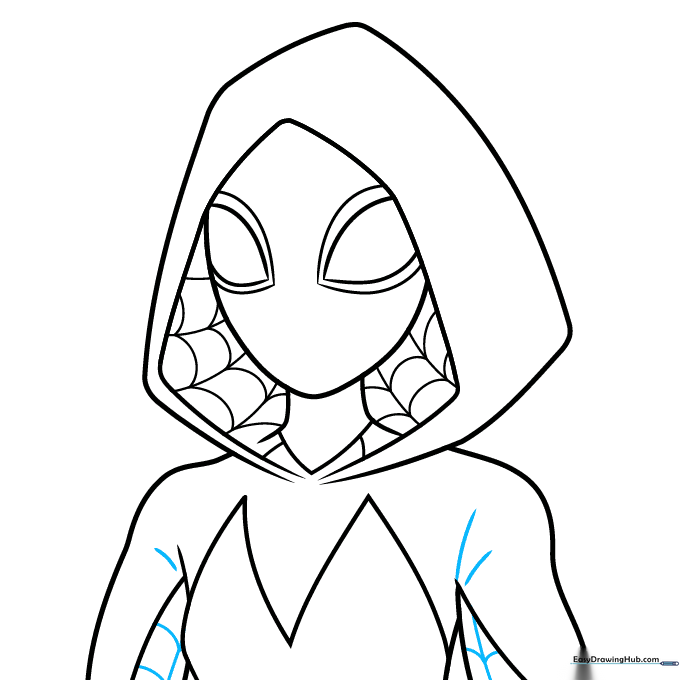
Add small dashes near the shoulders and complete the web pattern on the sleeves. Ink over your main lines with a black pen, but skip the web lines so you can color them later. Teacher's Tip: Use a steady hand for the outline to give your drawing a professional, comic-book look.
Step 10: Bringing Her to Life with Color
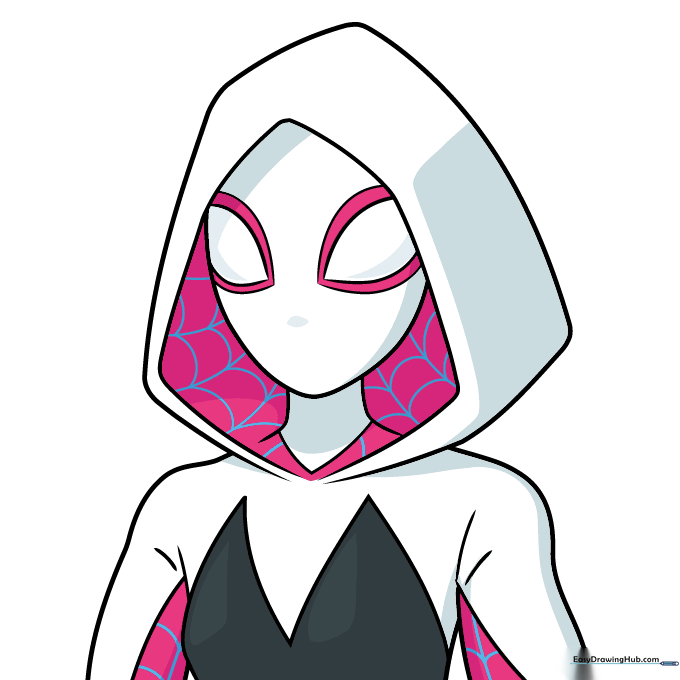
Keep the mask and hood white, using light gray for shadows. Color the chest dark gray. Use pink for the hood lining and sleeves, and blue for the web details. Teacher's Tip: Use darker shades of pink and blue in the folds of the hood to create a 3D effect!
More Tutorials


