How to Draw a Speed Skater: Easy 10-Step Guide
Capture the thrill of winter sports with this fun, beginner-friendly speed skater drawing guide. Designed for artists ages 6 and up, this project uses basic geometric shapes to build a dynamic character in motion. Grab your pencil, eraser, and paper to get started on your own icy masterpiece.
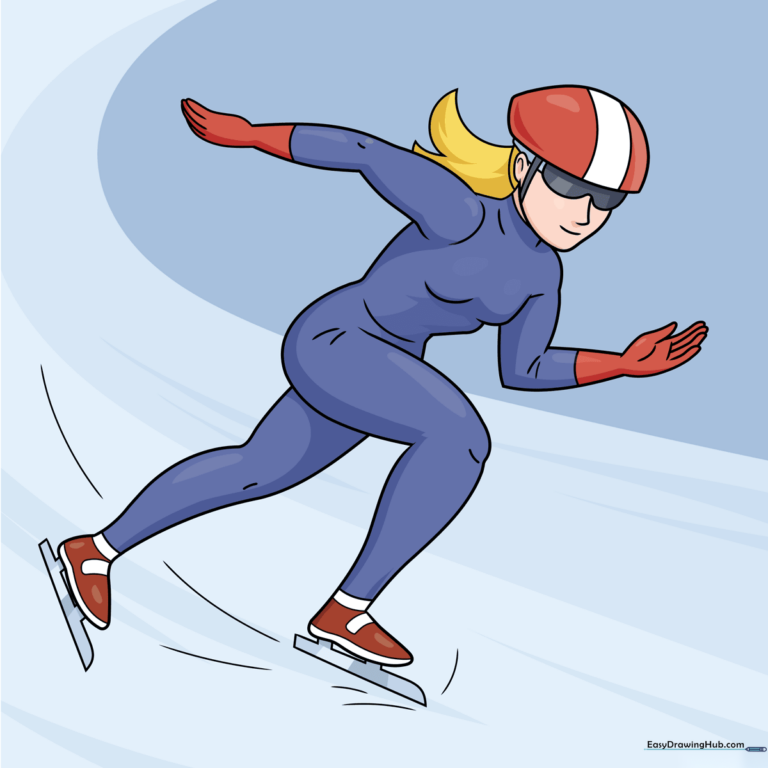
🎯 Final Result
Step-by-Step Instructions
Step 1: Sketching the Helmet Base
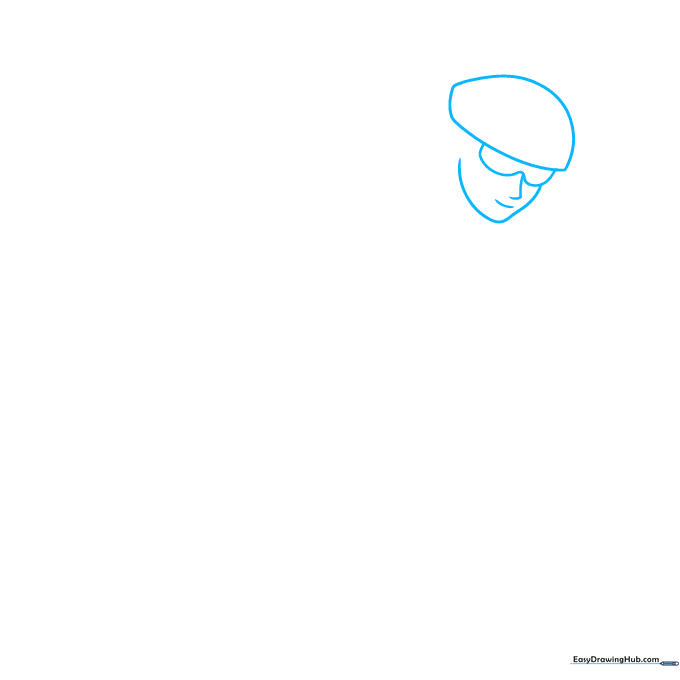
Start by drawing a rounded dome that is flat on the left side. Add two small ovals underneath for the face, and sketch a backward L-shape between them. Tip: Keep your lines soft and light—this is just the foundation for the head shape.
Step 2: Adding Helmet Details and Shoulders

Draw an oval and a curve for the ear, then add a narrow rectangle for the helmet strap. Sketch two gentle curves below the head to represent the shoulders. Tip: Use a light touch here; these shoulder lines help establish the skater's leaning posture.
Step 3: Sketching the Right Arm
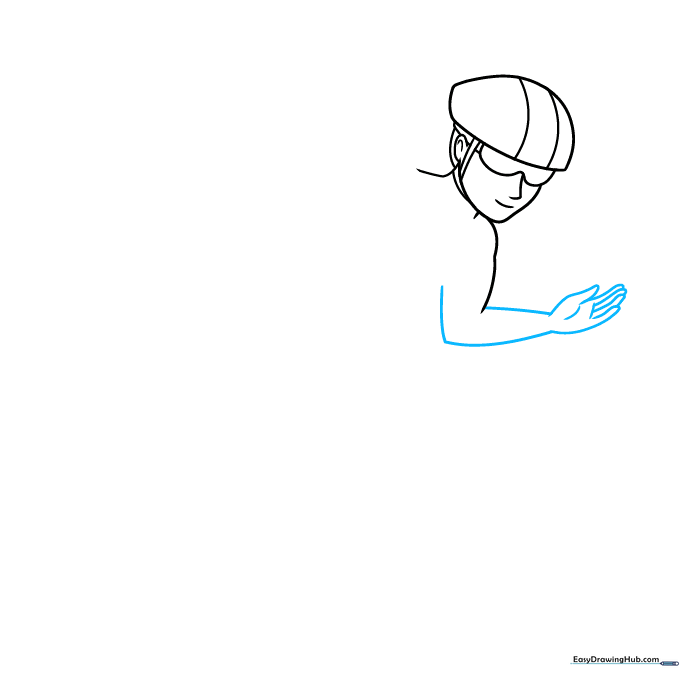
Outline the right arm using a vertical line and a V-shape. Draw long, narrow cylinders for the fingers. Tip: Think of the fingers as small sausages; keeping them uniform in size makes the hand look much more natural.
Step 4: Drawing the Left Arm
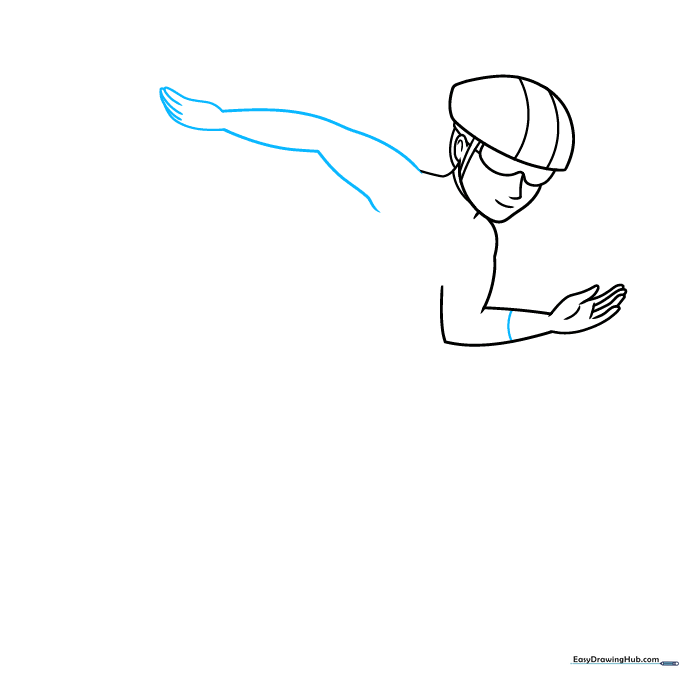
Sketch the left arm using long, sweeping curves to show movement. Add four overlapping cylinders for the fingers. Tip: Since the skater is leaning, ensure the arm looks tucked in to maintain the aerodynamic pose.
Step 5: Defining the Torso
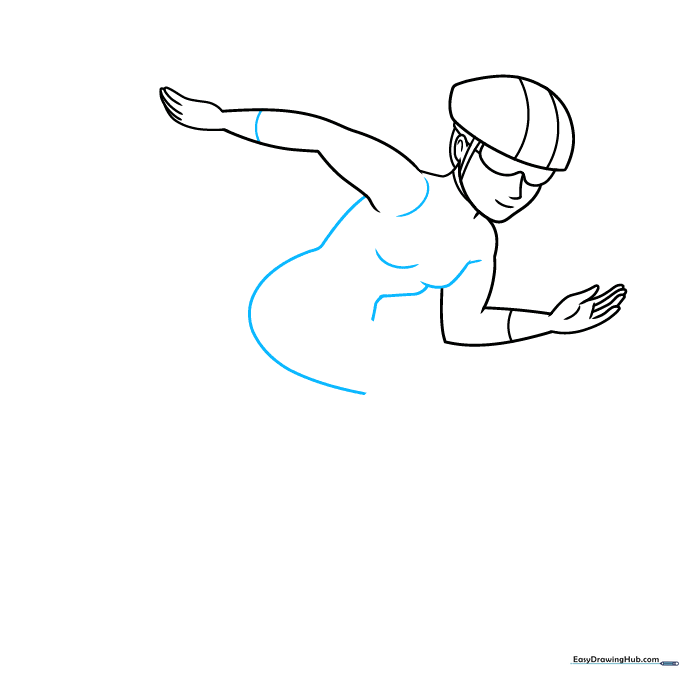
Add curves near the wrist and shoulder to connect the arms to the body. Draw a diagonal line and a large C-shape to outline the chest. Tip: Use smooth, continuous strokes to make the uniform look sleek and professional.
Step 6: The Front Leg and Skate
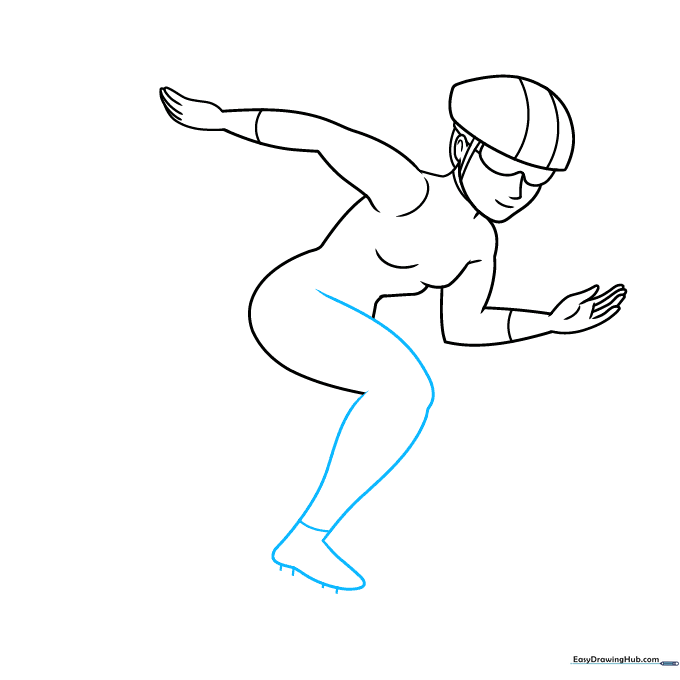
Outline the front leg with a vertical line and a rounded V-shape. For the skate, draw an oblong triangle and add dashes at the bottom for the blade. Tip: The blade should be perfectly straight to represent the sharp edge used on ice.
Step 7: The Back Leg
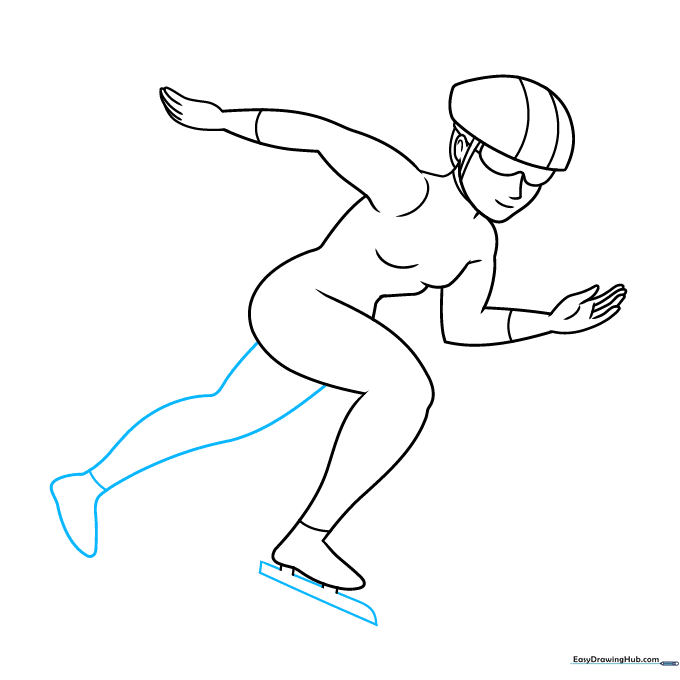
Repeat the process for the back leg, ensuring it looks slightly smaller to create depth. Sketch a rectangle underneath the skate. Tip: Perspective is key here—the back leg should look like it's pushing off the ice.
Step 8: Adding Skate Details
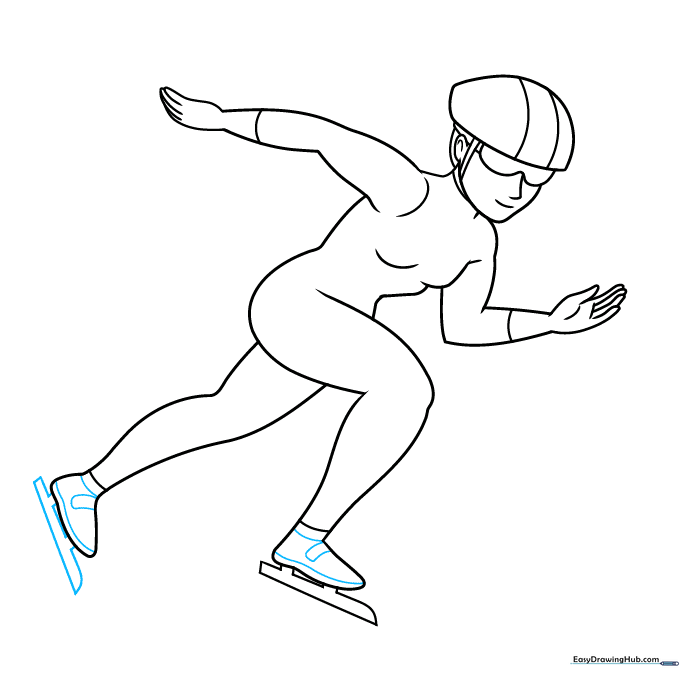
Add another rectangle beneath the second skate. Draw small rectangles inside the skates to represent the blade mounts. Tip: Adding these small details makes your drawing look much more realistic and technical.
Step 9: Finalizing the Outline

Add two curved rectangles behind the head for the goggles. Add final touches like dashes on the body for texture. Once satisfied, trace your lines with a black marker and erase the pencil marks. Tip: Wait for the ink to dry completely before erasing to avoid smudging!
Step 10: Bringing It to Life with Color

Color the uniform in vibrant blues with red gloves. Use red and white for the helmet and skates, and light grey for the ice blades. Tip: Use a light blue for the background to give the impression of a cold, icy rink.
More Tutorials


