How to Draw Spaghetti: Easy 10-Step Guide for Kids
Ready to draw a tasty masterpiece? This tutorial is perfect for young artists ages 5 and up. You will only need a pencil, an eraser, and your favorite markers or colored pencils to bring this bowl of spaghetti to life.
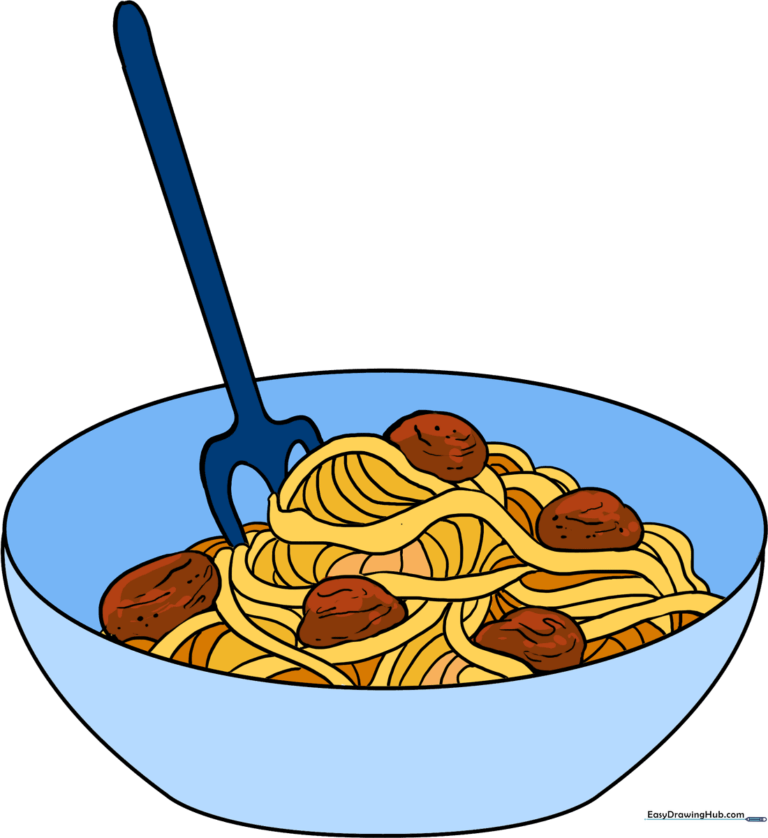
🎯 Final Result
Step-by-Step Instructions
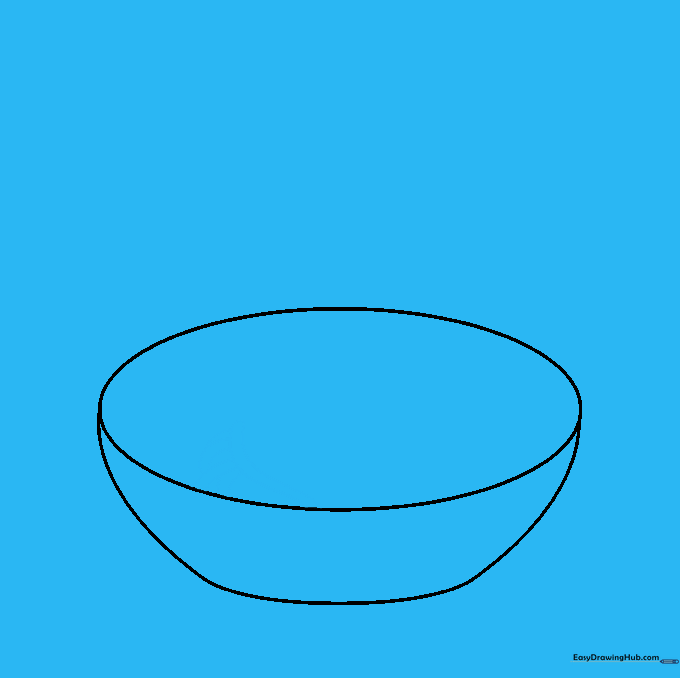
Step 1: Sketching the Bowl

Draw a wide, horizontal oval to create the opening of your bowl. Add a curved line underneath that flattens slightly at the bottom to give it depth. Teacher's Tip: Keep your pencil lines light so you can easily erase the overlap later!
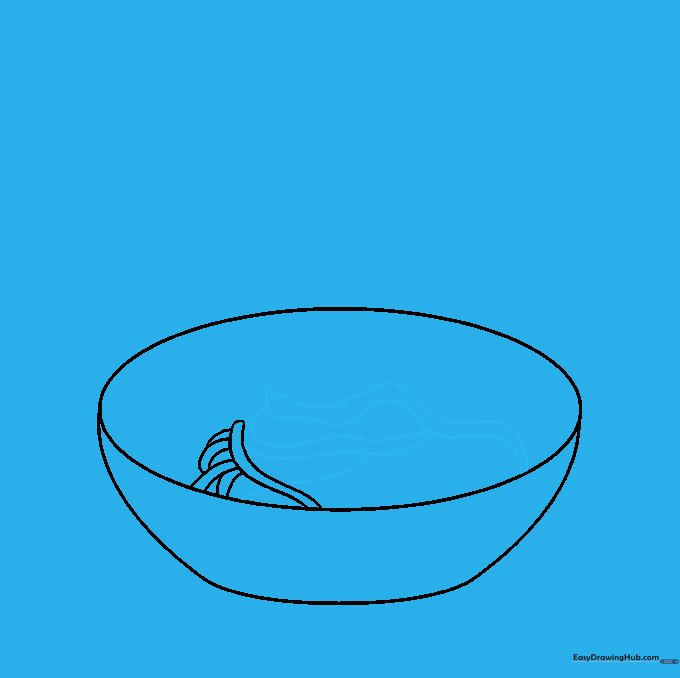
Step 2: Starting the Noodles
Draw your first long noodle using two parallel curved lines. Connect them at the end with a small 'U' shape. Tip: Spaghetti isn't straight, so make your lines wiggly to show movement!
Step 3: Creating Noodle Layers
Add more long, trailing noodles across the bowl. Use pairs of parallel lines that overlap each other. Tip: Overlapping lines create the illusion that some noodles are on top and some are tucked underneath.
Step 4: Adding Texture
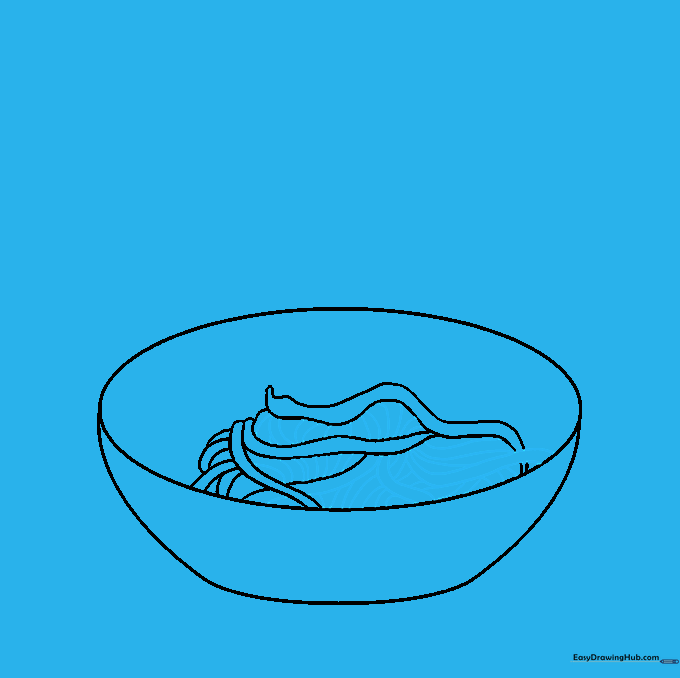
Fill in the mound of pasta with shorter, individual curved lines to show texture. Erase any extra guide lines from the bowl that are hidden by the noodles. Tip: Less is more—don't over-clutter the bowl!
Step 5: Building Height
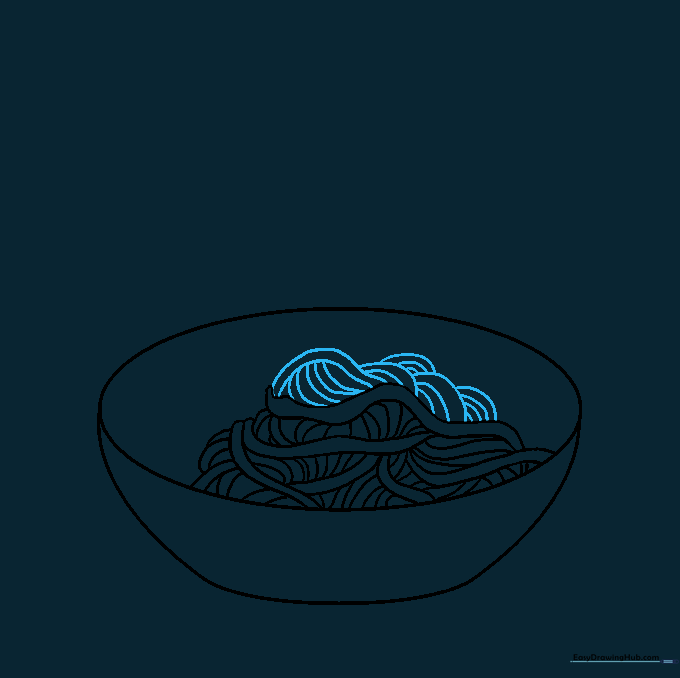
Draw more noodles on top of the existing pile. Use parallel lines and add small 'bands' or cross-lines between them to show how the noodles fold over themselves.
Step 6: Drawing the Fork
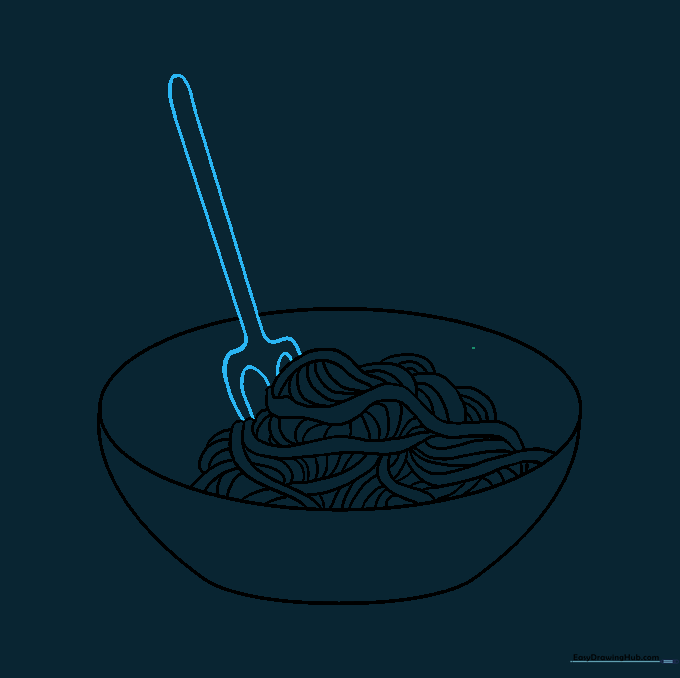
Sketch a fork handle sticking out of the pasta using two parallel lines. Add 'U' shapes at the end for the prongs. Tip: Make the prongs look like they are tucked into the noodles by erasing the lines where the fork meets the pasta.
Step 7: Filling the Bowl
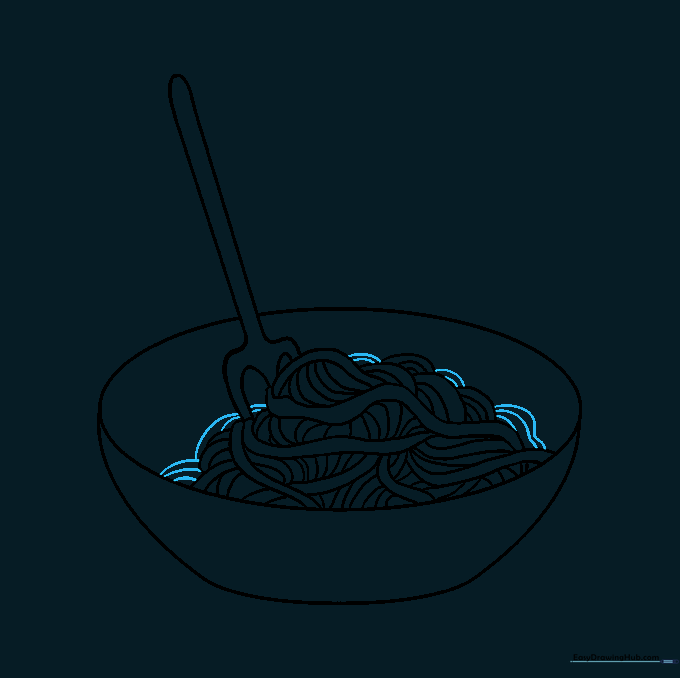
Add a few more long, curved lines to fill in any empty spaces in the bowl. This makes the portion look hearty and delicious!
Step 8: Adding Meatballs
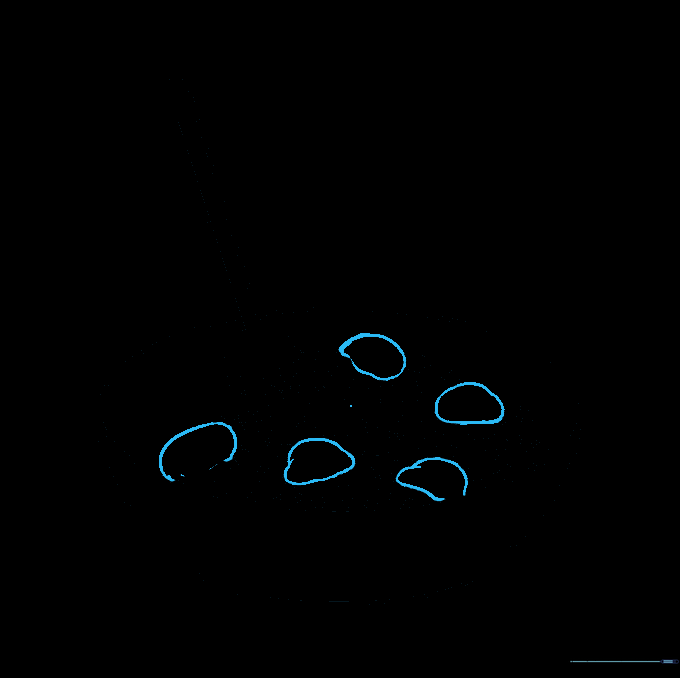
Draw a few irregular circles nestled among the noodles to represent meatballs. Erase the noodle lines that pass through the meatballs so they look like they are sitting on top.
Step 9: Meatball Texture
Add small, light curved lines on the meatballs to give them a rough, cooked texture. Tip: Use a lighter touch with your pencil here to keep them looking soft.
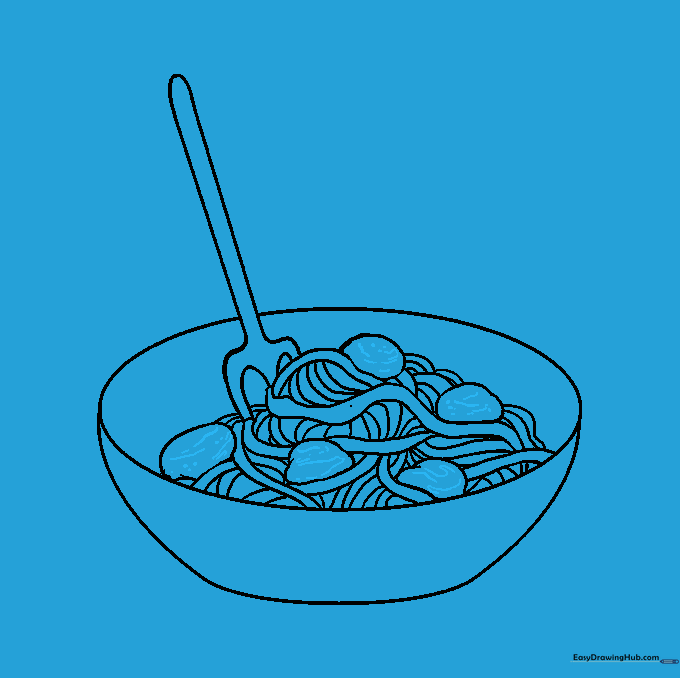
Step 10: Color Your Masterpiece
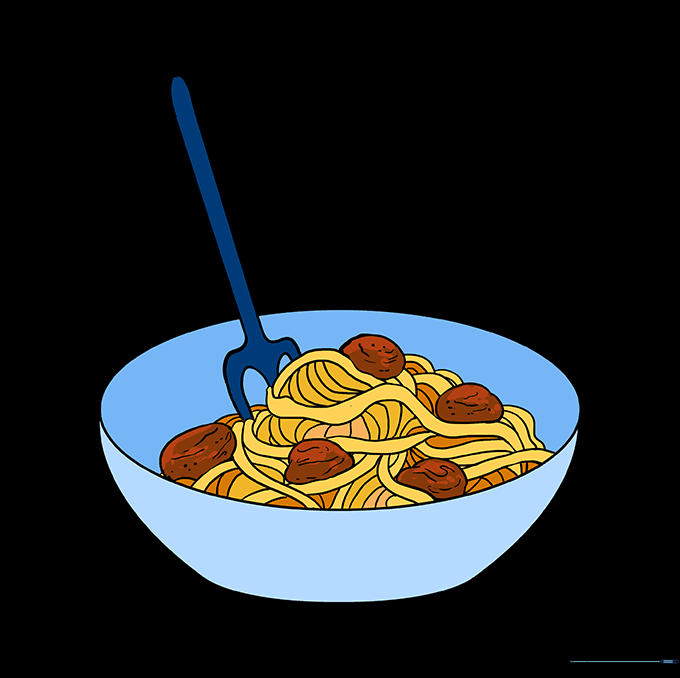
Time to color! Use warm yellows and oranges for the pasta, and deep browns or reds for the meatballs and sauce. You've just drawn a perfect meal!
More Tutorials


