How to Draw Space and Planets: Easy 10-Step Guide
Blast off into creativity with this space-themed drawing lesson, perfect for young artists ages 5 and up. All you need is a pencil, an eraser, and your favorite markers or crayons to bring the cosmos to life. Follow these steps to build confidence in your sketching skills while creating your own unique galaxy.
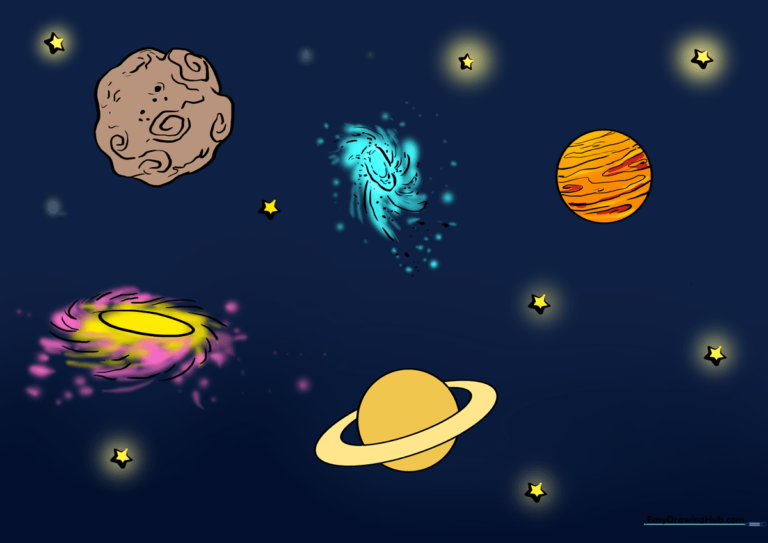
🎯 Final Result
Step-by-Step Instructions
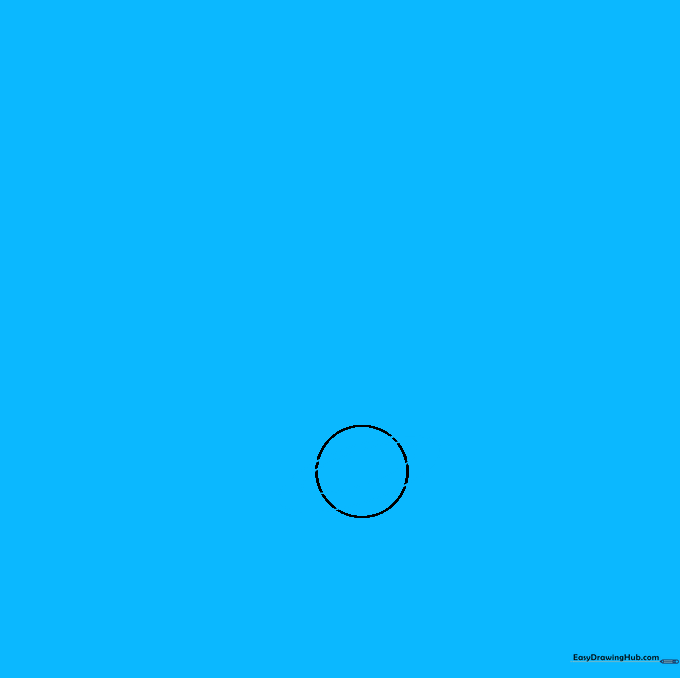
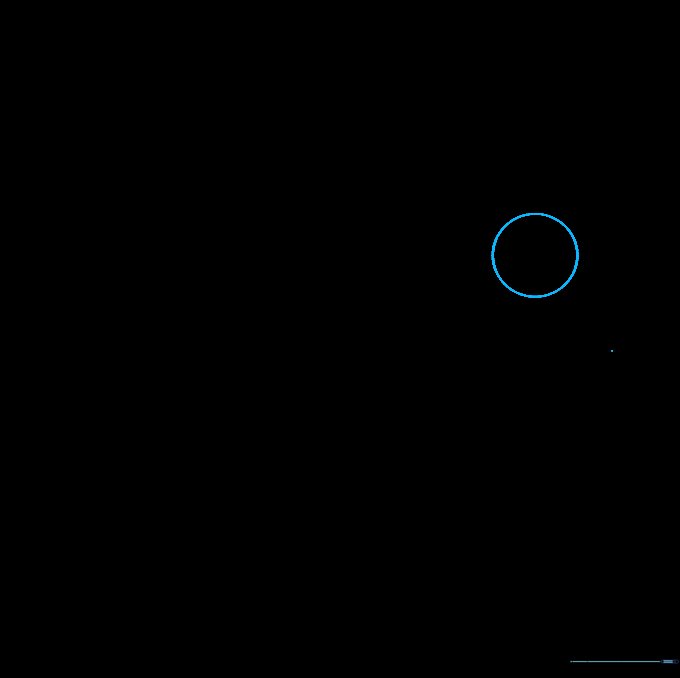
Step 1: Sketching the First Planet
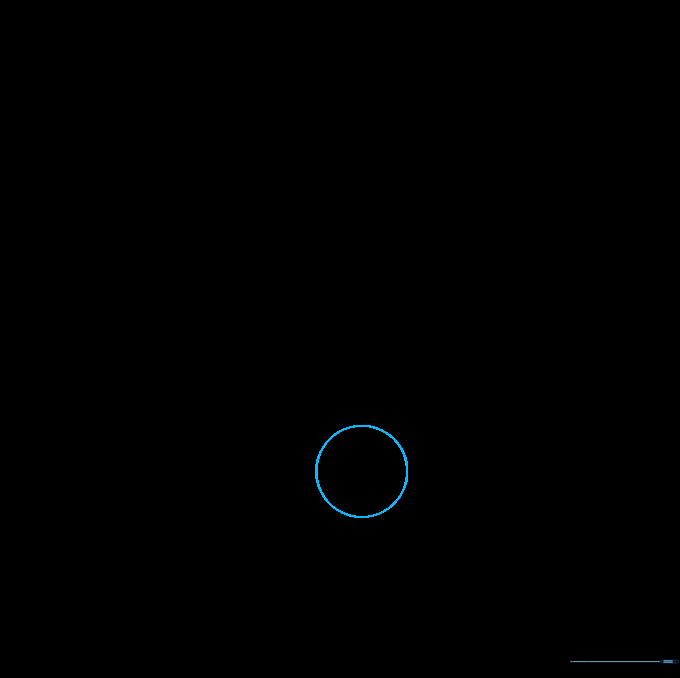
Draw a clean circle to represent your first planet. Teacher's Tip: Use a light touch with your pencil so you can easily adjust the shape if it looks a bit wobbly!
Step 2: Adding Planetary Rings
Draw a large oval that cuts through the center of your planet, then add a smaller oval inside it to create the ring's thickness. Tip: Think of this like a hula hoop tilted around the planet's middle.
Step 3: Cleaning Up the Rings
Carefully erase the lines of the planet that are hidden behind the rings. Teacher's Tip: Use a kneaded eraser if you have one; it’s great for picking up small graphite marks without smudging.
Step 4: Sketching a Second Planet
Draw another circle nearby for your second planet. Tip: Vary the size of your planets to make your space scene look more dynamic and realistic.
Step 5: Adding Surface Details
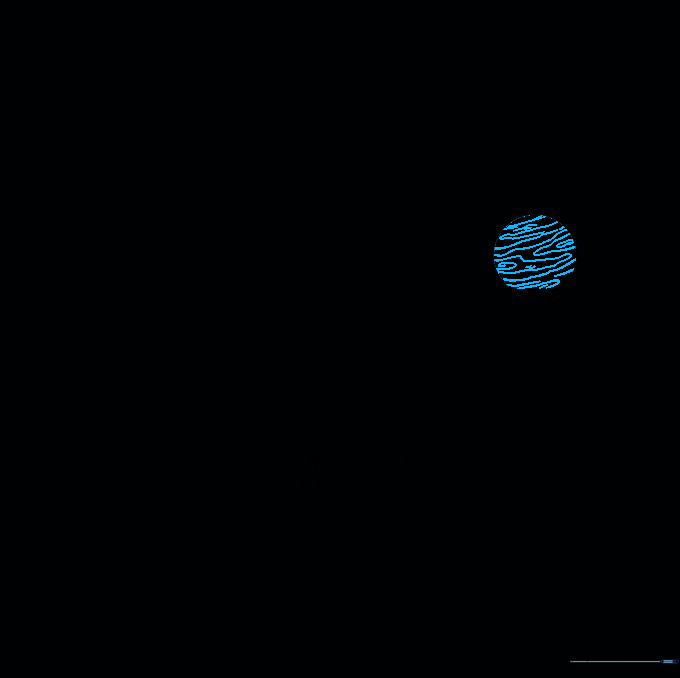
Add wavy, criss-crossing lines to the surface of your second planet to represent swirling gas clouds. Don't forget to add a small oval to represent a 'Great Red Spot' storm. Tip: Keep your lines loose and organic to mimic the look of gas giants.
Step 6: Drawing a Spiral Galaxy
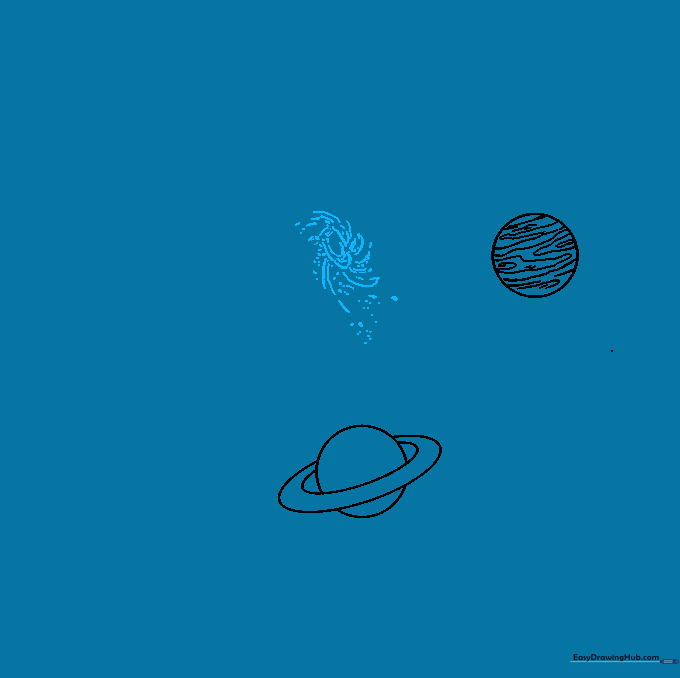
Draw a central point and extend curved lines outward in a spiral motion, adding small dots for stars. Tip: Imagine you are drawing a spinning pinwheel to get the right flow for your galaxy.
Step 7: Creating an Irregular Moon
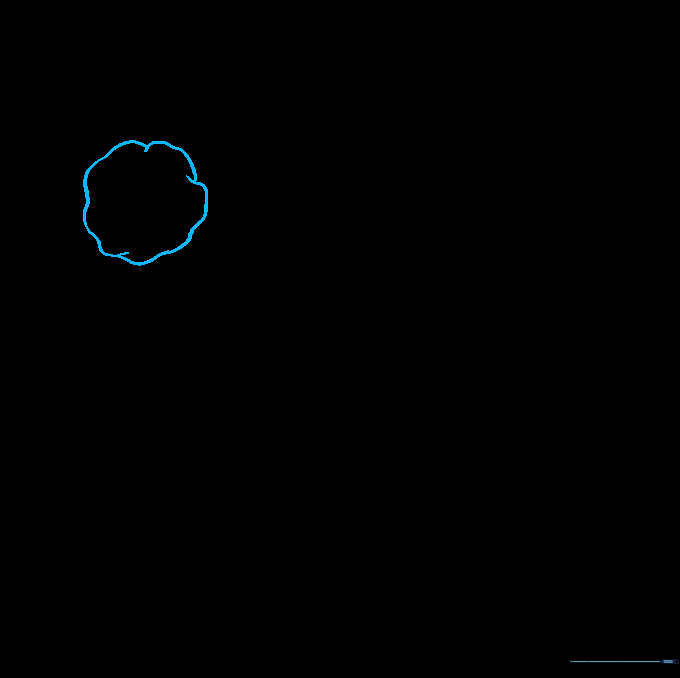
Use overlapping curved lines to create a lumpy, rounded shape for a moon. Tip: Moons aren't always perfect circles, so don't be afraid to make this one look a bit bumpy!
Step 8: Detailing the Moon
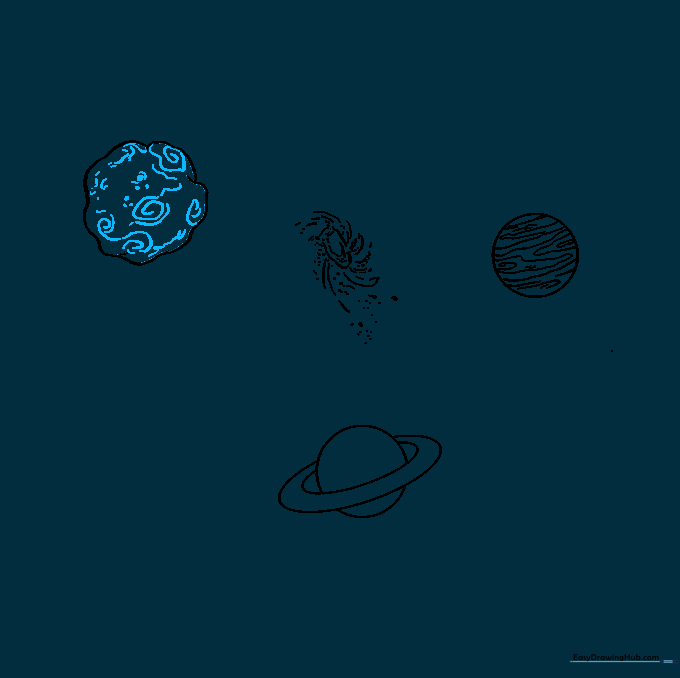
Add small craters using tiny circles, dots, and curved lines on your moon. Tip: Vary the size of your craters to make the moon look textured and realistic.
Step 9: Final Touches and Stars
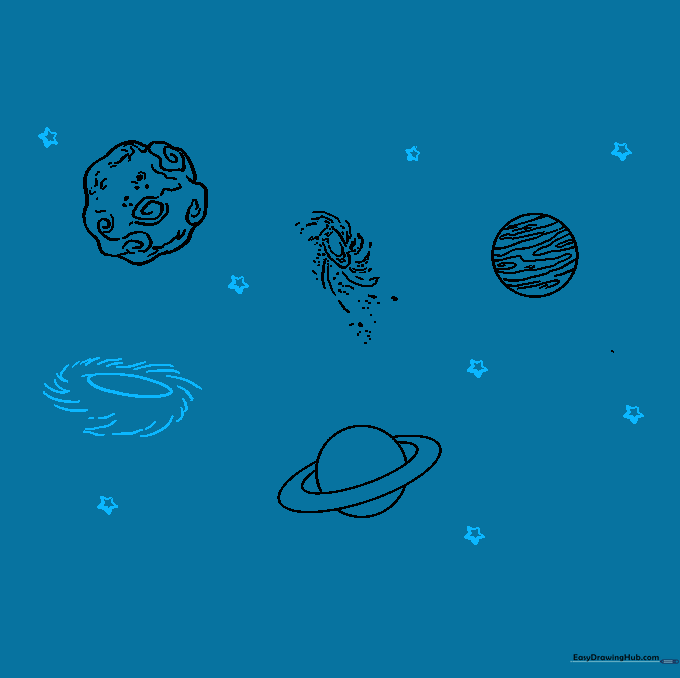
Add another small galaxy and fill the empty space with five-pointed stars. Tip: To draw a star easily, start with a small 'X' and add a horizontal line through the middle.
Step 10: Bringing Space to Life with Color
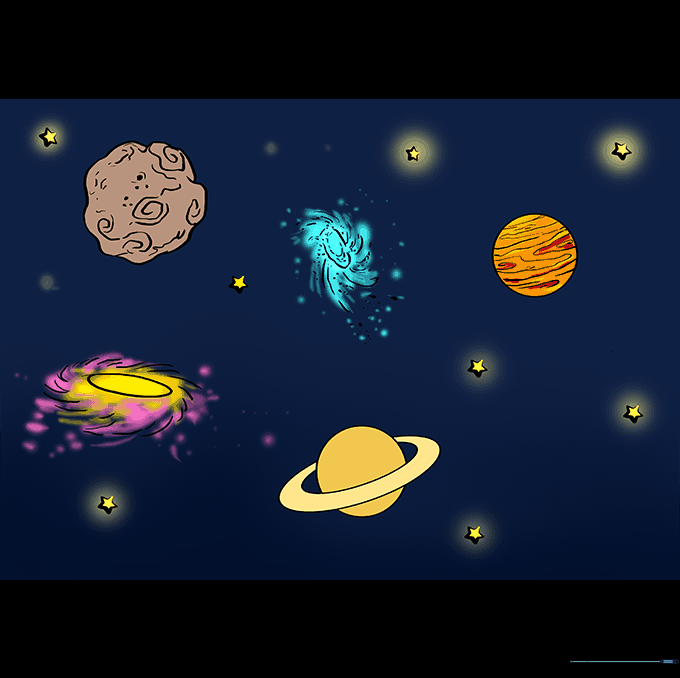
Use deep blues, purples, and blacks for your background, and get creative with bright colors for your planets. Tip: Use a white gel pen or crayon to add 'sparkle' highlights to your stars!
More Tutorials


