How to Draw Sonic: Easy 21-Step Guide for Beginners
Ready to bring the world's fastest hedgehog to life? This tutorial is perfect for artists ages 6 and up who want to practice character proportions. All you need is a pencil, an eraser, and a piece of paper to start building your own Sonic masterpiece.
🎯 Final Result

Step-by-Step Instructions
Step 1: Sketching the Head Base

Start by drawing a light circle for the head. Teacher's Tip: Keep your pencil strokes very faint so you can easily erase them later once we add the facial details.
Step 2: Adding the Iconic Spikes
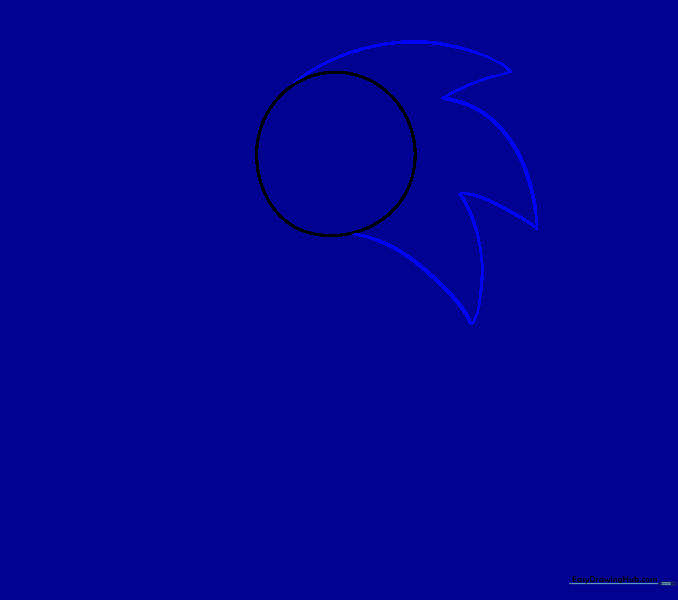
Draw the spikes on the back of Sonic's head using six curved lines. Alternate between long and short lines to create that signature sharp, energetic look.
Step 3: Defining the Torso
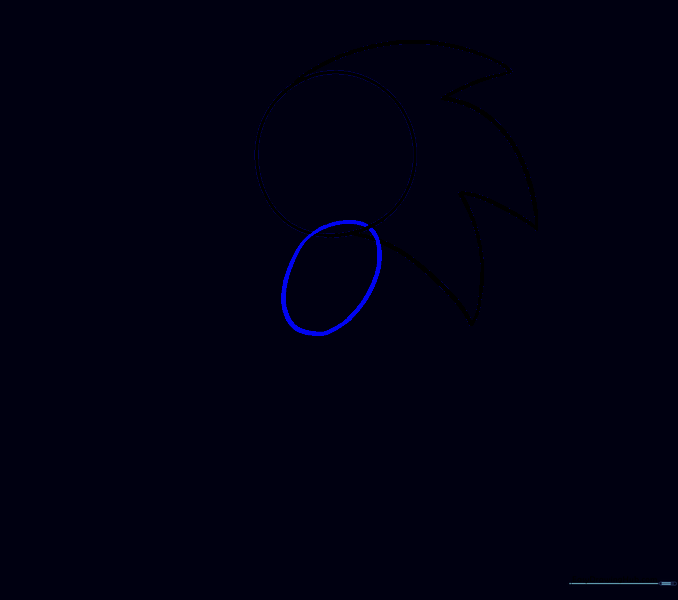
Draw a smaller oval that overlaps the bottom of the head circle. This will serve as the foundation for Sonic's chest and body.
Step 4: Cleaning the Guide Lines

Carefully erase the overlapping lines inside the torso oval. This helps keep your drawing clean and ready for the next details.
Step 5: Sketching the Ears
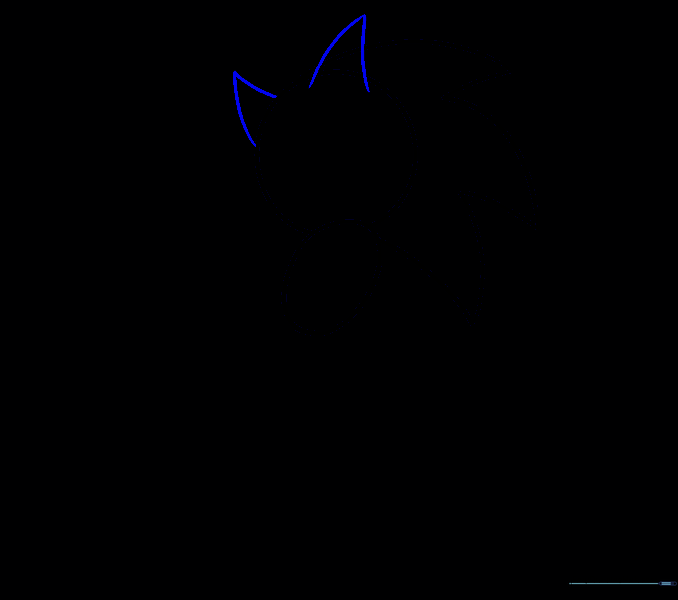
Add Sonic's ears using two curved lines for each. Tip: Make sure they meet at a sharp point to maintain that classic cartoon style.
Step 6: Adding Arms and Detail
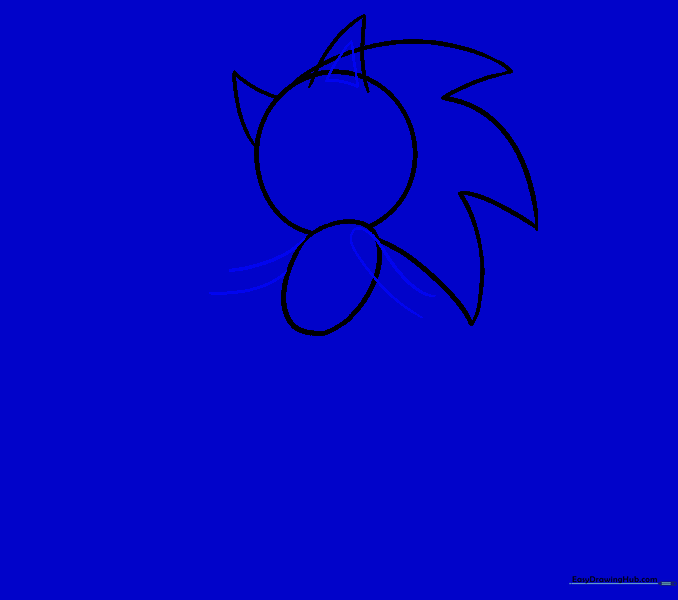
Draw two parallel curved lines for the arms. Add a curved line that doubles back on itself to suggest the arm's position against the body.
Step 7: Refining the Silhouette

Gently erase any remaining guide lines from the head and arm areas to sharpen the silhouette of your character.
Step 8: Drawing the Legs
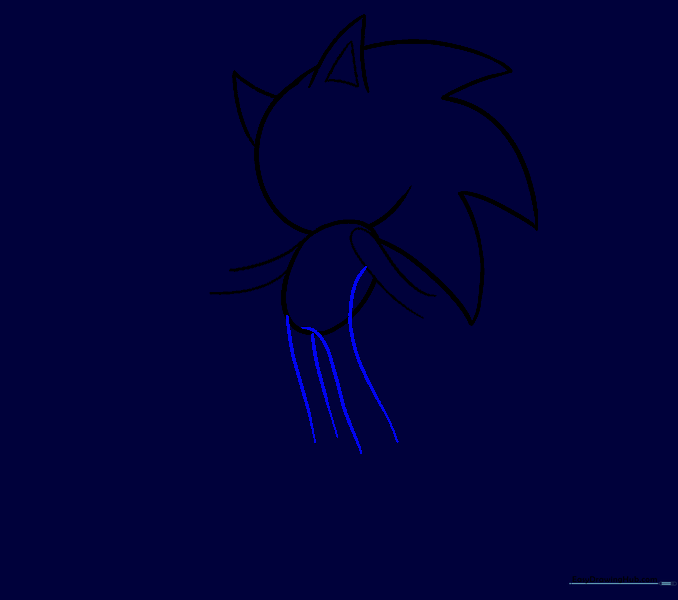
Extend two curved lines downward from the body to create the legs. Keep them slightly bowed to give Sonic his athletic, running posture.
Step 9: Cleaning the Body

Erase the guide lines where the legs meet the body to create a smooth, continuous outline.
Step 10: Hands and Back Spikes

Add an oval at the end of each arm for the hands. Then, draw two additional spikes behind Sonic's back to complete his profile.
Step 11: Defining the Hands
Draw the hand shapes within the ovals. Pay attention to the 'thumbs up' on the left hand—it's a classic Sonic pose!
Step 12: Cleaning the Hands

Erase the initial guide ovals from the hands to leave only the finished hand shapes.
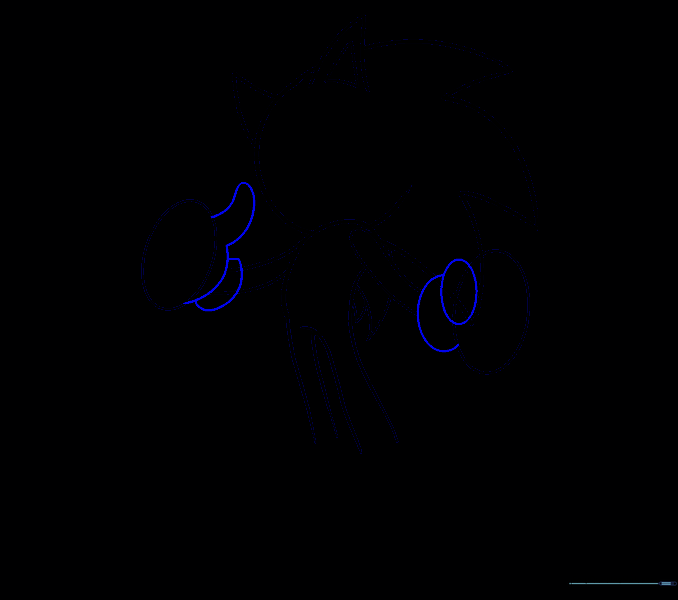
Step 13: Adding Fingers
Use connected, curved lines to draw the fingers within the hand shapes. Tip: Keep the lines soft and rounded.
Step 14: Finalizing Hands

Clean up any stray guide lines around the fingers to ensure the hands look neat and polished.
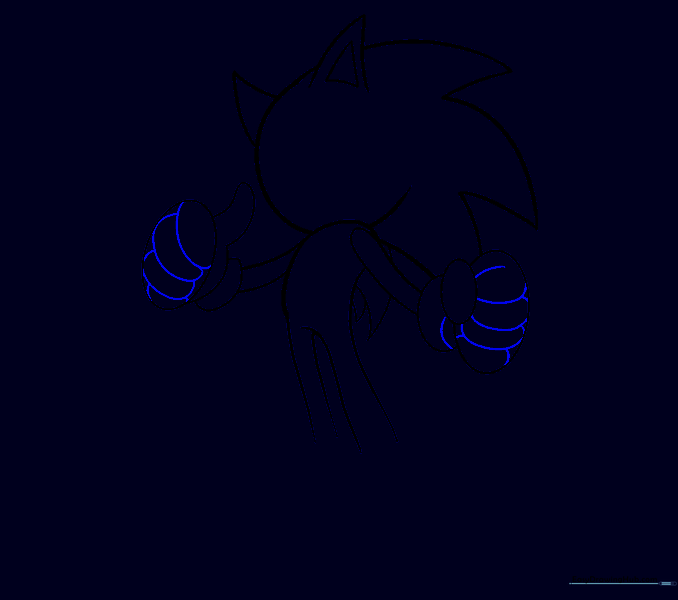
Step 15: Drawing the Socks

Draw the socks at the bottom of the legs using a series of three curved lines. This gives them that classic 'cuffed' appearance.
Step 16: Right Shoe Detail

Extend curved lines from the sock to form the shoe. Add two horizontal lines across the shoe to represent the strap detail.
Step 17: Left Shoe Detail

Repeat the process for the left shoe. Use two curved lines that meet at a point to create the toe, then add the strap lines.
Step 18: Torso and Face Guides
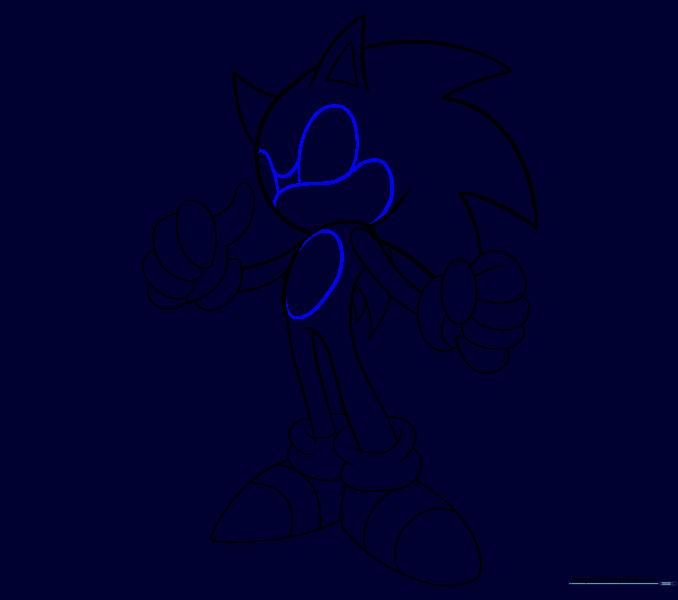
Enclose an oval on the torso for the chest patch. Then, draw curved lines from the face to the shoulder to prepare for the facial features.
Step 19: Facial Features

Draw the eyes, eyebrows, nose, and mouth. Add a small tail behind him using two curved lines. Tip: Keep the nose small and centered for the best look.
Step 20: Final Cleanup

Erase the small oval highlights inside the eyes and nose to give them a finished, professional look. You've done a great job!
Step 21: Coloring Sonic

Time to color! Use deep blue for his fur, tan for his face and chest, and bright red for his shoes. Don't forget white for his gloves and socks.
More Tutorials


