How to Draw Sonic the Hedgehog Running: Easy 10-Step Guide
Ready to capture Sonic’s signature speed on paper? This tutorial is perfect for young artists ages 7+ who want to master dynamic character poses. Grab a pencil, an eraser, and a piece of paper to start building your own action-packed Sonic scene.
🎯 Final Result

Step-by-Step Instructions
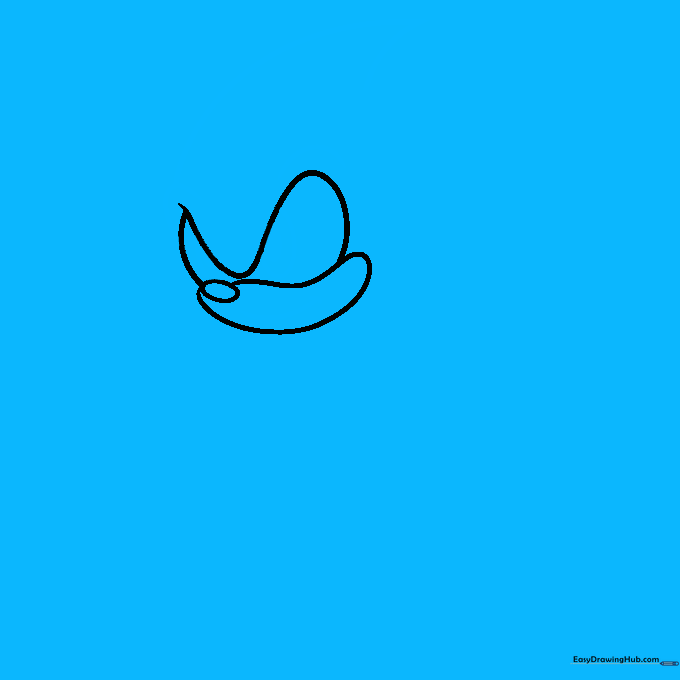
Step 1: Establishing the Head Shape

Draw a slightly angled V-shape for the muzzle, then add a tube-like structure underneath to form the jaw. Connect these with curved lines to create the base of Sonic’s face. Tip: Keep your pencil lines light so you can easily refine the shape later.
Step 2: Adding Facial Features
Sketch two ovals inside the head for the eyes, then add a curved line for the mouth with a small dash at the end for a smirk. Draw sweeping curves above the eyes and a triangle on top of the head for his iconic quills. Tip: Use a light touch for the eyes to ensure they look symmetrical.
Step 3: Defining the Head and Ears
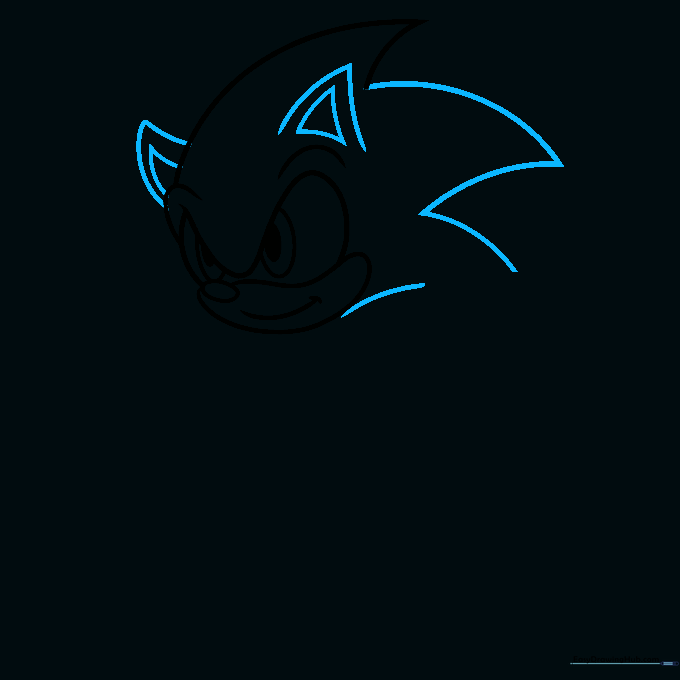
Use sharp triangles to outline the rest of Sonic's head and quills. Add two more triangles on top for his ears. Tip: Vary the size of the triangles to give his quills a more natural, flowing look as if he is running fast.
Step 4: Sketching the Glove

Draw ring-like shapes for the glove and connect them to the torso with a curved line. Use outward-pointing lines for the hand and a small swirl for the thumb. Tip: Think of the glove as a soft, puffy mitten to get the right shape.
Step 5: Building the Torso and Arms
Sketch overlapping lines for the fingers to show motion. Outline the body with two main lines and add triangles behind the right side to represent his back quills. For the left arm, use two curved lines ending in semi-circles. Tip: Overlapping lines are a great way to show depth and action in a drawing.
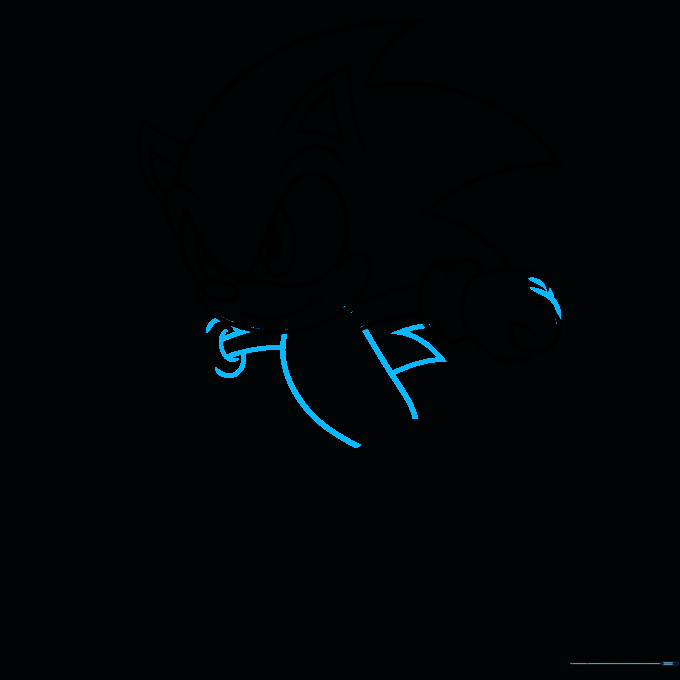
Step 6: Drawing the Legs and Wrist
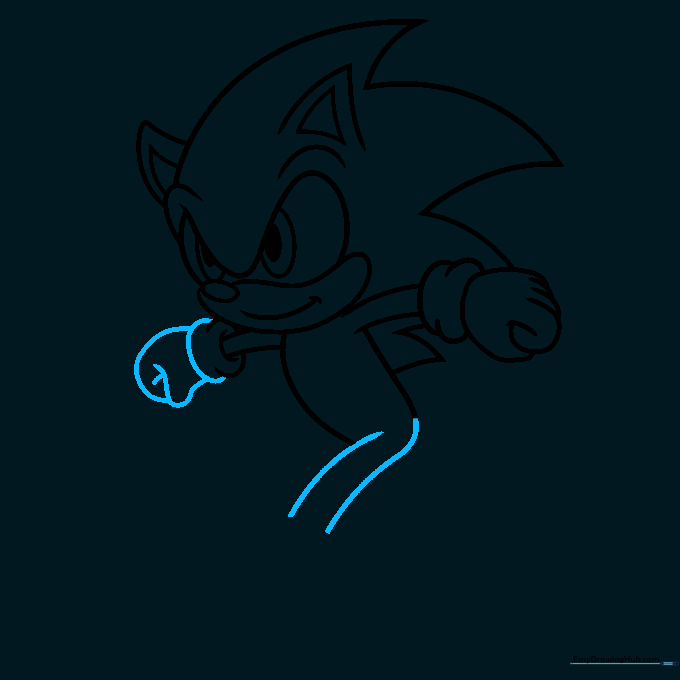
Draw two parallel lines for the right leg. Add a semi-circle for the base of the left glove, then use a Y-shape and a dip to connect the glove to the wrist. Tip: Keep the leg lines parallel to suggest the straight, fast movement of a sprint.
Step 7: Sketching the First Foot
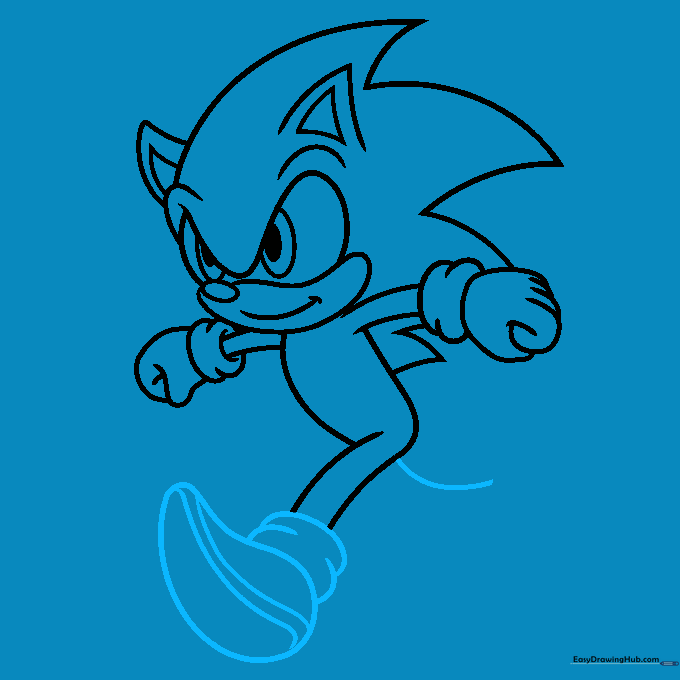
Draw a large teardrop shape for the foot. Add curved lines inside to define the shoe's structure and a curve to the right to start the leg. Tip: The teardrop shape helps create the illusion of a shoe pointing forward.
Step 8: Adding the Second Foot

Repeat the process for the right ankle, then draw another teardrop shape for the second foot. Complete the leg with a smooth, curved line. Tip: Ensure both shoes look similar in size to keep the drawing balanced.
Step 9: Finalizing Details
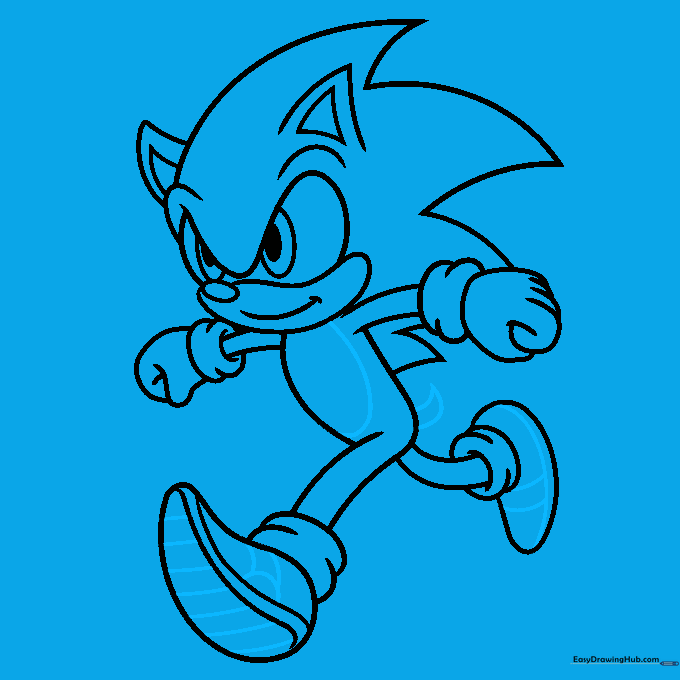
Sketch an oval for the body and a triangle for the tail. Add lines and semi-circles inside the shoes to represent the soles and details. Tip: Use a darker pencil or pen for these final details to make them pop.
Step 10: Bringing Sonic to Life with Color
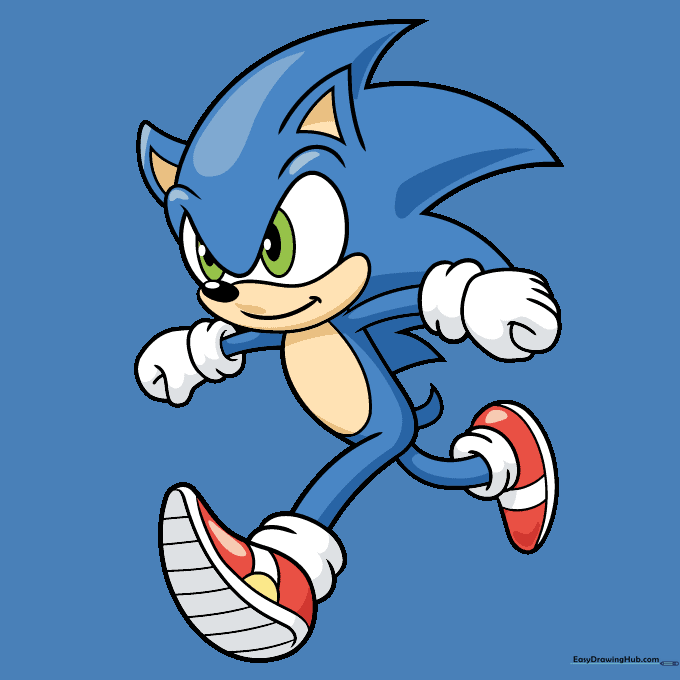
Outline your drawing with black ink. Color the body Sonic’s signature blue, with tan for the ears, stomach, and lower face. Use green for the eyes, and bright red and yellow for the shoes. Tip: Use light, even strokes when coloring to keep the drawing looking professional.
More Tutorials


