How to Draw Son Goku: Easy 10-Step Anime Guide
Ready to bring your favorite Saiyan to life? This tutorial is perfect for young artists and anime fans looking to master Son Goku’s iconic look. Grab your pencil, eraser, and paper, and follow these steps to build your character from the ground up.
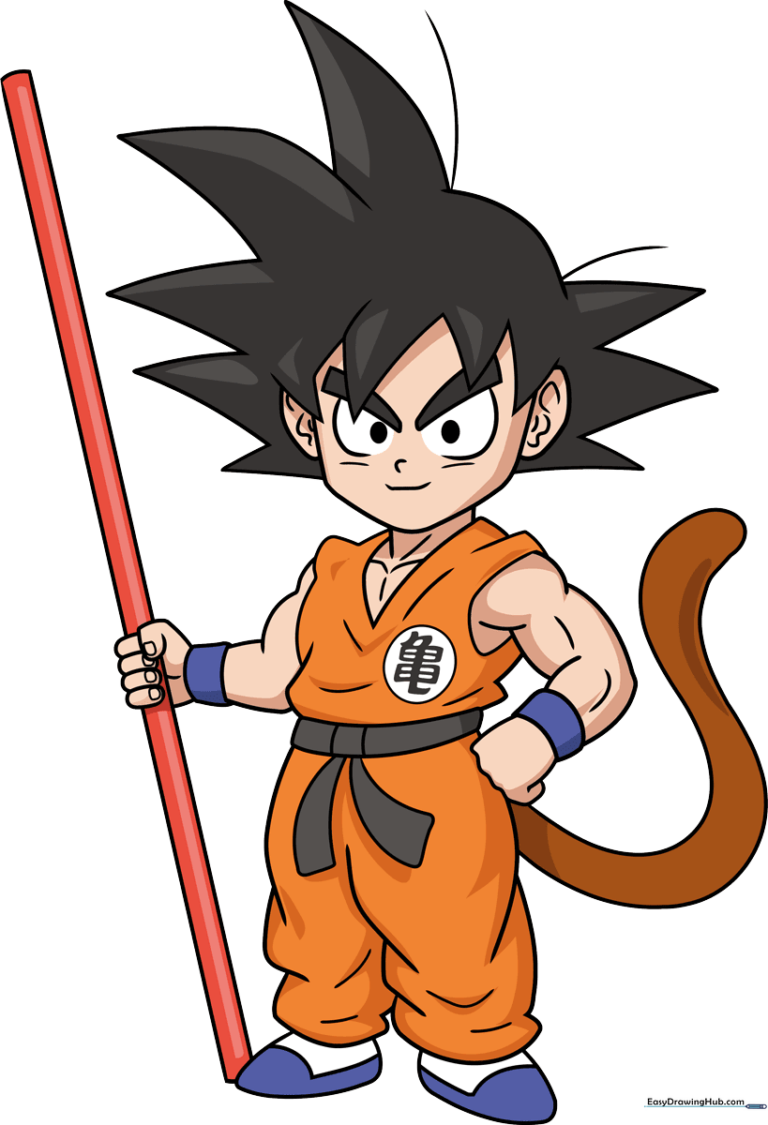
🎯 Final Result
Step-by-Step Instructions
Step 1: Sketching the Face Structure
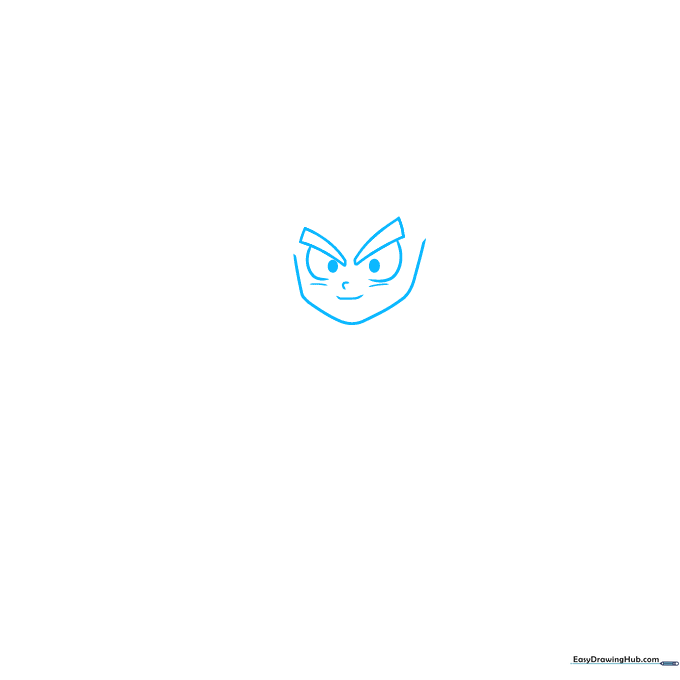
Start by drawing a soft, curved line to form the chin and cheeks. Add the rectangular eyebrows and simple lines for the nose and mouth. Teacher's Tip: Keep your pencil pressure light here so you can easily adjust the proportions if needed.
Step 2: Defining the Spiky Hair
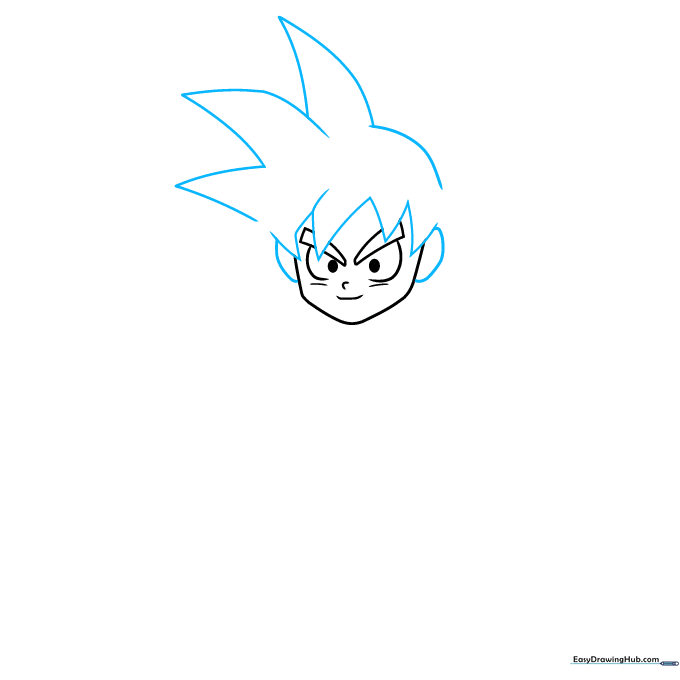
Use long and short curved lines that meet at sharp, jagged points to create Goku's signature hair. Add curved lines for the ears. Teacher's Tip: Don't worry about making the spikes perfectly symmetrical; Goku's hair is meant to look wild and energetic!
Step 3: Neck and Garment Details
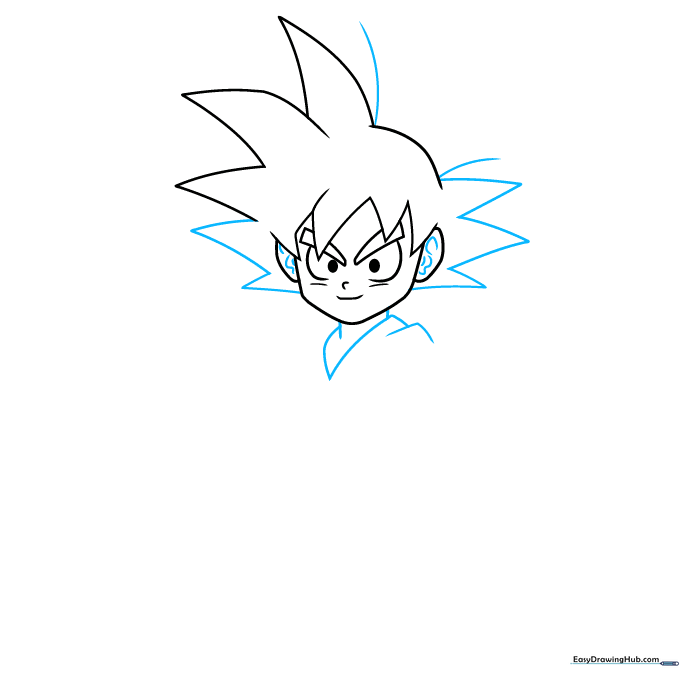
Continue the hair spikes and add a few loose strands at the back. Use overlapping curved lines to define the neck and the 'V' shape of his training gi. Teacher's Tip: Use smooth, flowing lines for the neck to make him look strong.
Step 4: Building the Torso
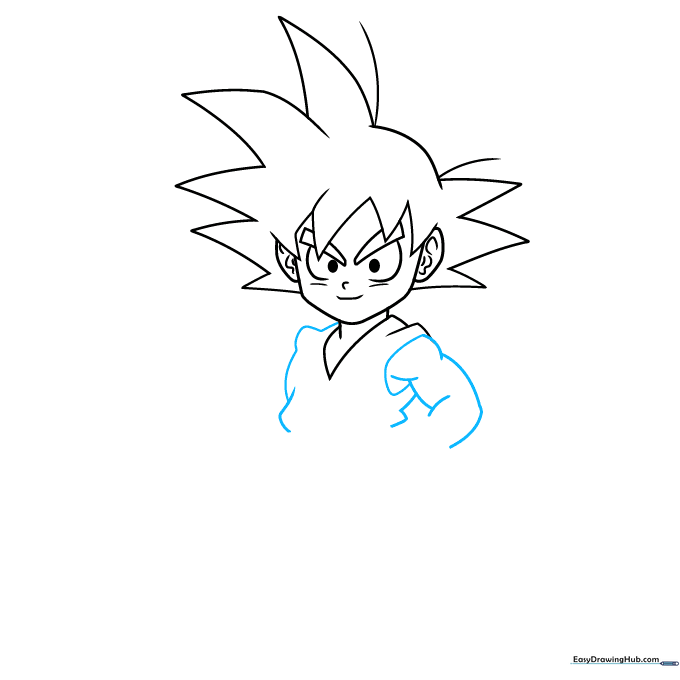
Draw the torso of the garment and the muscular arms using overlapping curved lines. Teacher's Tip: Think of the arms as simple cylinders to get the placement right before adding muscle definition.
Step 5: Drawing the Fists
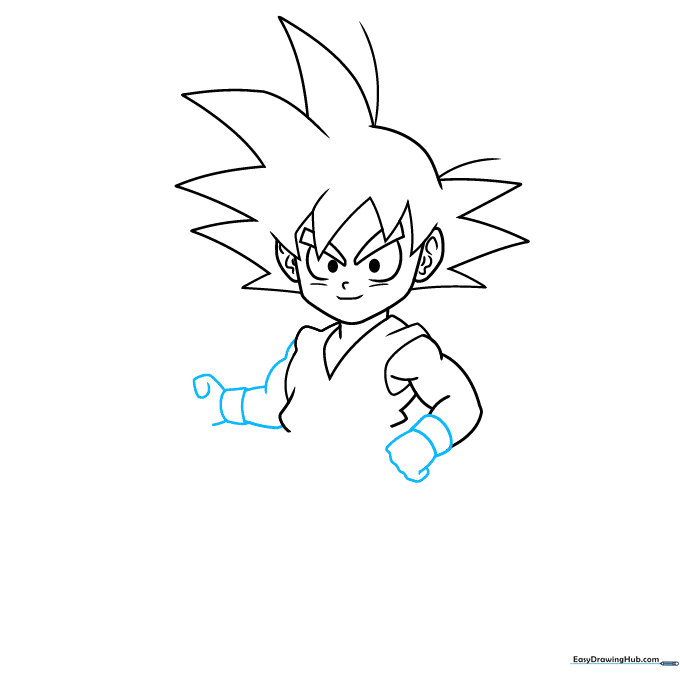
Draw the second arm and add curved rectangles at the wrists. Use curved lines to sketch the fisted hands. Teacher's Tip: Hands can be tricky! Focus on the overall shape of the fist rather than individual fingers at this stage.
Step 6: Adding the Belt and Muscles
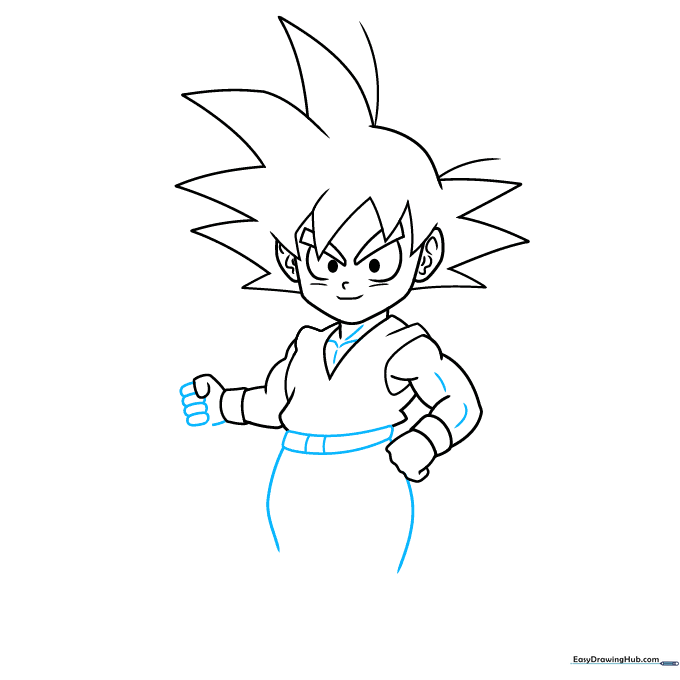
Finish the fists, add a rectangular belt with a square buckle, and extend lines for the legs. Add small curved lines to define the chest and arm muscles. Teacher's Tip: Keep your lines clean to make the final coloring process much easier.
Step 7: Pants and Feet

Draw the triangular ends dangling from the belt. Sketch the legs of the pants and the first foot. Teacher's Tip: The dangling fabric adds movement to your drawing, so make sure the lines curve naturally.
Step 8: Tail and Final Details
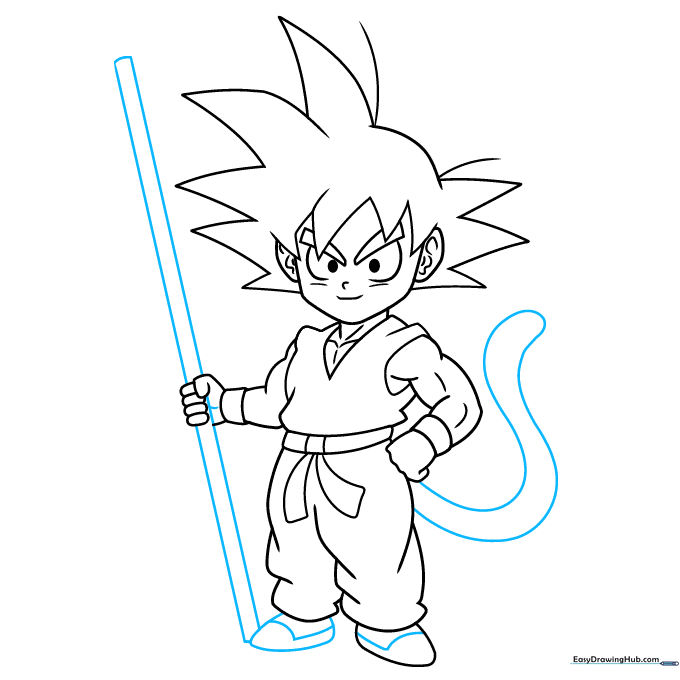
Complete the second foot, add the monkey tail, and refine the fist details. Teacher's Tip: The tail should look like a long, soft 'S' shape coming from the hip.
Step 9: Adding the Turtle Symbol
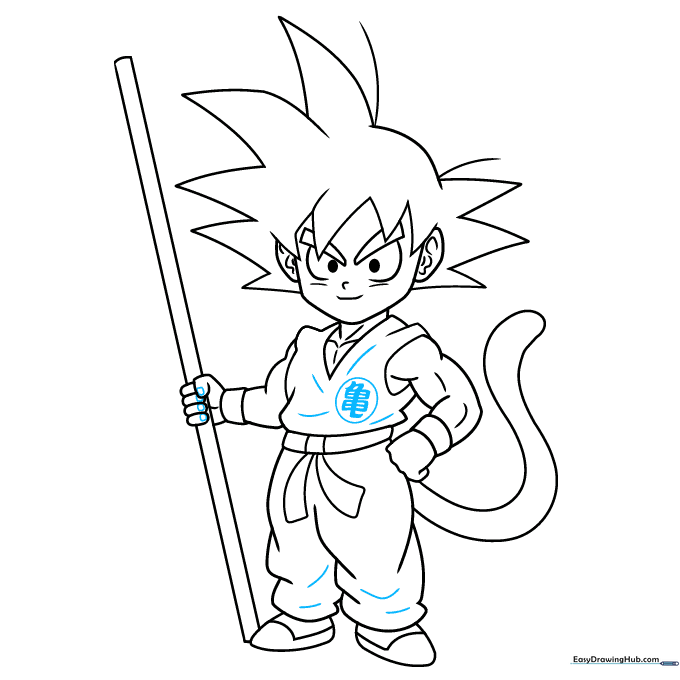
Draw a circle on the chest and add the Japanese symbol for 'turtle'. Add small fingernails to the fingers. Teacher's Tip: Take your time with the symbol—it's a great way to practice steady hand control.
Step 10: Bring Goku to Life with Color
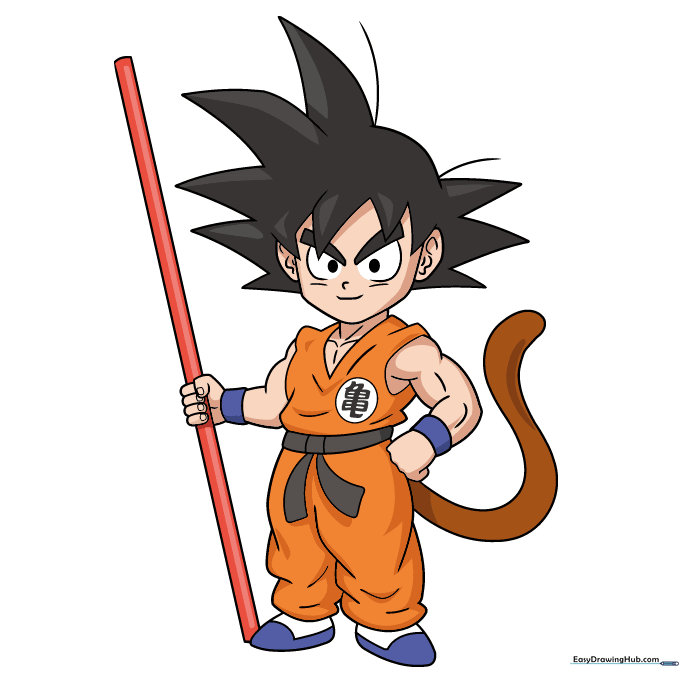
Your outline is complete! Use orange for the jumpsuit, black for the hair, and brown for the tail. Teacher's Tip: Use light pressure for coloring to build up layers, which makes the colors look more vibrant.
More Tutorials


