How to Draw Snow White: Easy 10-Step Guide for Kids
Bring your favorite fairy tale character to life with this simple drawing guide, perfect for young artists ages 5 and up. You will only need a pencil, an eraser, and your favorite coloring supplies to complete this portrait. Follow these steps to build confidence in your character-drawing skills while capturing Snow White's iconic look.
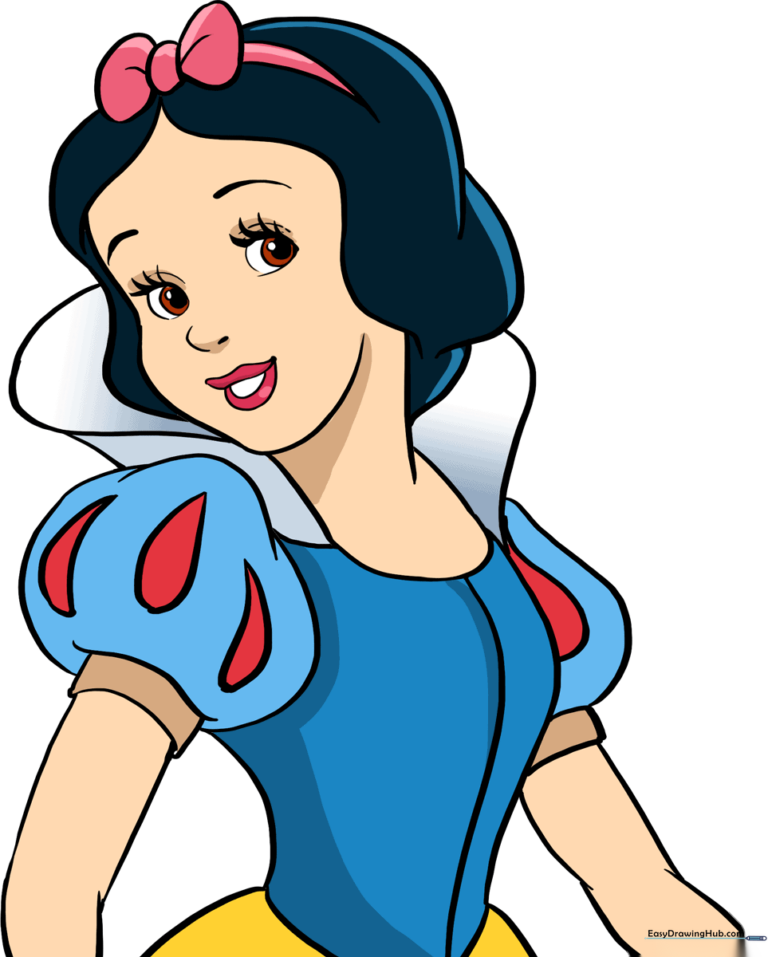
🎯 Final Result
Step-by-Step Instructions
Step 1: Sketching the Face Shape

Lightly sketch the outline of the face, including the jaw, neck, and forehead. Teacher's Tip: Keep your pencil grip loose to ensure your lines stay light and easy to adjust.
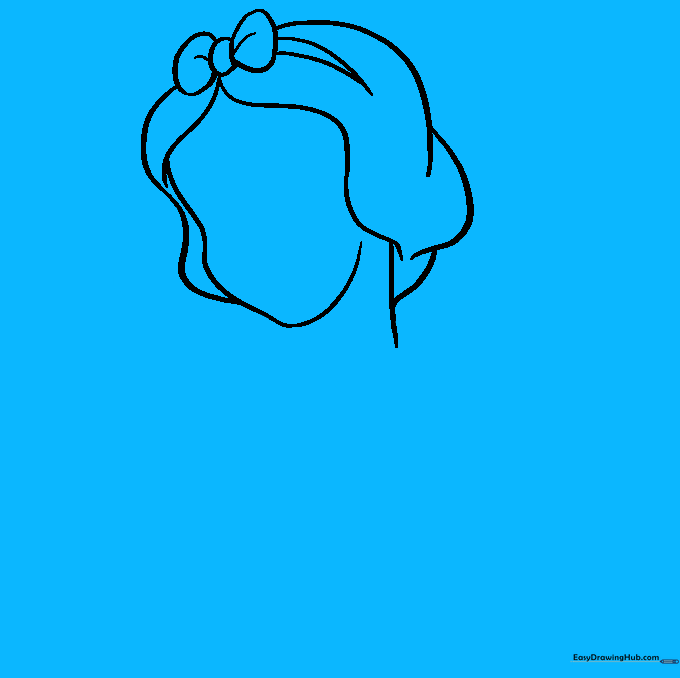
Step 2: Adding the Iconic Bow

Draw the bow at the top of the head with a rounded center knot and two side loops. Add small lines to show fabric folds. Teacher's Tip: Think of the bow as three connected circles to keep it symmetrical.
Step 3: Framing the Hair

Use overlapping curved lines to frame the face with her classic bob hairstyle. Teacher's Tip: Use smooth, continuous strokes to make the hair look soft and rounded.
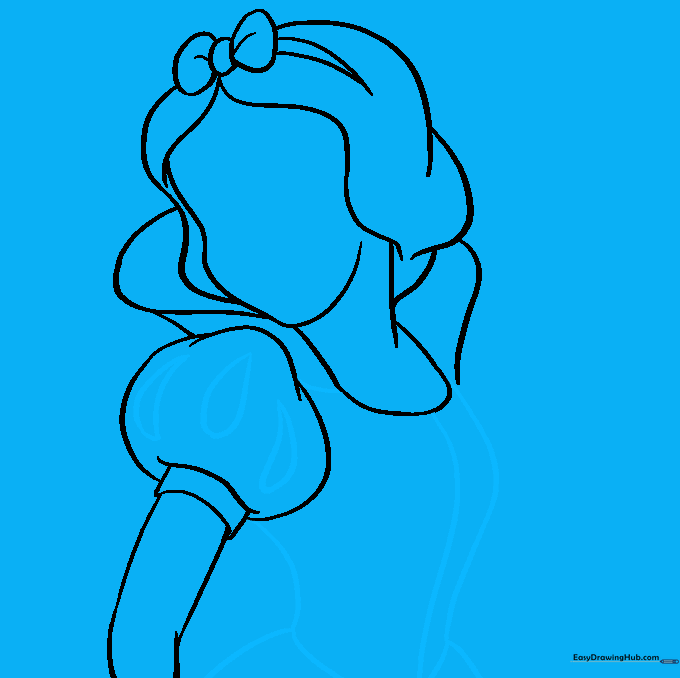
Step 4: Drawing the High Collar
Sketch the stiff, upturned collar of her dress using curved lines that extend past the chin. Teacher's Tip: Ensure the collar looks symmetrical on both sides for a balanced look.
Step 5: Creating the Puffy Sleeve

Draw the puffy sleeve using overlapping curves and small lines for the fabric texture. Teacher's Tip: Add small teardrop shapes inside to represent the classic sleeve pattern.
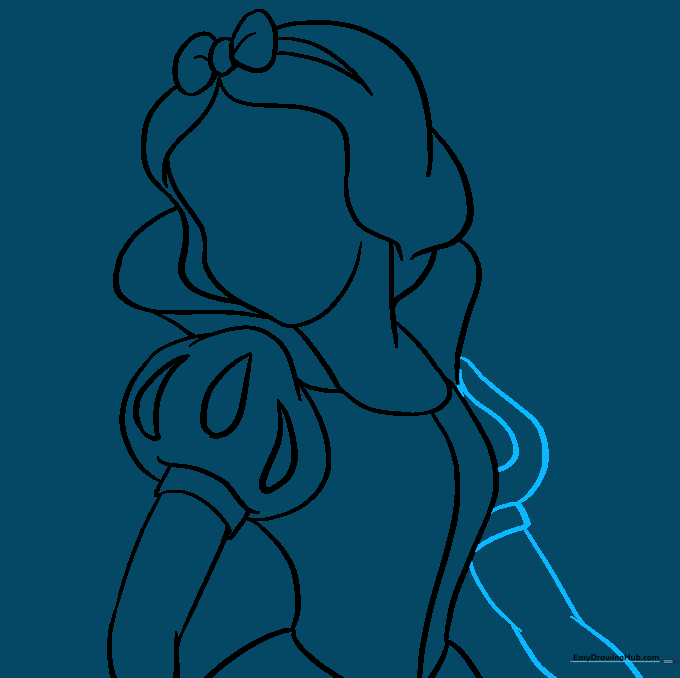
Step 6: Outlining the Arm

Extend two curved lines from the sleeve to form the arm. Teacher's Tip: Keep the arm lines parallel to give it a natural, slender appearance.
Step 7: Designing the Bodice and Skirt
Draw the bodice with a center seam and extend lines downward for the skirt. Teacher's Tip: Use long, sweeping lines for the skirt to show the flow of the fabric.
Step 8: Adding the Second Sleeve
Repeat the sleeve drawing process on the other side. Teacher's Tip: Match the size of this sleeve to the first one to keep your character looking proportional.
Step 9: Drawing the Face Features
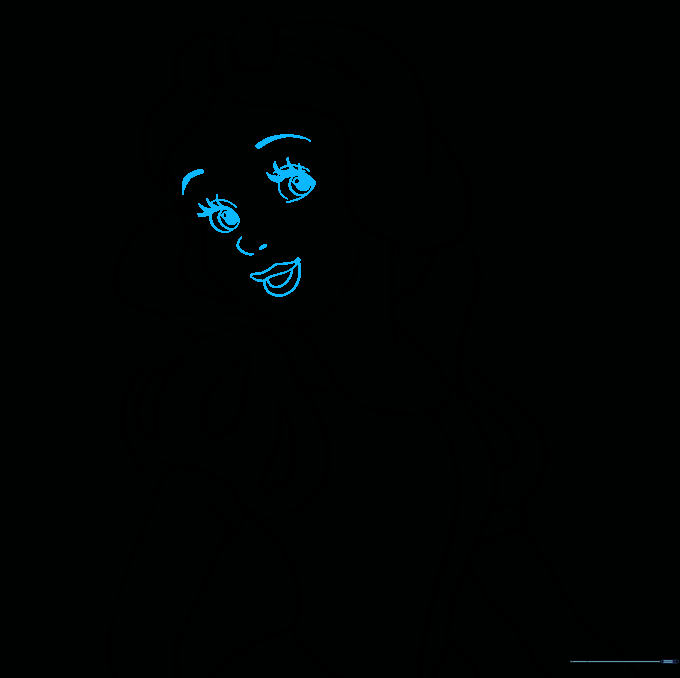
Add the eyes, eyebrows, nose, and mouth. Teacher's Tip: Draw the pupils as small, dark circles to give her a bright, expressive look.
Step 10: Bringing Color to Life
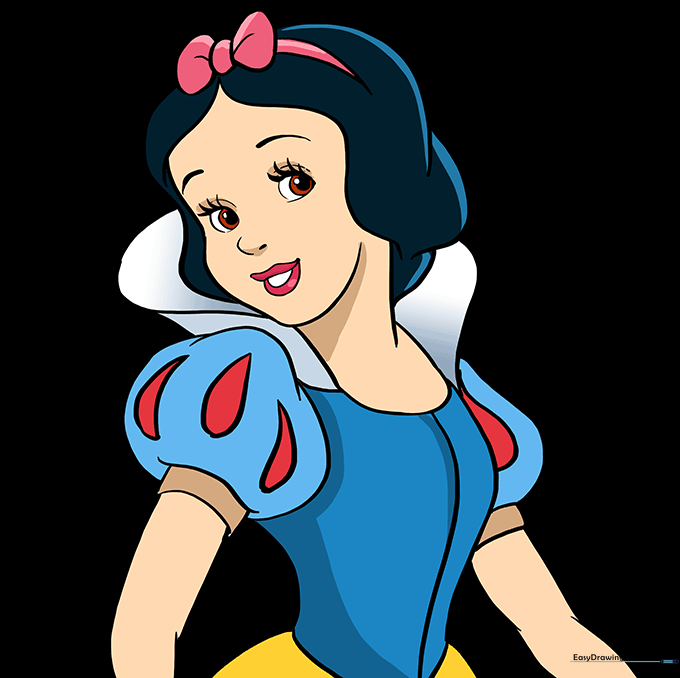
Color your drawing using blue for the bodice, yellow for the skirt, and red for the bow. Teacher's Tip: Use light pressure with your colored pencils to blend colors smoothly.
More Tutorials


