How to Draw Snorlax: Easy 10-Step Pokémon Tutorial
Ready to bring everyone's favorite sleepy Pokémon to life? This tutorial is perfect for artists ages 5 and up. All you need is a pencil, an eraser, and some paper to master Snorlax's iconic round shape and relaxed expression.
🎯 Final Result

Step-by-Step Instructions
Sketching the Head and Ears

Start by drawing a soft, wide curve for the top of the head. Add two small, curved triangles at the top corners for his ears. Teacher's Tip: Keep your pencil lines light so you can easily adjust the shape if it looks a bit too pointy!
Adding the Sleepy Face

Draw two small, downward-curving lines for his closed eyes. Below them, sketch a semi-circle for his mouth with a small curved line inside for the tongue. Tip: Keep the eyes low on the face to give him that signature sleepy look.
Defining the Face Mask

Draw a wide 'M' shape that frames the face, connecting from the sides of the head. Add two small triangles at the bottom of the mouth for teeth. Tip: Make sure the 'M' shape is nice and wide to capture his chubby cheeks.
Sketching the First Arm
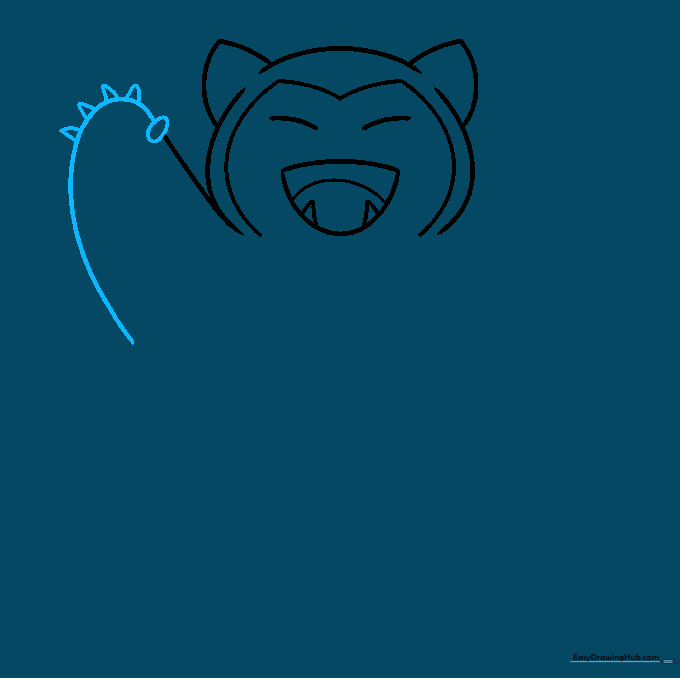
Extend a long, curved line from the neck area and loop it back to create the arm. Add three small triangles at the end for his claws. Tip: Keep the arm rounded and soft—Snorlax is all about being cuddly!
Drawing the Second Arm
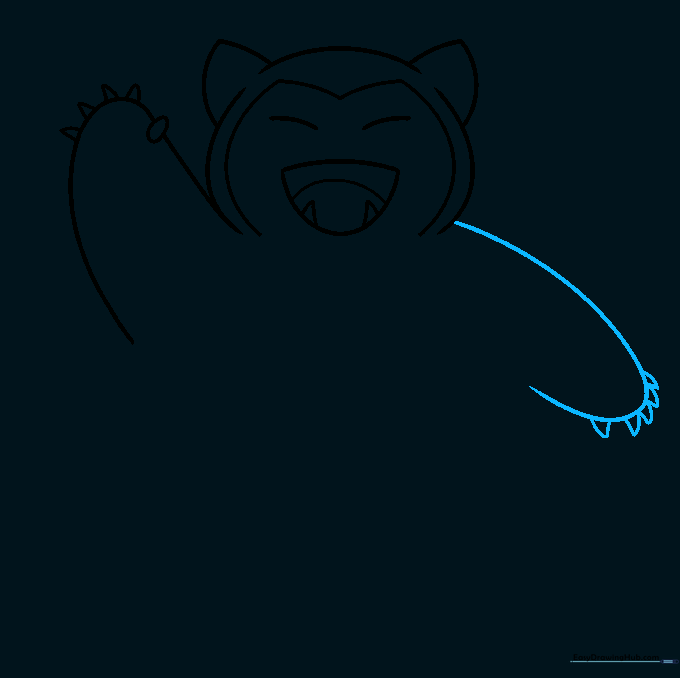
Repeat the process on the other side to draw the second arm. Ensure it matches the size and shape of the first one. Tip: If the arms look uneven, just use your eraser to gently adjust the curve.
Outlining the Belly and First Leg
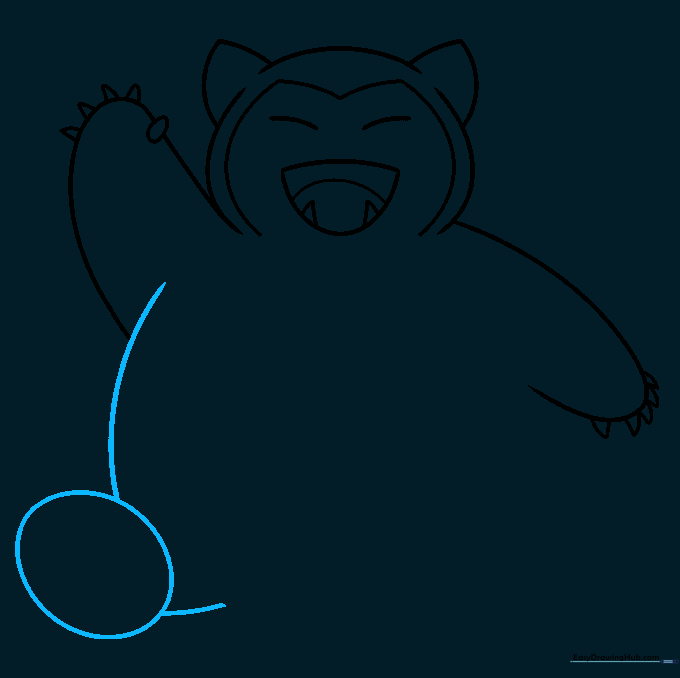
Draw a large, sweeping curve from the arm to form the side of his belly. Add an oval at the bottom for the foot and a short line for the leg. Tip: Think of his body as a giant pear shape!
Adding the Second Leg
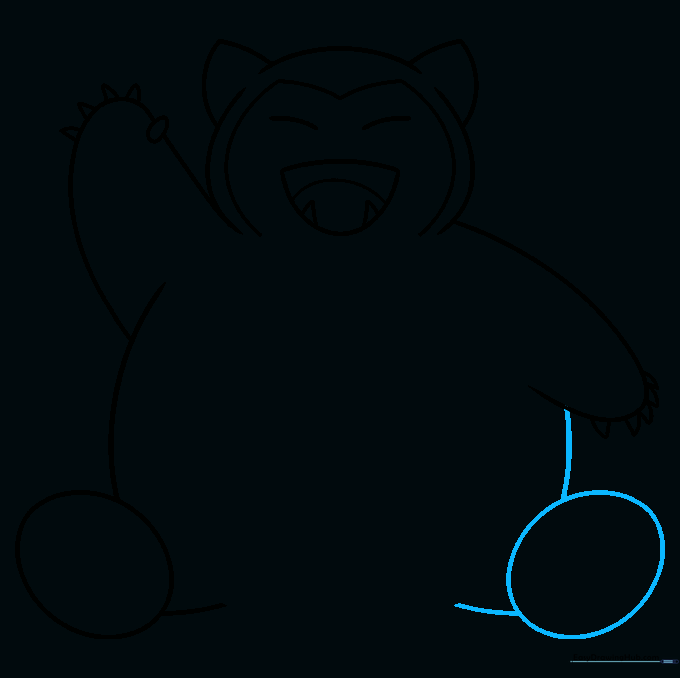
Mirror the previous step on the opposite side to create the second leg. Keep the lines smooth and rounded. Tip: Symmetry is key here, so take your time to make sure both feet are roughly the same size.
Adding Foot Claws
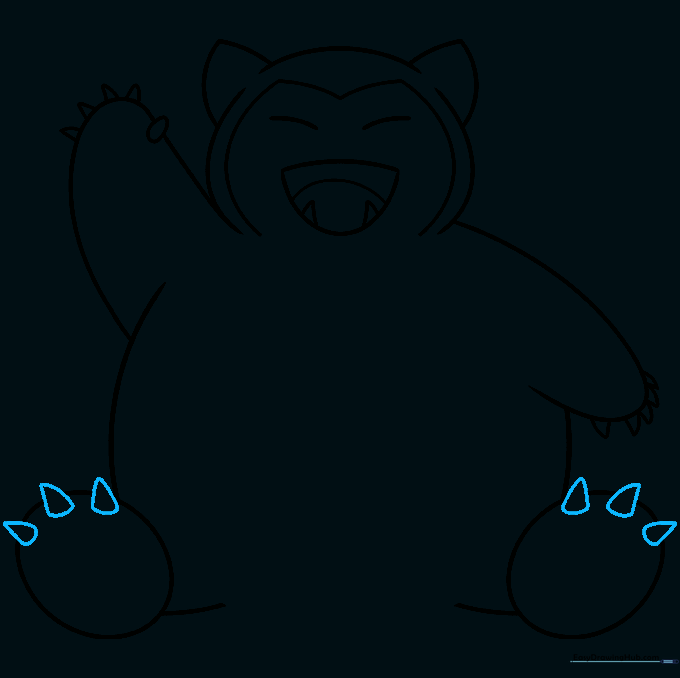
Draw small triangles on the edge of each foot to represent his claws. Tip: Don't worry if they aren't perfect; Snorlax is a big, messy character, so a little variation adds personality!
Finalizing the Belly and Details
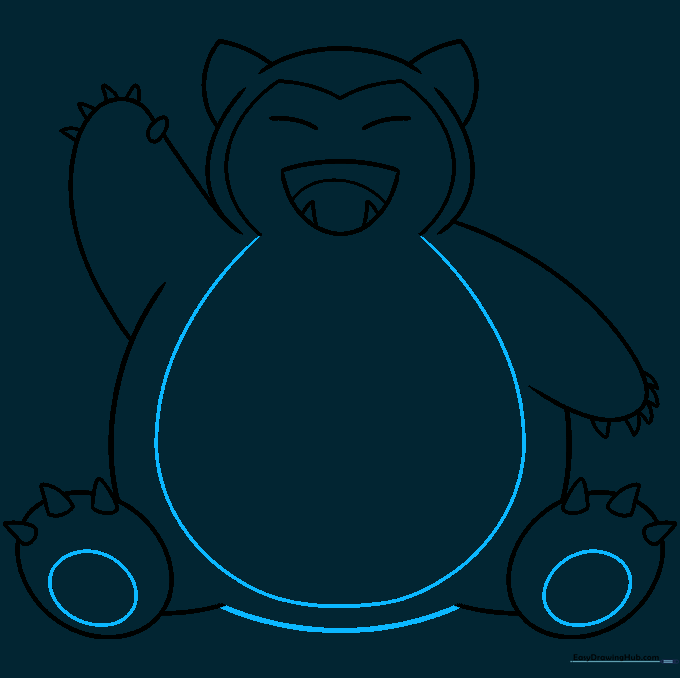
Draw a large oval on his belly and add smaller ovals to the bottom of each foot. Connect these lines to the face mask. Tip: Use a darker pencil stroke now to finalize your outline.
Coloring Your Snorlax

Time to bring him to life! Use a dark blue or teal for his body and a soft cream color for his face and belly. Tip: Use light, circular motions with your colored pencils to get an even, smooth look.
More Tutorials


