How to Draw Shoto Todoroki: Easy Step-by-Step Anime Guide
Ready to bring the dual-powered hero from My Hero Academia to life? This tutorial is perfect for fans ages 8+ looking to practice anime-style facial proportions. All you need is a pencil, an eraser, and a piece of paper to get started.
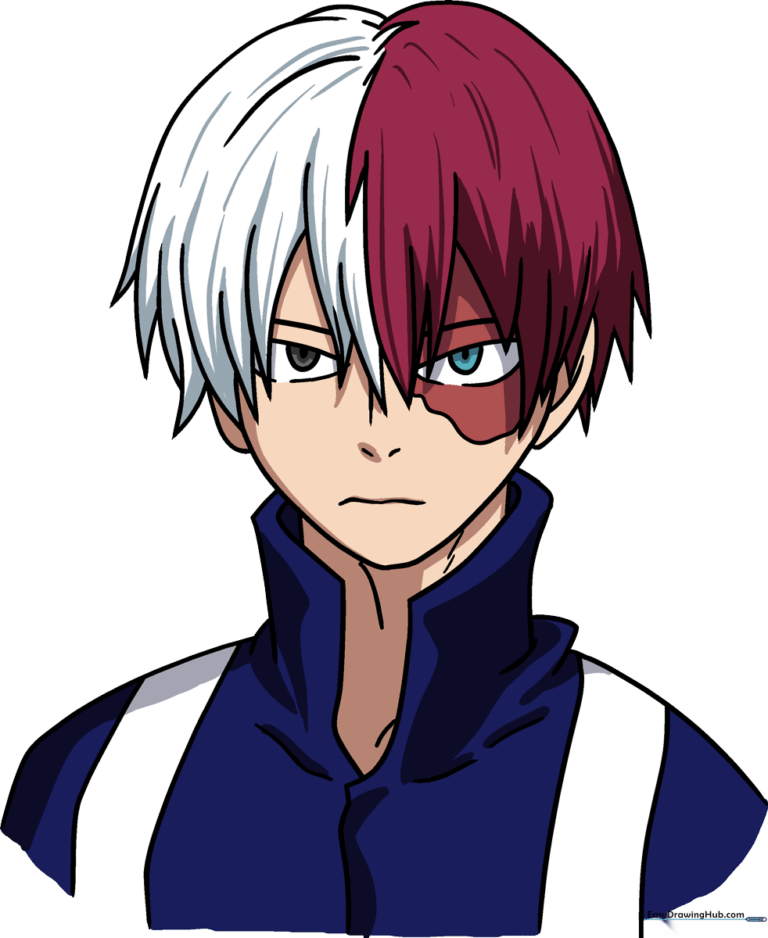
🎯 Final Result
Step-by-Step Instructions
Step 1: Establishing Facial Proportions
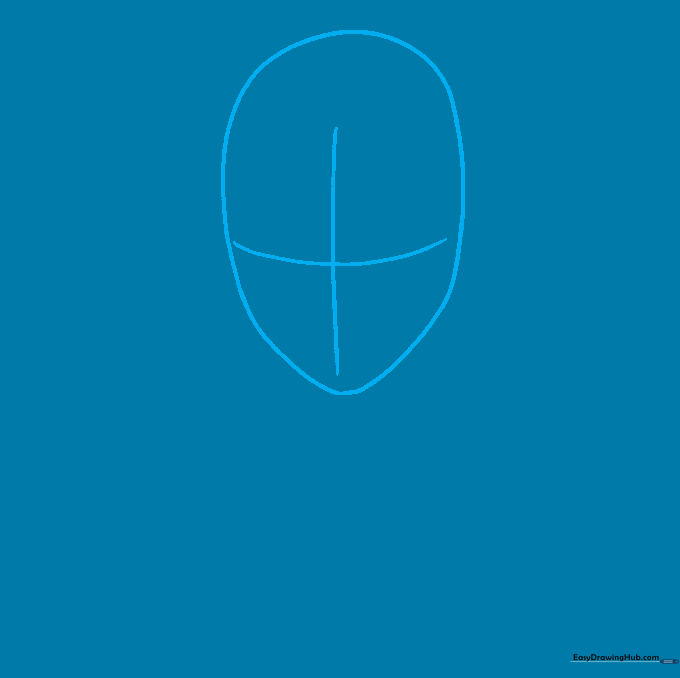
Use a long, fluid curved line to outline the jawline. Add a light 't' guide across the face to help center your features. Teacher's Tip: Keep these lines very faint so they don't leave indentations on your paper when you erase them later.
Step 2: Defining the Eyes and Expression
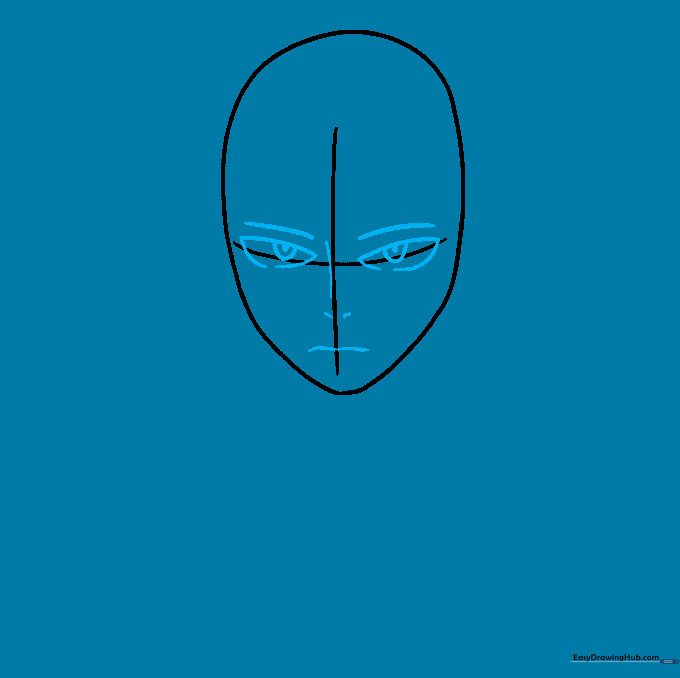
Draw the squinting anime-style eyes along the horizontal guide. Add the irises and pupils, then sketch the nose and a small, serious mouth. Teacher's Tip: Focus on the symmetry of the eyes to capture Shoto's calm, focused personality.
Step 3: Sketching the Bangs
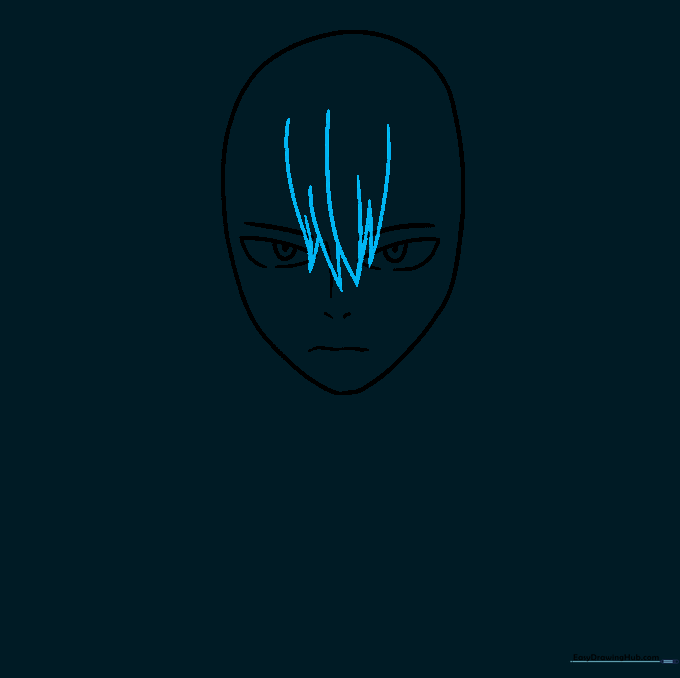
Gently erase your guide lines. Now, draw the spiky bangs falling between the eyes using jagged, triangular shapes. Teacher's Tip: Use short, quick strokes to make the hair look sharp and energetic rather than rounded.
Step 4: Framing the Face
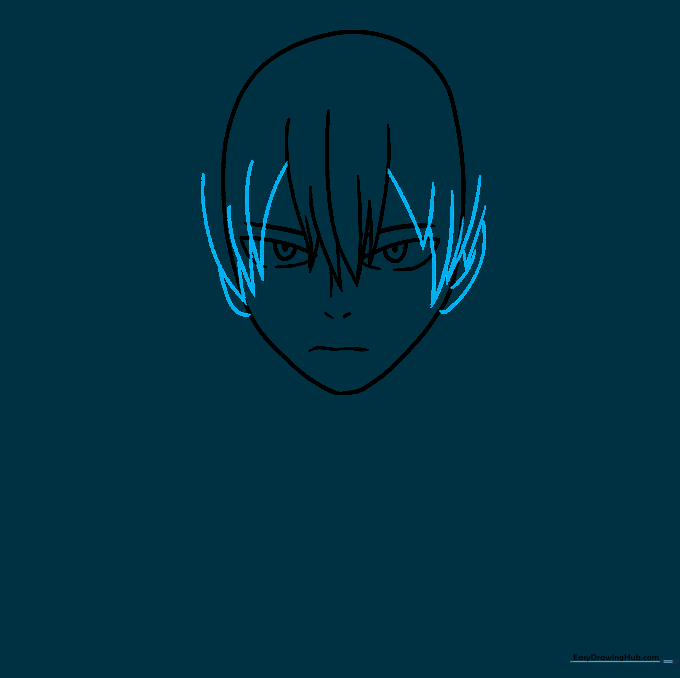
Extend the hair spikes down the sides of the face and add the ears. Teacher's Tip: Keep the ears aligned between the top of the eyes and the bottom of the nose for realistic proportions.
Step 5: Drawing the Crown
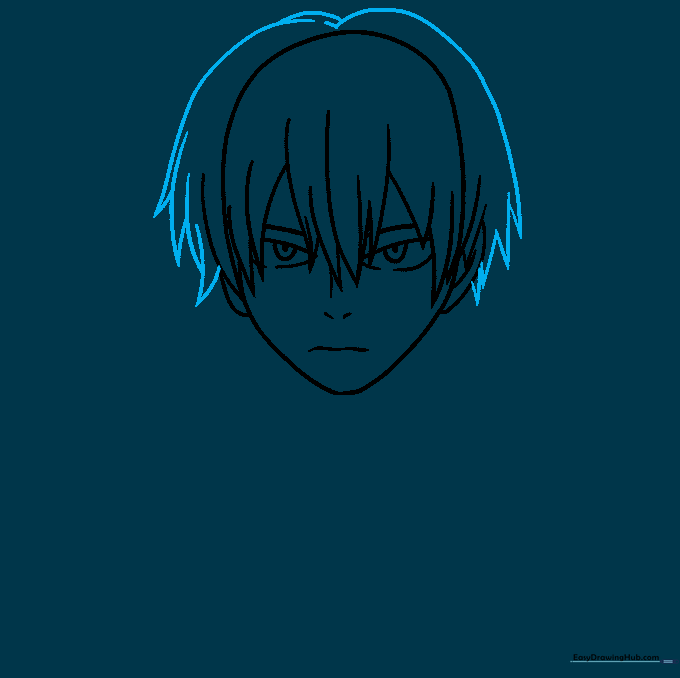
Add the top section of the hair using long, overlapping curved lines that meet at the crown of the head. Teacher's Tip: Imagine the hair growing from a central point to give it a natural, voluminous look.
Step 6: Adding Character Details
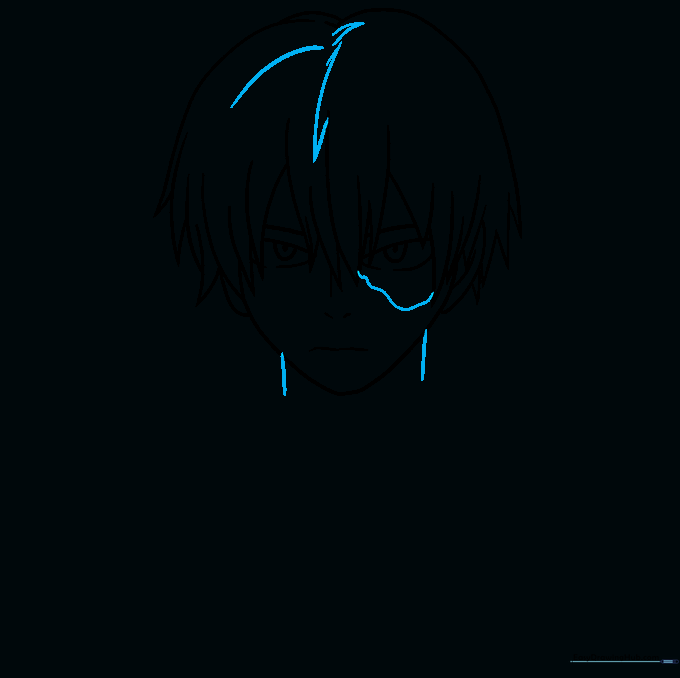
Draw the line separating his two-toned hair and add the signature scar over his left eye. Sketch the neck lines to finish the head. Teacher's Tip: The scar is a key detail—keep the line slightly wavy to show texture.
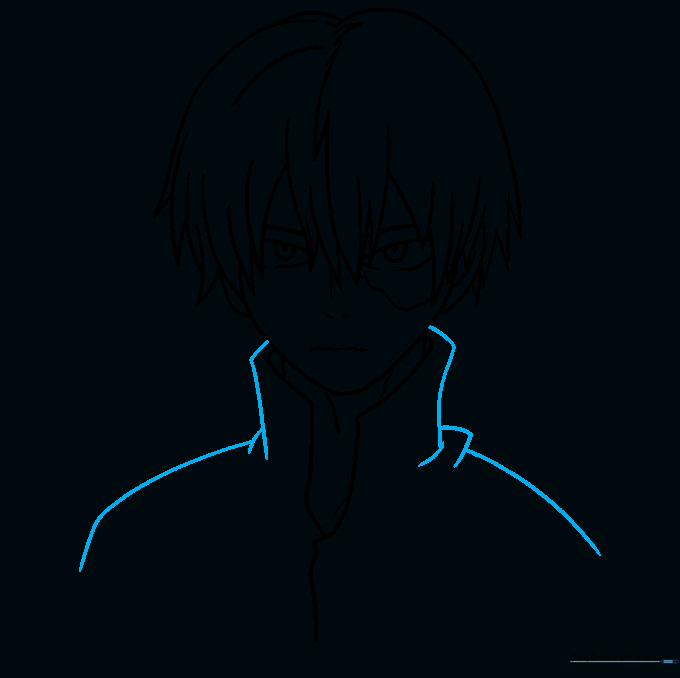
Step 7: Drawing the Collar
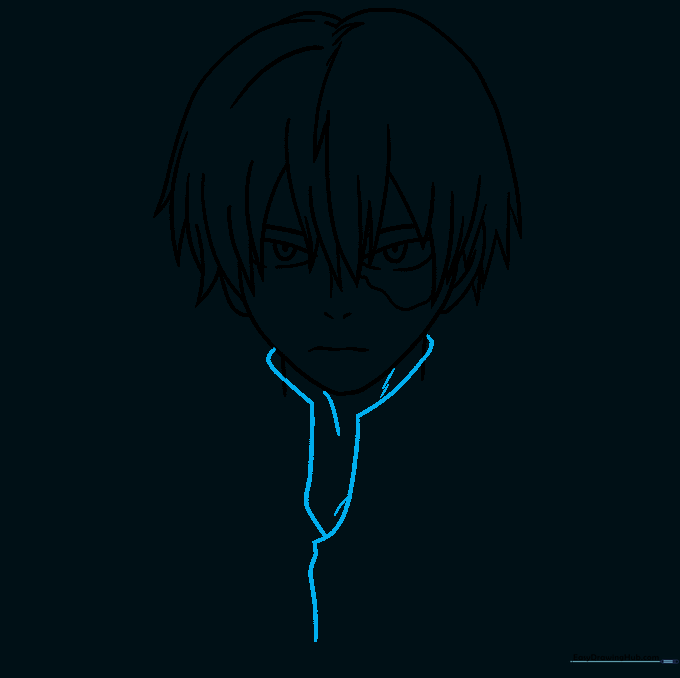
Outline the high collar of his hero suit using curved lines. Teacher's Tip: Ensure the collar looks thick and structured to match his uniform's design.
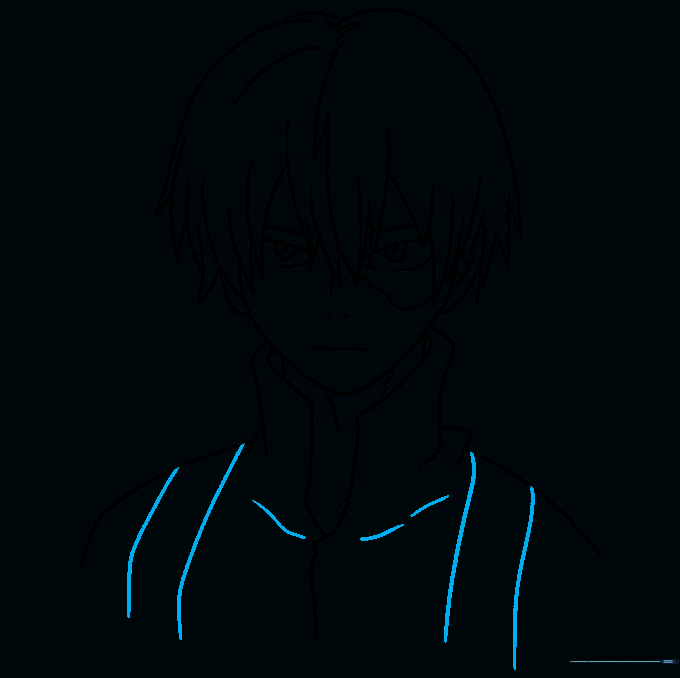
Step 8: Adding Fabric Folds
Add depth to the suit by drawing overlapping lines for fabric folds and shoulder definition. Teacher's Tip: Use light pressure for these lines to suggest soft fabric movement.
Step 9: Finalizing the Outline
Refine your lines and add any final details to the garment. Teacher's Tip: Go over your final lines with a darker pencil or pen to make the drawing pop before coloring.
Step 10: Bringing Shoto to Life with Color
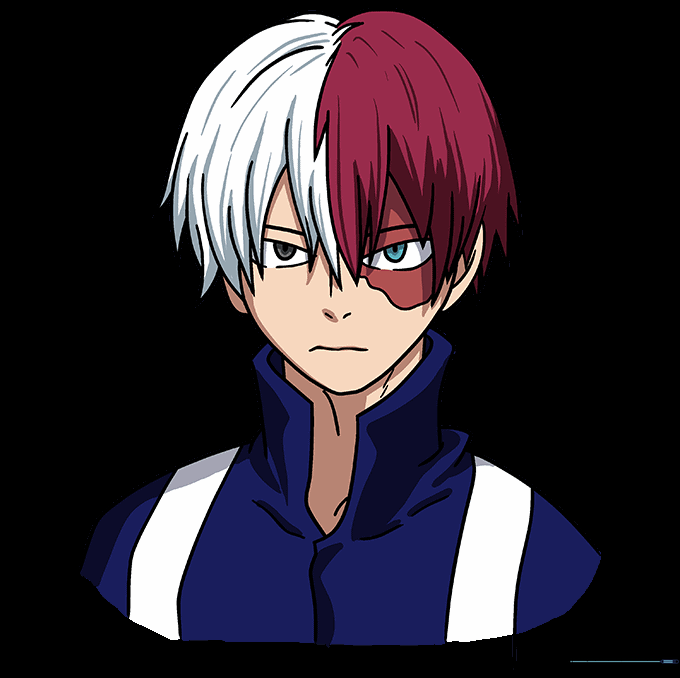
Time to color! Use white/grey for the right side of his hair and eye, and crimson red for the left side with a turquoise eye. Teacher's Tip: Use light, circular motions with your colored pencils for a smooth, even finish.
More Tutorials


