How to Draw Sherlock Holmes: Easy 10-Step Guide
Ready to solve the mystery of drawing the world's most famous detective? This tutorial is perfect for young artists ages 7+ who want to master profile portraits. Grab a pencil, an eraser, and some paper to bring Sherlock Holmes to life in just a few simple steps.
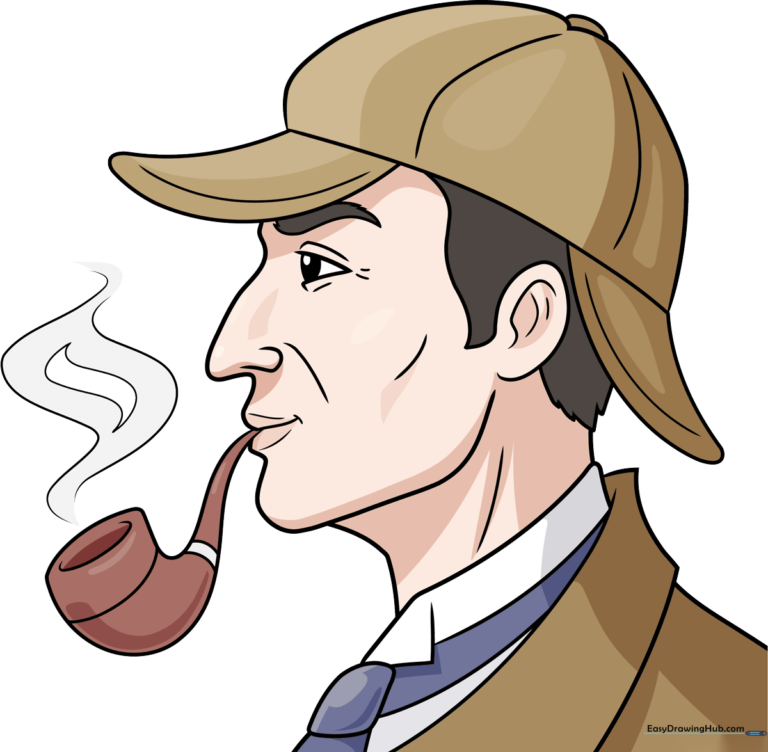
🎯 Final Result
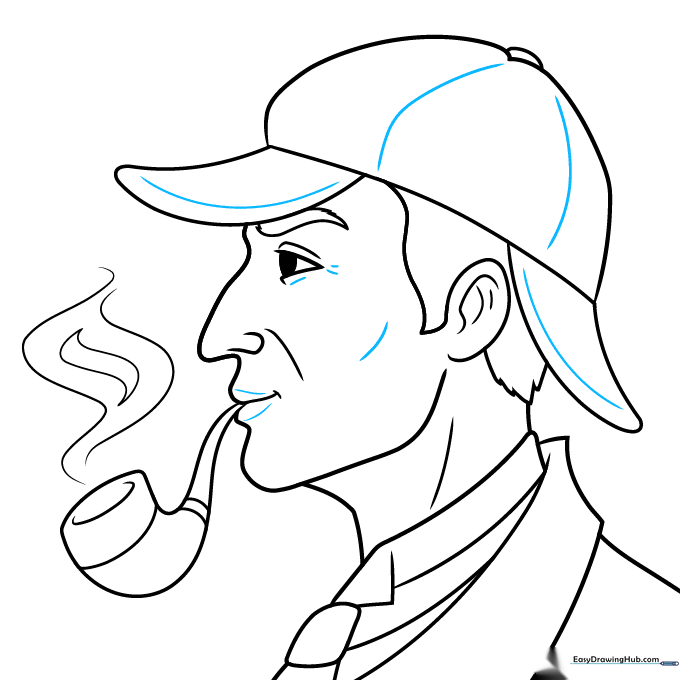
Step-by-Step Instructions
Step 1: Sketching the Profile Base
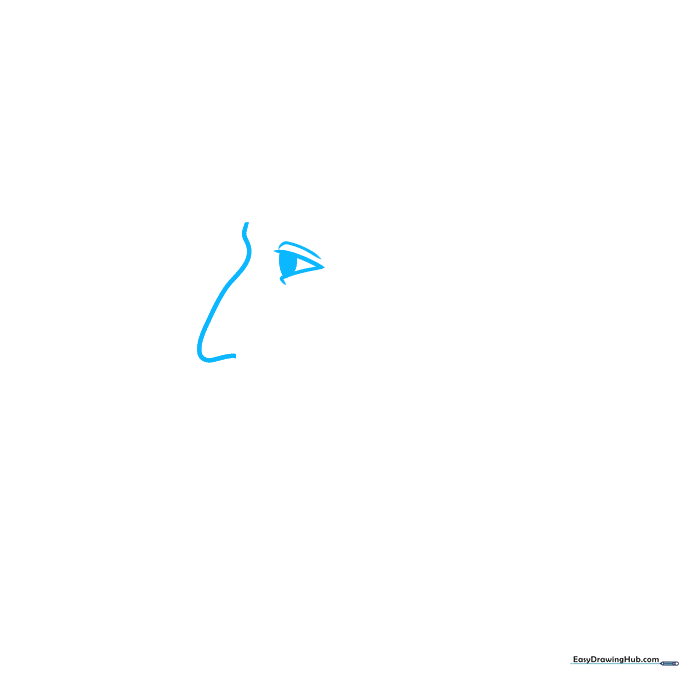
Start by drawing the bridge of the nose using a long, elegant curved line. Teacher's Tip: Keep this line light and fluid; it sets the proportion for the entire face.
Step 2: Defining Facial Contours
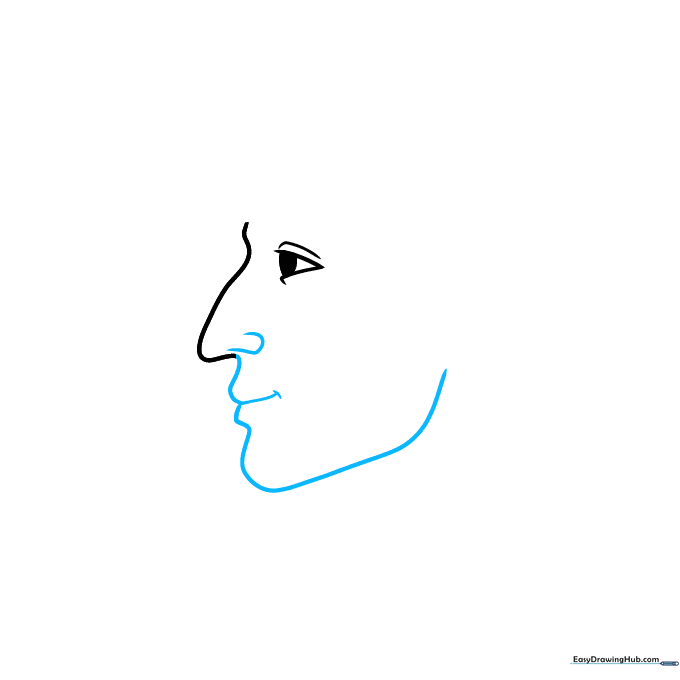
Extend the nose line downward to create the upper lip, chin, and jawline. Add a small 'U' shape for the nostril. Teacher's Tip: Use short, soft strokes for the lips to keep the expression natural.
Step 3: The Iconic Deerstalker Hat
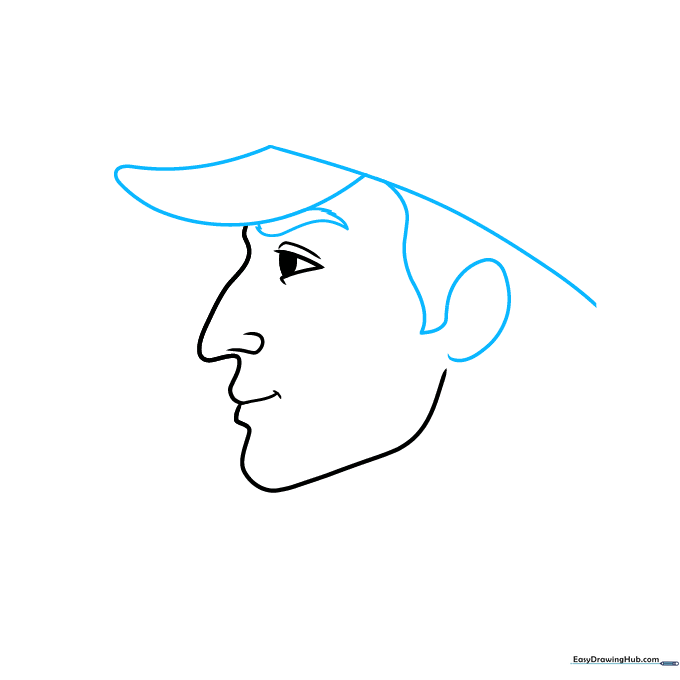
Draw the bill of the hat using a curved line that connects to the forehead. Add a bushy eyebrow above the eye area. Teacher's Tip: Use quick, flicking motions with your pencil to make the eyebrow look textured and thick.
Step 4: Completing the Hat Structure

Add the back flap of the hat and close the top with two meeting curved lines. Teacher's Tip: Think of the hat as a series of simple geometric shapes joined together to keep it symmetrical.
Step 5: Neck and Hair Details
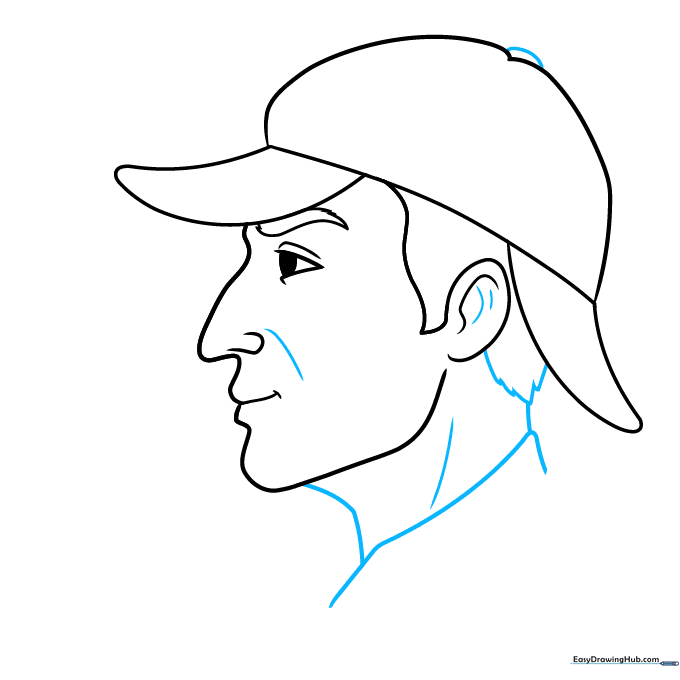
Sketch the hair at the back of the head and draw the neck connecting to the collar. Teacher's Tip: Use 'S' shaped curves for the hair to give it a realistic, flowing look.
Step 6: Adding the Overcoat
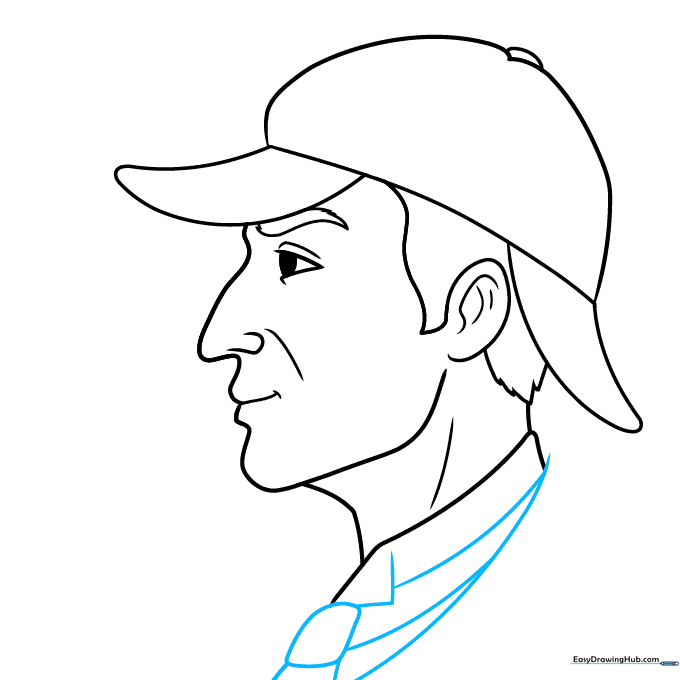
Draw the lapels and the necktie using overlapping curved lines. Teacher's Tip: Press slightly harder with your pencil here to define the fabric folds of the coat.
Step 7: The Signature Pipe
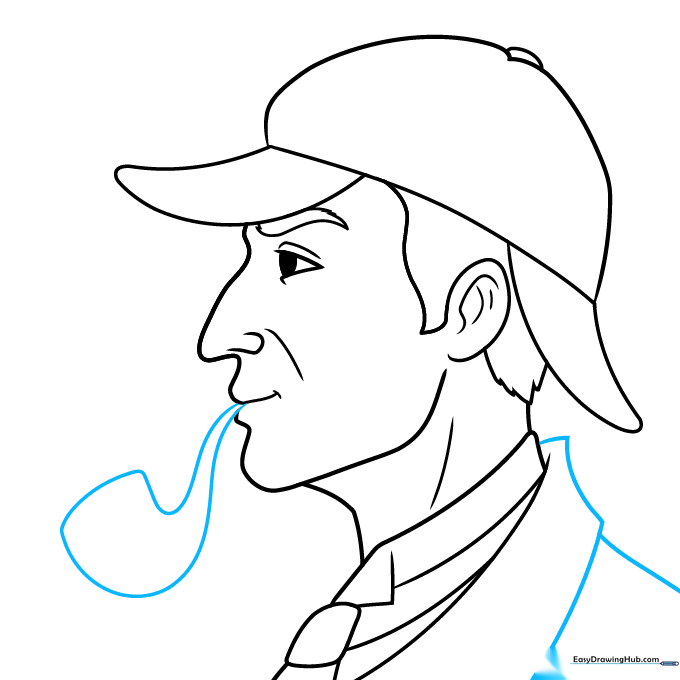
Extend a line from the mouth to form the stem of the pipe, then add the bowl. Teacher's Tip: Ensure the pipe looks like it's resting naturally against the lips.
Step 8: Adding Smoke Details
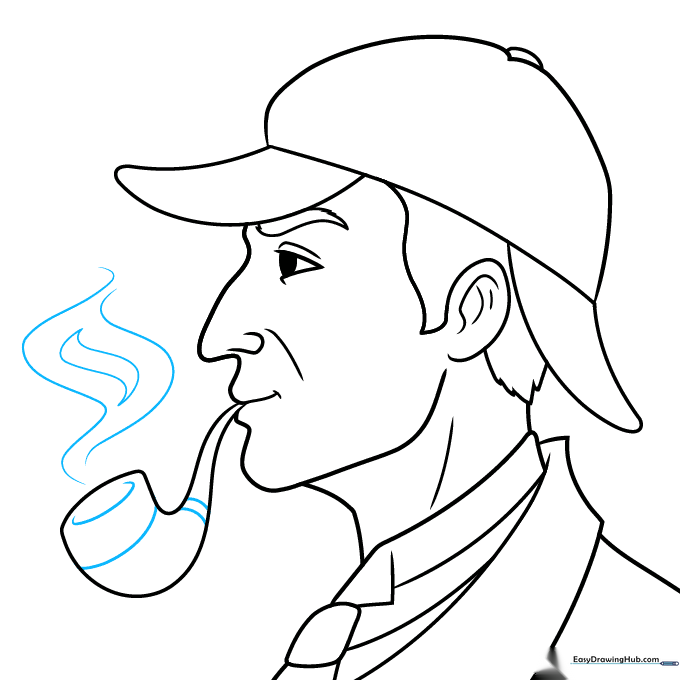
Add bands to the pipe and use wavy lines to create the effect of rising smoke. Teacher's Tip: Keep the smoke lines light and airy to show movement.
Step 9: Final Facial Contouring
Add subtle curved lines around the eyes and cheekbones to define his features. Teacher's Tip: Less is more! Use very faint lines to suggest age and character.
Step 10: Bringing Him to Life with Color
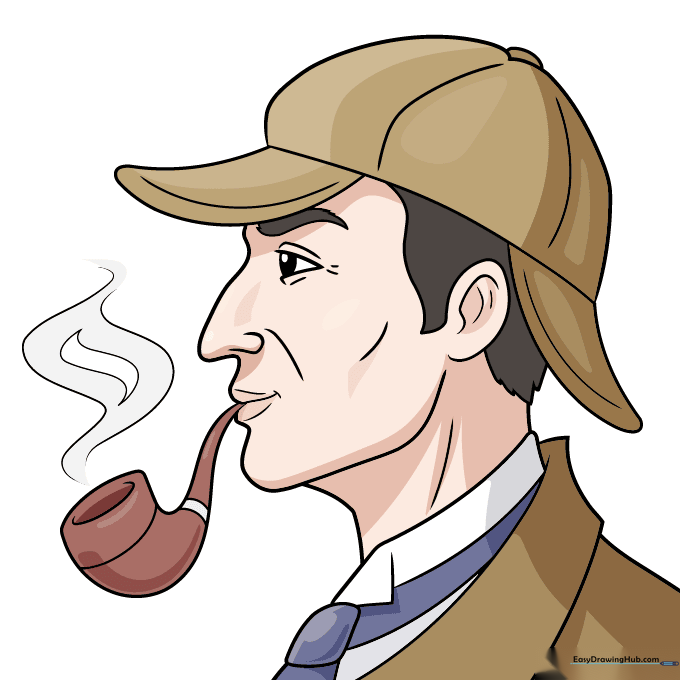
Time to color! Use earthy tones like browns, tans, and greys for his classic detective look. Teacher's Tip: Use a darker brown for the shadows under the hat to create depth.
More Tutorials


