How to Draw Shazam: Easy Step-by-Step Superhero Guide
Ready to bring the World's Mightiest Mortal to life? This tutorial is designed for young artists ages 8+ who want to master superhero proportions. Grab a pencil, an eraser, and a piece of paper to follow along as we break down Shazam’s iconic look into manageable, fun shapes.
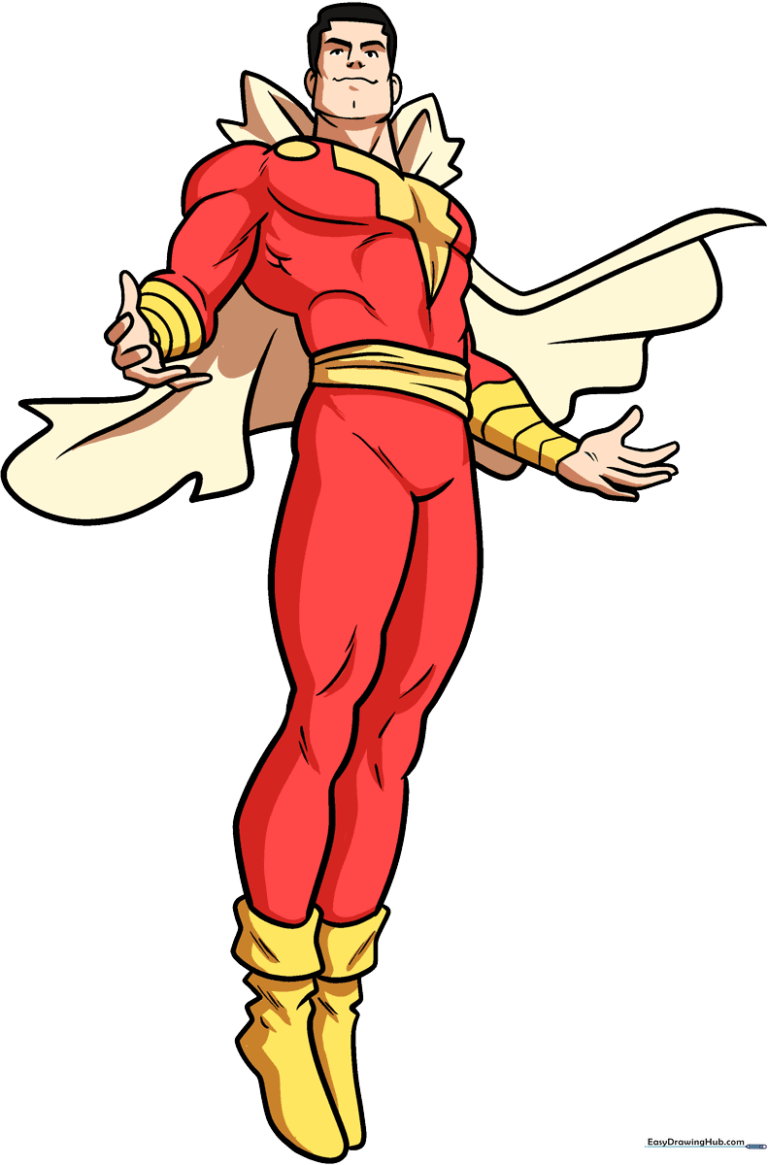
🎯 Final Result
Step-by-Step Instructions
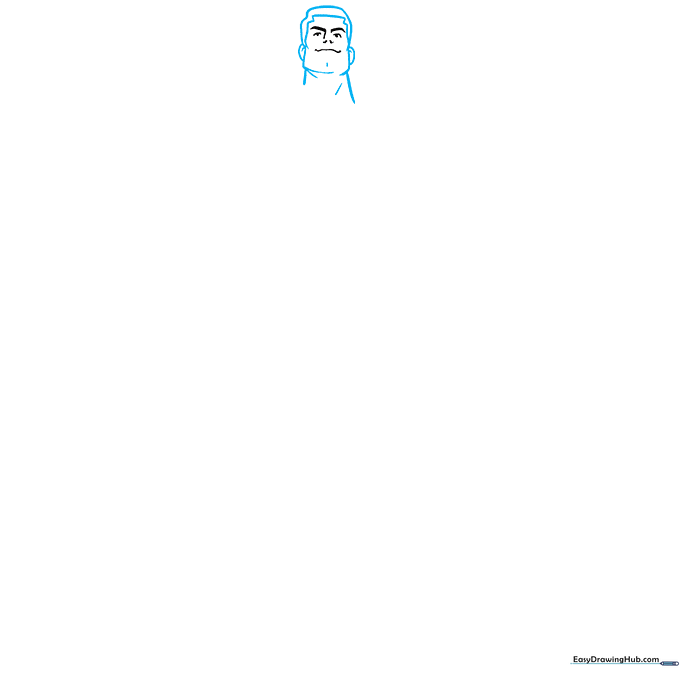
Step 1: Sketching the Face

Start by drawing the face. Use thick, curved lines for the eyebrows to give him a heroic expression, then add the eyes, nose, and mouth. Teacher's Tip: Keep the eyes symmetrical by drawing a faint horizontal guide line first.
Step 2: Defining the Head and Neck
Use curved lines to outline a strong, square jawline, a thick neck, and the ears. Add short, flicking lines to suggest the hair texture. Teacher's Tip: A thicker neck helps convey the 'superhero' strength of the character.
Step 3: Building the Torso

Draw overlapping curved lines to create the chest and torso. Focus on the pectoral muscles and abdominal area. Teacher's Tip: Think of the chest as two rounded 'D' shapes to get that muscular look.
Step 4: Adding the Belt and Arm
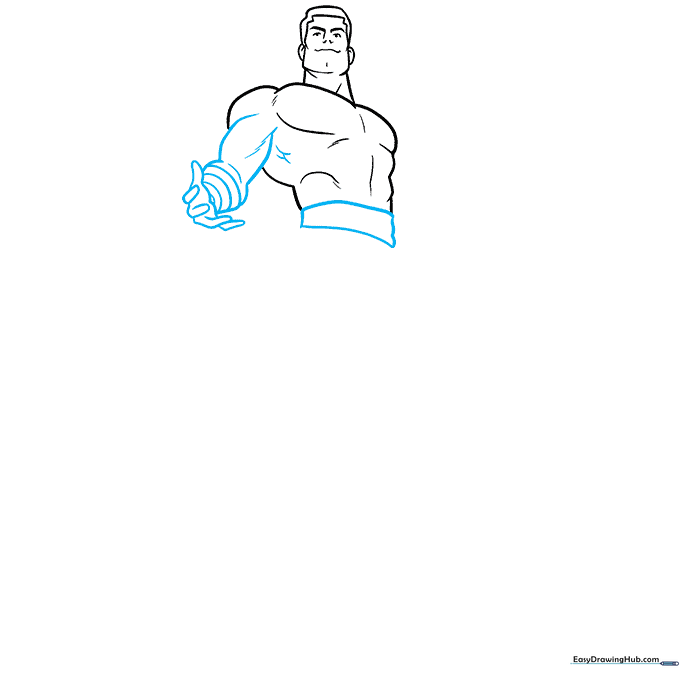
Enclose a rectangular belt at the waist. Draw one muscular arm extending outward, using curved lines for the bicep and forearm. Teacher's Tip: Use three curved lines at the wrist to represent the gauntlet cuff.
Step 5: Drawing the Second Arm
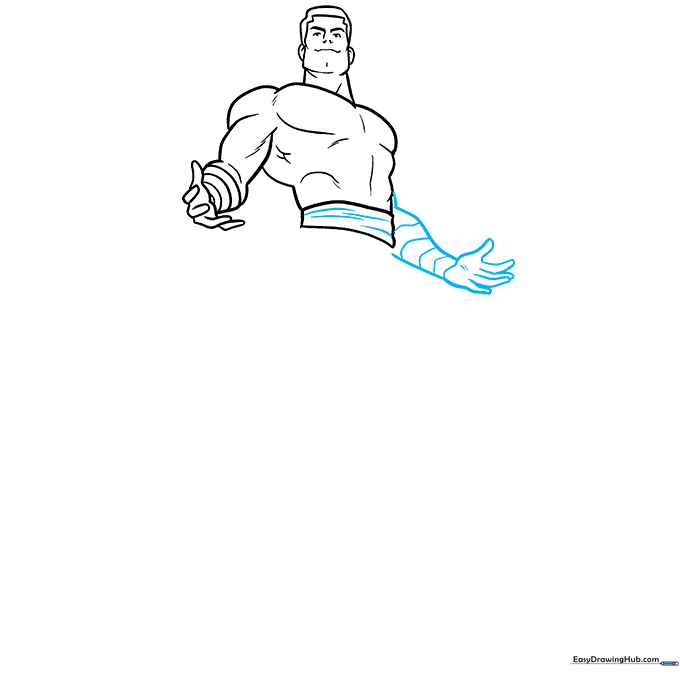
Draw the second arm using long, sweeping curved lines. Add the hand and four lines for the gauntlet. Teacher's Tip: Ensure the arm length matches the first one for proper proportion.
Step 6: Outlining the Legs
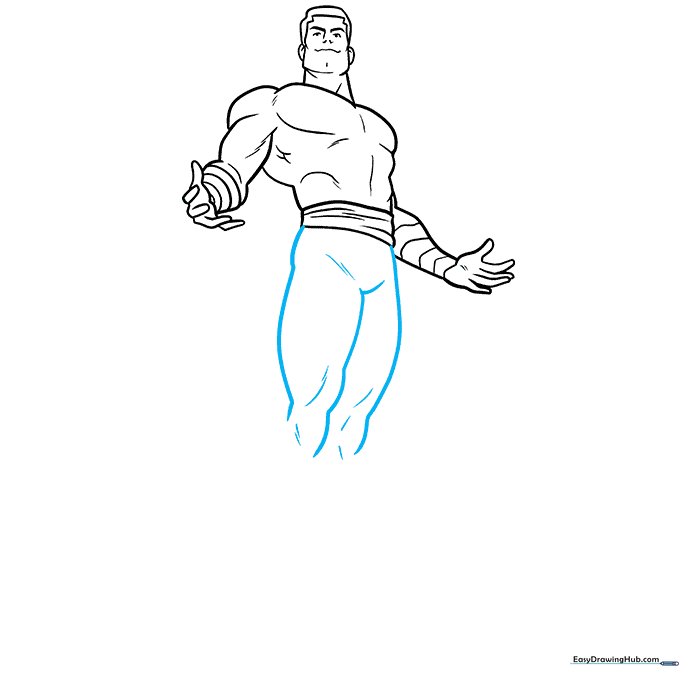
Use long, fluid curved lines to outline the legs. Add shorter, subtle curves to suggest the thigh and calf muscles. Teacher's Tip: Keep these lines smooth to make the character look dynamic.
Step 7: Adding the Boots
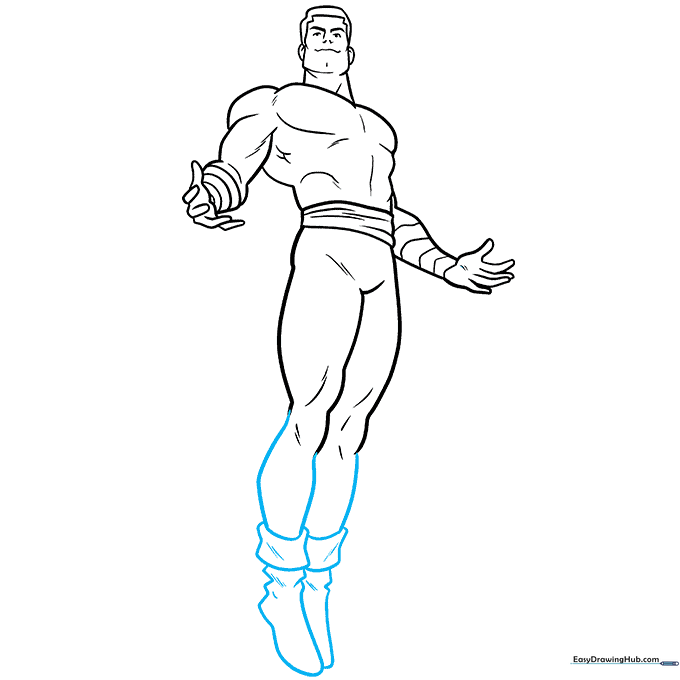
Extend the leg lines to form the calves and draw a curved rectangle at the bottom for the boot tops. Finish the boots with irregular shapes. Teacher's Tip: Boots are essentially cylinders—keep the top line curved to show depth.
Step 8: The Lightning Bolt and Cape
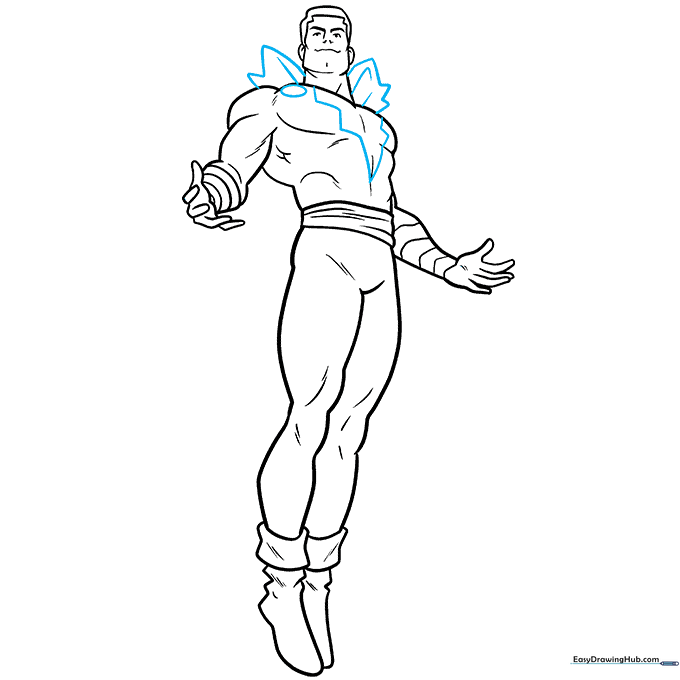
Use a zig-zag line to create the iconic lightning bolt on the chest. Add the cape starting from the shoulders. Teacher's Tip: Make the lightning bolt sharp and angular to contrast with the rounded muscles.
Step 9: Completing the Cape
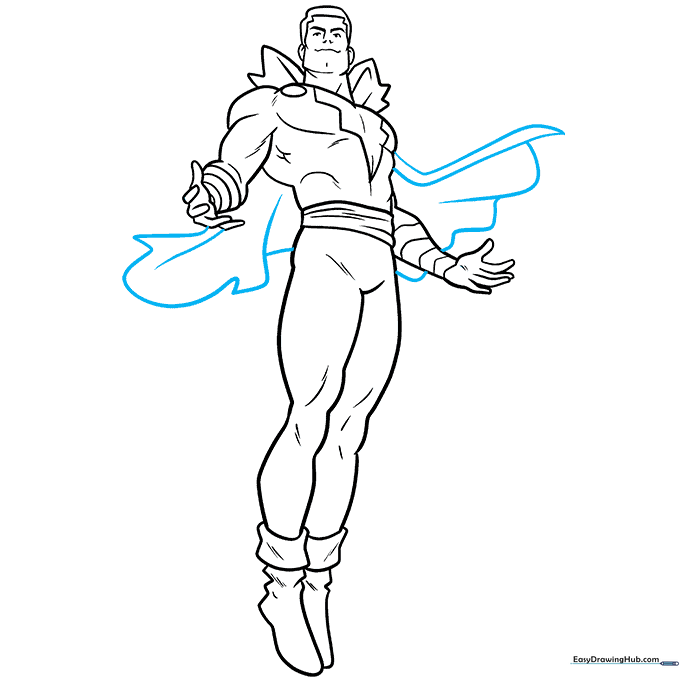
Use long, overlapping curved lines to finish the cape, making it look like it's flowing behind him. Teacher's Tip: Use loose, sweeping strokes to give the cape a sense of movement.
Step 10: Color Your Hero
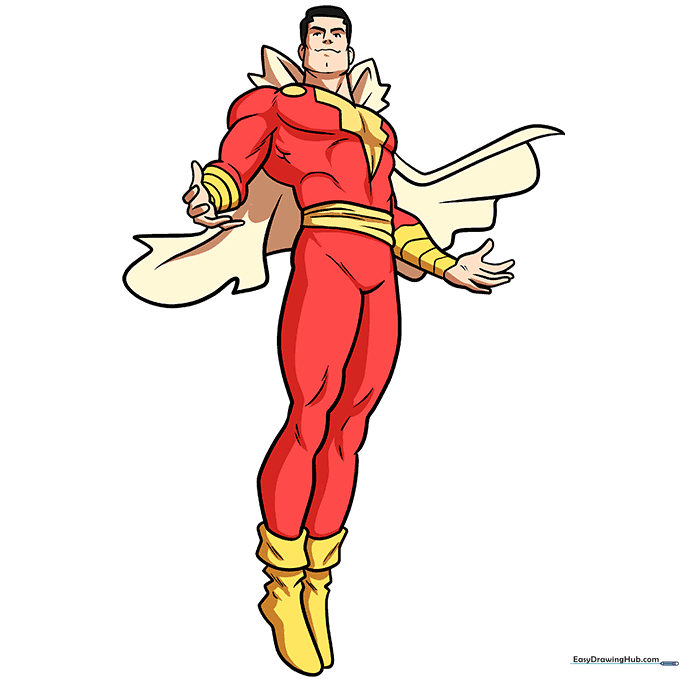
Bring your drawing to life! Use bright red for the suit, yellow for the logo, belt, and gauntlets, and gold/white for the cape. Teacher's Tip: Use a darker shade of red in the folds of the suit to create a 3D effect.
More Tutorials


