How to Draw Shadow the Hedgehog: Easy 10-Step Guide
Ready to bring the Ultimate Lifeform to life? This tutorial is perfect for young artists ages 8+ who want to master character proportions. Grab a pencil, an eraser, and a piece of paper to start building your own action-packed sketch.
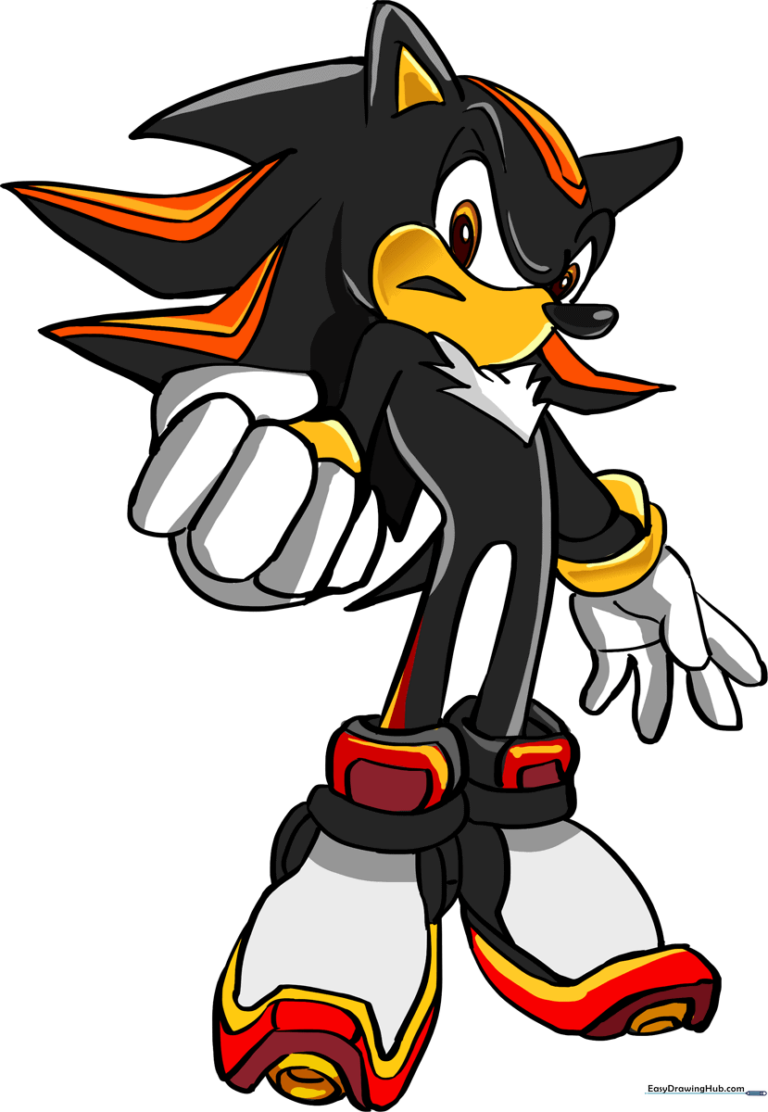
🎯 Final Result
Step-by-Step Instructions
Step 1: Sketching the Head and Eyes

Start by drawing a light circle for the head. Add two curved ears on top and sketch the teardrop-shaped eyes. Teacher's Tip: Keep your pencil pressure light here; you'll be refining these shapes as you go.
Step 2: Defining the Cheeks and Quills

Outline the cheek area and add the signature tuft of fur under the chin using jagged, inverted triangular lines. Tip: Use quick, flicking motions with your pencil to make the fur look sharp and spiky.
Step 3: Establishing the Torso
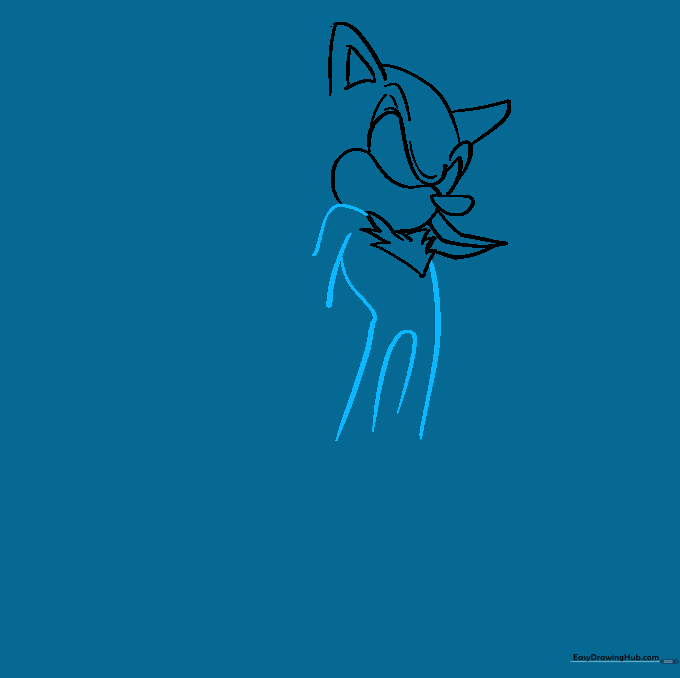
Draw two curved lines downward to form the shoulders and torso. Connect these with a U-shaped line for the legs. Tip: Keep the torso narrow to maintain Shadow's athletic, agile appearance.
Step 4: Drawing the First Shoe
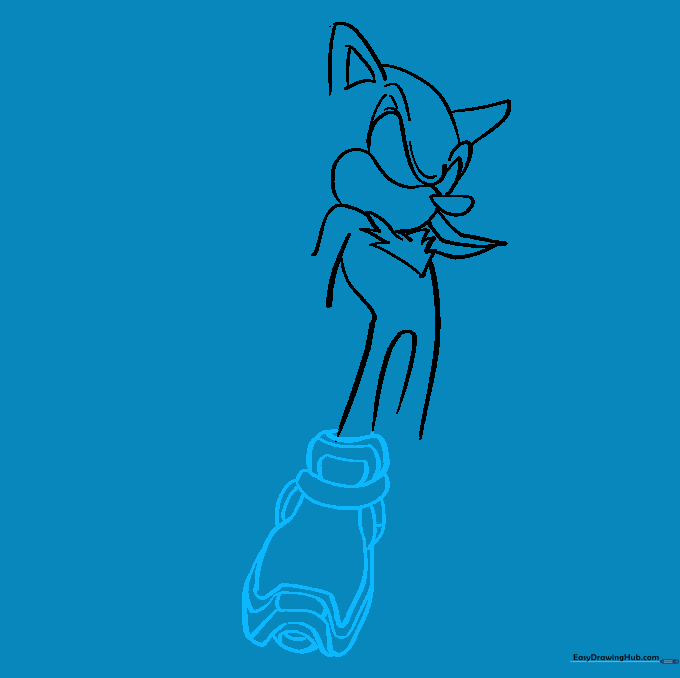
Sketch the running shoe by layering curved shapes for the tongue, body, and sole. Tip: Imagine the shoe is a blocky, futuristic sneaker; focus on the horizontal bands to give it depth.
Step 5: Adding the Second Shoe

Repeat the process for the second shoe, ensuring it matches the perspective of the first. Tip: If the shoes look uneven, use your eraser to soften the lines and redraw them until they feel balanced.
Step 6: Drawing the First Arm and Glove
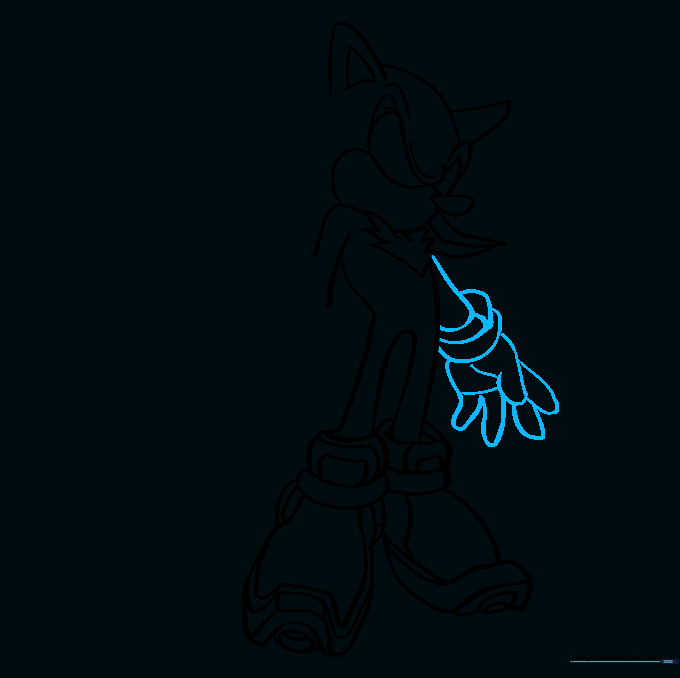
Draw the arm and the cuff of the glove. Use clean, rounded lines for the fingers. Tip: Keep the glove cuff wide to contrast with the thinner arm, which adds to the character's cartoon style.
Step 7: Drawing the Second Hand
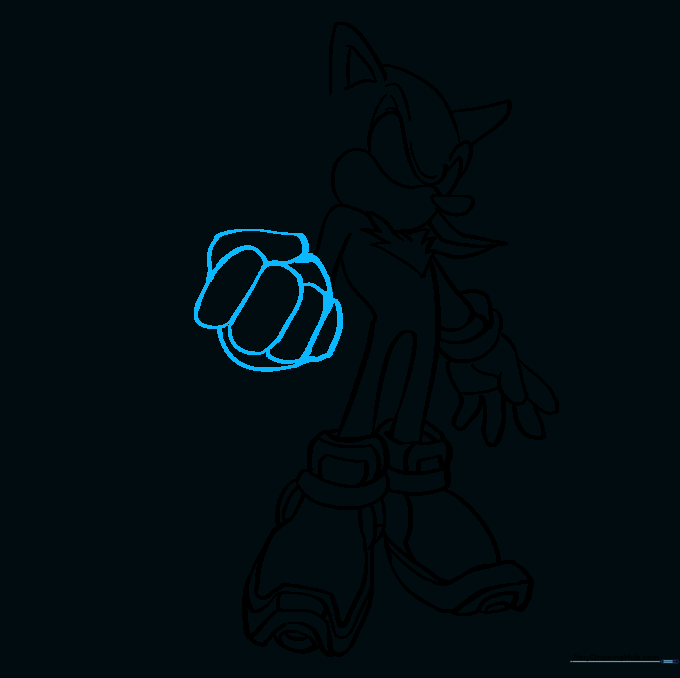
Sketch the second hand using rounded shapes for the fingers. Tip: Focus on the overlap of the fingers to create a sense of three-dimensional space.
Step 8: Adding the Back Quills
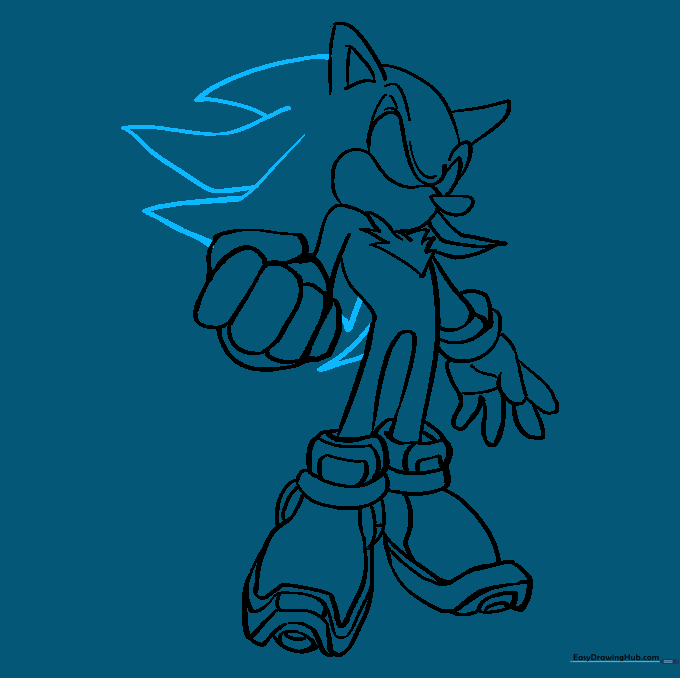
Extend long, curved lines from the head and back to create the iconic quills. Tip: Make these lines flow outward to give your character a sense of movement and speed.
Step 9: Finalizing Facial Details
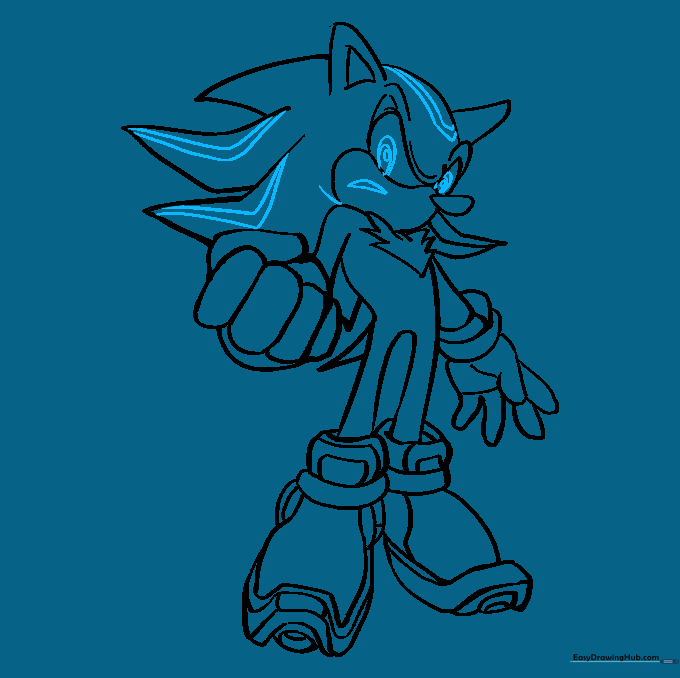
Add the iris and pupil inside the eyes, and draw a small, determined mouth. Add final lines to the quills for texture. Tip: Use a darker pencil for these final details to make them pop.
Step 10: Bringing Shadow to Life with Color
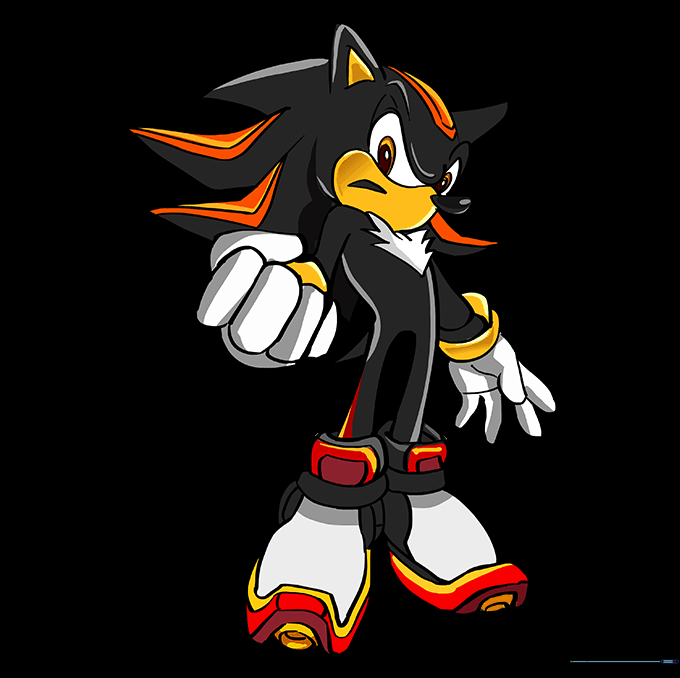
Color your drawing using black for the fur, with vibrant red, white, and yellow accents. Tip: Use a light touch with your red pencil to create a slight gradient effect on the quills.
More Tutorials


