How to Draw Scissors: Easy 10-Step Guide for Kids
Ready to sharpen your drawing skills? This tutorial is perfect for young artists ages 5 and up. You only need a pencil, an eraser, and a piece of paper to create your own pair of scissors. Follow along to master basic shapes and overlapping lines.
🎯 Final Result

Step-by-Step Instructions
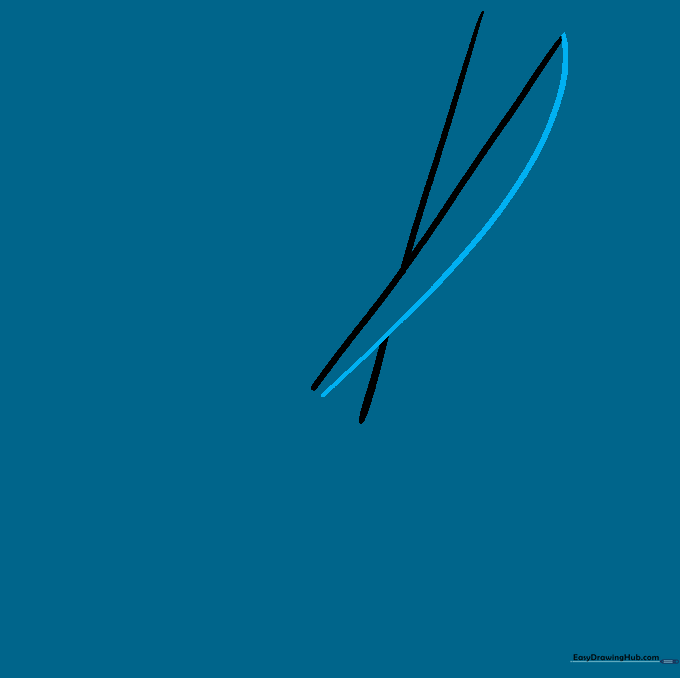
Step 1: The First Blade Edge

Draw a diagonal straight line. Teacher's Tip: Use a ruler if you want perfectly straight blades, or practice your steady hand by drawing it freehand!
Step 2: The Second Blade Edge

Draw a second line that crosses the first to form an 'X' shape. Teacher's Tip: Make sure the lines cross near the middle to leave enough room for the handles later.
Step 3: Outlining the Front Blade
Draw a long, curved line from the top tip to outline the back of the first blade. Erase the overlapping section so it looks like it sits in front. Teacher's Tip: Keep your curve smooth to make the metal look sharp.
Step 4: Outlining the Back Blade
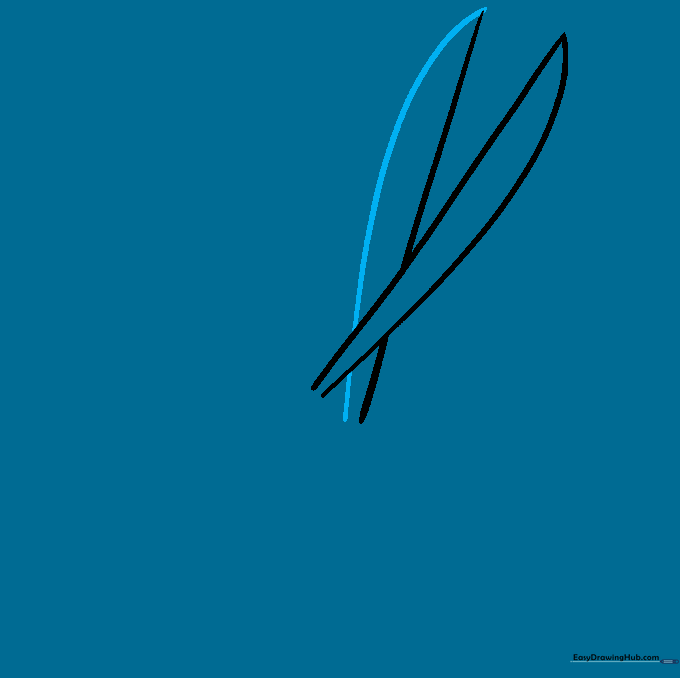
Draw a similar curved line for the second blade, ensuring it looks like it is tucked behind the first. Teacher's Tip: Breaking the line where it meets the first blade creates the illusion of depth.
Step 5: Starting the Handle Base
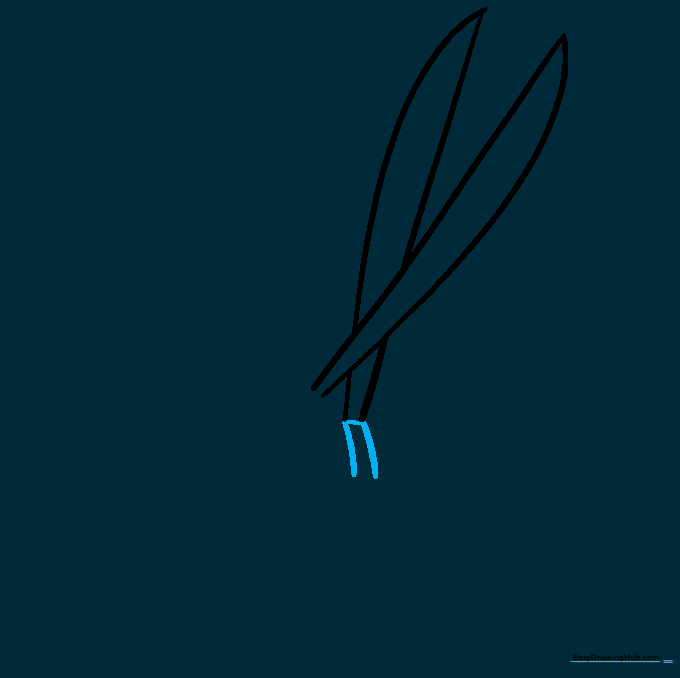
Connect the lines of the second blade with a short segment, then extend two curved lines downward. Teacher's Tip: These will eventually become the loops for your fingers.
Step 6: Completing the Handle Base

Repeat the process for the first blade, extending curved lines to match the other side. Teacher's Tip: Try to keep the curves symmetrical so the scissors look balanced.
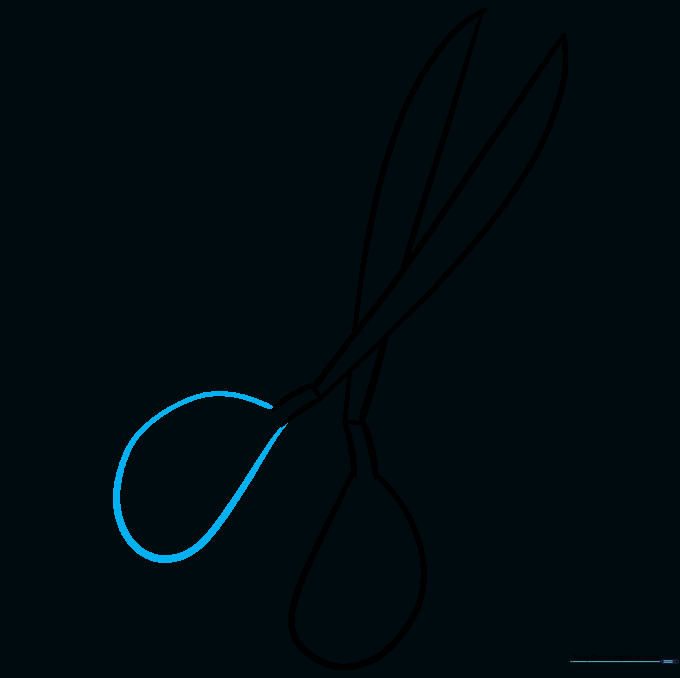
Step 7: Drawing the First Finger Ring
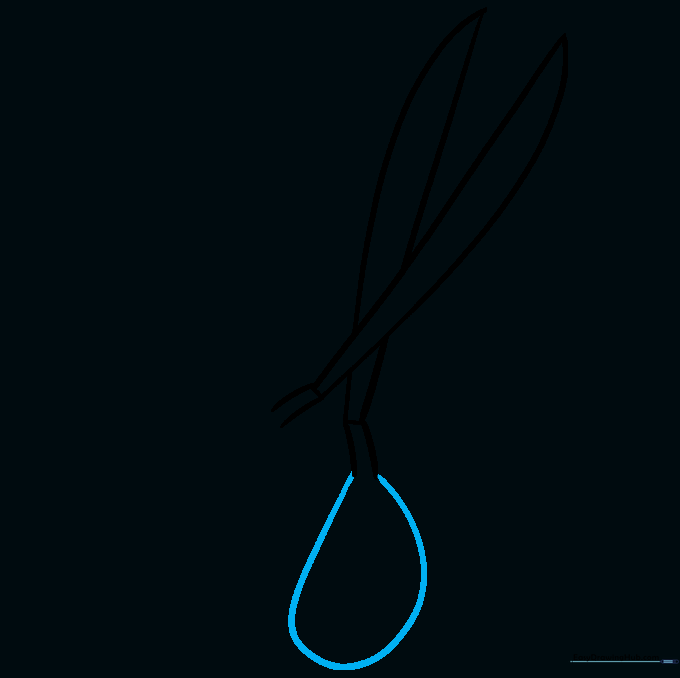
Draw a large teardrop shape at the end of the first handle. Teacher's Tip: Don't worry if it's not perfect; scissors come in many different handle shapes!
Step 8: Drawing the Second Finger Ring
Add a second teardrop shape for the other handle. Teacher's Tip: Make sure the two rings are roughly the same size so they look like a matching pair.
Step 9: Adding Final Details
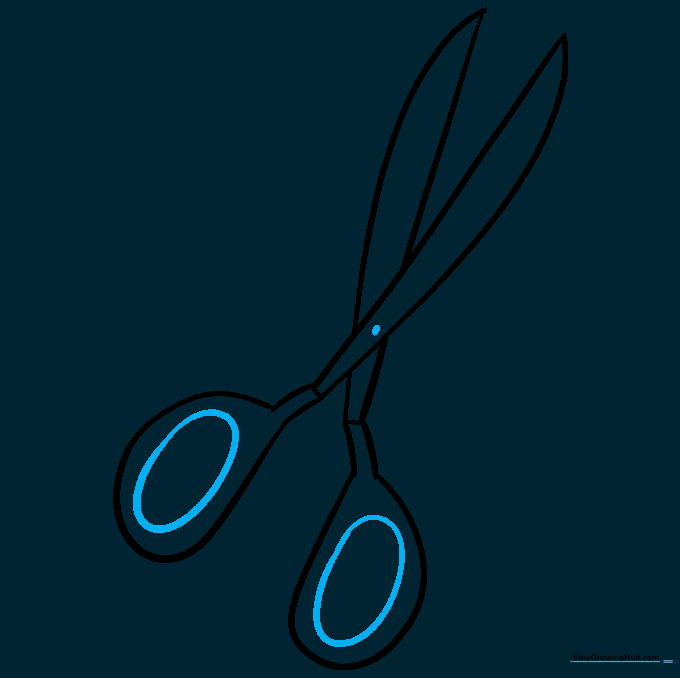
Draw a small oval inside each handle and a tiny circle where the blades cross to represent the pivot screw. Teacher's Tip: This small detail adds a lot of realism to your drawing.
Step 10: Coloring Your Scissors
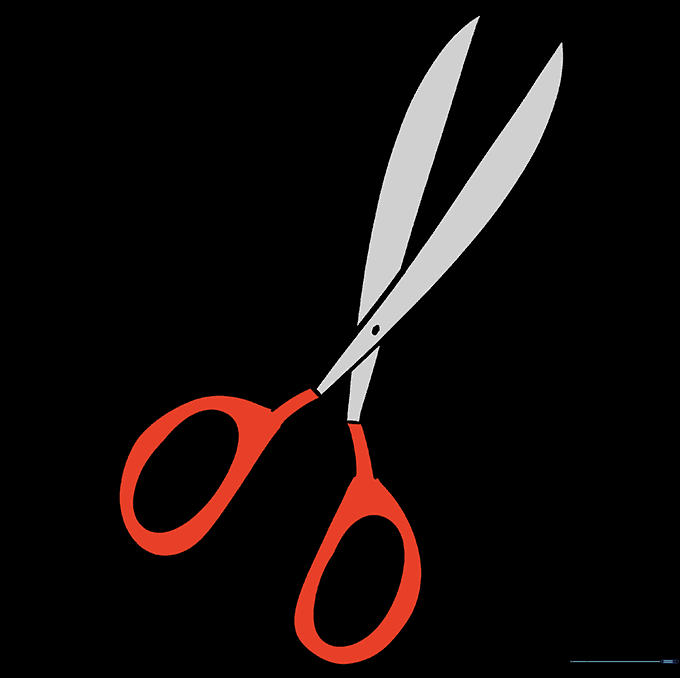
Color the blades silver or gray and pick a fun color for the handles. Teacher's Tip: Use a lighter gray on one side of the blade and a darker gray on the other to create a metallic shine effect.
More Tutorials


