How to Draw School Books: Easy 10-Step Guide for Kids
This tutorial is perfect for young artists ages 5 and up who want to illustrate their favorite subjects. You only need a pencil, an eraser, and a piece of paper to get started. Follow these steps to build a realistic stack of books and practice your perspective skills in a fun, screen-free way.
🎯 Final Result

Step-by-Step Instructions
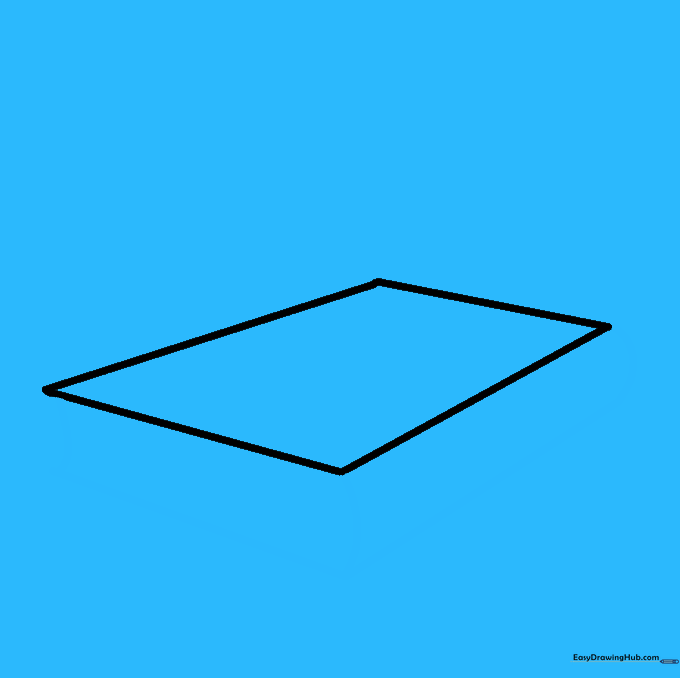
Step 1: Sketching the Base Book

Draw a slightly tilted four-sided shape to represent the top cover of your first book. Teacher's Tip: Keep your pencil lines very light so you can easily adjust the shape if it looks a bit wobbly.
Step 2: Defining the Spine
Add short, curved lines descending from each corner of your rectangle to create depth. Connect these with straight lines to form the sides of the book. Tip: Imagine you are looking at the book from a slight angle to help visualize the thickness.
Step 3: Adding the Second Book

Draw another diamond-like shape resting on top of the first one. Repeat the process of adding short, curved lines at the corners to show the thickness of this second book. Tip: Make this book slightly smaller to show it is further away.
Step 4: Cleaning Up

Gently erase the overlapping guide lines inside the second book so it looks like it is resting cleanly on the first. Tip: Use a soft eraser and brush away the crumbs so you don't smudge your drawing.
Step 5: Adding the Third Book

Draw a third book on top using the same technique: a diamond shape followed by short, curved corner lines connected by straight edges. Tip: Vary the angle slightly so the stack looks natural and not perfectly uniform.
Step 6: Refining the Stack

Erase any unnecessary lines inside the third book to keep your drawing clean. Tip: Check your perspective—ensure the corners of the books align with the ones below them.
Step 7: The Top Book

Draw a small, narrow book at the very top of your stack. Use the same diamond-and-corner-line method. Tip: Since this is the smallest book, keep your lines precise and steady.
Step 8: Final Cleanup

Erase any remaining guide lines inside the top book. Tip: Take a moment to look at your drawing from a distance to ensure the stack looks balanced.
Step 9: Adding Details and Labels

Add lines to the sides of the books to represent pages. Then, write subject names like 'MATH' or 'ART' on the spines. Tip: Use a fine-liner pen for the text to make it pop against the pencil sketch.
Step 10: Bring Your Books to Life with Color

Color your books! You can use bright primary colors for a classic look or soft pastels for a modern feel. Tip: Use a darker shade on the side of the book to create a simple shadow effect, making the stack look 3D.
More Tutorials


