How to Draw a Scary Clown: Easy 10-Step Guide
Ready to add some spooky flair to your sketchbook? This tutorial is perfect for artists ages 8+ looking to practice character design. All you need is a pencil, an eraser, and a piece of paper to bring this creepy character to life.
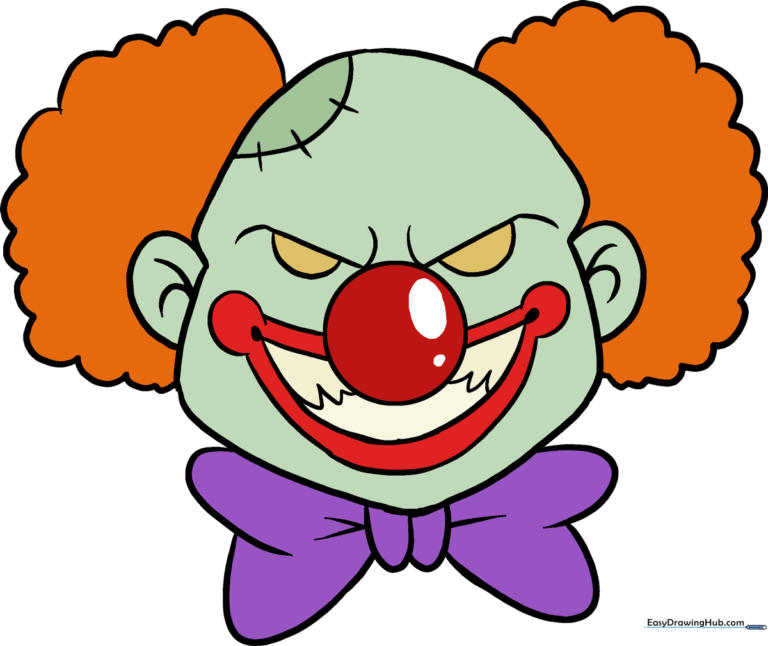
🎯 Final Result
Step-by-Step Instructions
Step 1: Sketching the Nose

Start by drawing a small, neat circle in the center of your page. Teacher's Tip: Keep this circle small—it acts as the anchor point for the rest of the face.
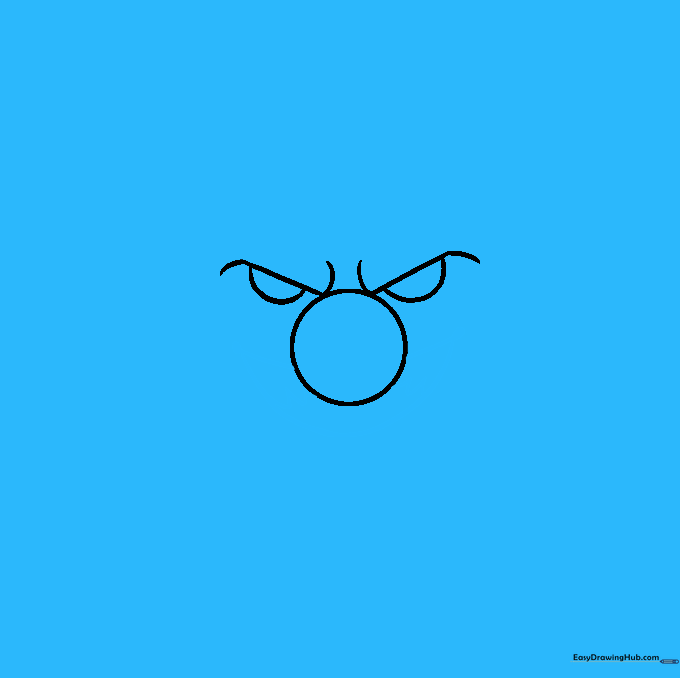
Step 2: Defining the Eyes and Brows
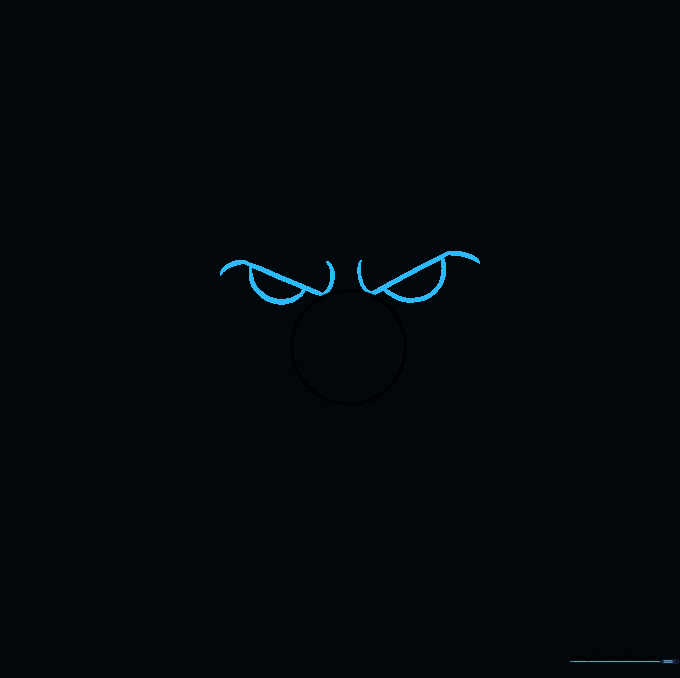
Draw two arched lines above the nose for the brows, then add half-circles beneath them for the eyes. Tip: Make the brows slightly angled to give the clown a menacing expression.
Step 3: Sketching the Mouth
Draw a wide, curved line below the nose, connecting it with two short vertical lines. Add dots at the corners and use a jagged line for the teeth. Tip: Use a light touch for the jagged line to keep it looking sharp.
Step 4: Outlining the Mouth
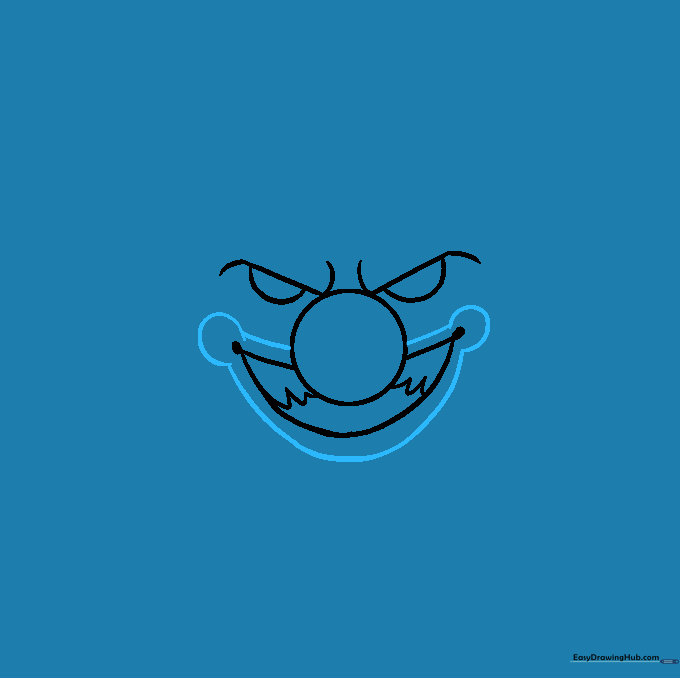
Draw a parallel line around the mouth to create depth, forming small circles around the corner dots. Tip: This creates the classic 'clown makeup' look.
Step 5: Shaping the Head

Outline the head with a long, curved line, adding slight bulges near the jaw and chin. Tip: Don't worry about perfect symmetry; a slightly uneven shape adds to the 'scary' character effect.
Step 6: Adding Ears

Enclose a circular shape on each side of the head for the ears, adding small curved lines inside for detail. Tip: Keep the ears aligned with the eyes for better proportion.
Step 7: Drawing the Bow Tie
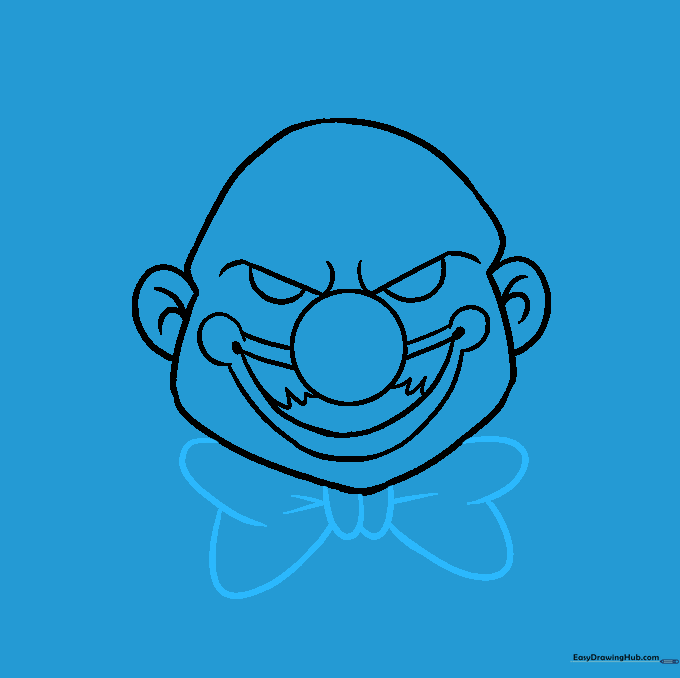
Add a bow tie at the neck by drawing two rounded shapes for the knot and 'U' shaped lines for the sides. Tip: Use short, curved lines near the knot to show fabric folds.
Step 8: Adding Fluffy Hair
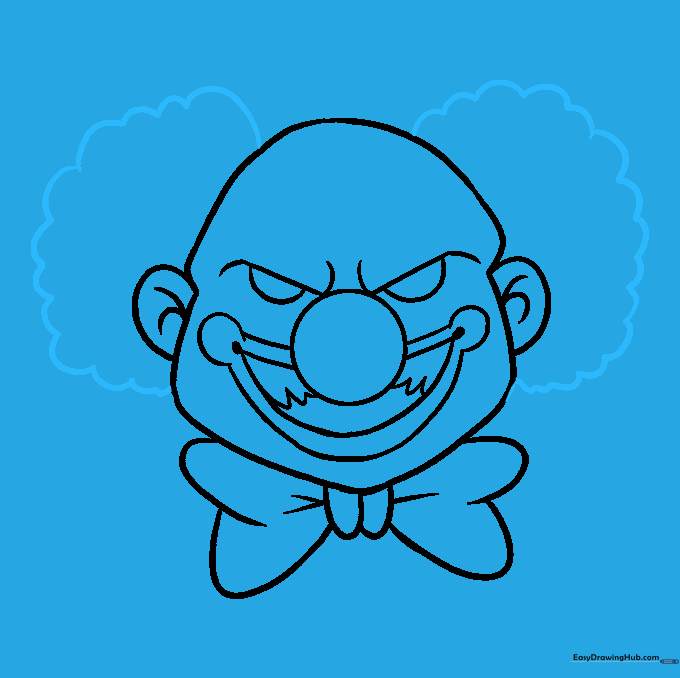
Use short, connected, curved lines to create tufts of hair on each side of the head. Tip: Vary the size of the curves to make the hair look wild and messy.
Step 9: Adding the Scar
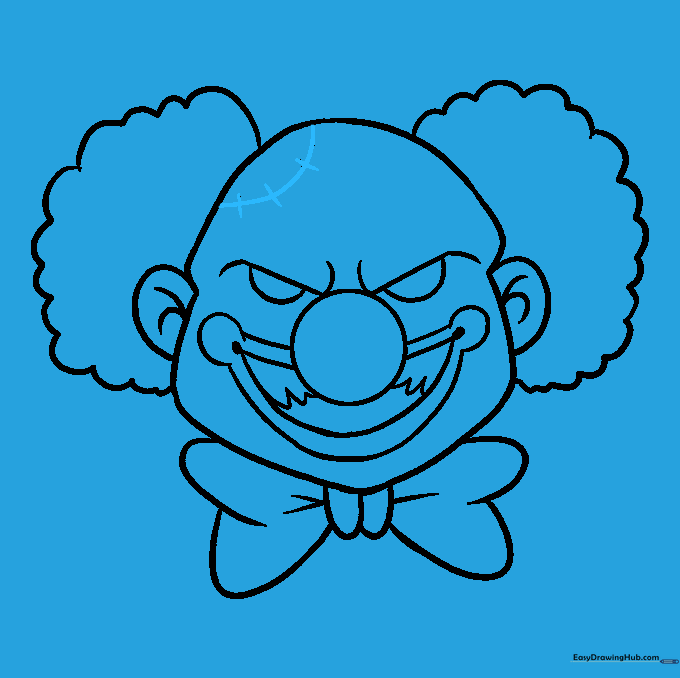
Draw a semicircle on the cheek and add small cross-lines to represent stitches. Tip: Keep the stitches evenly spaced for a cleaner, more professional look.
Step 10: Final Coloring
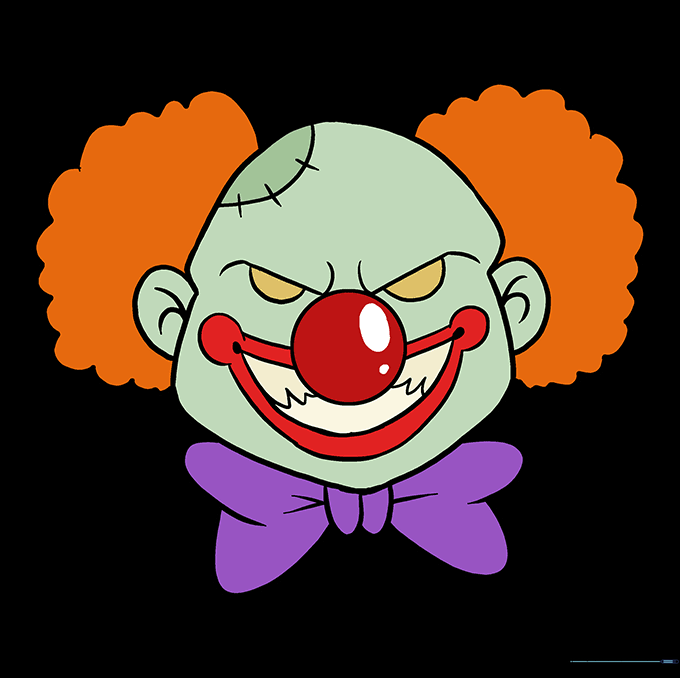
Color your clown using bold, bright colors to contrast with the scary features. Tip: Use dark reds or purples for the makeup to enhance the spooky vibe!
More Tutorials


