How to Draw Scales: Easy 5-Step Texture Guide
Adding texture is the secret to bringing your creature drawings to life. This guide uses a simple grid method to help artists ages 6+ create consistent, overlapping scales. You only need a pencil, an eraser, and a steady hand to transform a flat shape into a detailed masterpiece.
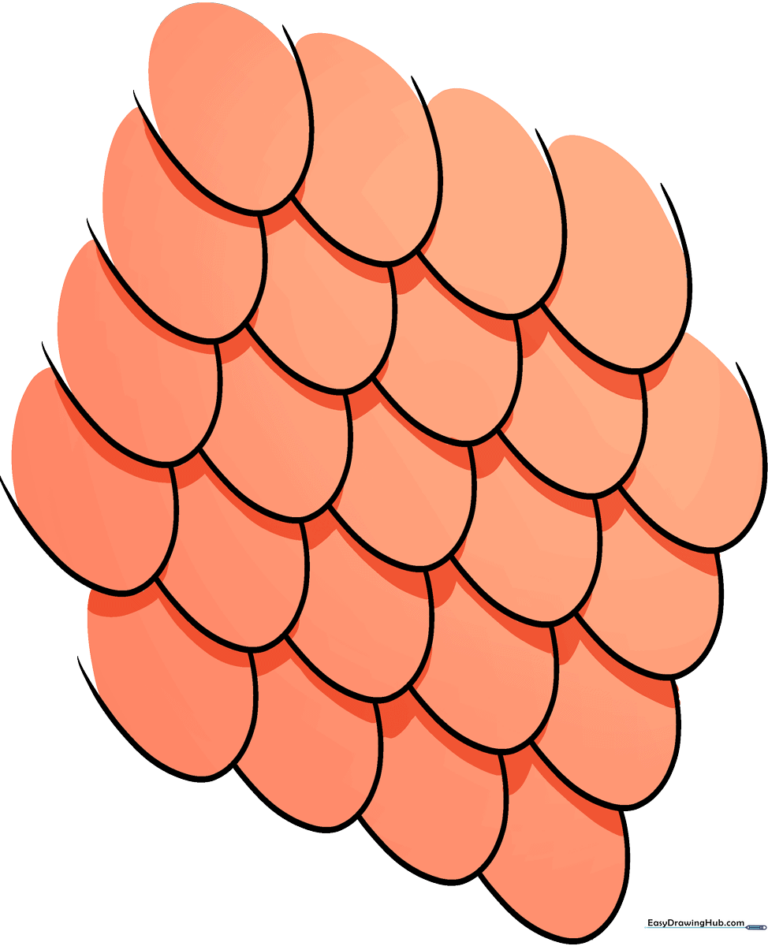
🎯 Final Result
Step-by-Step Instructions
Step 1: Establishing the Grid
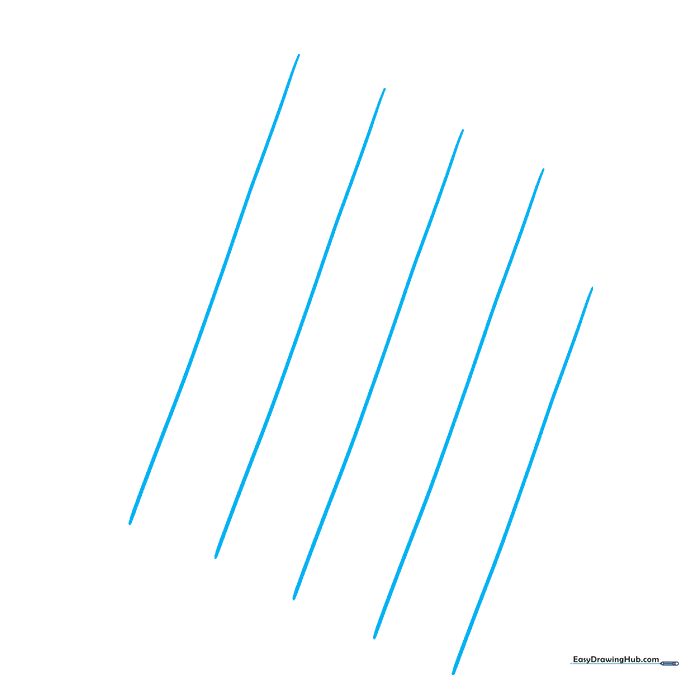
Draw a series of light, diagonal guidelines that run parallel to each other. Teacher's Tip: Keep your pencil pressure very light here—these are just 'map lines' that we will erase later, so don't press down hard!
Step 2: Creating the Checkerboard
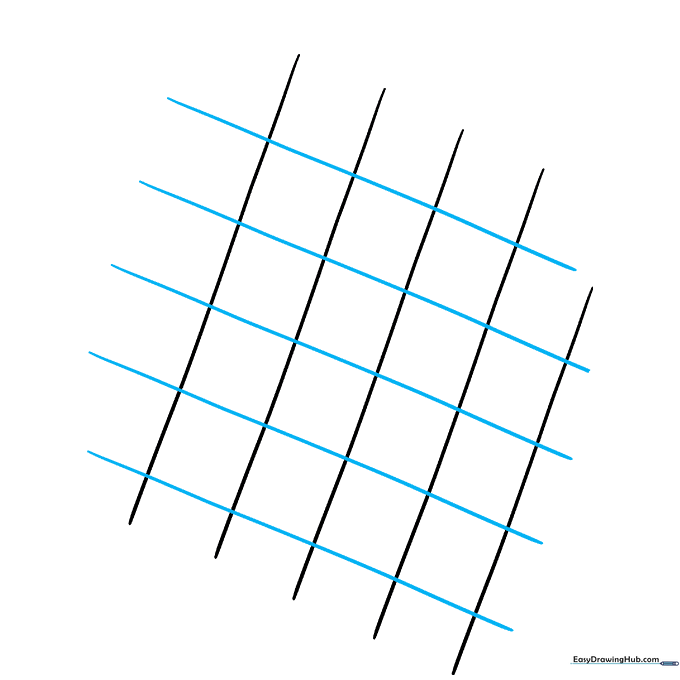
Draw a second set of diagonal lines crossing the first, creating a diamond or checkerboard pattern. Tip: Try to keep the spacing between lines even; this ensures your scales look uniform and professional.
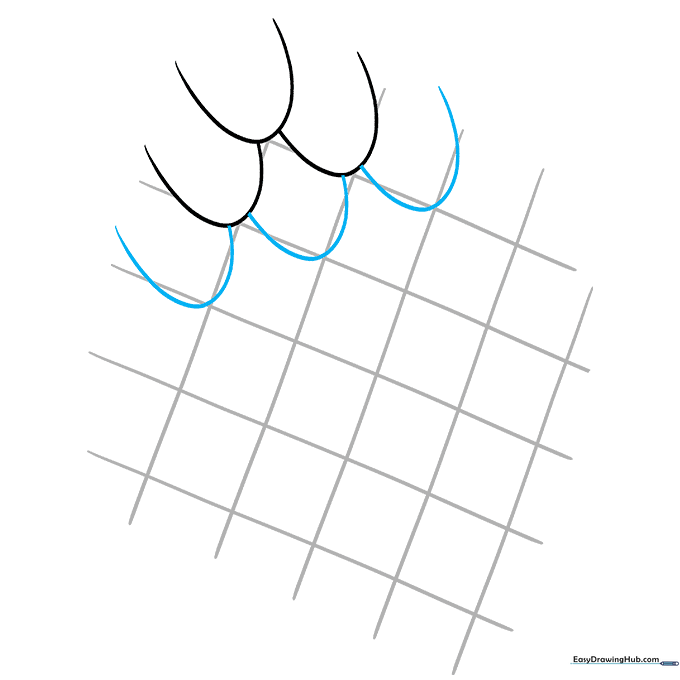
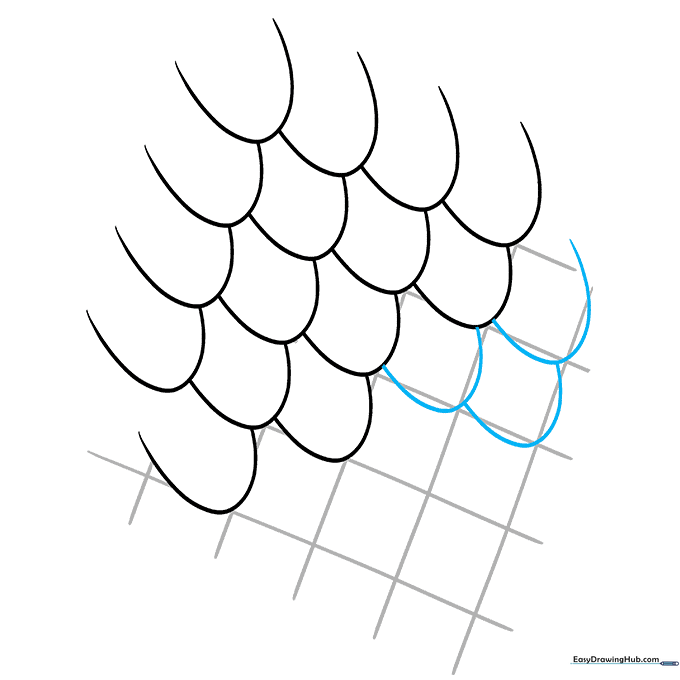
Step 3: Drawing the First Row
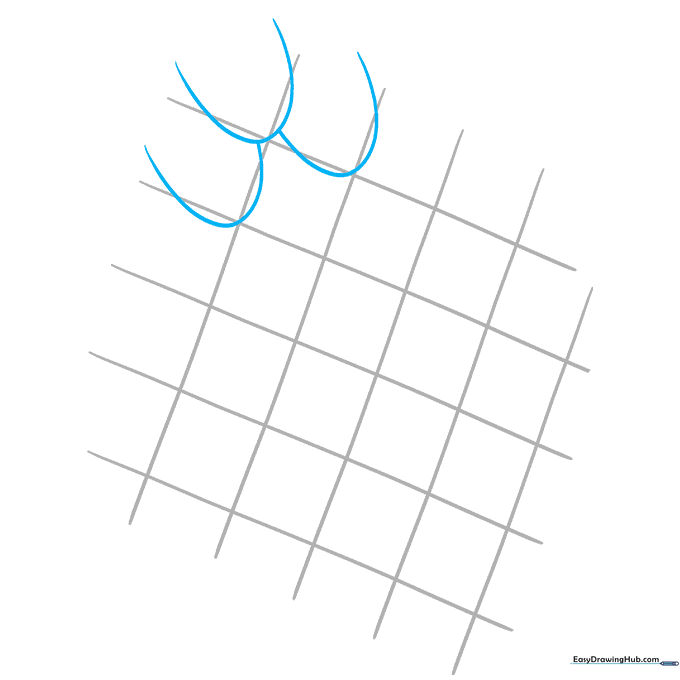
Using your grid as a guide, draw 'U' shapes inside the diamonds. The bottom of each 'U' should rest on the point of the diamond. Tip: Think of these as little pockets or scoops.
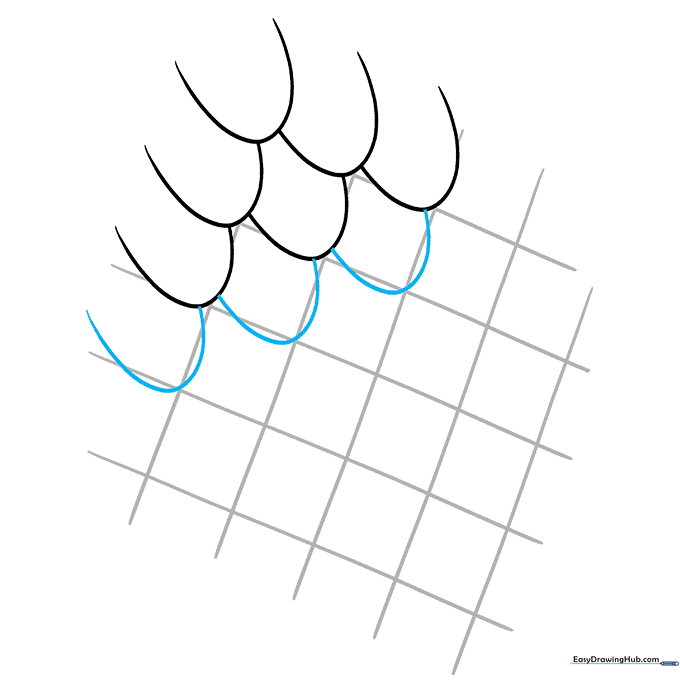
Step 4: Building the Texture
Add a second row of 'U' shapes below the first. As you go, gently erase the grid lines inside the scales you've finished. Tip: Keeping your drawing clean as you go prevents smudging later.
Step 5: Expanding the Pattern
Continue adding rows of 'U' shapes. Remember to erase the guidelines as you move down the page. Tip: If a scale looks a bit lopsided, don't worry—nature isn't perfect, and slight variations make your creature look more organic!
Step 6: Maintaining Consistency
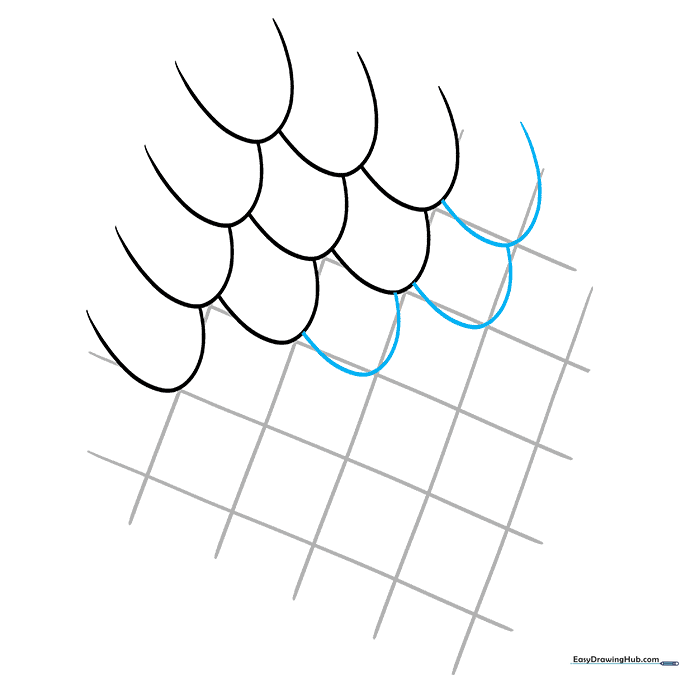
Fill in the next row, ensuring each 'U' connects to the ones above it. This overlap is what creates the 'armored' look of real scales. Tip: Take your time; this is a great exercise for patience and fine motor control.
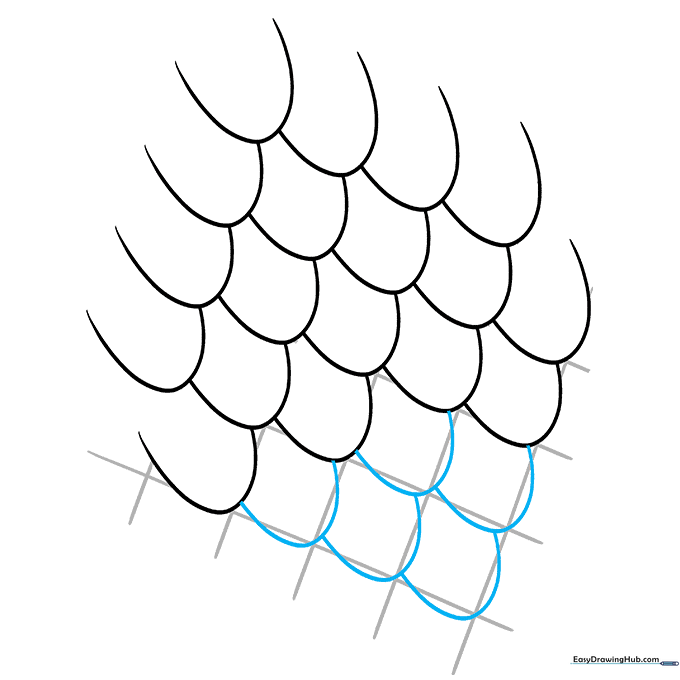
Step 7: Filling the Space
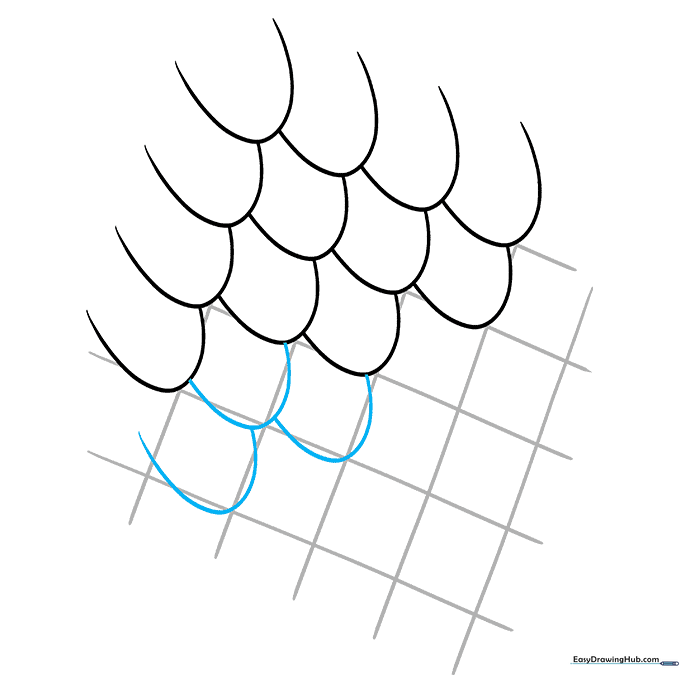
Keep the pattern going row by row. If you reach an edge, simply draw a partial 'U' to show the scales wrapping around the body of your creature.
Step 8: Finalizing the Rows
Almost there! Finish the final rows of your grid. Tip: Check that your 'U' shapes are all pointing in the same direction to keep the texture looking uniform.
Step 9: Cleaning Up
Erase any remaining grid lines. Now you have a clean, textured surface ready for color! Tip: Use a kneaded eraser if you have one—it’s much gentler on the paper.
Step 10: Adding Color
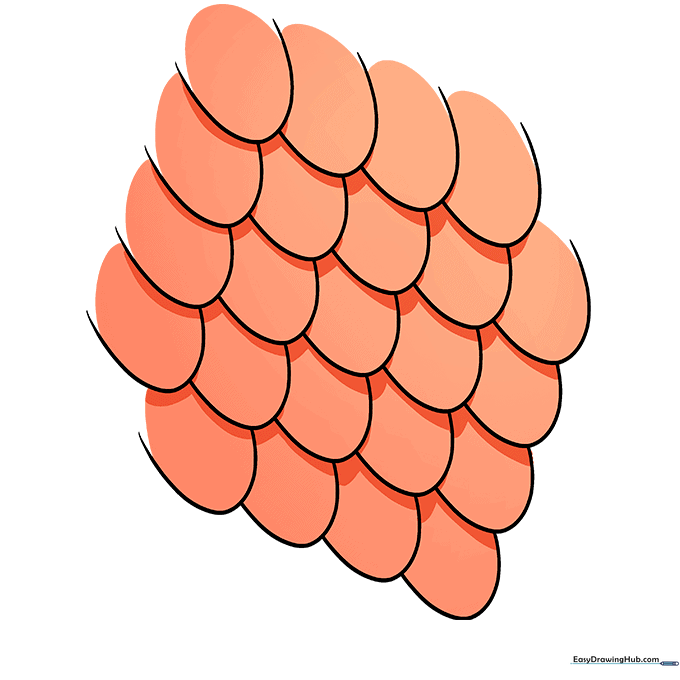
Bring your scales to life with color! Whether it's a shimmering fish or a tough dragon, use light and dark shades of the same color to give your scales a 3D, shiny effect.
More Tutorials


