How to Draw Saturn: Easy 10-Step Space Drawing Guide
Blast off into art with this simple Saturn drawing tutorial, perfect for young astronomers ages 5 and up. All you need is a pencil, an eraser, and some paper to bring the ringed planet to life. Follow these steps to master basic shapes and perspective while creating your own solar system masterpiece.
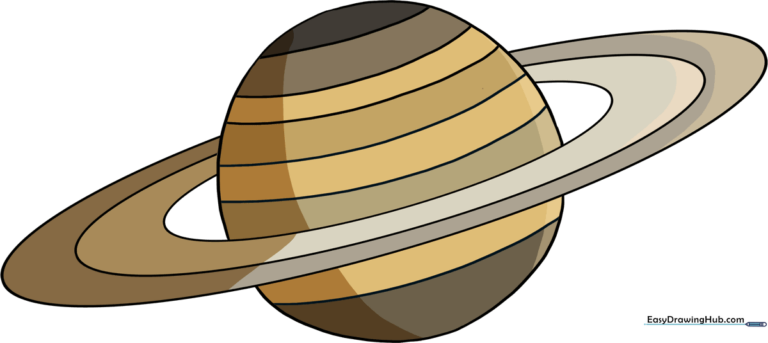
🎯 Final Result
Step-by-Step Instructions
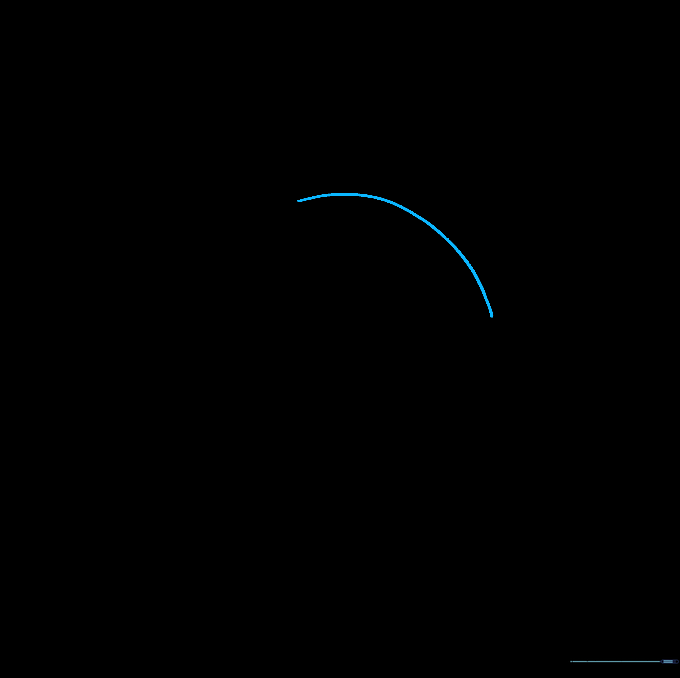
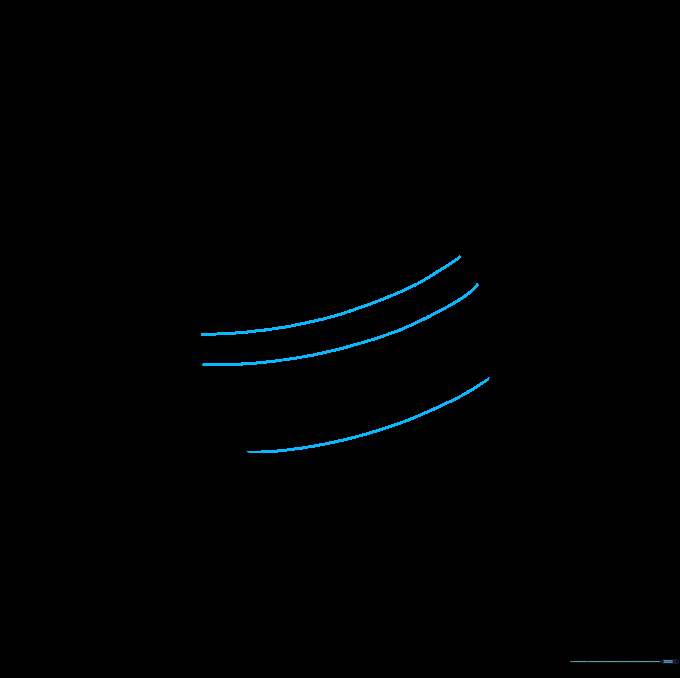
Step 1: Sketching the First Ring
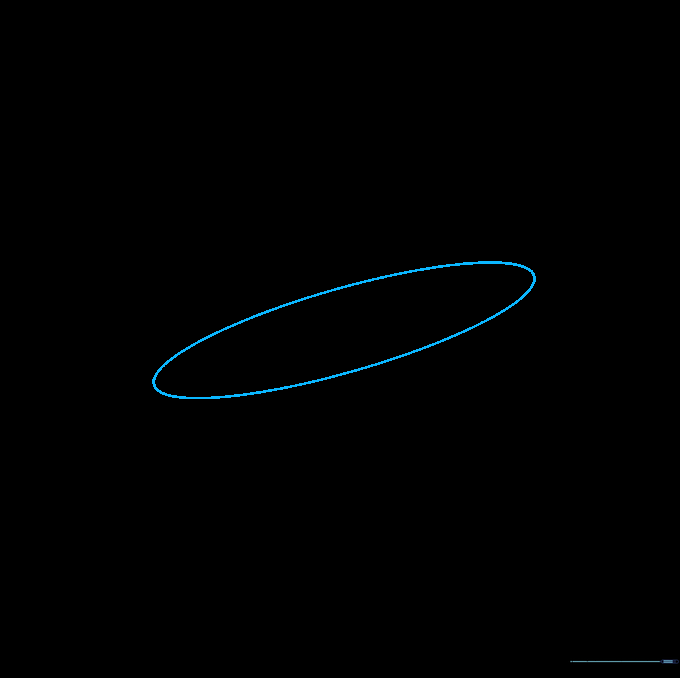
Draw a narrow, tilted oval to represent the inner edge of Saturn's rings. Teacher's Tip: Keep your pencil pressure light so you can easily adjust the shape later if it looks a bit lopsided.
Step 2: Adding the Middle Ring
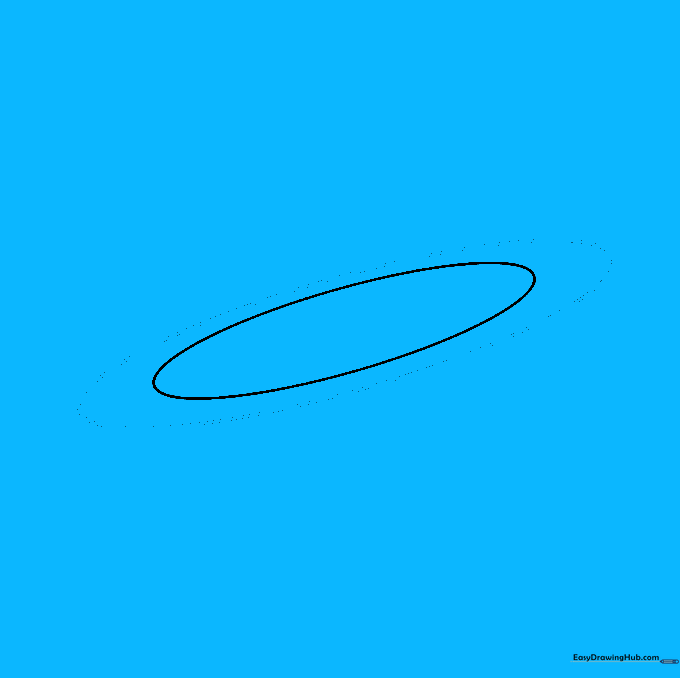
Draw a second, slightly larger oval around the first one. Tip: Try to keep the space between the two lines consistent to make the rings look uniform and professional.
Step 3: Completing the Ring Structure
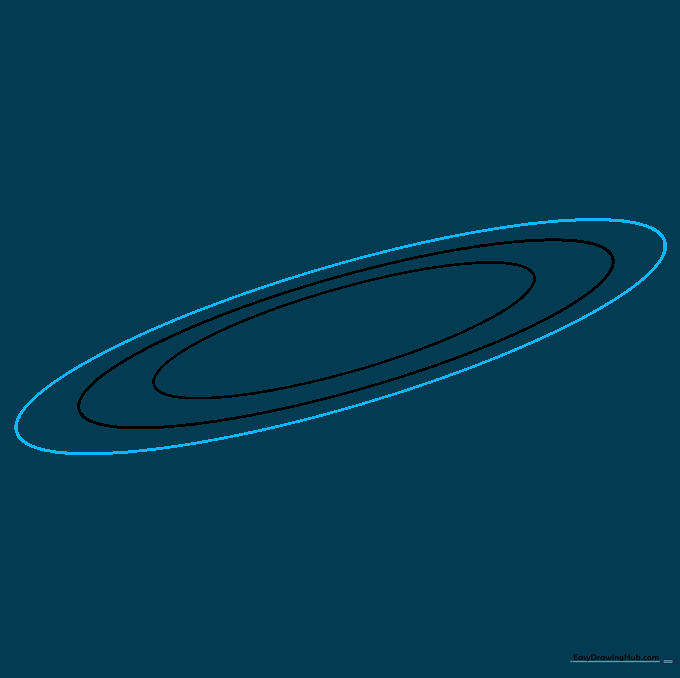
Draw a third, final oval surrounding the first two. This creates the outer edge of the ring system. Tip: If your hand gets tired, take a quick break—drawing smooth curves takes practice!
Step 4: Erasing and Starting the Planet
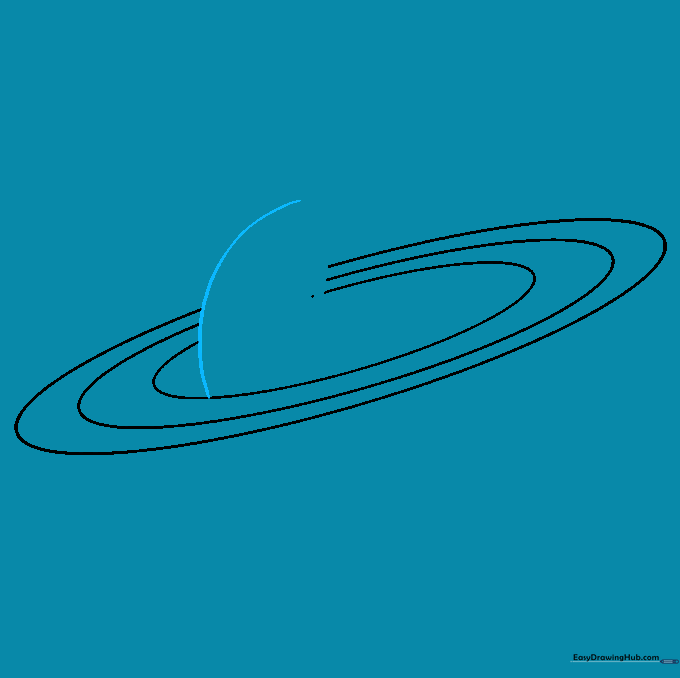
Gently erase the back portion of the rings where the planet will sit. Then, draw a curved line upward from the front ring. Tip: Use a soft eraser to avoid smudging your paper.
Step 5: Defining the Northern Hemisphere
Complete the top half-circle of the planet. Tip: Imagine you are drawing a ball sitting inside the rings; keep the curve smooth and rounded.
Step 6: Sketching the Southern Hemisphere

Extend a curved line beneath the rings to begin the bottom half of the planet. Tip: Ensure this line aligns with the top half so the planet looks perfectly spherical.
Step 7: Enclosing the Planet
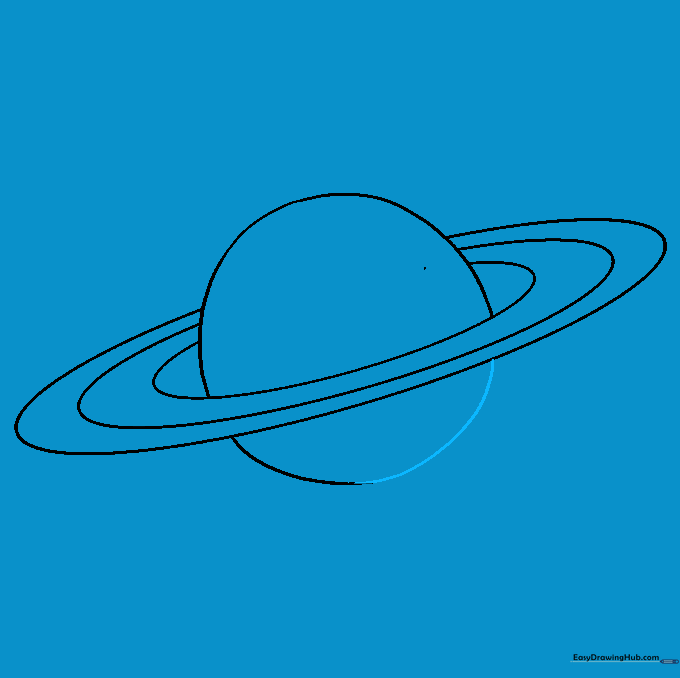
Finish the bottom curve to complete the planet's outline. Tip: Double-check that your planet looks like it is passing through the rings, not just sitting on top of them.
Step 8: Adding Atmospheric Details
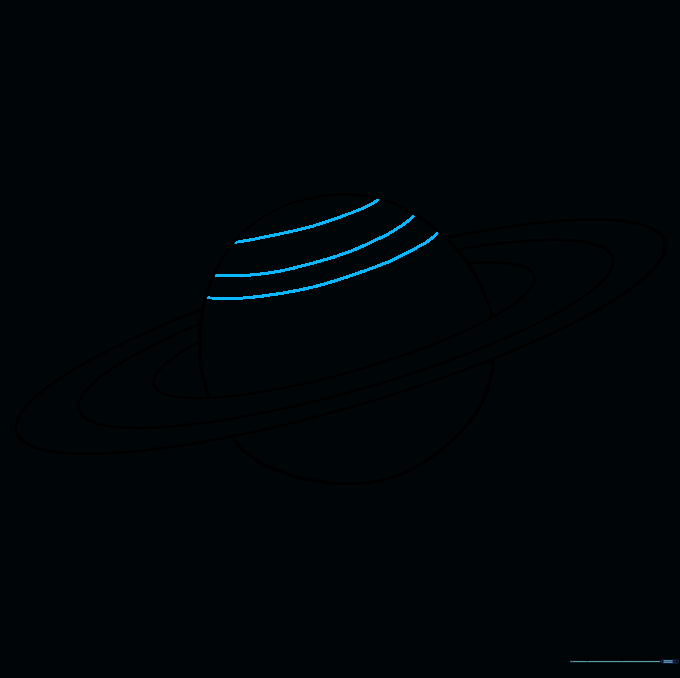
Draw parallel curved lines across the surface of the planet to represent its atmosphere. Tip: Vary the spacing between lines to create a sense of depth and movement.
Step 9: Finalizing the Surface
Continue adding curved lines until the entire planet is filled with these atmospheric bands. Tip: Keep your lines consistent with the curve of the planet to maintain the 3D effect.
Step 10: Adding Color
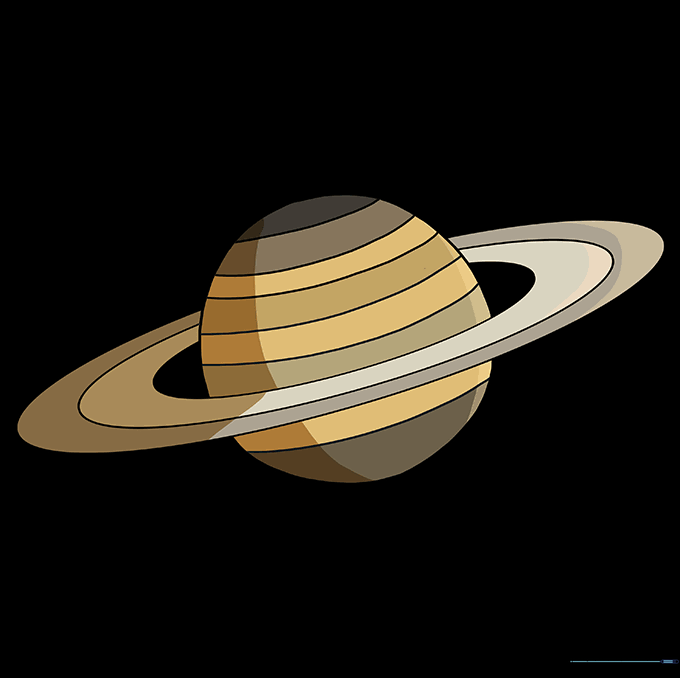
Bring your planet to life with shades of yellow, gold, and soft brown. Tip: Use light pressure with your colored pencils to blend the colors, mimicking the gaseous look of Saturn's atmosphere.
More Tutorials


