How to Draw Sasuke Uchiha: Easy Anime Tutorial
Ready to bring the legendary Uchiha to life? This tutorial is perfect for anime fans ages 8+ looking to master Sasuke’s iconic look. All you need is a pencil, an eraser, and a piece of paper to start building your manga-style character skills.
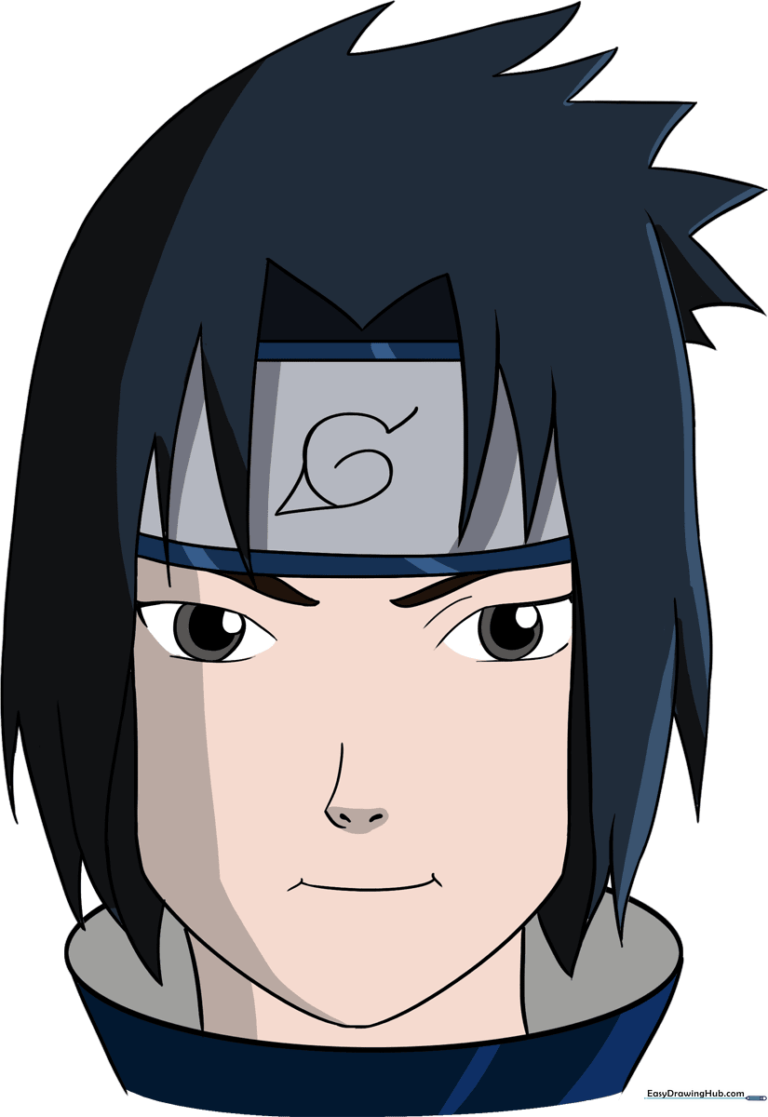
🎯 Final Result
Step-by-Step Instructions
Step 1: Sketching the Base Oval

Lightly sketch an oval to serve as the foundation for Sasuke’s face. Teacher's Tip: Keep your pencil pressure very light here so you can easily erase these guide lines later without leaving marks on your paper.
Step 2: Framing the Hairline
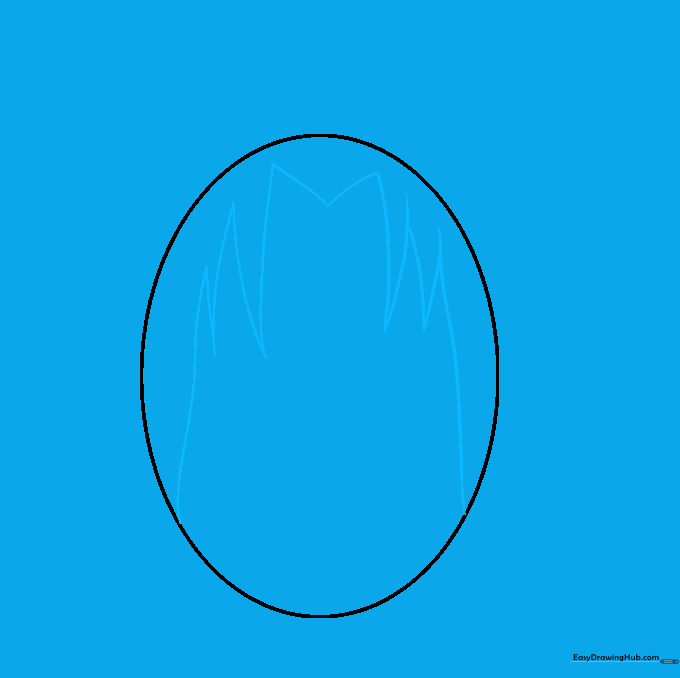
Draw the hair falling across the forehead using jagged, overlapping curved lines. Teacher's Tip: Think of these as 'V' shapes; varying the length of each lock makes the hair look more natural and dynamic.
Step 3: Defining the Jawline
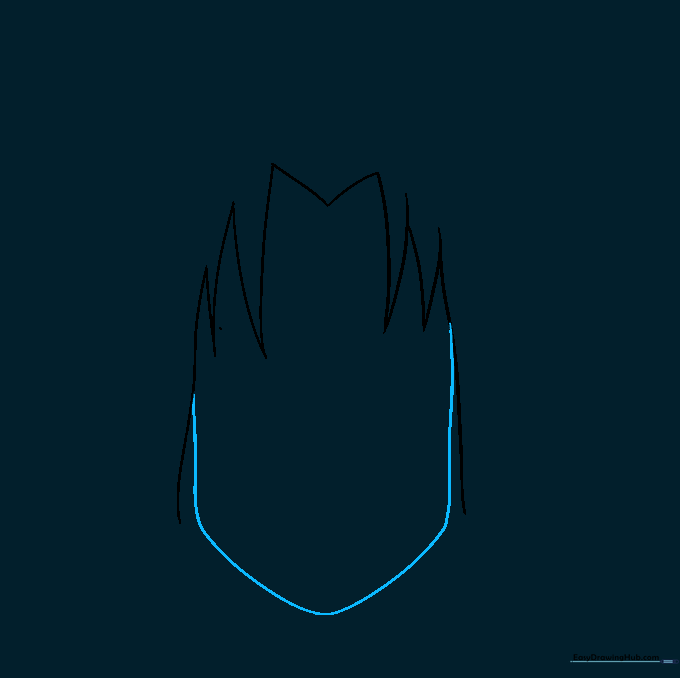
Erase your initial circle guides and define the cheeks and chin. Connect the hair to the jaw with smooth, curved lines. Teacher's Tip: Sasuke has a sharp, defined chin—don't make it too rounded!
Step 4: Sketching the Spiky Hair
Build out the iconic spiky hair by drawing jagged, overlapping lines that extend upward. Teacher's Tip: Use quick, confident strokes to get that sharp 'anime' look rather than slow, shaky lines.
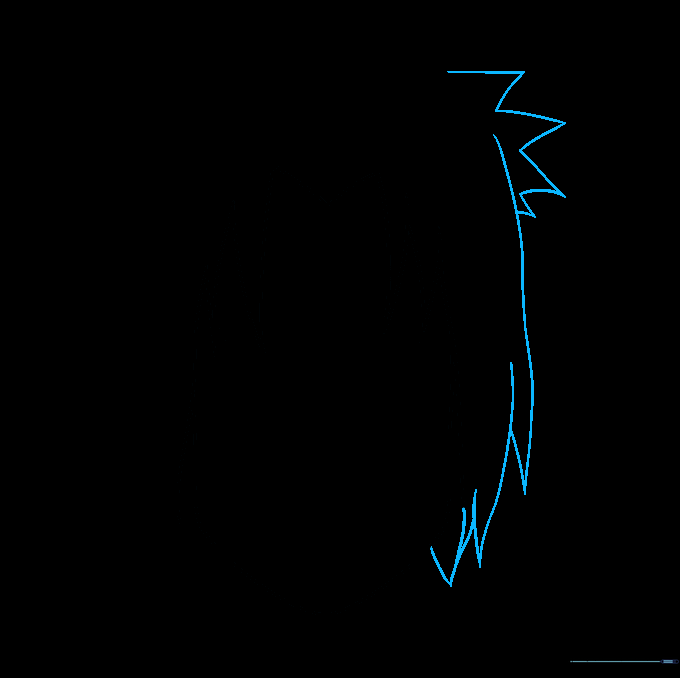
Step 5: Completing the Hair Silhouette
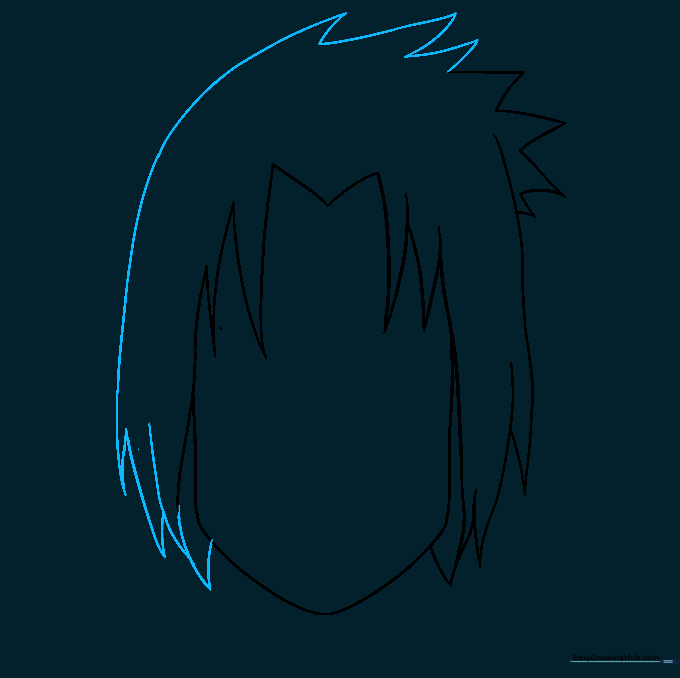
Mirror the jagged locks on the opposite side to finish the hair outline. Teacher's Tip: Ensure the spikes at the top of the head are slightly asymmetrical to keep the drawing looking natural.
Step 6: Adding the Headband
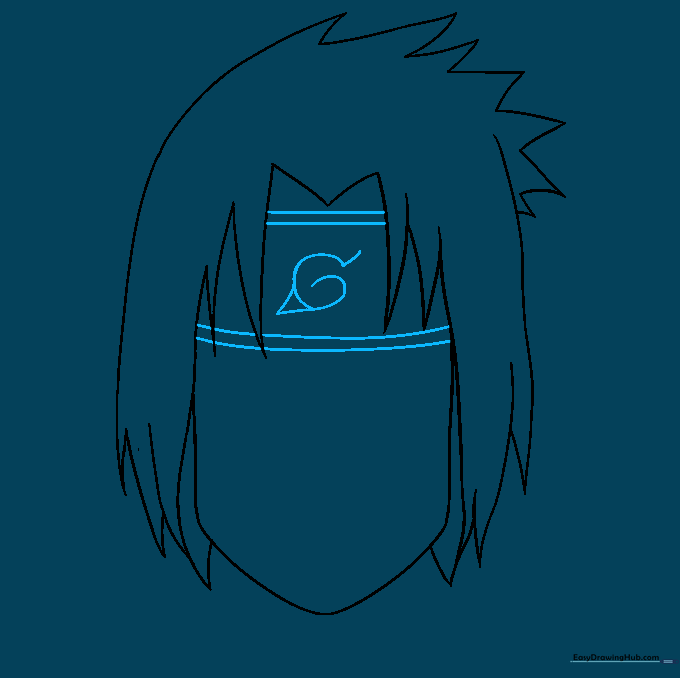
Draw the forehead protector by adding two parallel lines across the forehead. Add the Leaf Village symbol in the center. Teacher's Tip: Keep the spiral simple—it’s the most recognizable part of the headband!
Step 7: Drawing the Intense Eyes
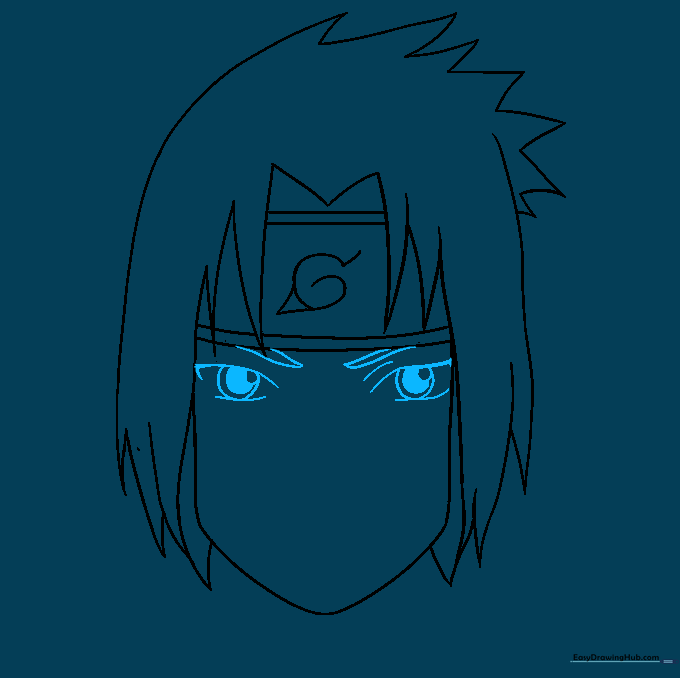
Sketch the sharp, pointed eyebrows and the eyes beneath them. Draw three circles inside each eye, shading the center for the pupil. Teacher's Tip: Sasuke’s eyes are narrow and serious; keep the upper eyelid line slightly flatter.
Step 8: Nose and Mouth Details
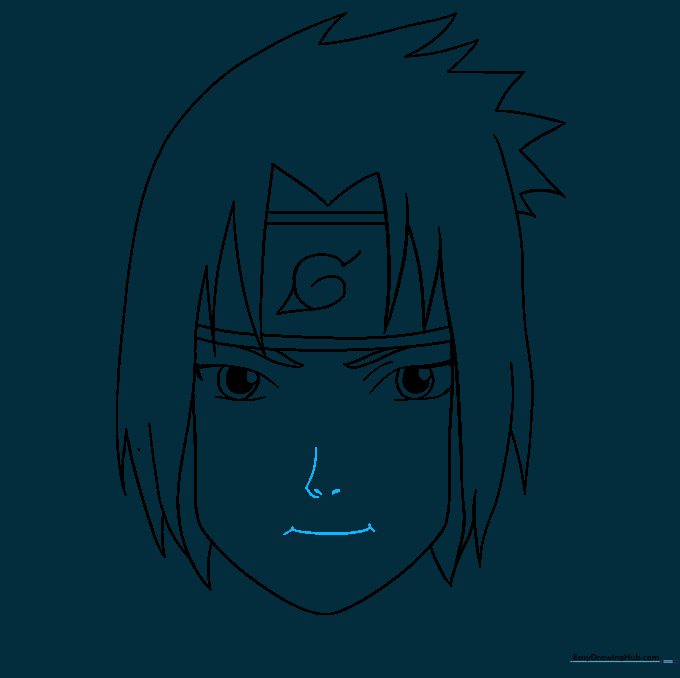
Add a small, simple nose and a straight, thin line for the mouth. Teacher's Tip: In anime, less is more. A tiny dash for the nose and a small line for the mouth keep the character looking clean.
Step 9: Neck and Collar
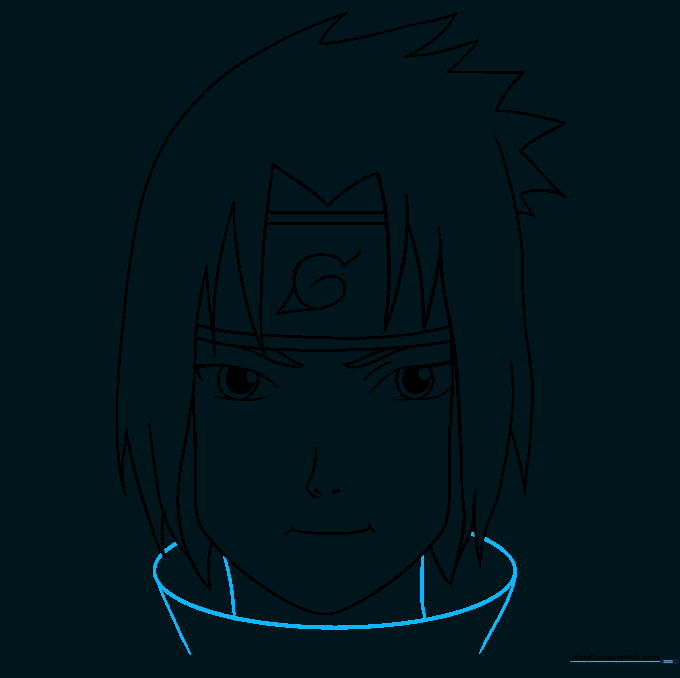
Draw the neck and the high collar of his tunic. Teacher's Tip: Make sure the collar looks stiff and structured to match Sasuke's ninja outfit.
Step 10: Bringing Sasuke to Life with Color
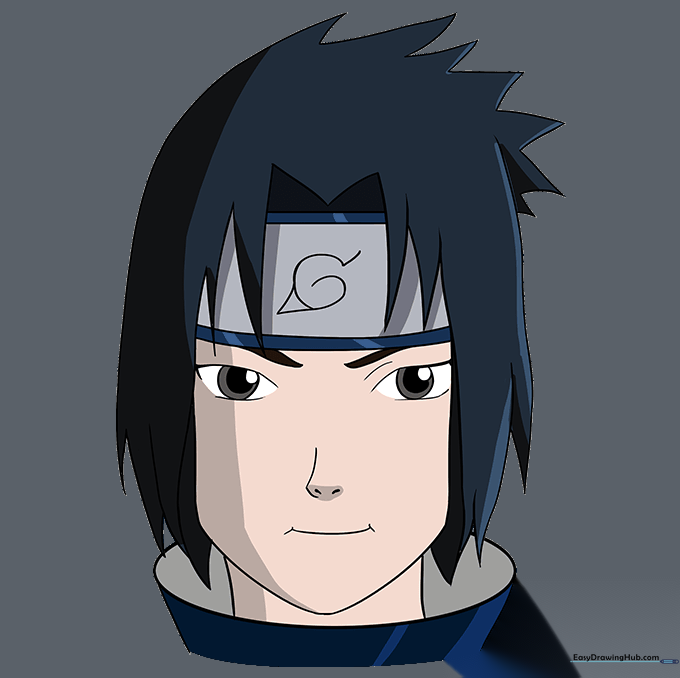
Time to color! Use deep blues and blacks for his hair and outfit. Teacher's Tip: Use a light grey or blue for the hair highlights to give it that shiny, manga-style finish.
More Tutorials


