How to Draw a Sailor on a Boat: Easy 10-Step Guide
Ready to set sail? This tutorial is perfect for young artists ages 6+ who want to draw a sailor navigating the waves. You will only need a pencil, an eraser, and your favorite markers or crayons to bring this nautical scene to life. Let’s build your confidence as an artist by breaking this complex scene into simple, manageable shapes.
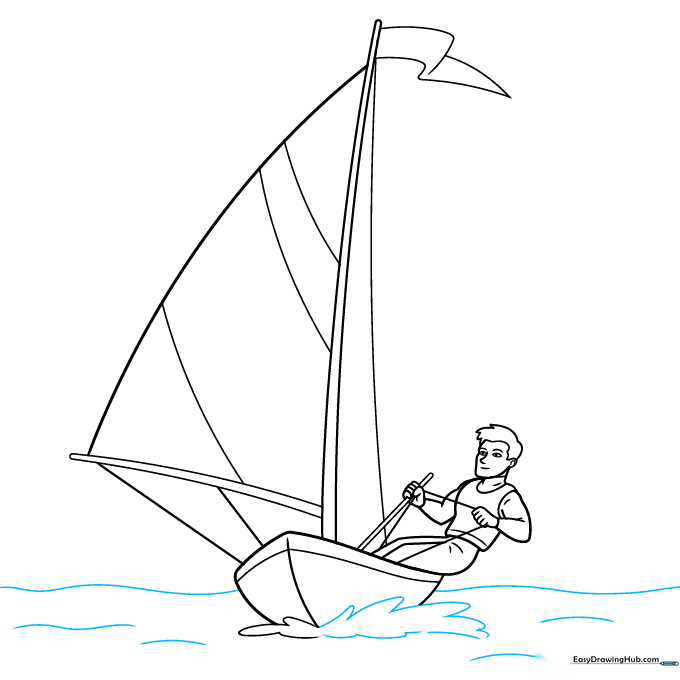
🎯 Final Result

Step-by-Step Instructions
Step 1: Sketching the Face

Draw two lemon-shaped outlines for the eyes with small dashes inside for pupils, then sketch an L-shape for the nose. Teacher's Tip: Keep your pencil pressure light here so you can easily erase any overlapping lines later.
Step 2: Adding the Head and Neck
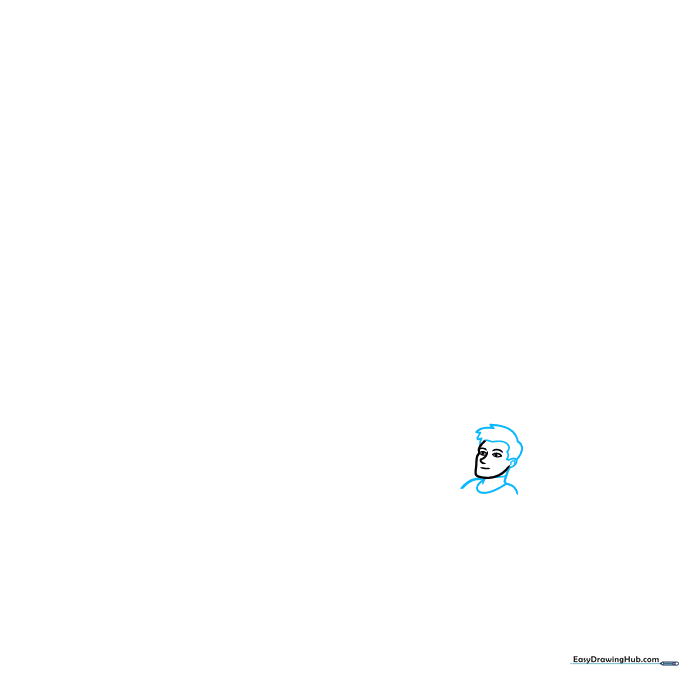
Add an oval for the ear and use small curves and triangles to create a messy hairstyle. Draw two vertical lines for the neck. Teacher's Tip: Use short, quick strokes for the hair to give it a natural, textured look.
Step 3: Forming the Arm
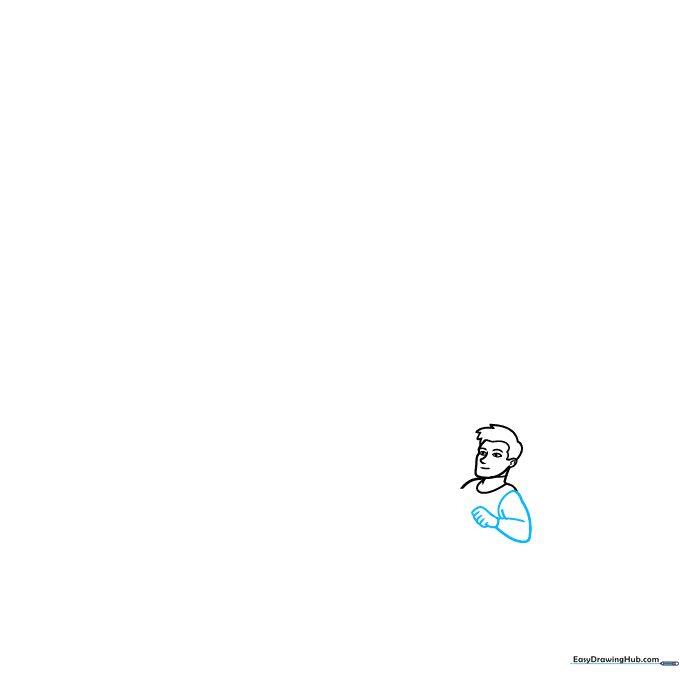
Start the arm with a V-shape and extend lines to the left. For the hand, draw four small rectangles for fingers. Teacher's Tip: Fingers are tricky! Think of them as small, rounded sausages rather than perfect rectangles.
Step 4: Outlining the Torso

Outline the body using a wavy line on the left and a straight line on the right, connecting them at the bottom. Add the second arm with a V-shape. Teacher's Tip: The wavy line helps show movement, as if the sailor is balancing on the boat.
Step 5: Sketching the Legs and Boat Base
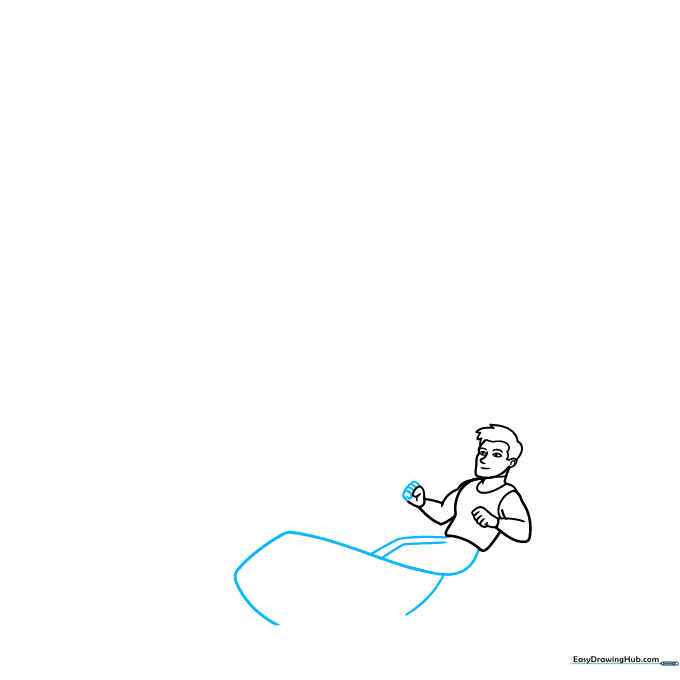
Draw the legs using diagonal lines and start the boat base with a triangle pointing left. Teacher's Tip: Make sure the boat base looks sturdy; it needs to look like it can float on the water!
Step 6: Adding the Mast
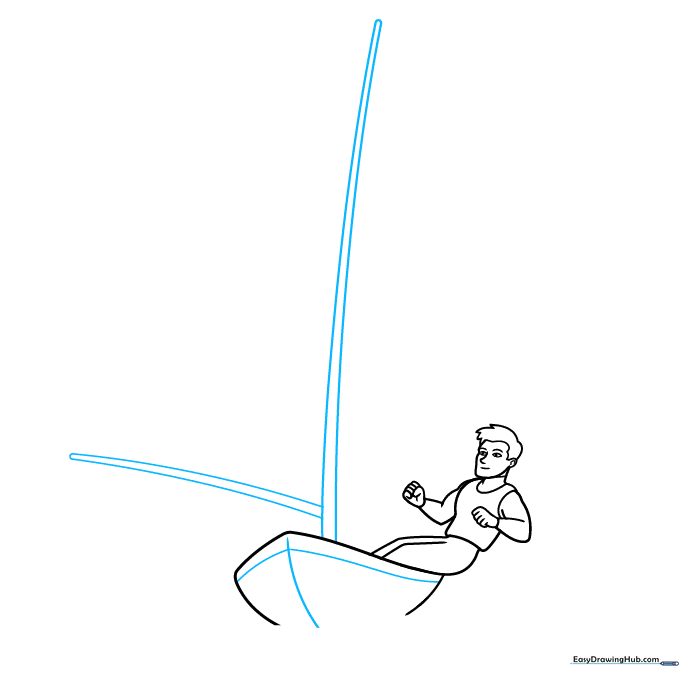
Draw crossed lines inside the boat and add two long, narrow cylinders for the mast. Teacher's Tip: Use a ruler if you want your mast to be perfectly straight, but freehand lines give it a more artistic, organic feel.
Step 7: Drawing the Sails
Add a cylinder in the sailor's hand and draw three curves on the mast to form the sails. Teacher's Tip: Sails are filled with wind, so make those curves nice and big to show the boat is moving fast!
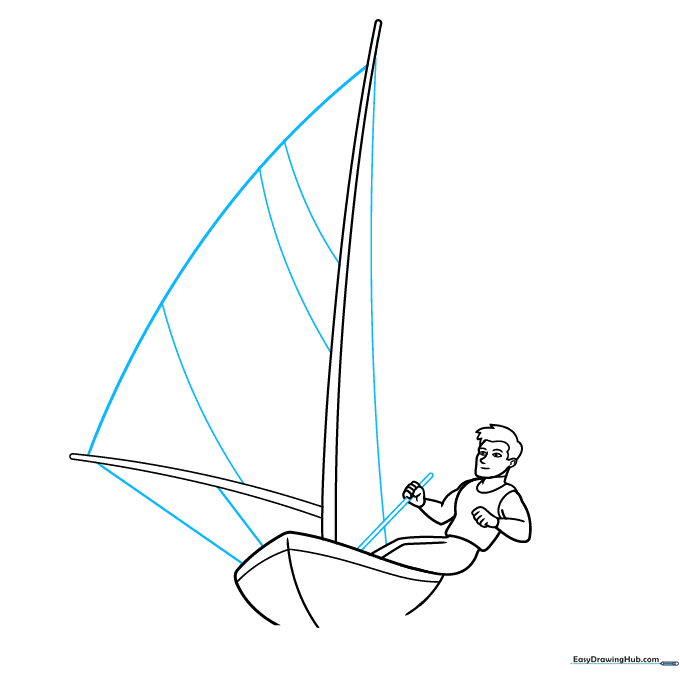
Step 8: Adding Nautical Details
Attach lines to the hands and add loops to the bottom of the boat. Sketch an overlapping triangle on top of the mast. Teacher's Tip: These small details, like the ropes and flags, make your drawing look professional and complete.
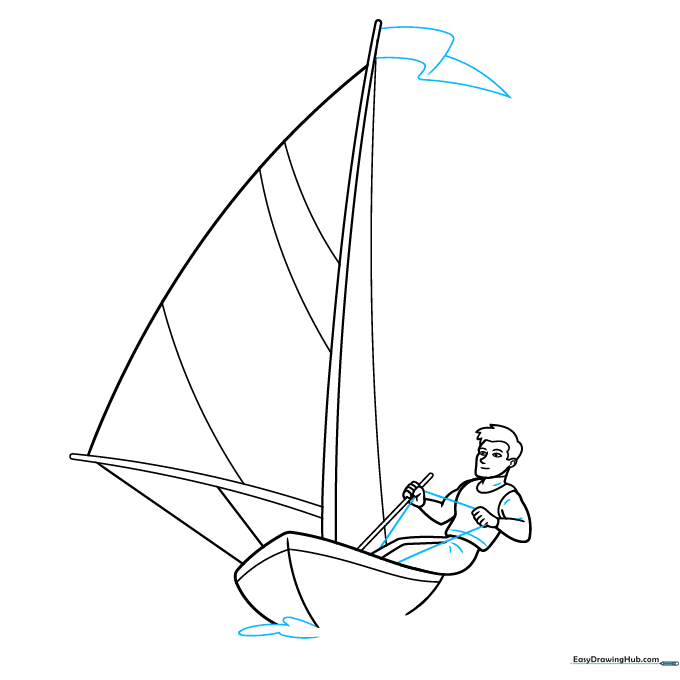
Step 9: Finalizing the Scene
Draw waves in the background and beneath the boat. Go over your final lines with a black ink pen. Teacher's Tip: Use varying wave sizes to create depth—smaller waves in the distance and larger ones near the boat.
Step 10: Bringing it to Life with Color

Color the sailor's clothes, the boat, and the water. Use bright blues for the sea and sky to make the scene pop. Teacher's Tip: Try using different shades of blue for the water to show where the waves are deepest!
More Tutorials


