How to Draw Sadness: Easy Step-by-Step Guide
Bring Sadness to life with this easy-to-follow drawing tutorial, perfect for young artists ages 6 and up. You will only need a pencil, an eraser, and your favorite blue markers or colored pencils. Follow these steps to master her expressive features and cozy sweater look while building your character-design confidence.
🎯 Final Result

Step-by-Step Instructions
Step 1: Sketching the Face Shape

Draw a soft, diagonal half-circle to outline the face. Teacher's Tip: Keep your pencil pressure light here so you can easily adjust the shape if it looks a bit too round or too flat.
Step 2: Adding the Hair

Add long, curved lines starting from the top of the head to create her signature bob. Tip: Use short, jagged strokes where the hair meets the face to give it a natural, textured look.
Step 3: Drawing the Sweater Collar

Draw a wide, curved line below the chin to form the collar. Tip: Add small, vertical wavy lines inside the collar to make it look like cozy, knitted fabric.
Step 4: Sketching the Arms and Cuffs
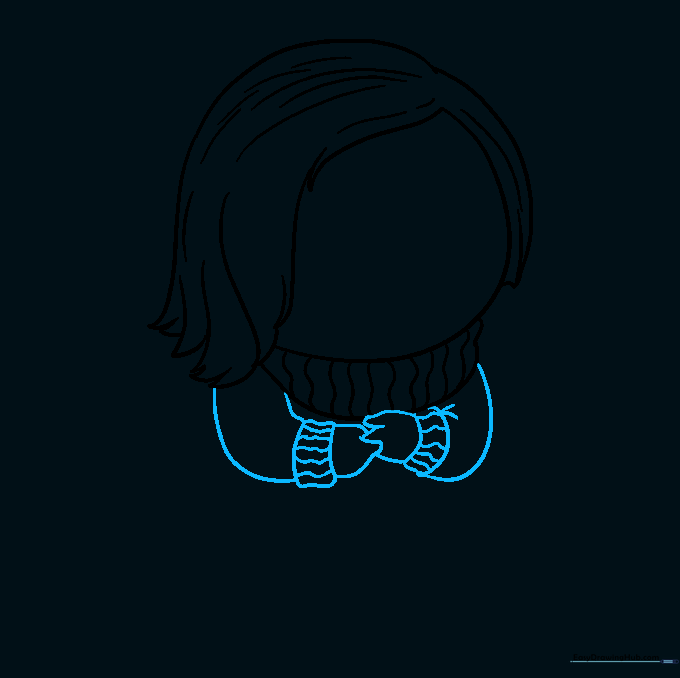
Extend curved lines from the collar to create the arms, ending in rounded rectangles for the cuffs. Tip: Keep the hands simple and rounded to match the character's soft, gentle personality.
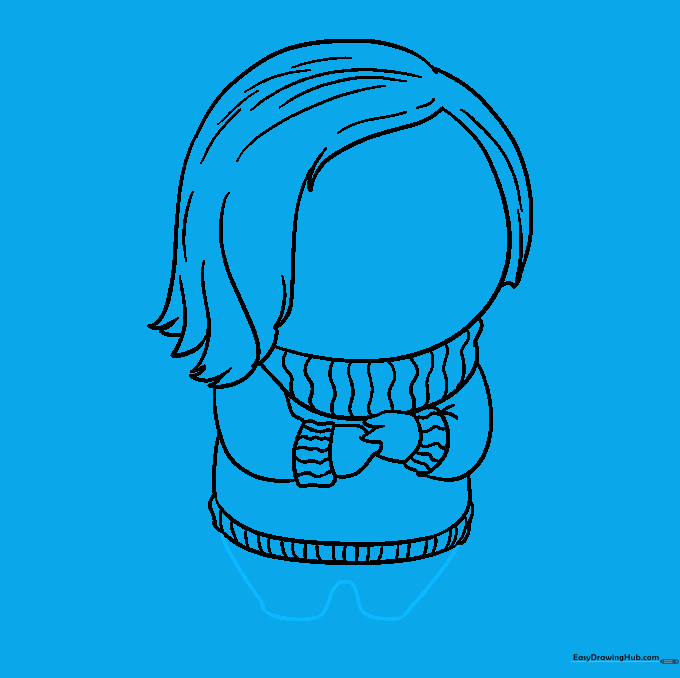
Step 5: Defining the Sweater Body

Draw two downward curves to connect the arms to the hem. Tip: Add short vertical lines at the bottom hem to mirror the texture you created on the collar.
Step 6: Outlining the Legs
Draw a 'W' shape beneath the sweater to form the legs. Tip: Don't worry if the lines aren't perfectly straight; Sadness's pose is meant to look relaxed and slightly slumped.
Step 7: Adding Shoes and Details

Add rounded shapes at the bottom of the legs for shoes. Tip: Add a few small, curved lines near the ankles to suggest folds in her pants.
Step 8: Drawing the Glasses

Draw two large circles across the face for the glasses. Tip: Draw the inner circles slightly smaller to represent the thickness of the frames.
Step 9: Adding Facial Expressions

Draw the eyes, eyebrows, and a frowning mouth. Tip: To capture her sad expression, angle the eyebrows downward toward the center of her face.
Step 10: Bringing Sadness to Life with Color

Use various shades of blue to color her hair, sweater, and skin. Tip: Use a darker blue for the shadows under her chin and hair to give the drawing more depth.
More Tutorials


