How to Draw Ruffles: Easy Step-by-Step Guide for Beginners
Ready to add some flair to your fashion sketches? This tutorial is perfect for young artists and beginners looking to master the flow of fabric. All you need is a pencil, an eraser, and a piece of paper to start creating bouncy, realistic ruffles.
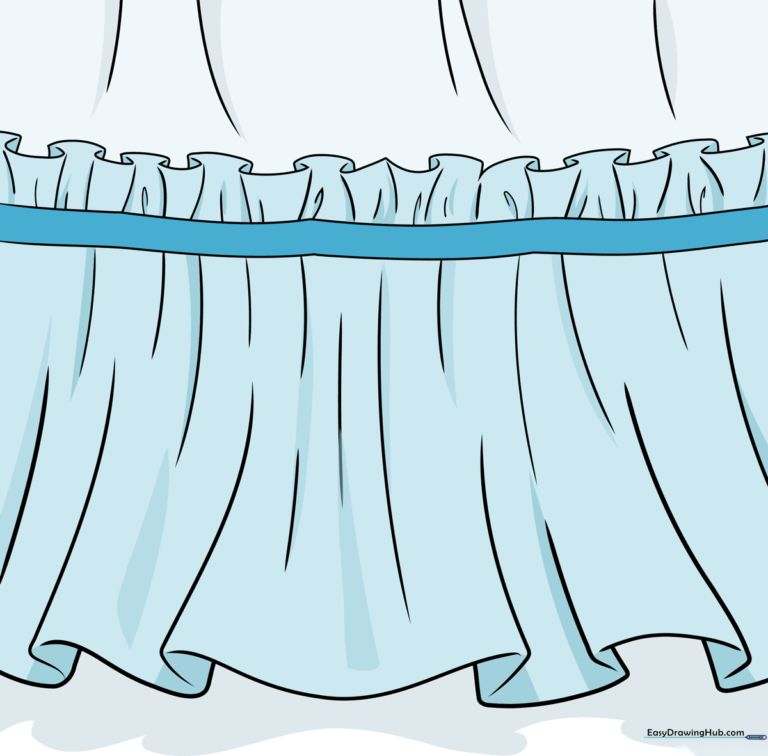
🎯 Final Result
Step-by-Step Instructions
Step 1: Establishing the Base
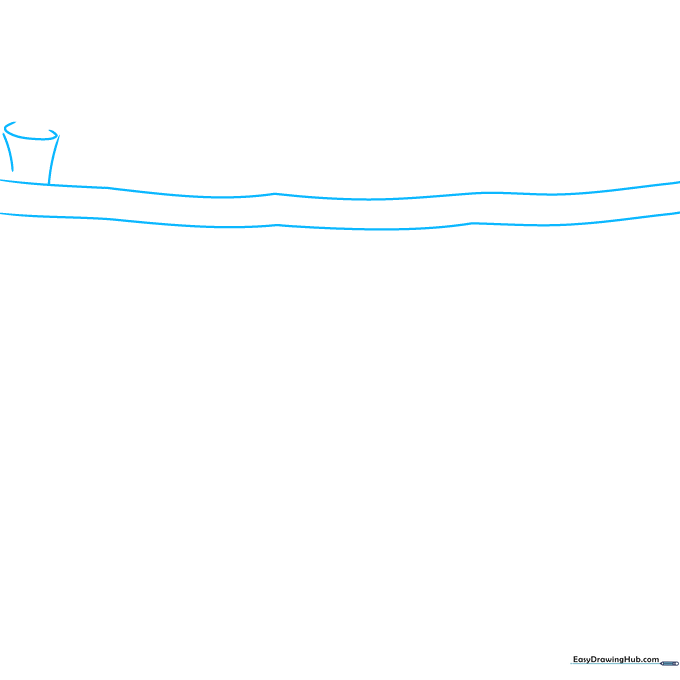
Start by drawing two parallel horizontal curved lines to create the fabric band. Then, extend two short, curved lines upward and join them with a 'C' shape. Teacher's Tip: Keep your pencil pressure light so you can easily adjust the shape if the curves don't look quite right the first time.
Step 2: Building the Ruffle Rhythm
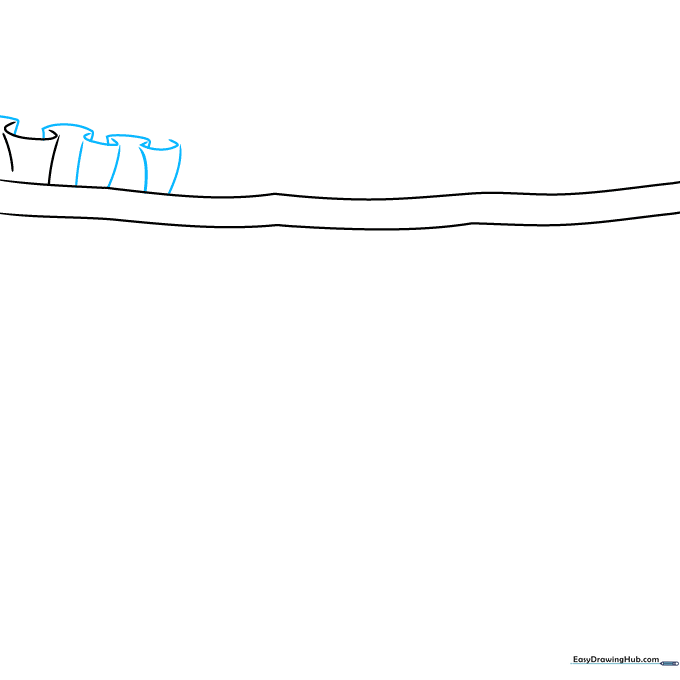
Add more curved lines extending upward, connecting them with 'C' shapes. Then, draw 'C' shapes facing the opposite direction to create an overlapping effect. Tip: Think of this as drawing a series of waves; the overlap is what makes the fabric look like it is folding over itself.
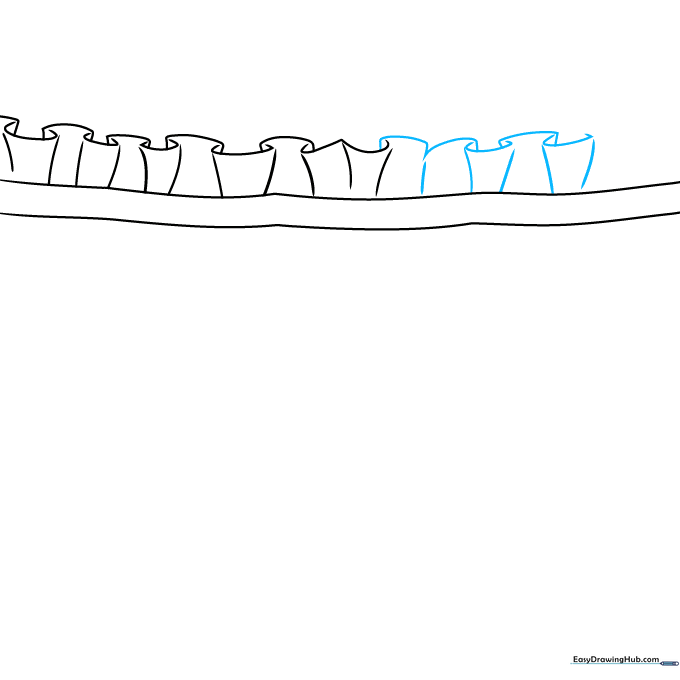
Step 3: Expanding the Fabric
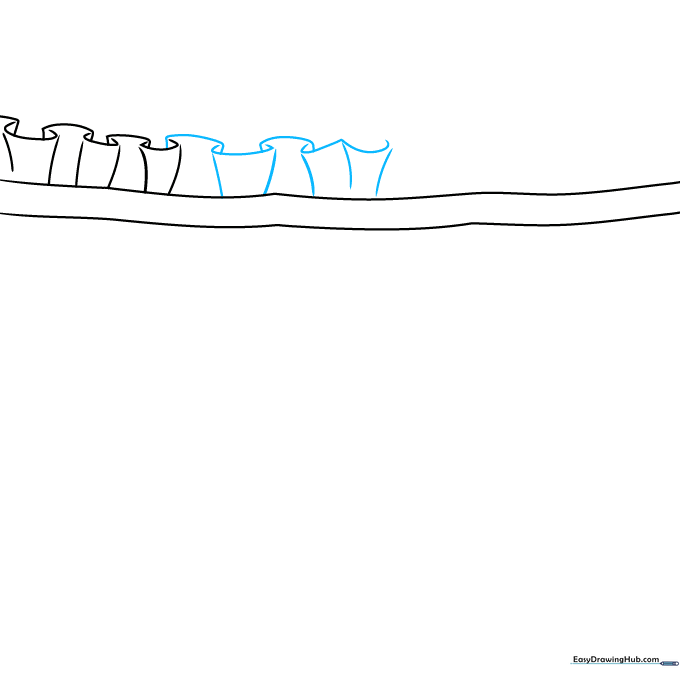
Continue the pattern by drawing another set of lines extending upward. Connect them using a mix of 'C' and 'W' shaped lines to create variety. Tip: Varying the size of your 'C' shapes helps the ruffles look more natural and less like a repeating stamp.
Step 4: Adding Depth
Extend a single line, then add two more sets of lines upward. Connect these with 'C' shaped lines. Tip: Focus on the negative space between the lines; this is where the shadows will eventually go, giving your drawing a 3D look.
Step 5: Defining the Base
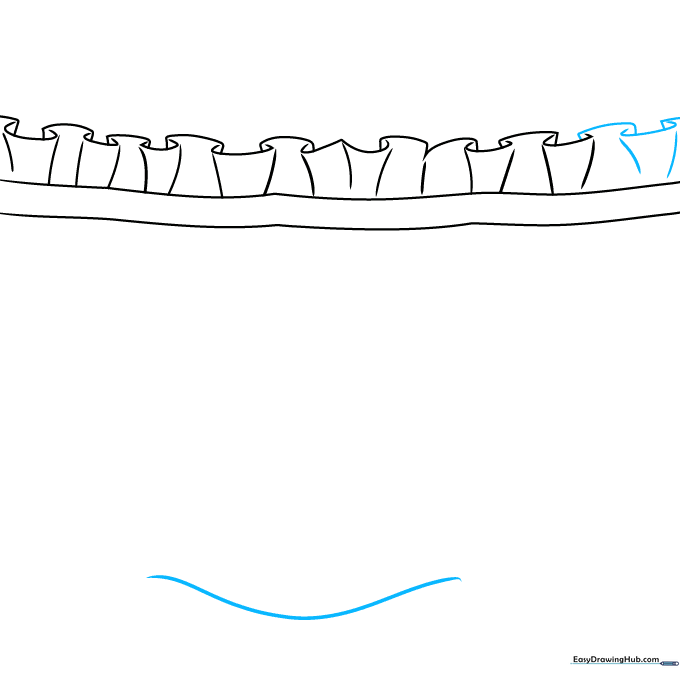
Add another set of lines and connect them with 'C' shapes. Finally, draw a long, gentle curved line at the bottom to anchor the ruffles. Tip: This bottom line acts as the hem of your fabric, so make it smooth and continuous.
Step 6: Sketching the Fabric Bottom
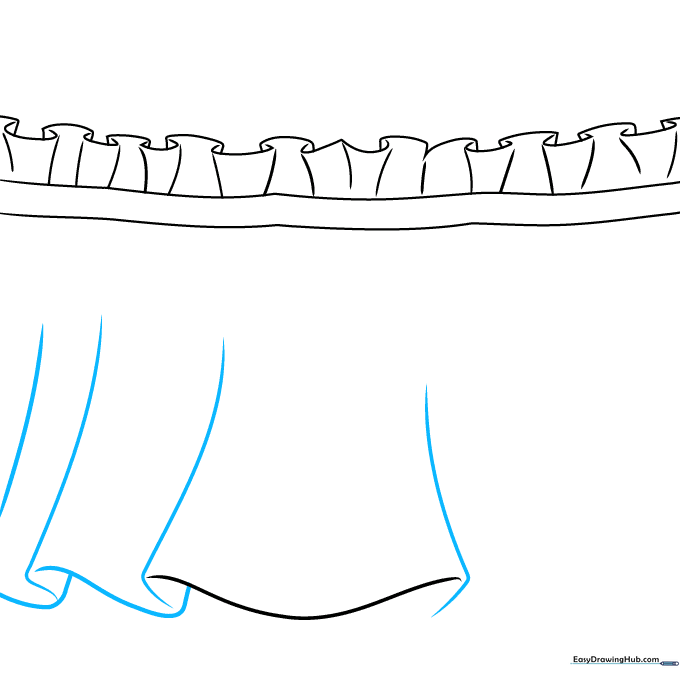
Draw several diagonal lines that bend into a soft 'L' shape at the bottom. Use overlapping curves to define the edge of the fabric. Tip: Imagine the fabric is hanging off a table; the 'L' shapes represent the weight of the cloth pulling downward.
Step 7: Adding Contour Lines
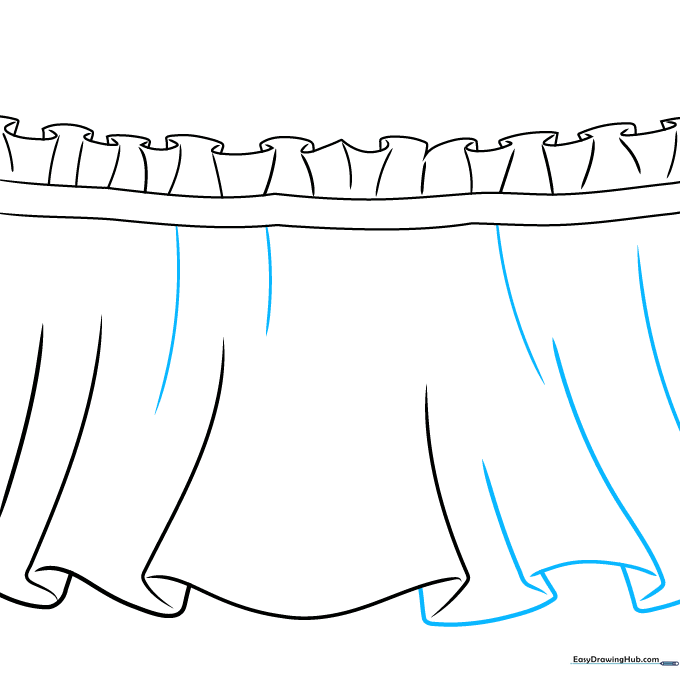
Add two more 'L' shaped lines and a series of overlapping curves to enclose the bottom. Add contour lines to show the fabric's shape. Tip: Contour lines should follow the curve of the fabric—think of them like lines on a topographical map.
Step 8: Creating Folds and Ripples
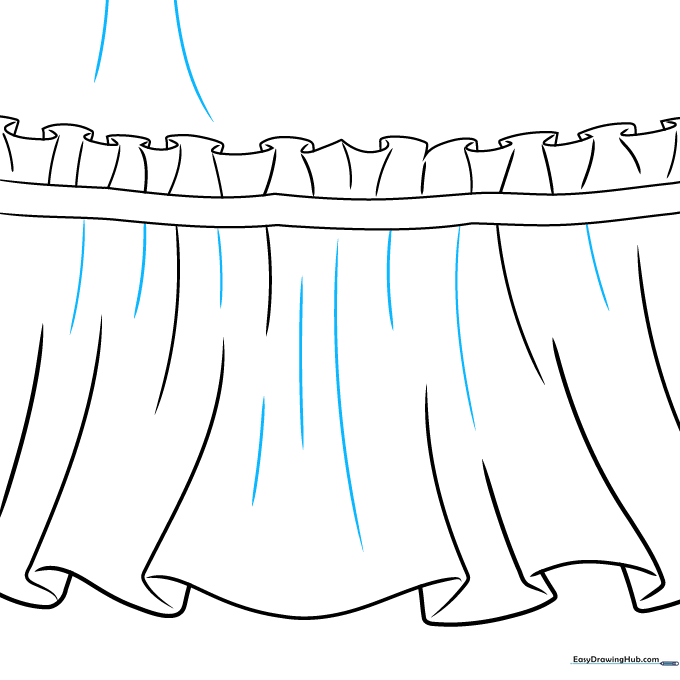
Draw more curved lines to indicate folds and ripples in the fabric. Add two curved lines above the upper ruffle. Tip: Keep these lines short and varied in length to suggest natural movement in the cloth.
Step 9: Finalizing the Outline
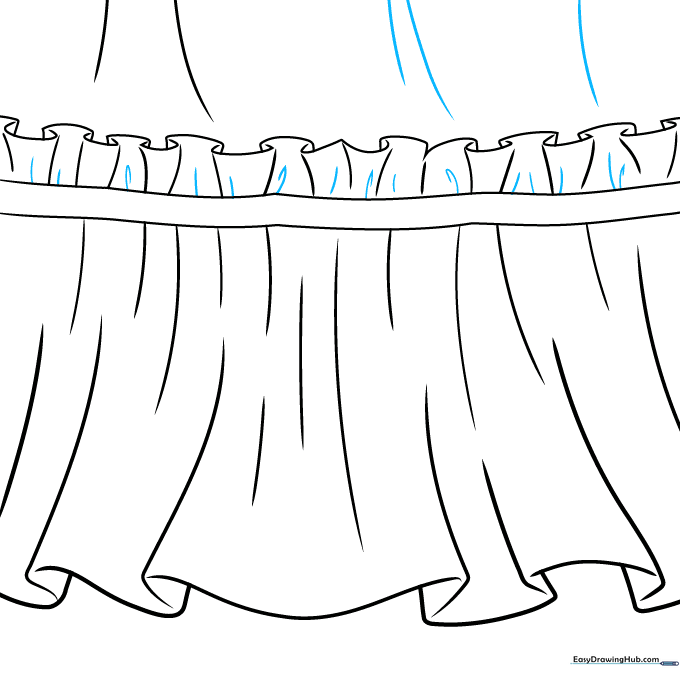
Add three more curved lines above the upper ruffle. Contour the small ruffle at the top using 'J' shaped lines. Tip: Use your eraser to clean up any overlapping lines that don't belong, making the final outline crisp and clear.
Step 10: Color and Personalize
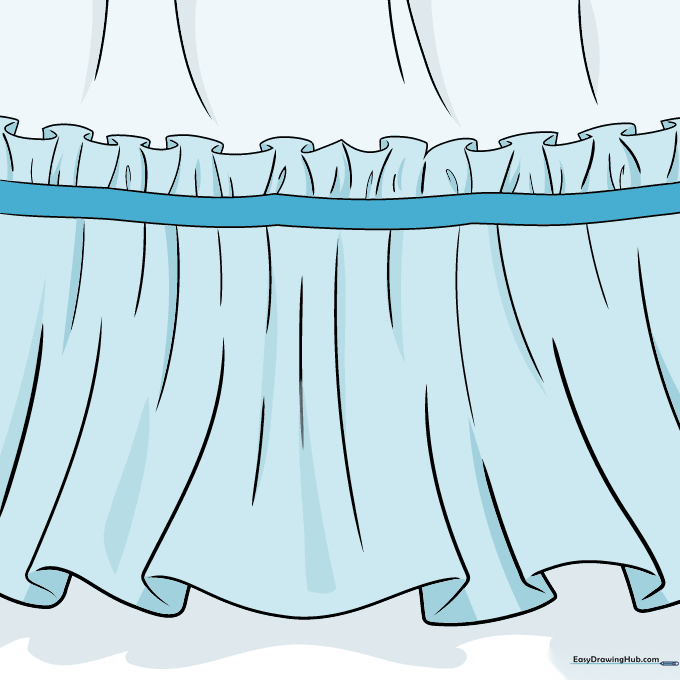
Your ruffle drawing is complete! Now, bring it to life with color. You can add polka dots, stripes, or floral patterns to make the fabric unique. Tip: Use a darker shade of your chosen color in the folds to create a simple shadow effect.
More Tutorials


