How to Draw Ruby Bridges: Easy Step-by-Step Guide
Celebrate history by drawing Ruby Bridges, the young hero who changed the world. This tutorial is designed for students and young artists to create a respectful, recognizable portrait using basic shapes. Grab your pencil and eraser, and let’s honor her legacy through art.
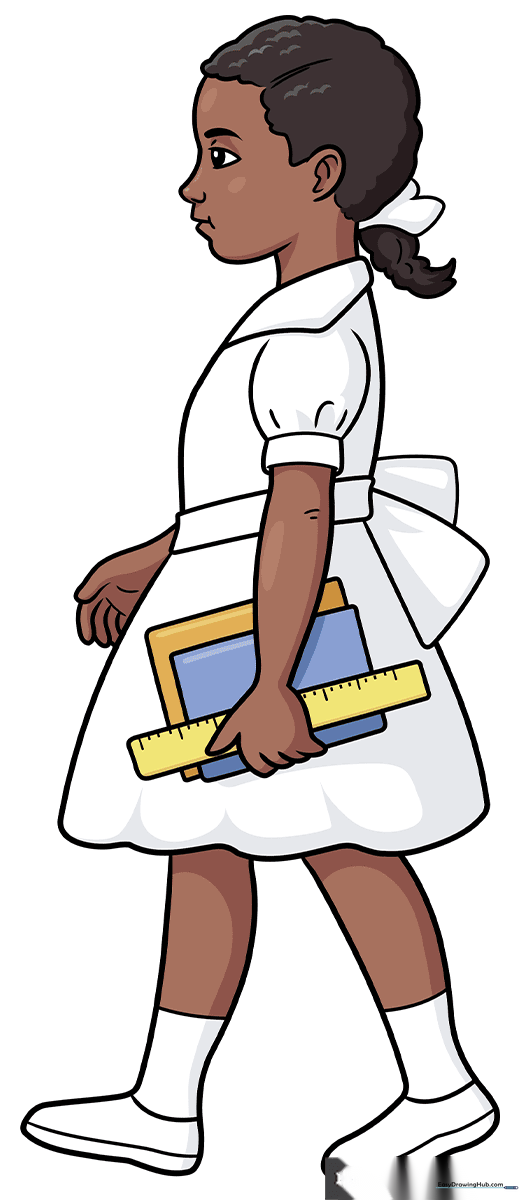
🎯 Final Result
Step-by-Step Instructions
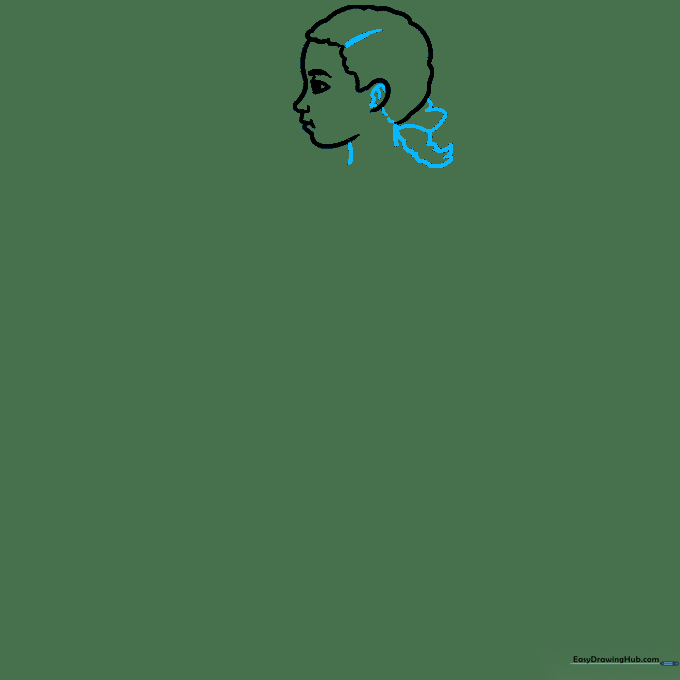
Step 1: Sketching the Facial Features

Draw a small triangle with an oval inside for the eye, then add a dash and a thick line above for the eyebrow. Add a vertical curve and a small triangle for the nose, finishing with an L-shape for the mouth. Teacher's Tip: Keep your pencil lines very faint here so you can easily adjust the expression later.
Step 2: Defining the Chin and Hairline

Add a small loop under the mouth for the chin, then outline the jawline with a soft curve. Draw a semi-oval for the ear and use loose, wavy lines to sketch the top of her hair. Teacher's Tip: Use short, light strokes for the hair to give it a natural, soft texture.
Step 3: Adding the Ponytail
Add curved details inside the ear and draw vertical lines for the neck. For the ponytail, sketch a loose heart shape combined with a bumpy oblong. Teacher's Tip: Don't worry about perfect symmetry; hair is naturally flowy and imperfect.
Step 4: Sketching the Torso and Sleeve
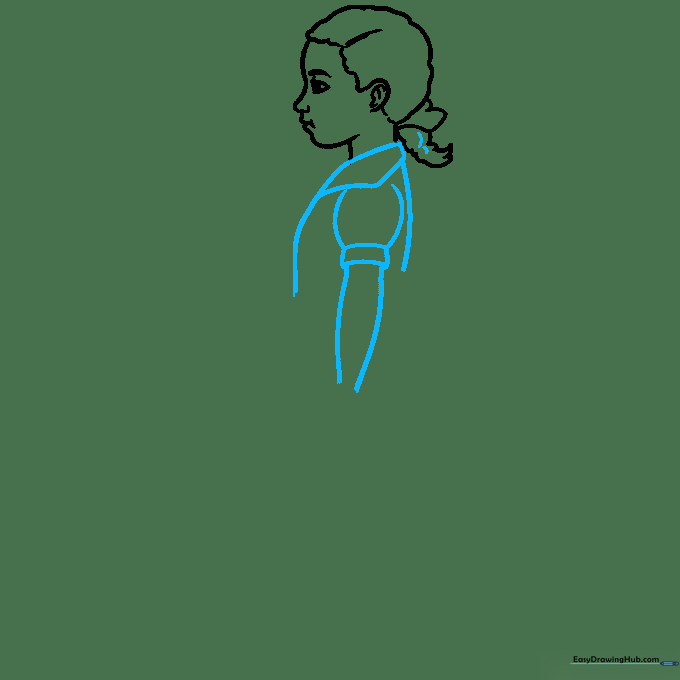
Below the neck, draw a broad rectangular shape that tapers to a point. Add the sleeve using two curves and a curved rectangle. Teacher's Tip: Ensure the sleeve overlaps the arm slightly to create a sense of depth.
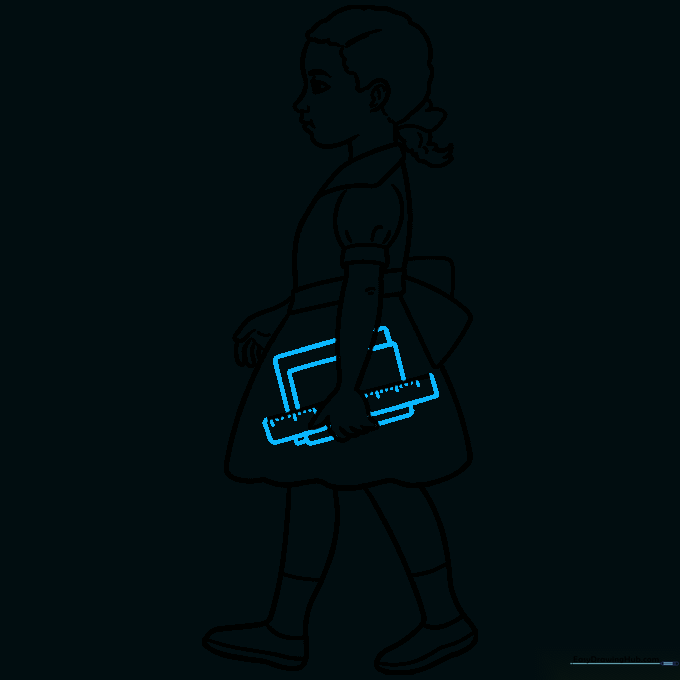
Step 5: Drawing the Hands
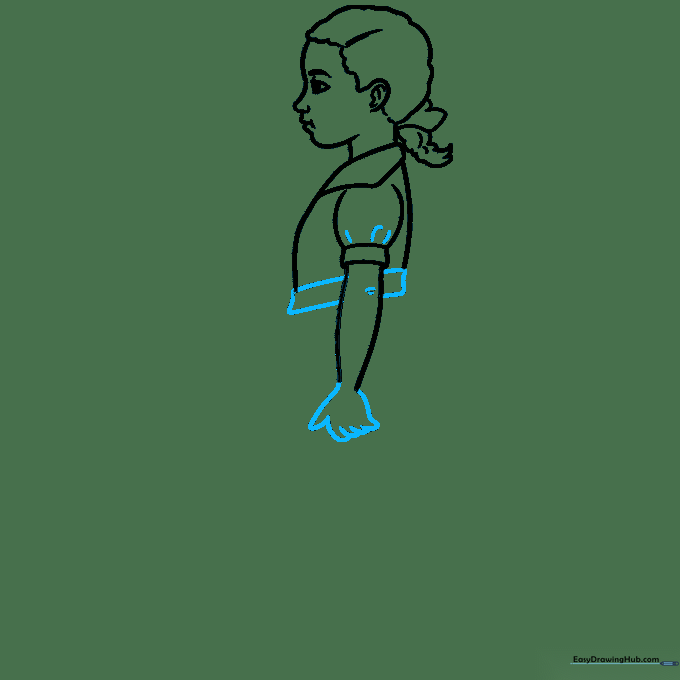
Sketch five small, uneven ovals for the fingers and connect them to the arm. Add a rectangle behind the arm to represent the books she is carrying. Teacher's Tip: Hands are tricky! Focus on the overall shape of the fingers rather than individual knuckles.
Step 6: Drawing the Skirt and Legs

Draw two diagonal lines for the skirt, connecting them with a wavy hemline. Add the legs using straight and wavy lines, finishing with oblong shapes for the feet. Teacher's Tip: A wavy line at the bottom of the skirt adds movement to your drawing.
Step 7: Adding Socks and Shoes
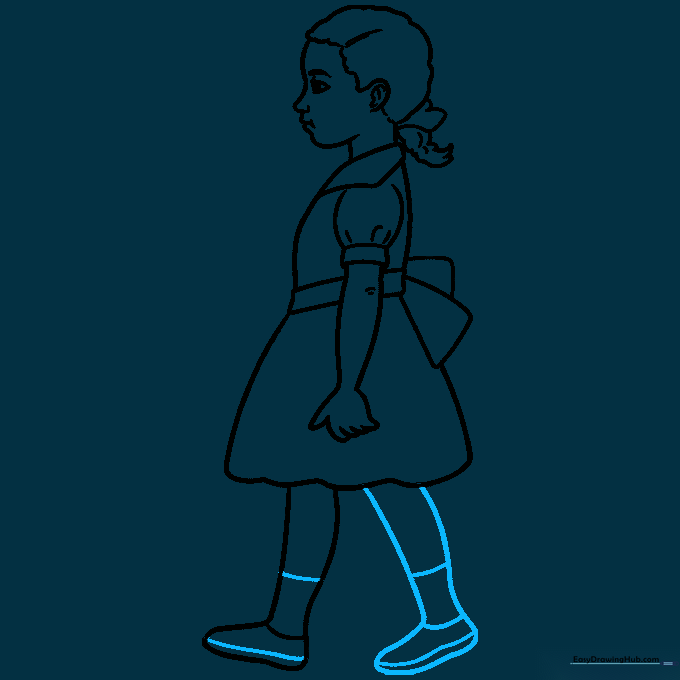
Repeat the leg process for the right side. Sketch horizontal lines to define the socks and soles of the shoes. Teacher's Tip: Keep the lines for the socks parallel to ensure they look like they are wrapping around the ankles.
Step 8: Refining the Details

Add a vertical line inside the skirt for texture. On the left hand, refine the fingers into 'hot dog' shapes and add a curve inside the palm. Teacher's Tip: Adding these small lines makes the clothing look more realistic.
Step 9: Final Outline
Sketch two large rectangles and one narrow one behind the right hand to complete the book stack. Once you are happy with your sketch, go over your lines with a black ink pen. Teacher's Tip: Use a steady hand for the final outline to give your drawing a professional look.
Step 10: Bringing It to Life with Color

Color the hair dark brown and use a warm tone for the skin. Use light gray for shadows on the dress and socks. Finally, use bright colors like blue, yellow, and orange for the books. Teacher's Tip: Use light pressure with your colored pencils to build up the color gradually.
More Tutorials


