How to Draw Rubble from PAW Patrol: Easy Step-by-Step Guide
Ready to bring the construction pup to life? This tutorial is perfect for young artists ages 5 and up. You will need a pencil, an eraser, and your favorite markers or crayons to capture Rubble’s friendly personality and iconic gear.
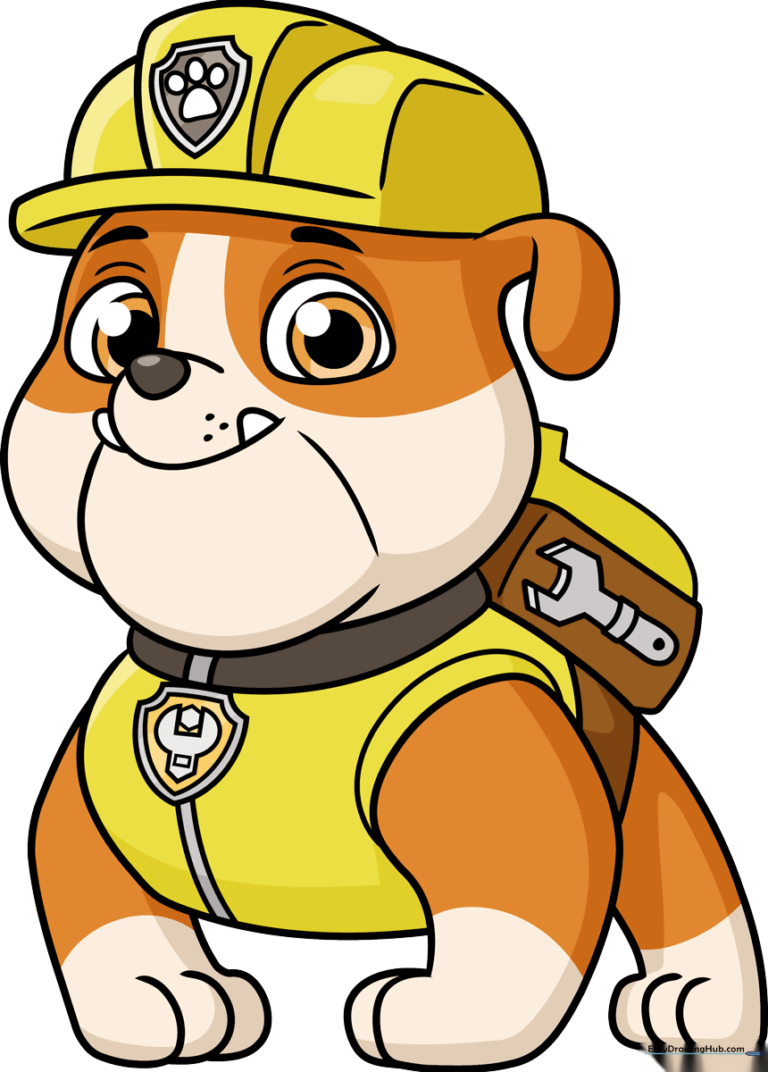
🎯 Final Result
Step-by-Step Instructions
Step 1: Sketching the Eyes and Snout
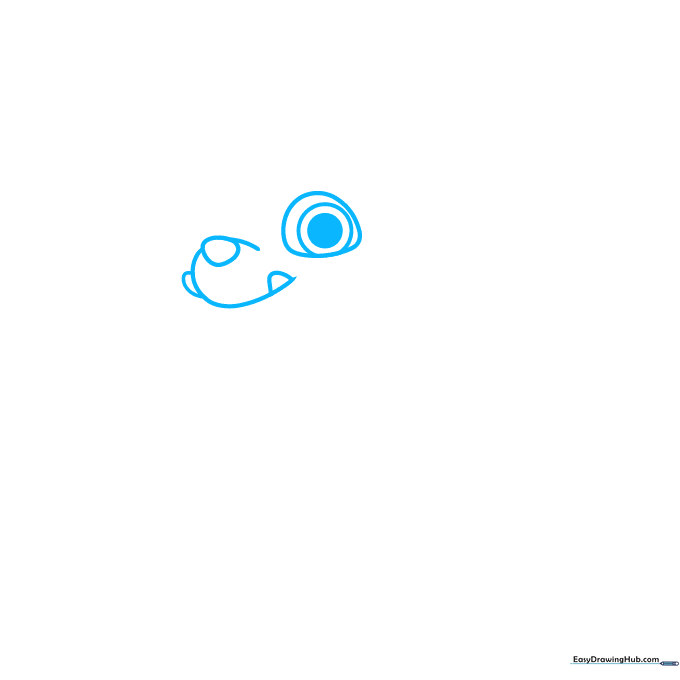
Start by drawing Rubble's eye as an irregular oval with two smaller circles inside; shade the smallest one to create his pupil. Add a rounded triangle for his nose. Teacher's Tip: Keep your pencil lines light and loose here so you can easily adjust the snout shape if needed.
Step 2: Defining the Jaw and Brows
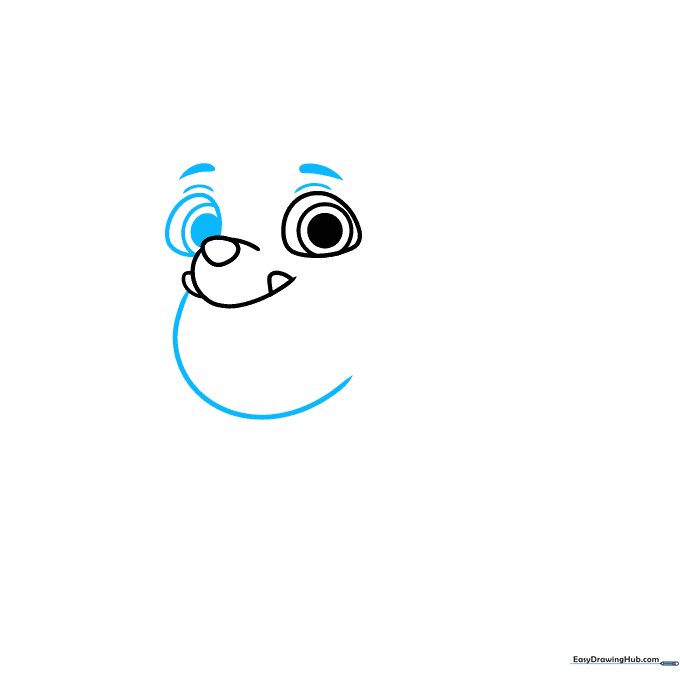
Extend a curved line from the snout to form his jawline. Add the second eye, mirroring the first, and draw thick, expressive eyebrows. Teacher's Tip: Rubble is a happy pup, so make sure those eyebrows are angled slightly to show his friendly, energetic nature.
Step 3: Adding the Hard Hat Brim
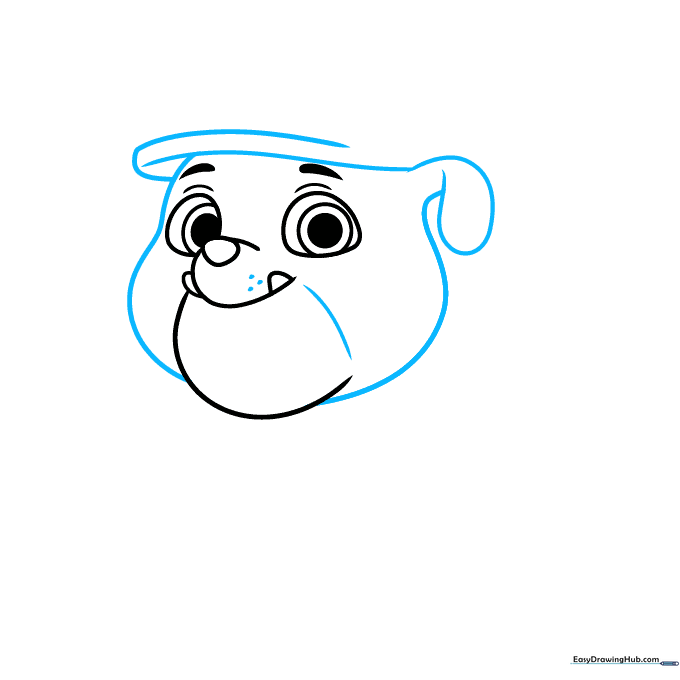
Use long, sweeping curved lines to outline the sides of his face and the brim of his signature construction hat. Add a small curve for his ear. Teacher's Tip: Don't worry about perfect symmetry; Rubble's face is round and chunky, which makes him look extra cute!
Step 4: Constructing the Hat Crown
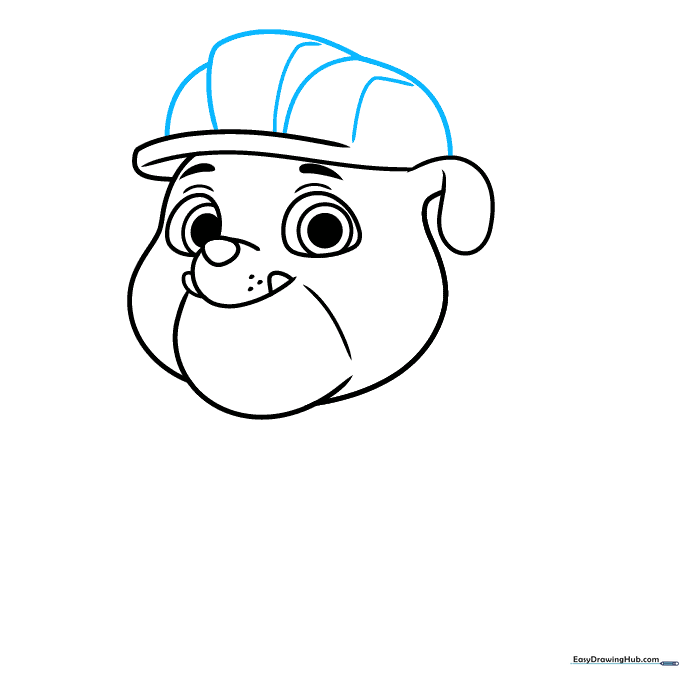
Use overlapping curved lines to build the top of the hard hat. Include that distinct thick ridge in the middle. Teacher's Tip: Think of this as drawing a rounded dome—keep your wrist loose to get those smooth, continuous curves.
Step 5: Adding the Pup Badge
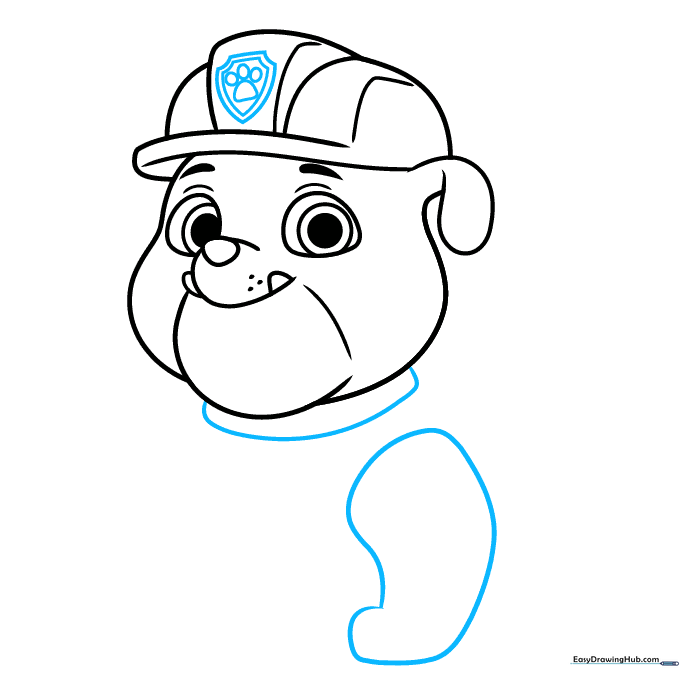
Draw a shield shape on the front of the hat with a smaller version inside. Add the paw print detail in the center. Sketch his collar and the start of his front leg. Teacher's Tip: The paw print is just a few small circles—take your time to make them look even.
Step 6: Drawing the Vest and Legs
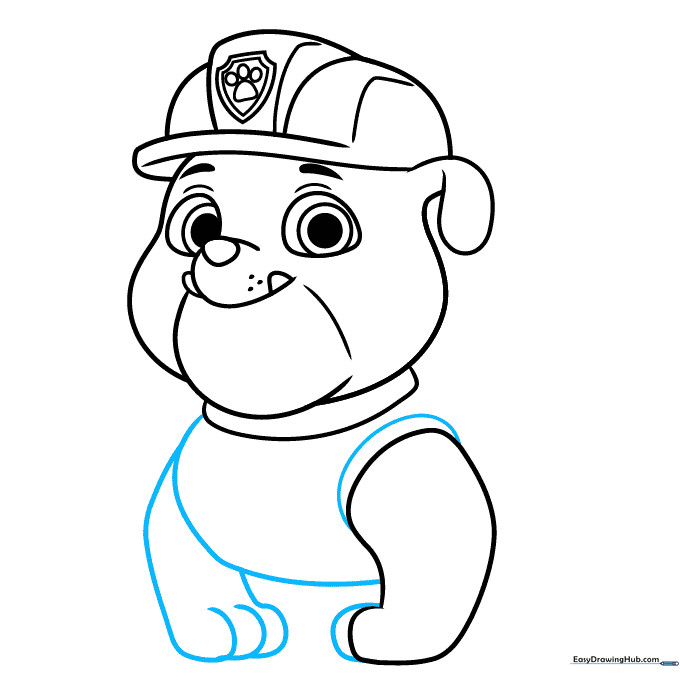
Outline the torso and the opening of his vest using curved lines. Add his front legs and paws. Teacher's Tip: Use overlapping lines to show where the legs meet the body; this creates a sense of depth in your drawing.
Step 7: Completing the Body and Tag
Sketch his back and rear leg, then add the pup tag hanging from his collar. Teacher's Tip: Make sure the pup tag hangs slightly below the collar line to give it a realistic 'dangling' look.
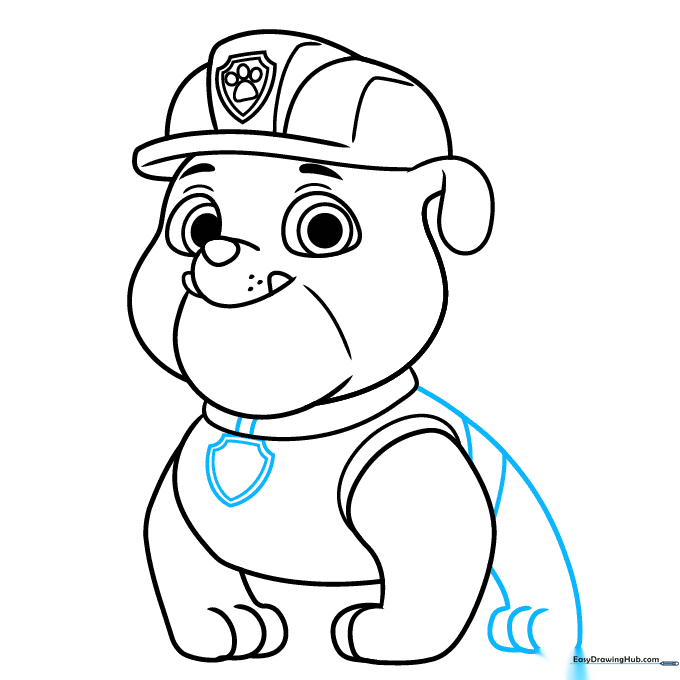
Step 8: Adding the Pup Pack
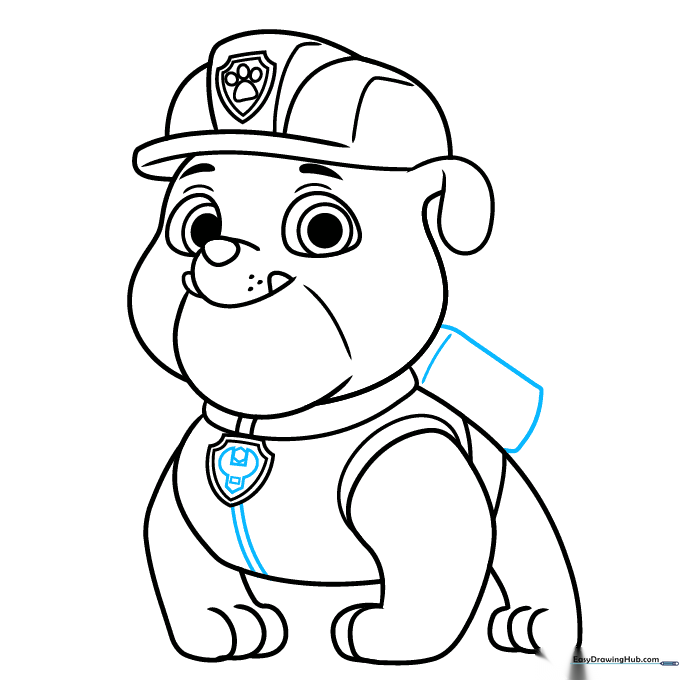
Draw the rectangular Pup Pack on his back. Add a wrench and bolt detail to the tag. Teacher's Tip: Use a ruler if you struggle with the straight edges of the pack, but freehand is great for practice!
Step 9: Final Details
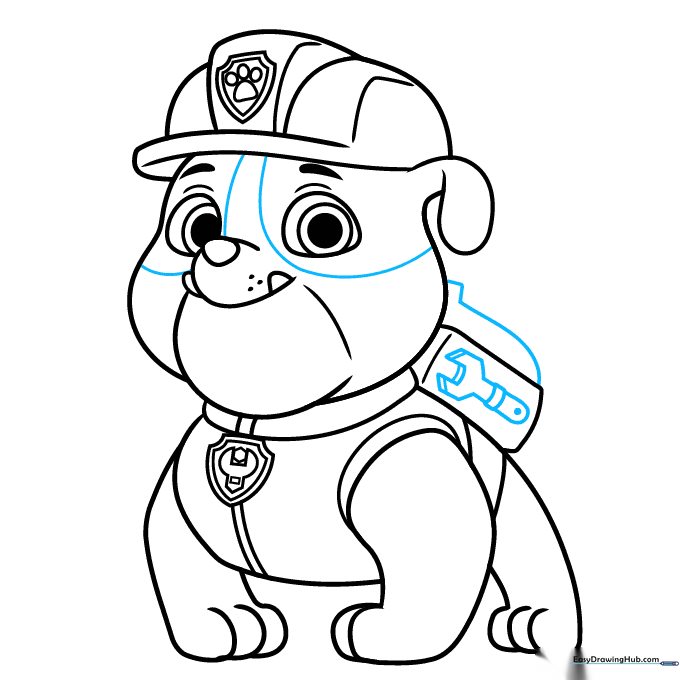
Add the spots around his eyes and finish the wrench on his pack. Teacher's Tip: Check your drawing against the reference—adding these small details is what makes your Rubble look authentic.
Step 10: Bring Rubble to Life with Color
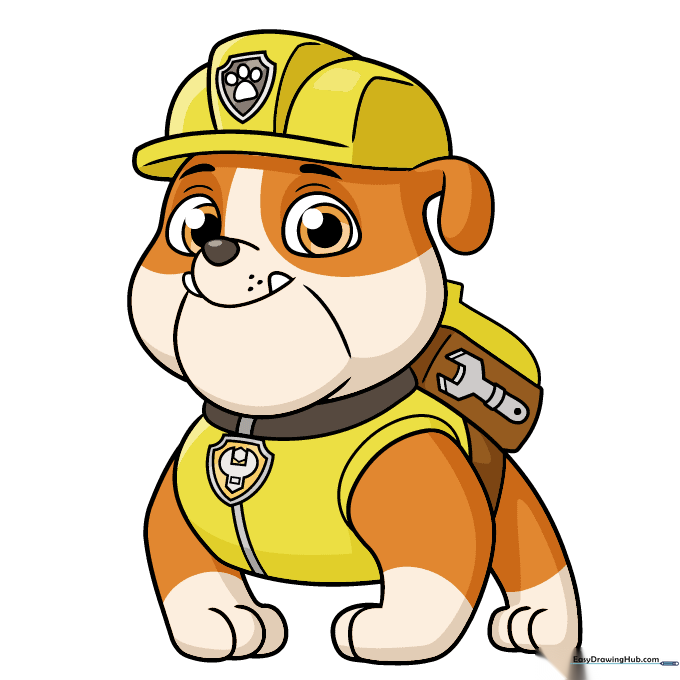
Time to color! Use bright yellow for his uniform and warm browns and creams for his fur. Teacher's Tip: Use a darker brown for the shaded areas under his chin and hat to give your drawing a professional, 3D look.
More Tutorials


