How to Draw Rocks: Easy 10-Step Drawing Guide for Kids
Ready to add some texture to your landscape drawings? This tutorial is perfect for young artists ages 5 and up who want to learn how to draw rocks using simple, organic shapes. All you need is a pencil, an eraser, and a piece of paper to get started on your rocky masterpiece.
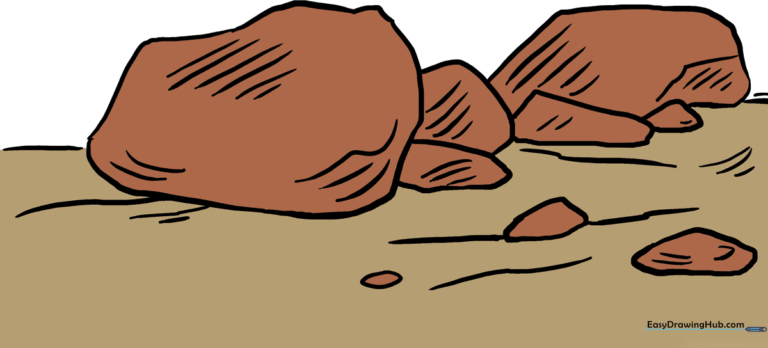
🎯 Final Result
Step-by-Step Instructions
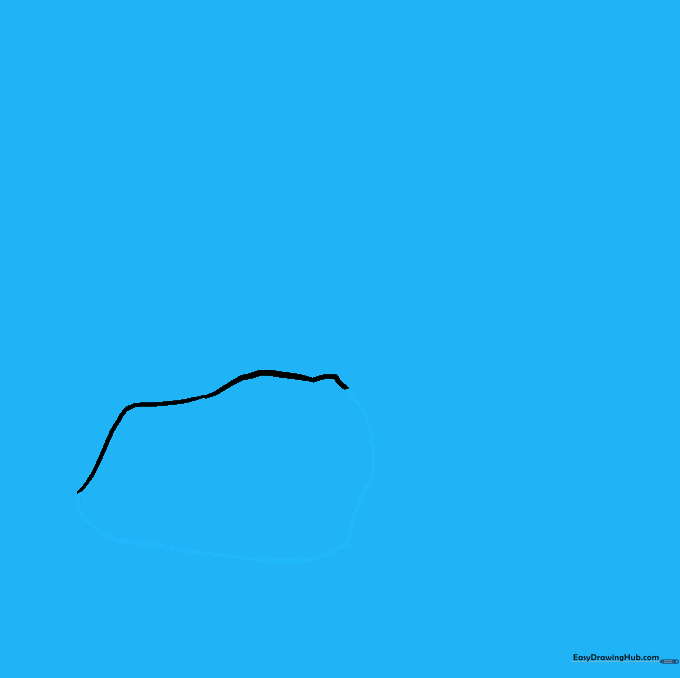
Step 1: Sketching the Top Edge

Start by drawing a bumpy, curved line to form the top edge of your first rock. Teacher's Tip: Keep your pencil strokes light and loose; rocks aren't perfect, so don't worry about making the bumps symmetrical!
Step 2: Closing the Shape
Enclose the rock by drawing a second irregular, curved line underneath the first. Tip: Try to make the bottom line slightly flatter than the top to give the rock a sense of weight.
Step 3: Adding a Smaller Rock
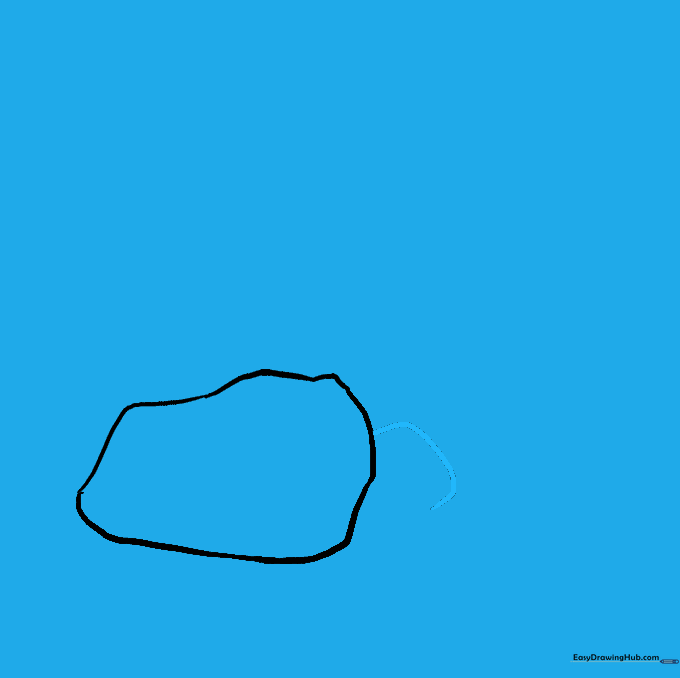
Draw a smaller rock next to the first one using a curved line that extends from the side. Tip: Overlapping your shapes slightly makes the drawing look more natural and three-dimensional.
Step 4: Building the Cluster
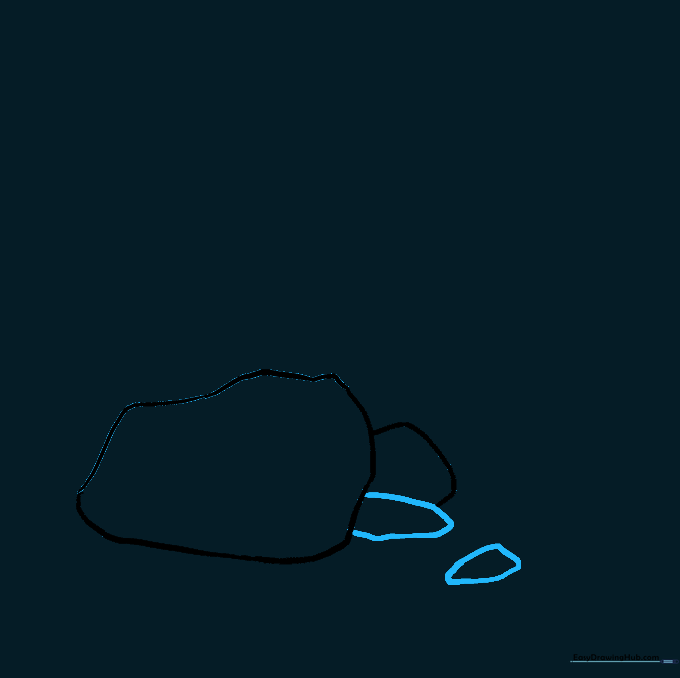
Continue adding shapes by drawing curved lines that loop back on themselves to create a small pile. Add a fourth rock nearby. Tip: Vary the sizes of your rocks to make the pile look more realistic.
Step 5: Extending the Pile
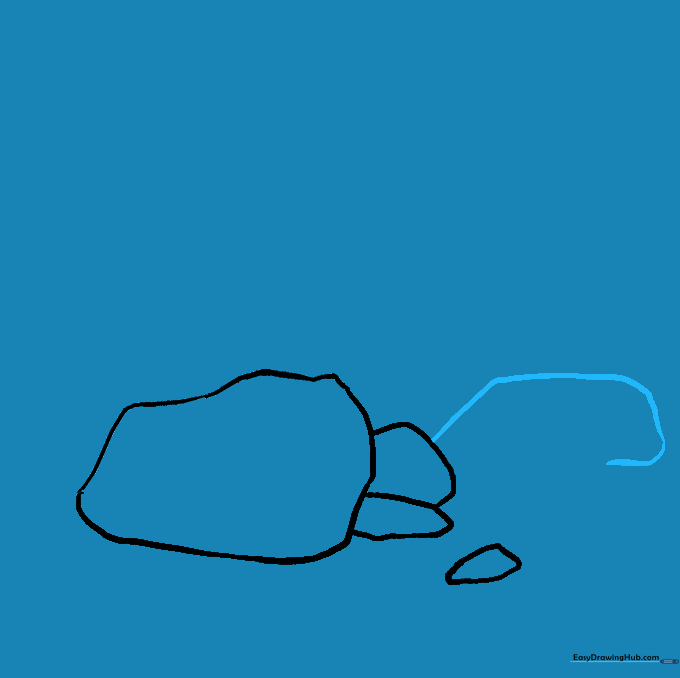
Extend a curved line from your existing pile to start the outline of another rock. Tip: Don't worry about making these lines perfect; rocks are jagged and uneven by nature!
Step 6: Adding Base Details
Close the shape of the previous rock and add two more small rocks at the base. Tip: Small rocks at the bottom help anchor your drawing to the ground.
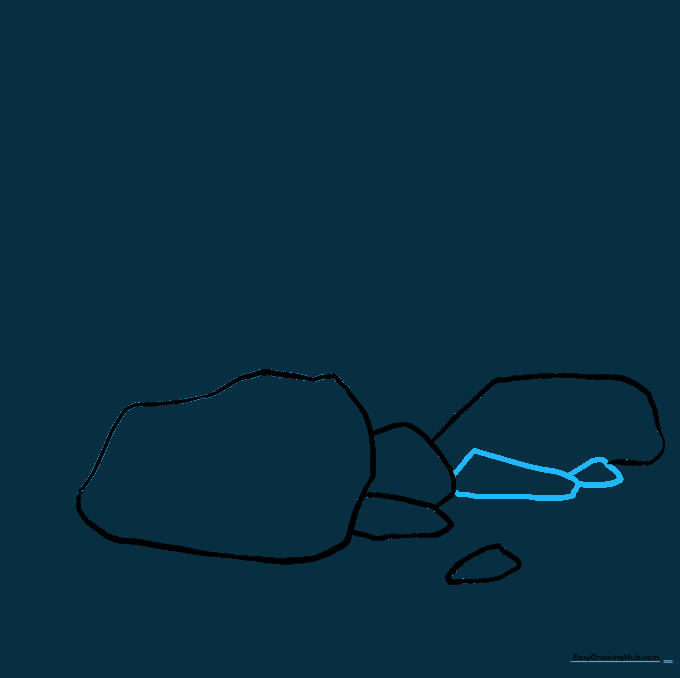
Step 7: Adding Side Rocks
Use a curved line to enclose the irregular form of one more rock to the side of your pile. Tip: This helps balance the composition of your drawing.
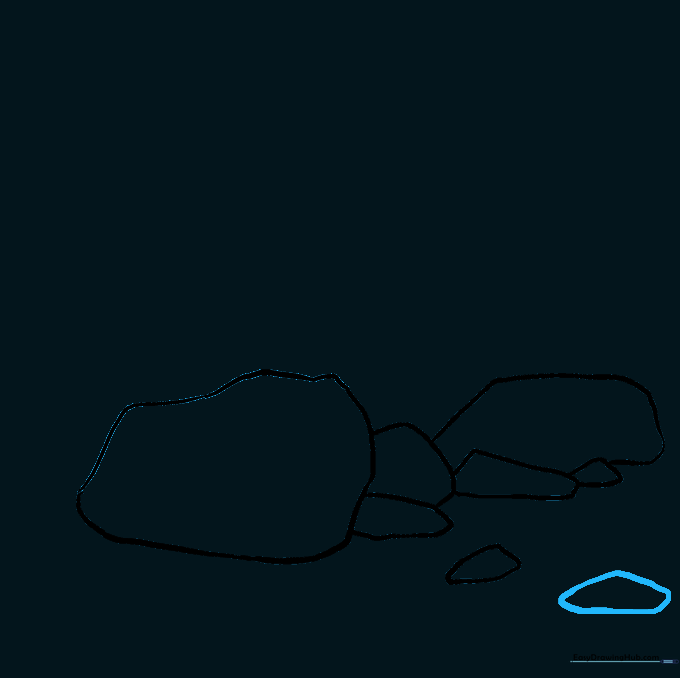
Step 8: Drawing the Ground

Extend a horizon line from each side of your rock pile. Add small curved lines around the base to represent pebbles or uneven ground. Tip: These small details make your rocks look like they are sitting on actual earth.
Step 9: Adding Texture
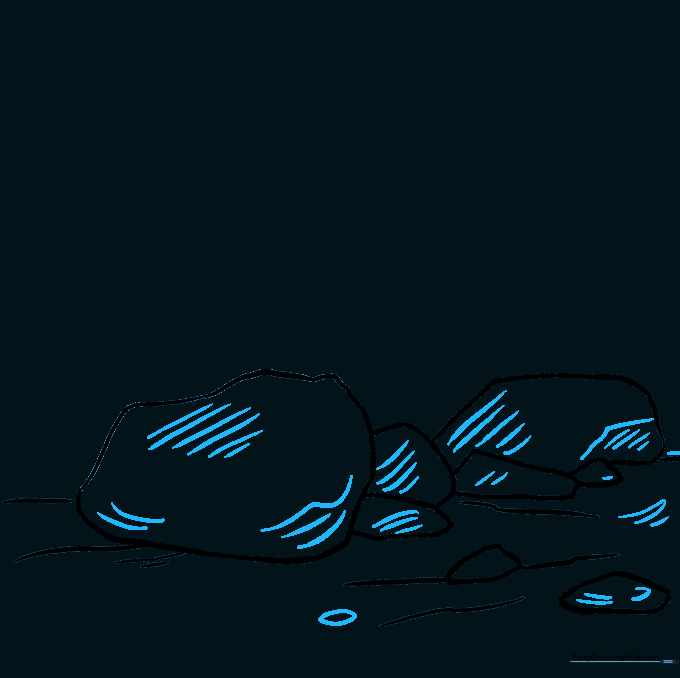
Use short, parallel lines (hatching) on the rocks to create texture and shadow. Add a small oval on the ground for a pebble. Tip: Vary the pressure of your pencil to create darker or lighter shadows.
Step 10: Coloring Your Rocks
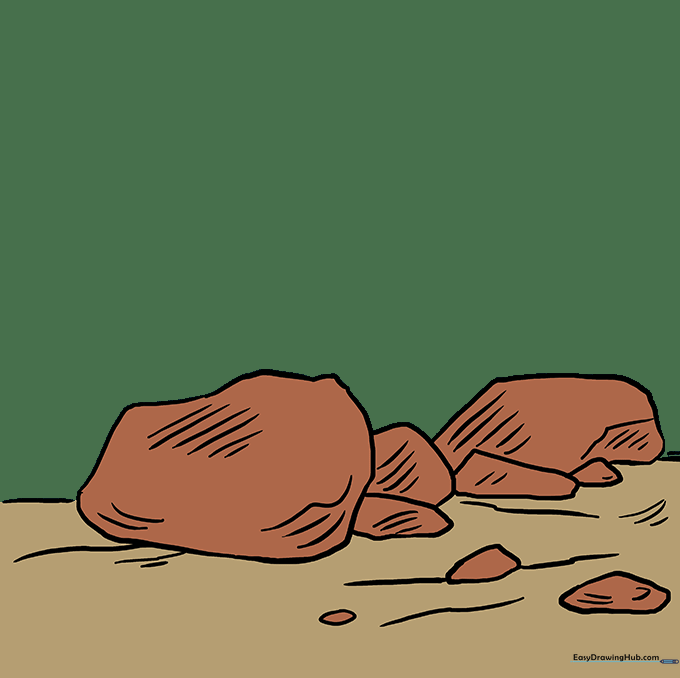
Bring your drawing to life with color! Use shades of grey, brown, or tan. Tip: Try using two different shades of the same color to create a highlight and a shadow side on each rock.
More Tutorials


