How to Draw Riley Freeman: Easy Step-by-Step Guide
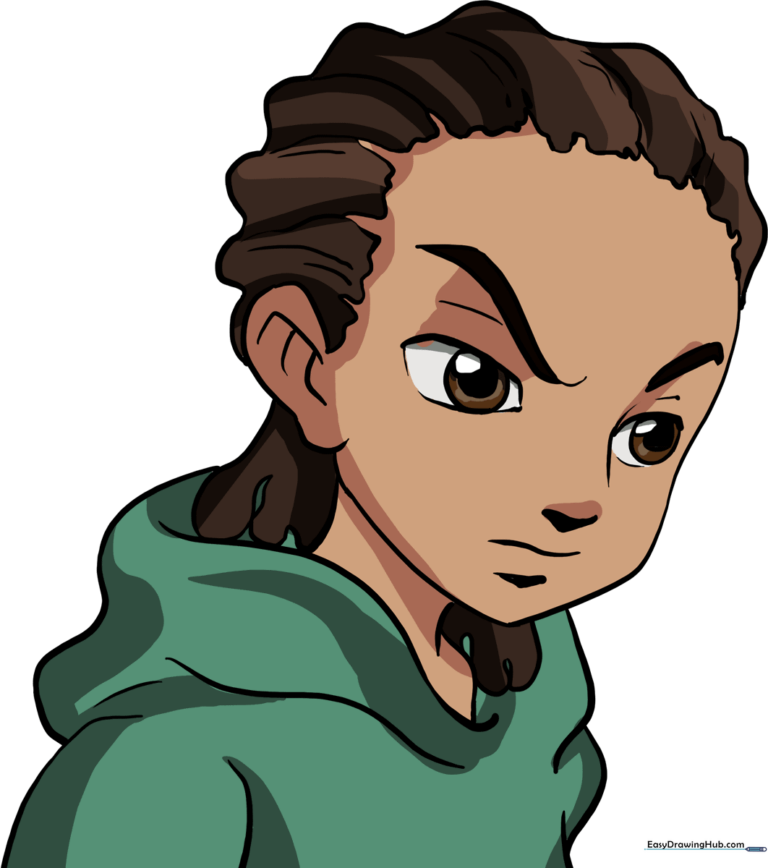
Ready to bring Riley Freeman to life? This tutorial is perfect for young artists and fans of The Boondocks who want to master cartoon-style character drawing. Grab your pencil, eraser, and paper, and follow these steps to build his iconic look from the ground up.
🎯 Final Result
Step-by-Step Instructions
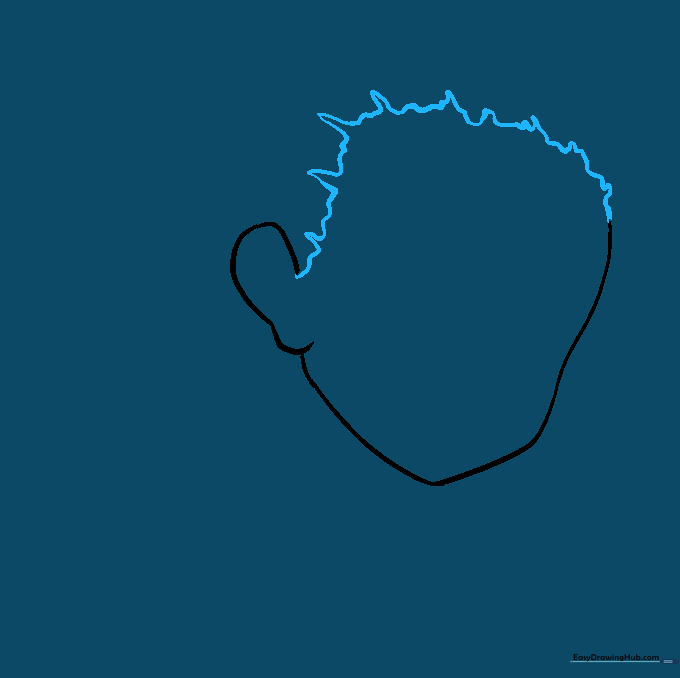
Step 1: Sketching the Face Shape

Lightly sketch the outline of Riley's face, including the forehead, cheeks, and chin. Add a small curved line for the ear. Teacher's Tip: Keep your pencil pressure very light here so you can easily adjust the shape if it looks a bit off.
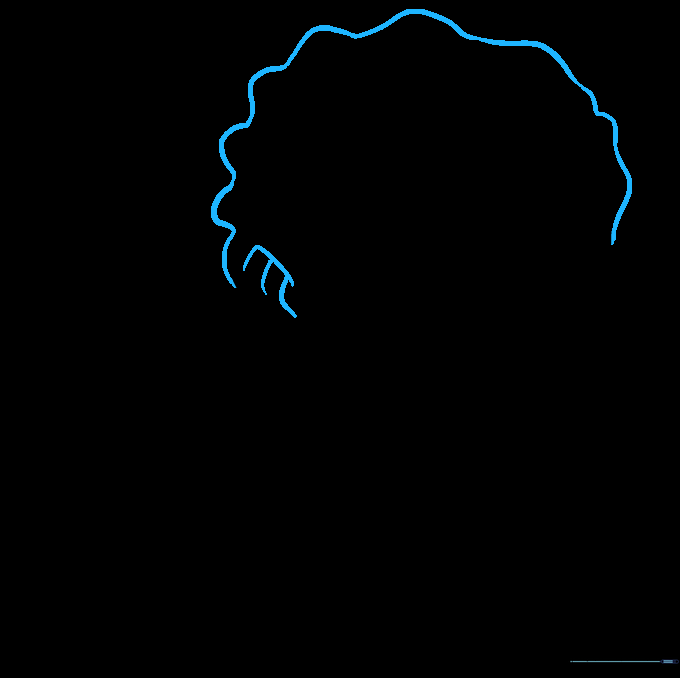
Step 2: Defining the Hairline
Draw the hairline using a series of wavy and 'V' shaped lines to create a zig-zag pattern. This helps define his signature hairstyle. Tip: Don't worry about making it perfect; hair is naturally messy and uneven!
Step 3: Adding Hair Volume and Ear Detail
Connect the top of the hair with a long, sweeping wavy line. Add small curved lines inside the ear to give it depth. Tip: Use short, quick strokes for the ear details to make them look more realistic.
Step 4: Hair Texture and Neckline
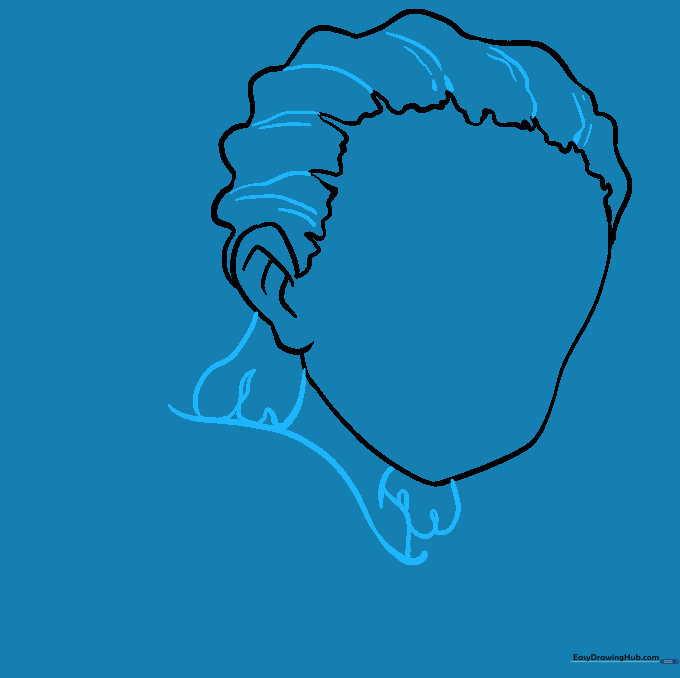
Add texture lines to the hair and draw the neck using two short vertical lines. Add a curved line for the collarbone and enclose the neck with a wavy line for the hoodie opening. Tip: Ensure the neck lines are centered under the chin for balance.
Step 5: Sketching the Hoodie
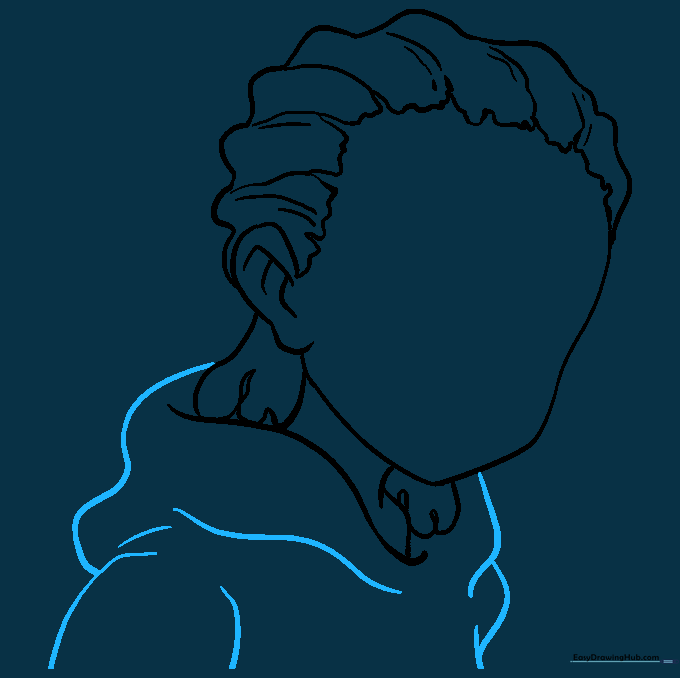
Outline the shape of the hoodie using long, curved lines. Focus on the distinction between the hood and the sleeves. Tip: Keep your lines fluid to make the fabric look soft and natural.
Step 6: Drawing the Eyebrows
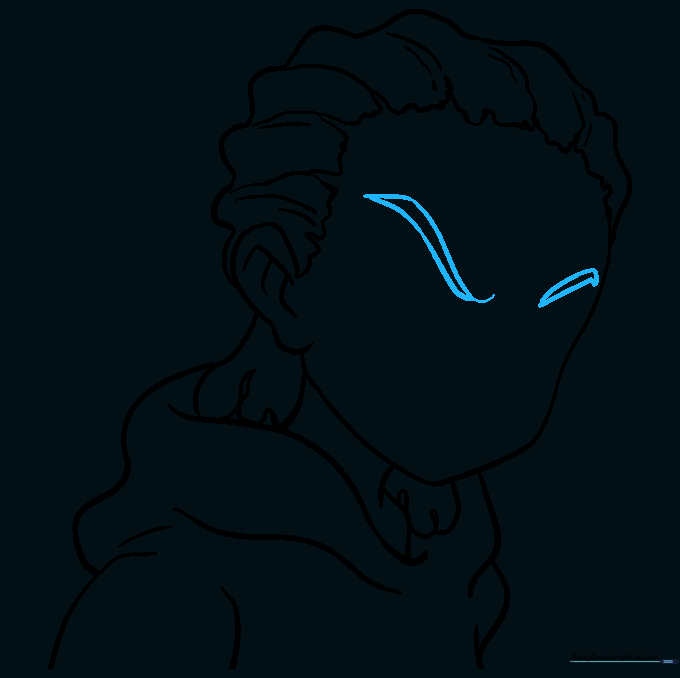
Use pairs of long, curved lines to create the eyebrows, making sure they come to a point at each end. Tip: The angle of the eyebrows determines his expression—keep them slightly angled to capture his confident look.
Step 7: Adding the Eyes
Outline the eyes with straight lines, then add three circles inside each, shading the smallest one for the pupil. Add a curved line above for the eyelid. Tip: Take your time with the circles; they are the focal point of the face.
Step 8: Sketching the Nose

Draw a curved, vertical line near the far eye to form the nose, and add a thick, shaded curve at the tip. Tip: A little shading goes a long way in defining the bridge of the nose.
Step 9: Mouth and Chin Definition
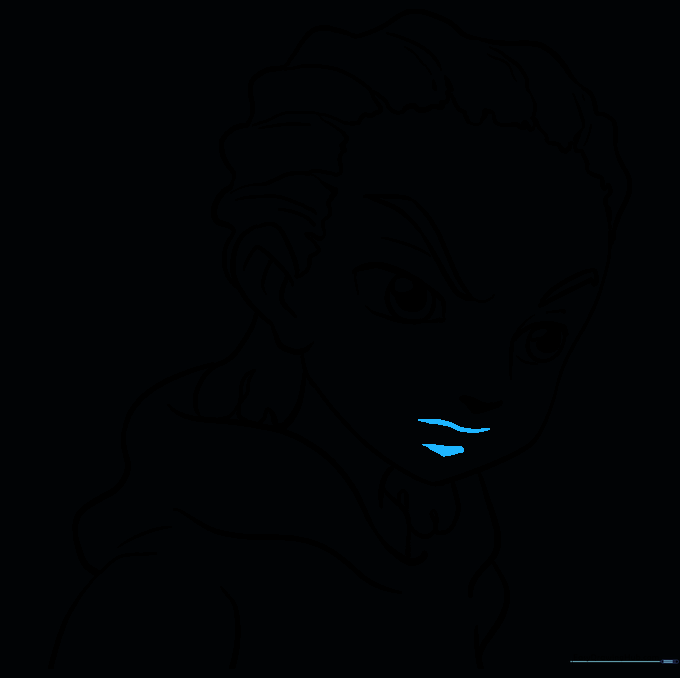
Draw a simple curved line for the mouth and add a thick, shaded curve under the chin to define the jawline. Tip: This shading helps create a 3D effect, making the character look more professional.
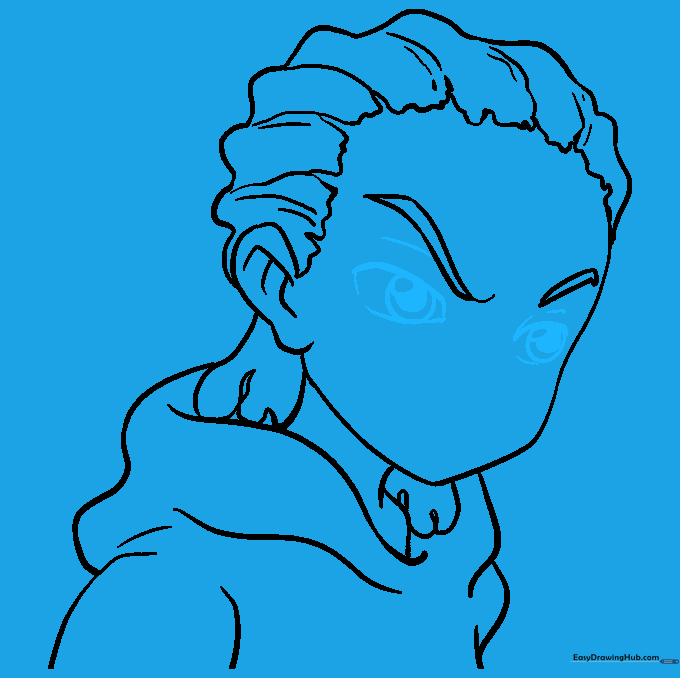
Step 10: Bringing Riley to Life with Color
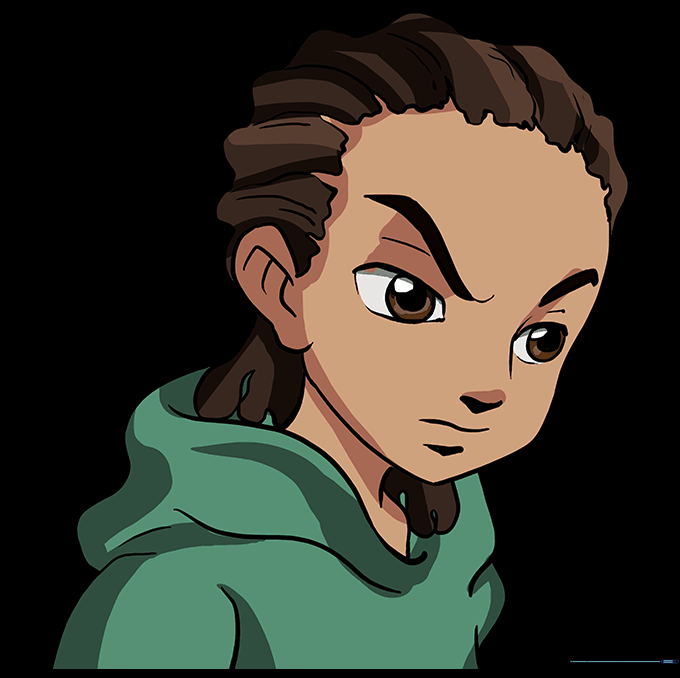
Now for the fun part! Color in your Riley Freeman drawing using your favorite markers or colored pencils. Tip: Use bold, flat colors to stay true to the cartoon style of the show.
More Tutorials


