How to Draw Rice and Chopsticks: Easy 10-Step Guide
Ready to practice your line work? This tutorial is perfect for young artists ages 5+ to master basic shapes and perspective. All you need is a pencil, an eraser, and a piece of paper to bring this delicious meal to life.
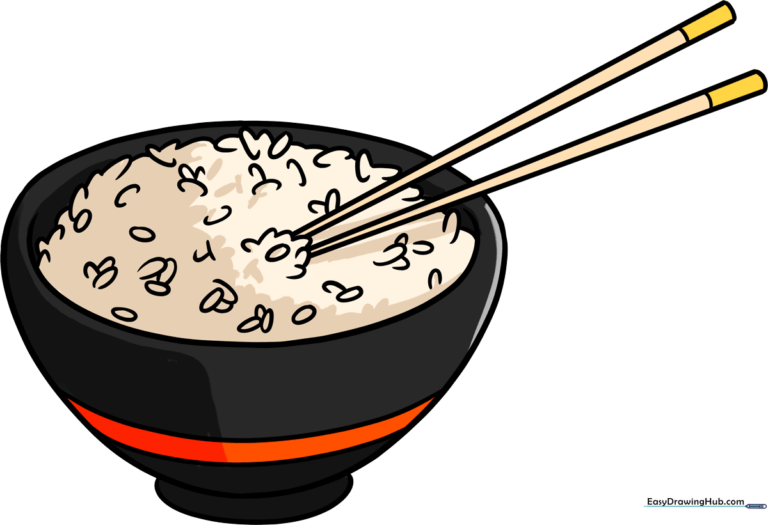
🎯 Final Result
Step-by-Step Instructions
Step 1: Sketching the Bowl Base

Start by drawing a wide, irregular rounded shape to form the top opening of your bowl. Teacher's Tip: Keep your hand loose and don't worry if it's not a perfect circle; bowls come in all shapes!
Step 2: Adding the Bowl Foot
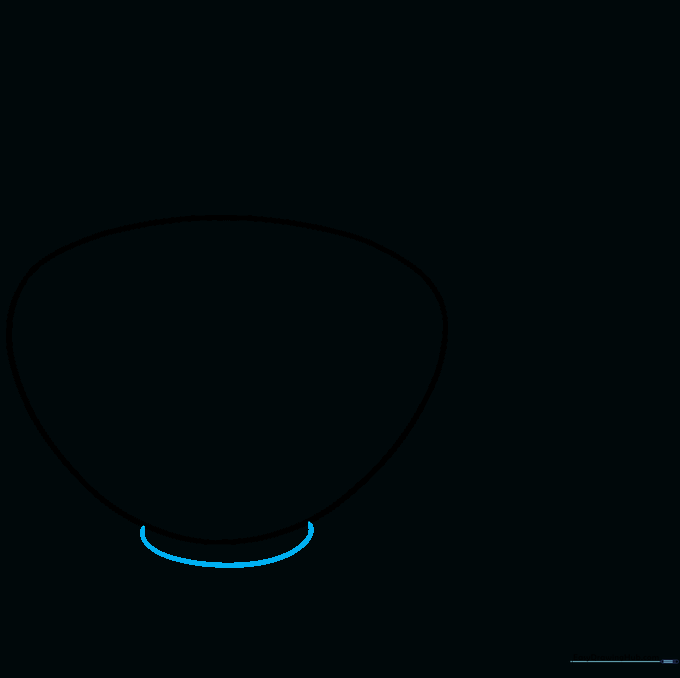
Draw a small, curved line at the bottom to create the bowl's foot or base. Tip: This small detail adds 3D depth to your drawing, making it look like it's sitting on a table.
Step 3: Defining the Rim

Draw a large 'C' shaped line across the top opening to define the inner rim of the bowl. Tip: Imagine you are looking slightly down into the bowl; this line helps show the thickness of the ceramic.
Step 4: Sketching the Rice
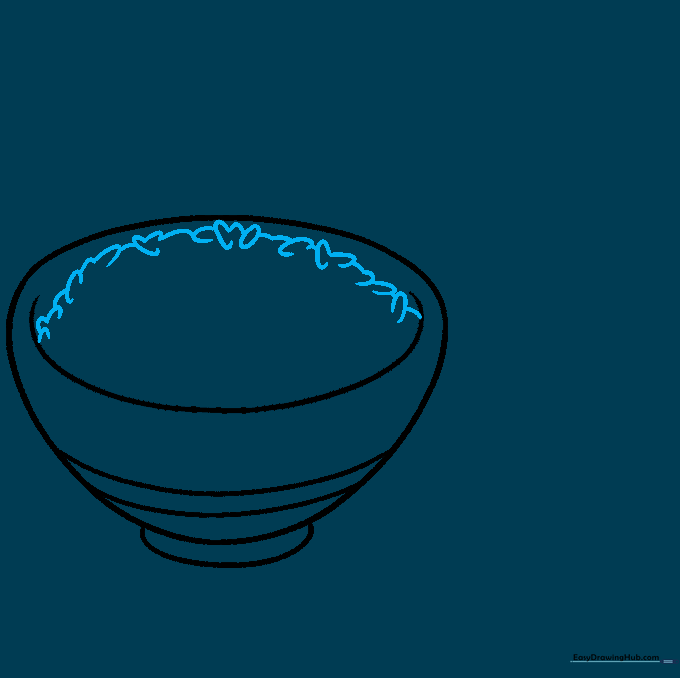
Fill the bowl with small, overlapping curved lines to represent individual grains of rice. Tip: Vary the sizes of your 'grains' so they don't look like a uniform grid—nature is rarely perfectly symmetrical!
Step 5: First Chopstick
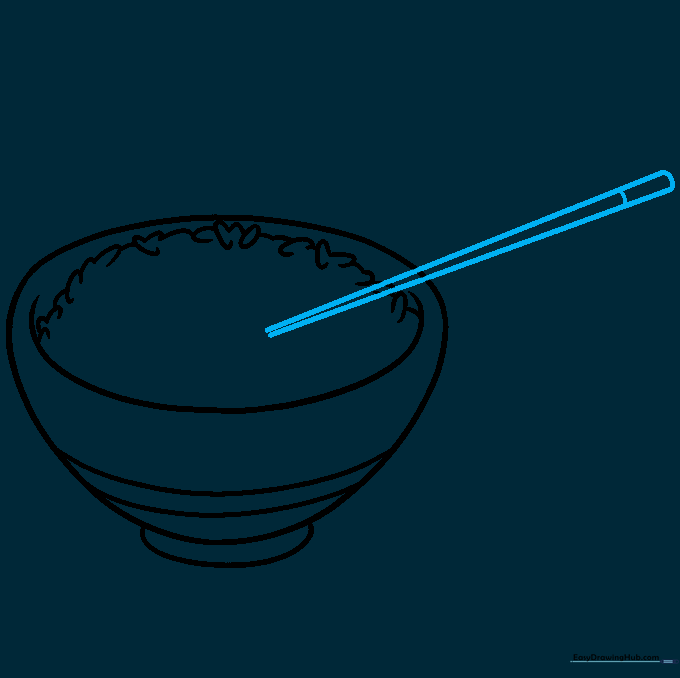
Draw two long, parallel lines that taper slightly as they reach the bowl. Connect them with a curved line at the top and add a small band. Tip: Use a ruler if you struggle with straight lines, but freehand is great for practice!
Step 6: Second Chopstick
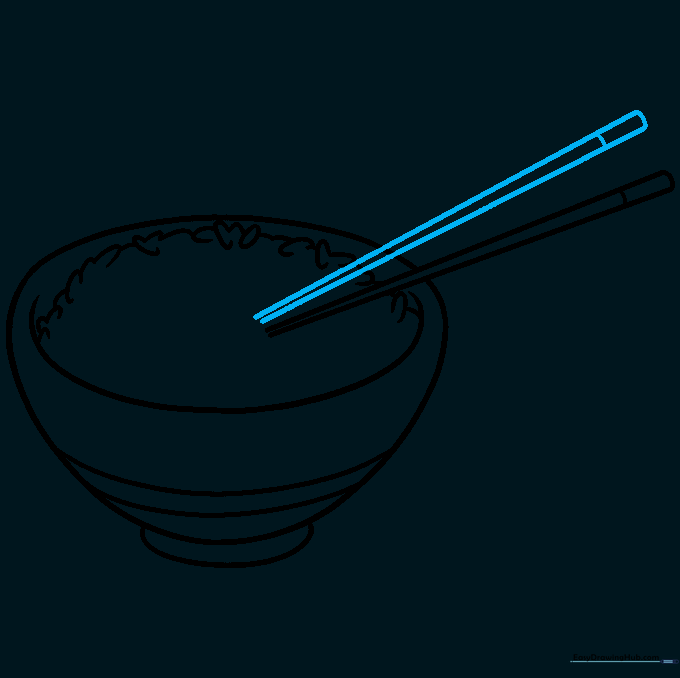
Repeat the process for the second chopstick, angling it to lean against the first one. Tip: Make sure the tips of the chopsticks are close together to show they are 'grasping' something.
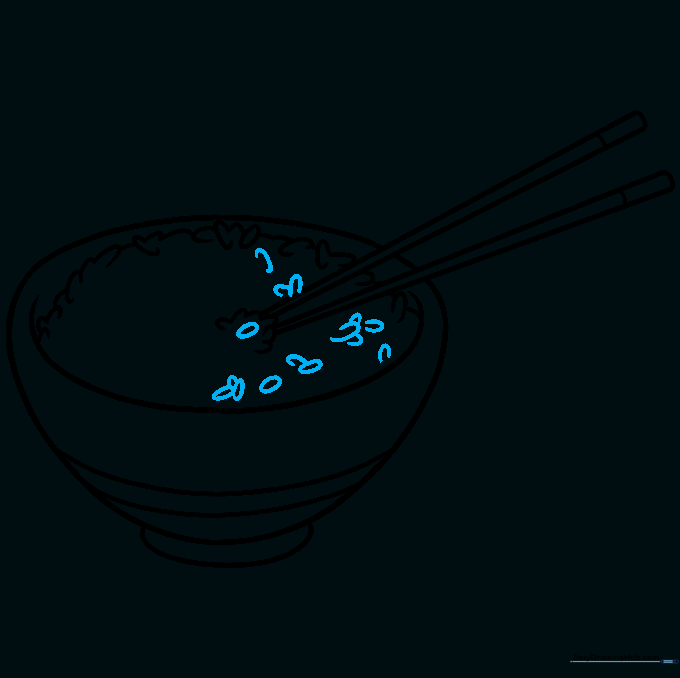
Step 7: Grasping the Rice

Draw a few more rice grains between the tips of the chopsticks. Tip: This creates a focal point and tells a story about your drawing.
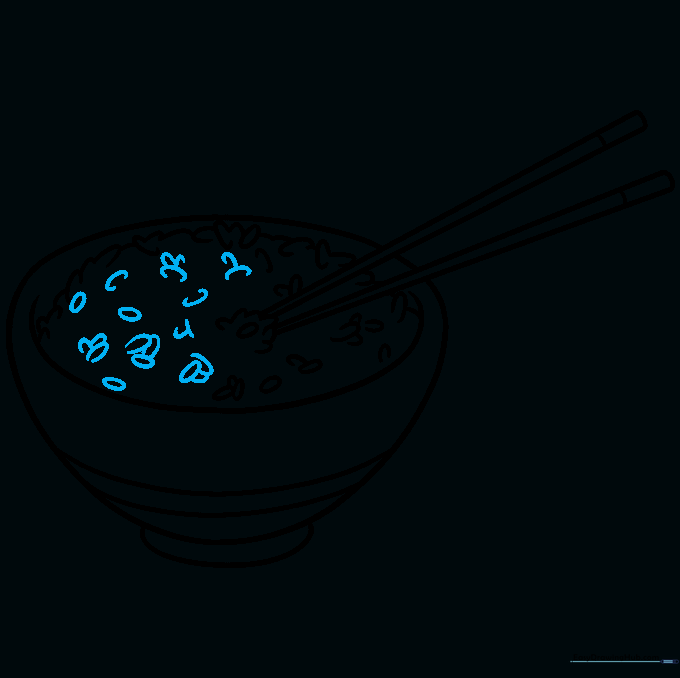
Step 8: Filling the Bowl
Add more rice grains inside the bowl using small, overlapping ovals. Tip: Don't worry about filling every single space; leaving some white space makes the rice look fluffy.
Step 9: Refining Textures
Go over your lines to ensure the rice looks layered. Tip: Use a slightly darker pencil pressure here to make the grains pop against the bowl.
Step 10: Adding Color

Bring your drawing to life with color! Use soft yellows or browns for the chopsticks and keep the rice white or off-white. Tip: Use a light grey to add a tiny shadow under the rice grains for a realistic effect.
More Tutorials


