How to Draw Red Panda Mei Lee: Easy 9-Step Guide
Bring Mei Lee’s energetic red panda form to life with this screen-free drawing activity. Designed for artists ages 5 and up, this guide requires only a pencil, eraser, and paper. Follow these steps to master her iconic fluffy features and expressive face.
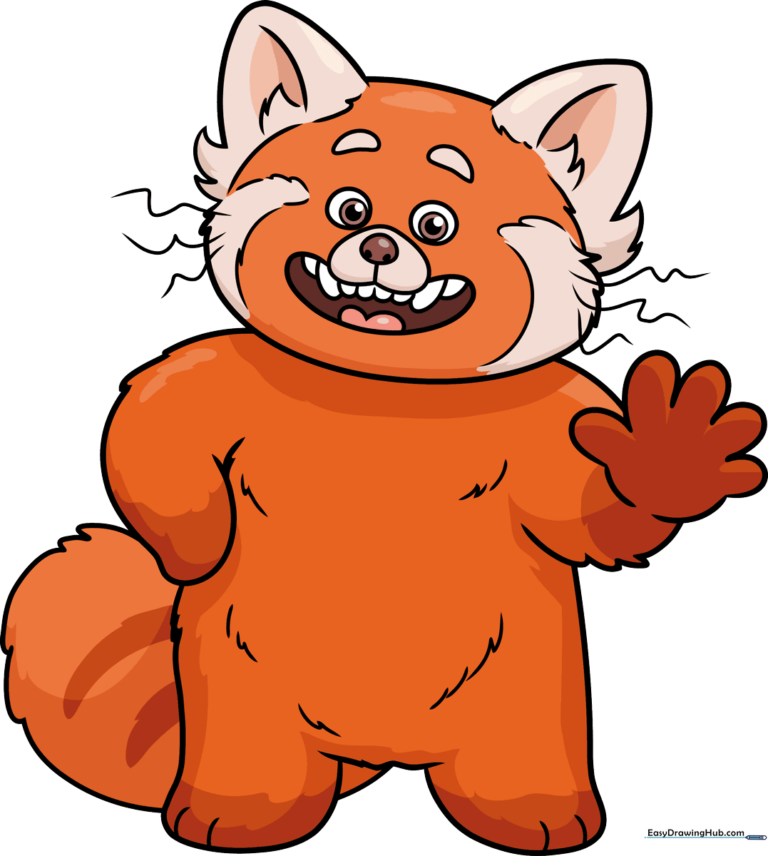
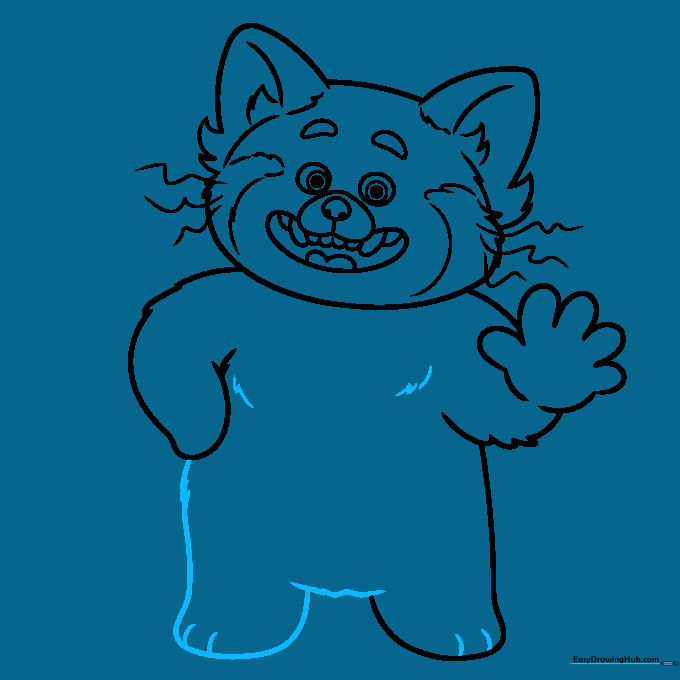
🎯 Final Result
Step-by-Step Instructions
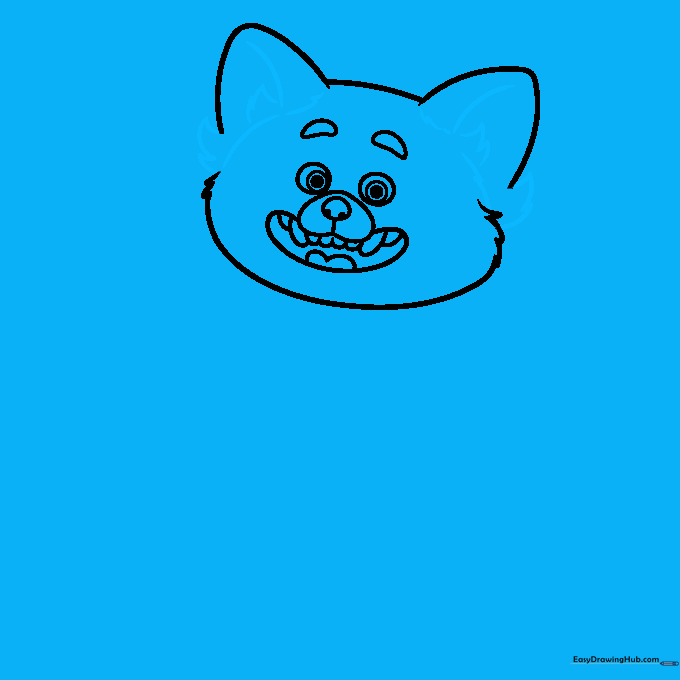
Step 1: Sketching the Eyes and Snout

Start by drawing three circles for each eye, nesting them inside one another. Shade the smallest center circle for the pupil. Below the eyes, draw an upside-down 'U' shape for the snout, adding a small nose and nostrils inside. Teacher's Tip: Keep your pencil lines light so you can easily adjust the symmetry of the eyes.
Step 2: Drawing the Happy Mouth

Draw a wide, curved line to form her joyful, open-mouthed expression. Add smaller curved lines inside to define the tongue and teeth. Teacher's Tip: A big, wide smile gives Mei her signature energetic personality!
Step 3: Defining the Head and Ears

Use rounded 'V' shapes for the ears and connect them with a smooth curve. Draw her chin and use jagged, short strokes to create the look of fluffy cheeks. Sketch curved arches above the eyes for eyebrows. Teacher's Tip: Use short, quick strokes for the cheeks to mimic the texture of soft fur.
Step 4: Adding Ear Detail
Refine the ears by adding inner lines and using jagged points to suggest tufts of fur. Teacher's Tip: Don't worry about making the jagged lines perfect; fur is naturally messy and organic!
Step 5: Whiskers and Shoulders
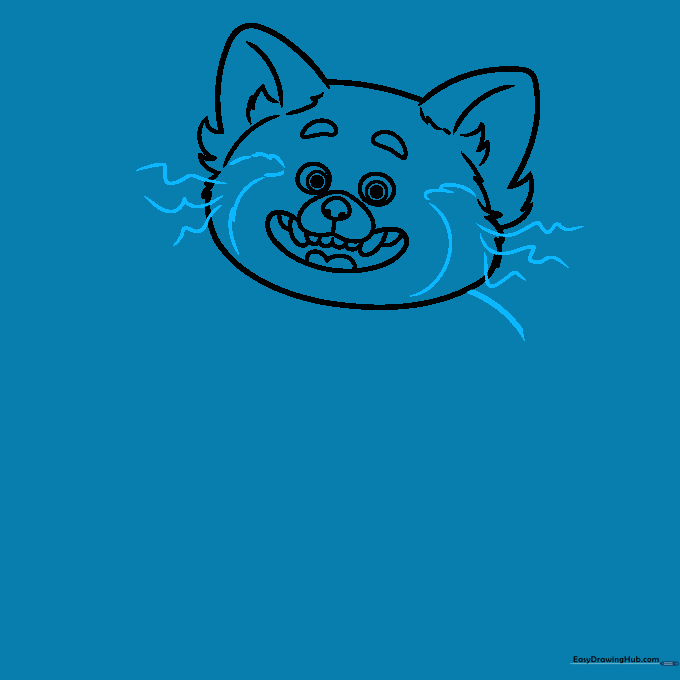
Add curved lines across the face to map out the color patterns, then draw wavy lines for the whiskers. Begin the shoulder line with a soft curve. Teacher's Tip: Keep whiskers light and fluid to make them look delicate.
Step 6: Drawing the Arms
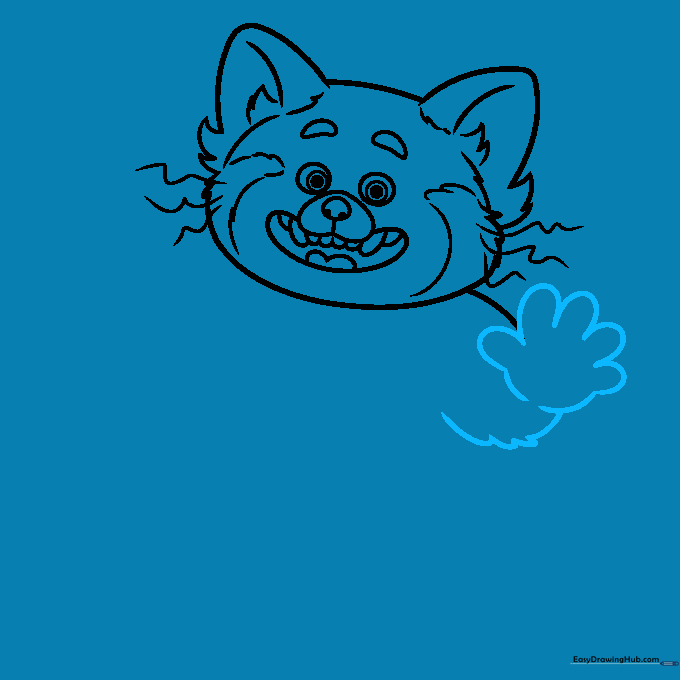
Use 'U' shaped lines to create the fingers, then connect them to the body with overlapping curved lines to represent thick, furry arms. Teacher's Tip: Overlapping lines create a sense of depth and volume in the fur.
Step 7: Shaping the Body
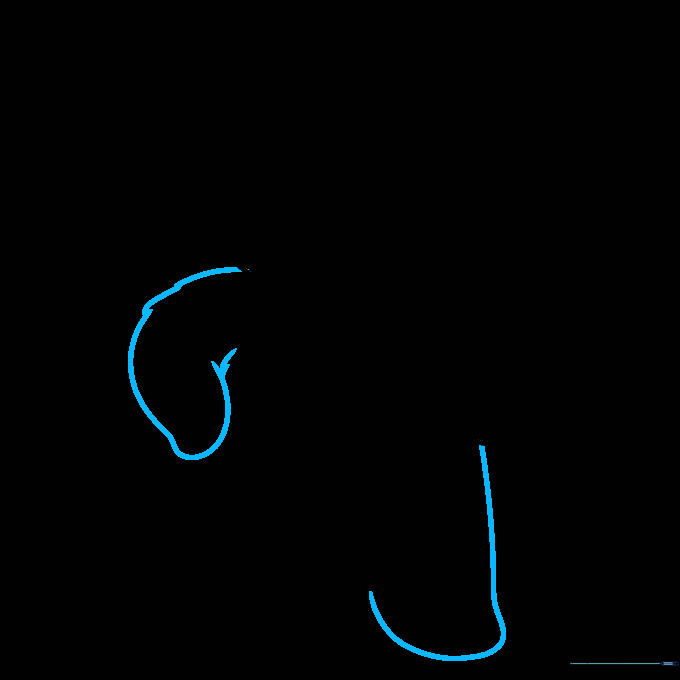
Draw a long, sweeping curved line for the side and leg. Add the second arm using similar overlapping strokes. Teacher's Tip: Ensure the body shape looks rounded to capture the 'cuddly' red panda aesthetic.
Step 8: Adding Feet and Texture
Close the body shape and draw the feet with small lines for toes. Add curved lines across the torso to indicate fur direction. Teacher's Tip: Vary the length of your fur lines to make the texture look more realistic.
Step 9: Final Touches and Tail
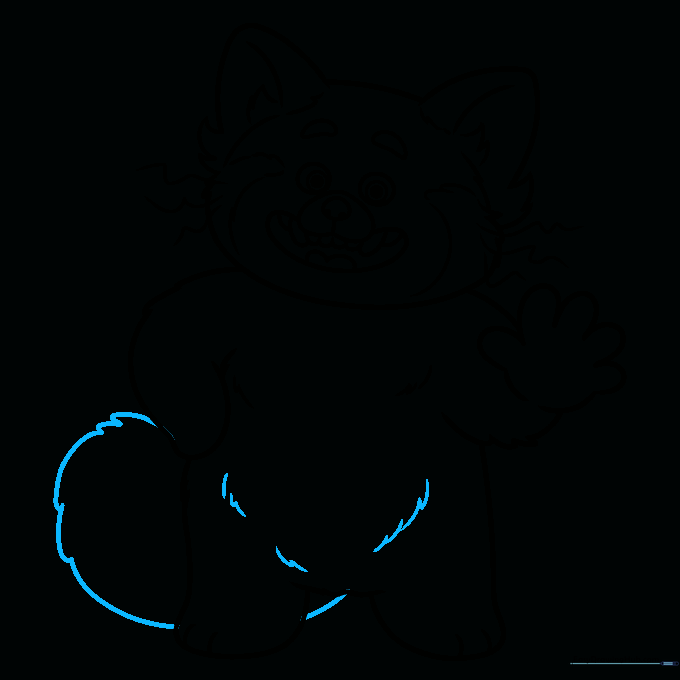
Complete the outline with more fur texture and draw the large, fluffy tail using sweeping curved lines. Teacher's Tip: The tail is a key feature—make it big and bushy to balance the drawing!
Step 10: Coloring Your Masterpiece

Bring Mei to life with vibrant oranges and reds. Use white for the face and ear markings to match her character design. Teacher's Tip: Use light pressure with your colored pencils to create soft gradients in the fur.
More Tutorials


