How to Draw Rarity: Easy 10-Step My Little Pony Guide
Bring the fashionable Rarity to life with this simple, kid-friendly drawing tutorial. All you need is a pencil, an eraser, and some paper to start creating your own My Little Pony masterpiece. Follow these steps to master her iconic mane and elegant pose in no time.
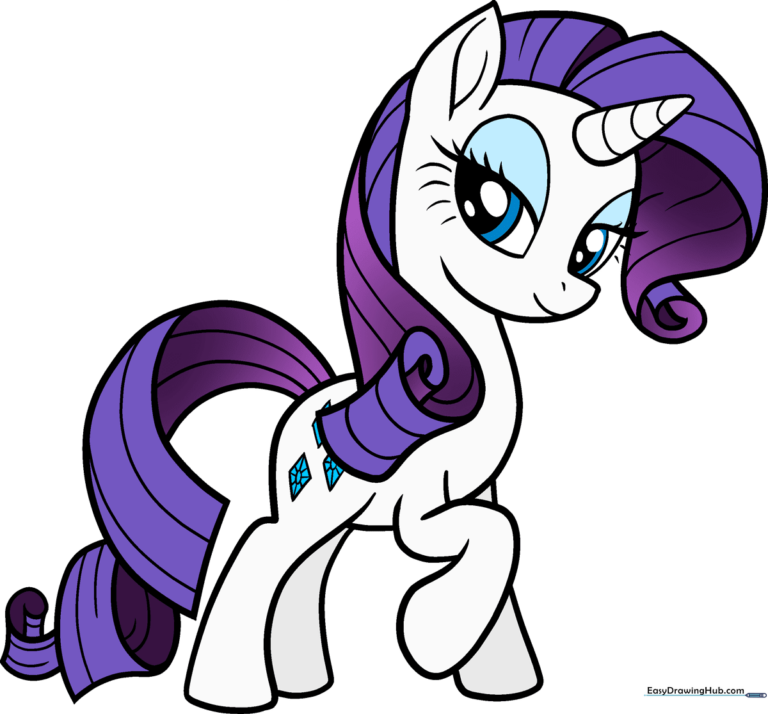
🎯 Final Result
Step-by-Step Instructions
Step 1: Drawing Rarity's Expressive Eyes
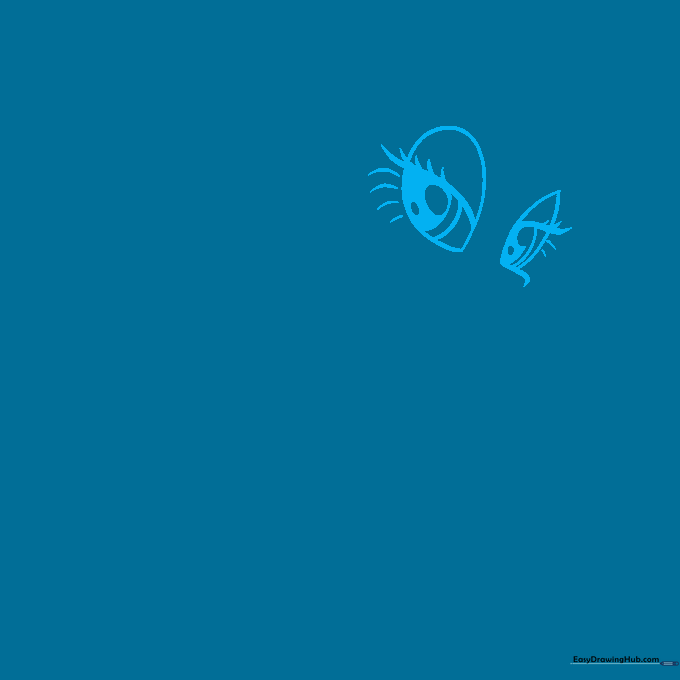
Start by sketching two teardrop shapes for the eyes, making one slightly larger to show perspective. Add a thick horizontal line across each for the eyelids and draw short, bold strokes for the lashes. Teacher's Tip: Keep your pencil pressure light here so you can easily refine the pupil shapes inside.
Step 2: Shaping the Head and Horn
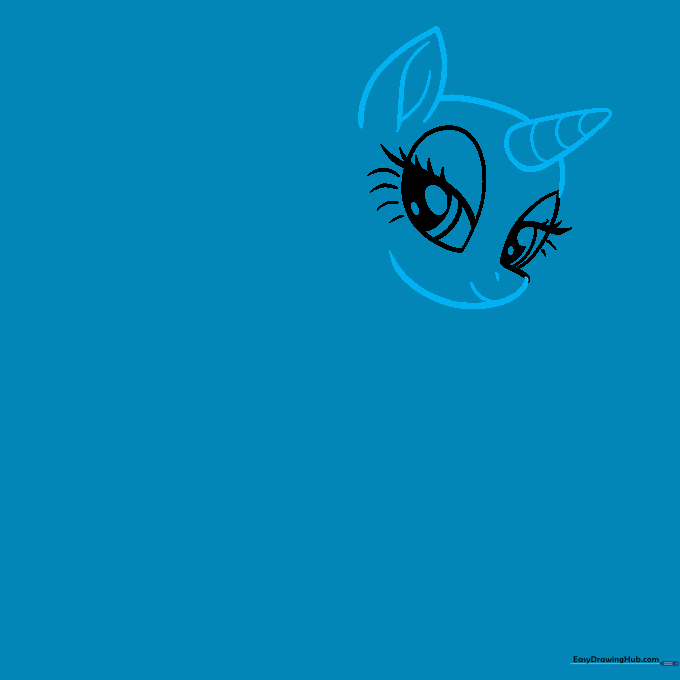
Outline the face using soft, curved lines for the chin and forehead. Add a pointed ear and a small, rounded triangle for her unicorn horn. Tip: Use small, horizontal bands on the horn to give it a magical, textured look.
Step 3: Sketching the Elegant Mane
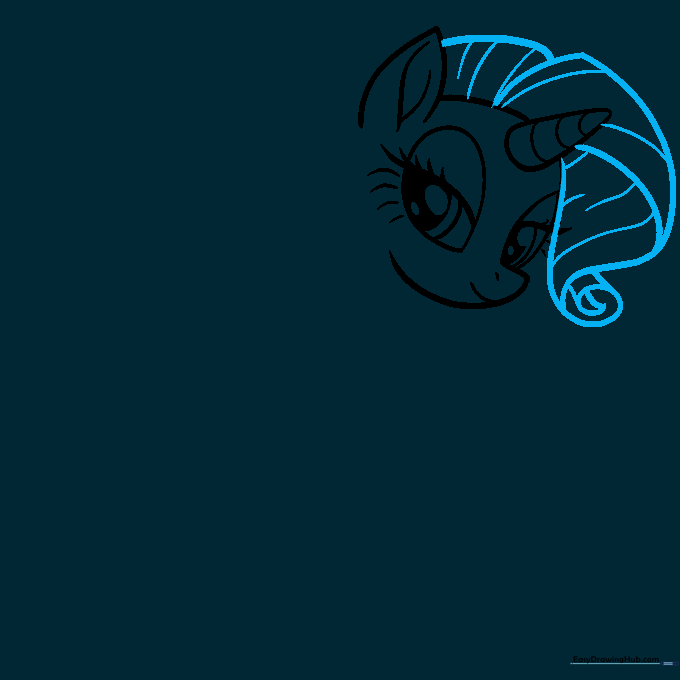
Draw Rarity's signature curly mane using overlapping curved lines. Make sure the ends spiral inward like a scroll. Tip: Don't worry about perfection; the beauty of her hair is in the flow, so keep your wrist loose and fluid.
Step 4: Adding Mane Detail
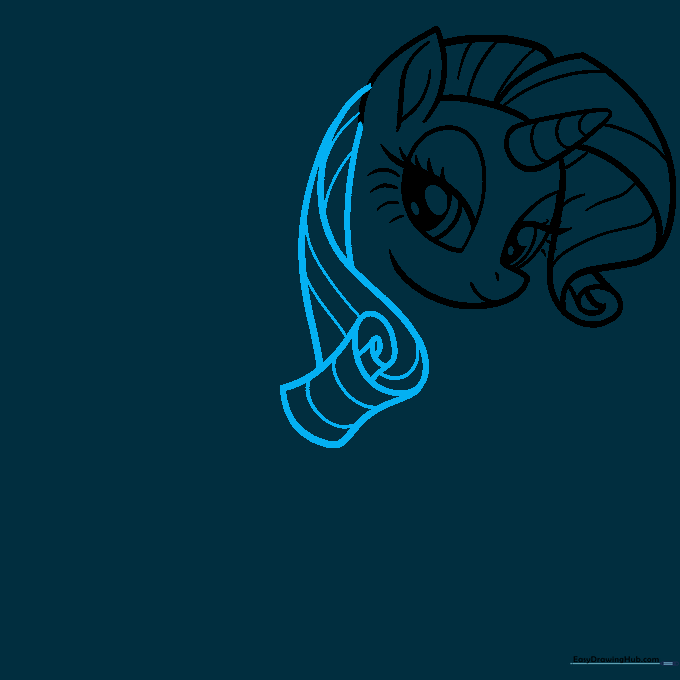
Extend the mane down across her neck with more overlapping, scroll-like curls. Add a few interior lines to give the hair depth and volume. Tip: Use these lines to show where the hair bends and folds.
Step 5: Drawing the Chest and Front Legs
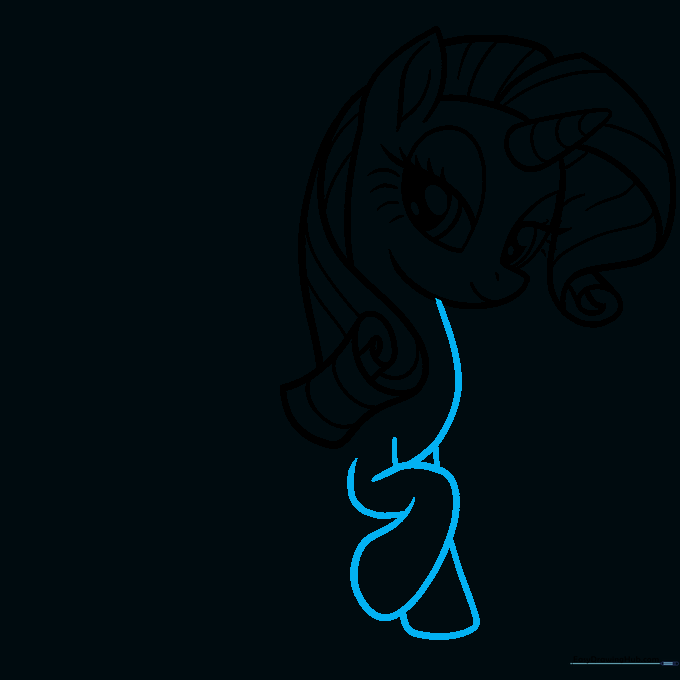
Connect the head to the body using smooth, curved lines for the chest. Sketch the front legs with gentle curves to show her graceful stance. Tip: Keep the legs slightly tapered to make her look elegant.
Step 6: Outlining the Back and Belly
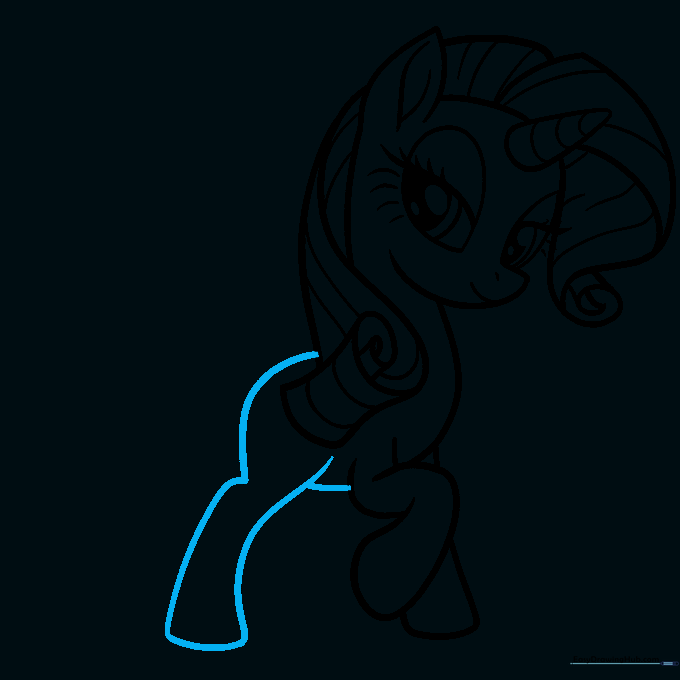
Continue the body by drawing a long, sweeping curve for the back and a shorter curve for the belly. Add the rear leg to complete the base posture. Tip: Imagine a gentle 'S' curve for the back to give her a natural, standing look.
Step 7: The Cutie Mark
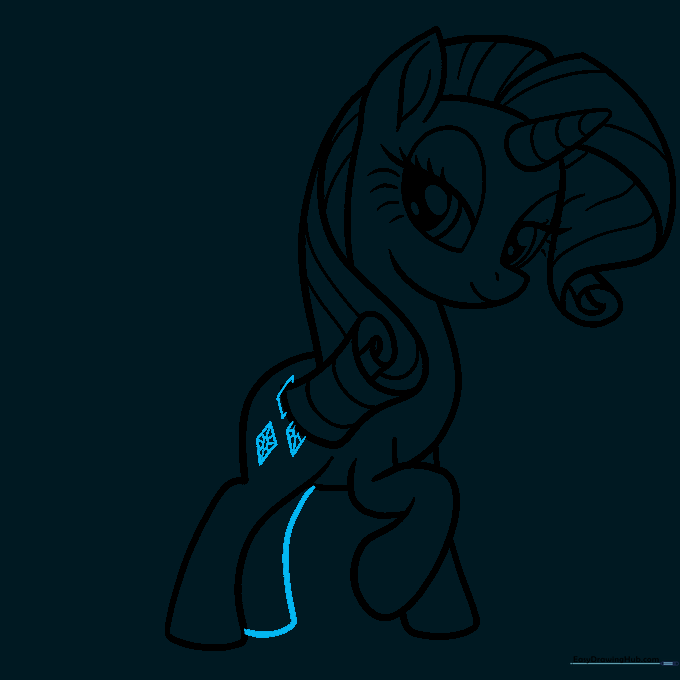
Draw the final rear leg and add her signature diamond cutie mark on her hip. Sketch three small diamonds and add tiny lines inside to represent the facets. Tip: Keep the diamonds small; they are a detail, not the main focus!
Step 8: Sketching the Tail
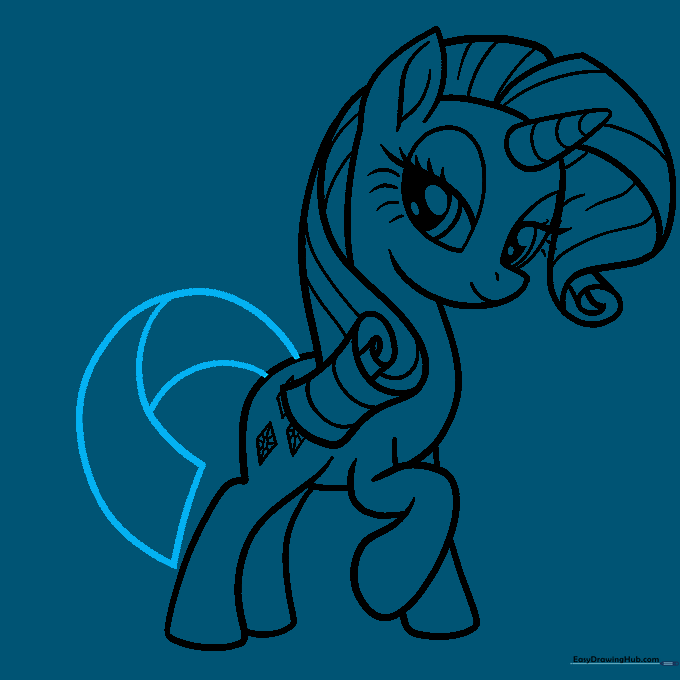
Outline the large, flowing shape of the tail. Use long, sweeping lines that curve back toward the body. Tip: Watch how the lines overlap where the tail bends—this creates the illusion of movement.
Step 9: Finalizing the Tail
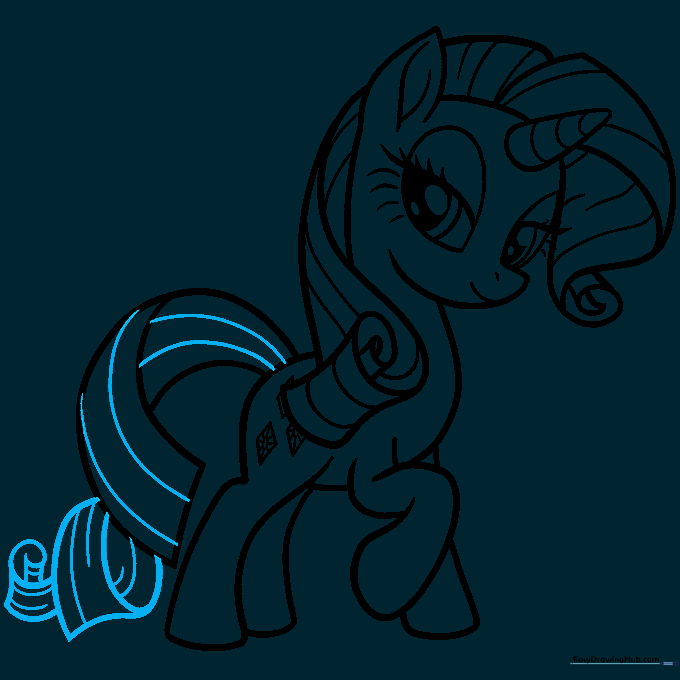
Finish the tail by adding the spiraling coils at the bottom. Add extra curved lines throughout the tail to show the hair's texture. Tip: Use a darker pencil stroke for these final details to make them pop.
Step 10: Bringing Rarity to Life with Color
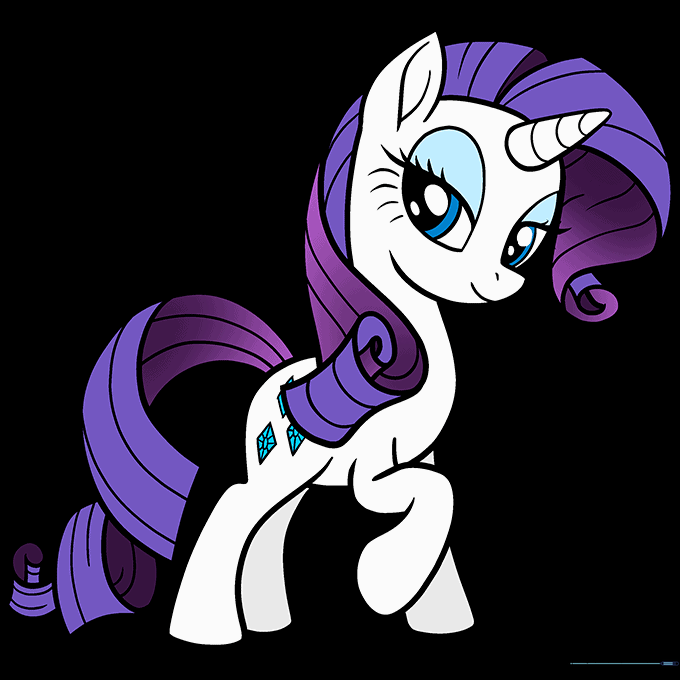
Time to color! Use a crisp white for her body, a vibrant purple for her mane and tail, and a bright blue for her eyes and cutie marks. Tip: Use light, even strokes with your colored pencils to keep the colors smooth and professional-looking.
More Tutorials


