How to Draw Rapunzel: Easy Step-by-Step Guide
Bring your favorite tower-bound princess to life with this easy-to-follow drawing guide. Designed for ages 6 and up, this activity requires only a pencil, paper, and an eraser to master Rapunzel's iconic look. Follow these steps to build confidence in your character sketching skills while having fun.
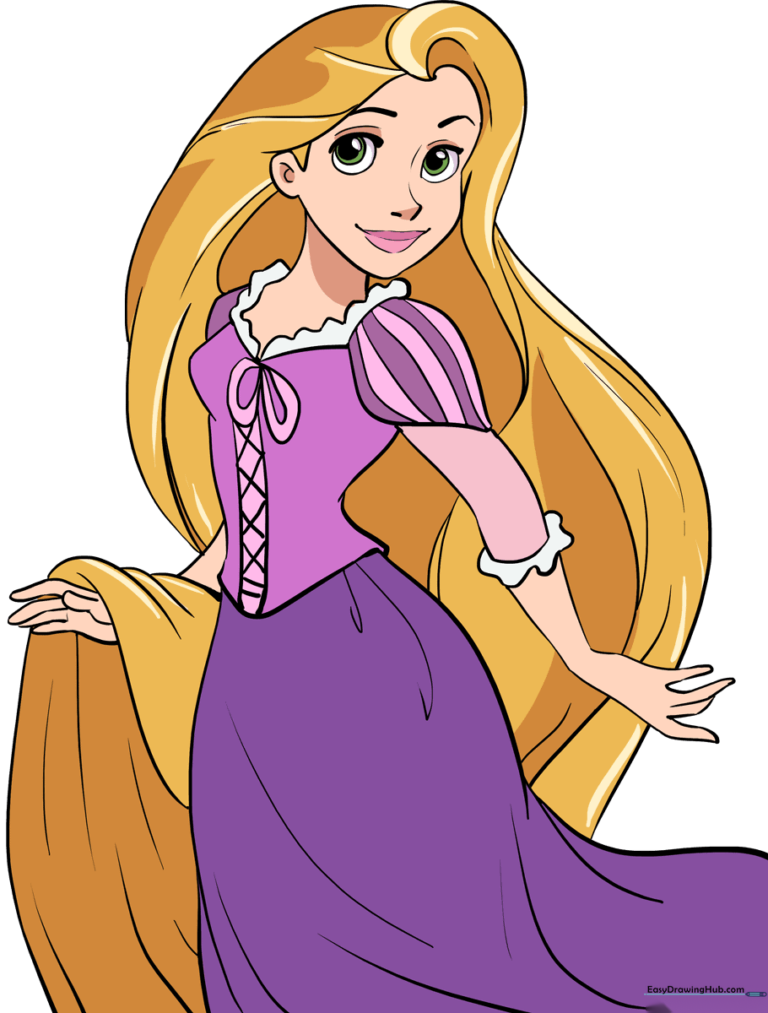
🎯 Final Result
Step-by-Step Instructions
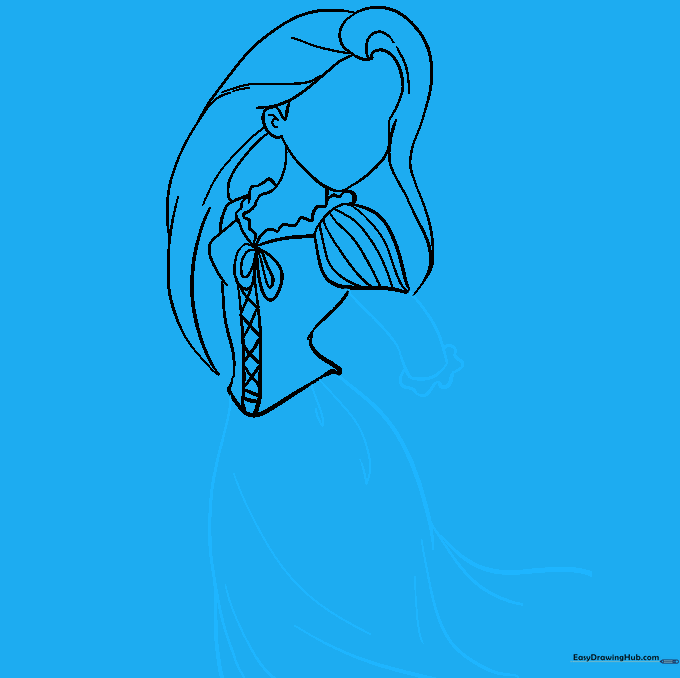
Sketching the Face and Ear

Start by sketching Rapunzel's face using soft, curved lines. Draw a 'C' shape for the ear and add small lines inside for detail. Teacher's Tip: Keep your pencil strokes very light here so you can easily erase any guidelines later.
Outlining the Signature Hair
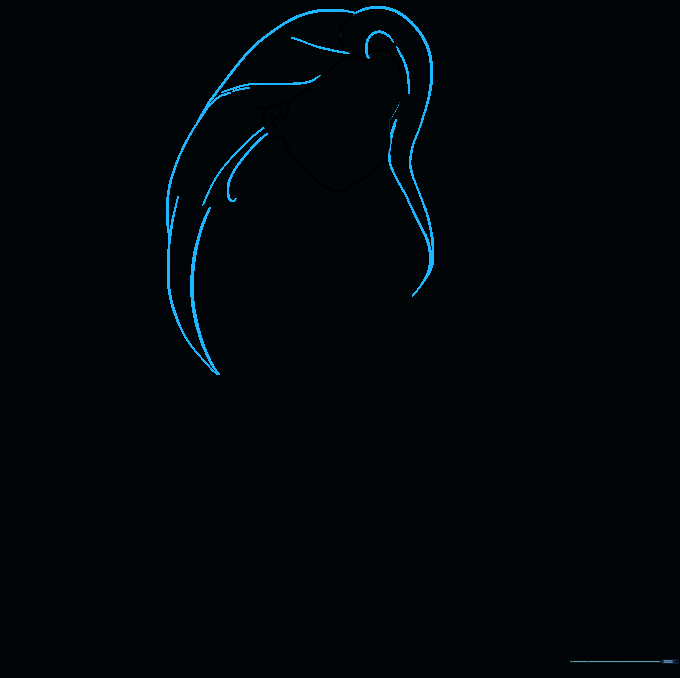
Begin drawing her long, flowing hair using long, sweeping curved lines that meet in sharp points. Add a few extra lines within the hair to suggest texture. Teacher's Tip: Don't worry about perfection; hair is organic and looks best with slightly uneven, flowing lines.
Forming the Neck and Bodice
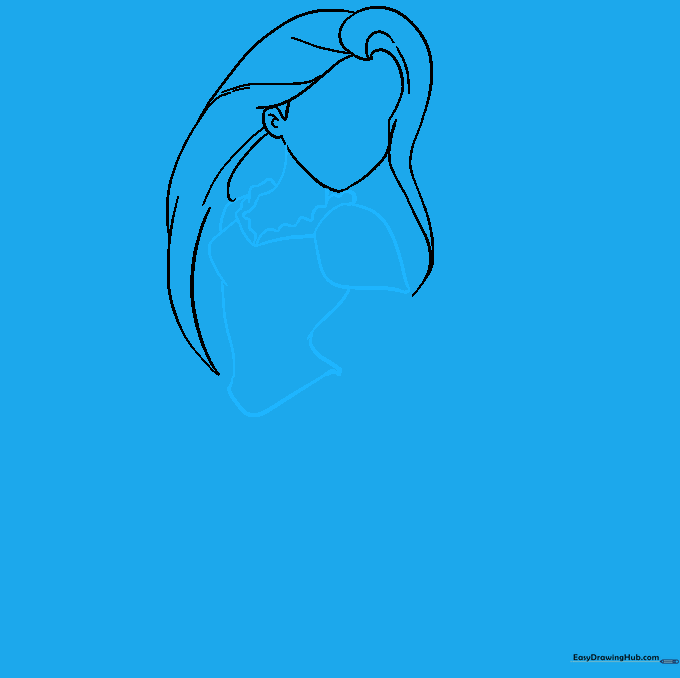
Extend two curved lines downward for the neck. Use wavy lines to create the lace detail at the collar, then sketch the teardrop-shaped sleeves and bodice. Teacher's Tip: Focus on keeping the bodice symmetrical to give your character a balanced posture.
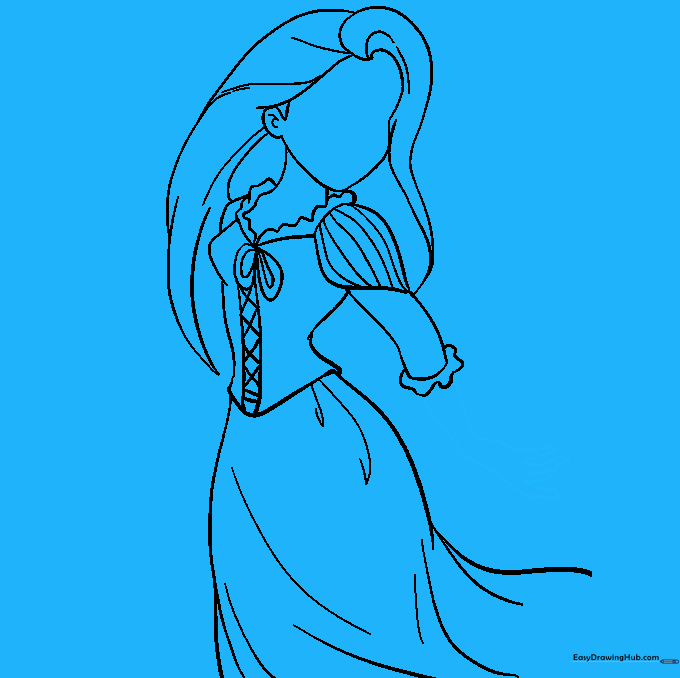
Adding Bodice Details
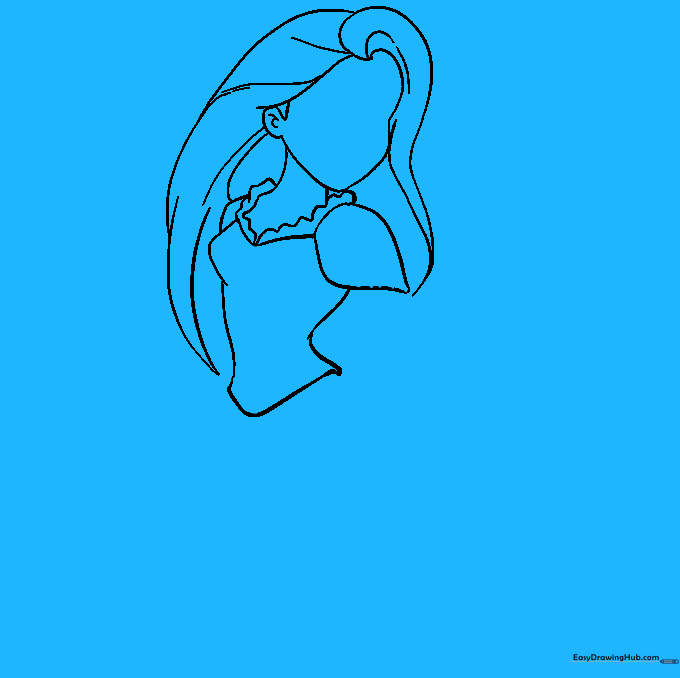
Add stripes to the sleeves and draw a bow at the top of the bodice. Create the lacing effect by drawing two parallel lines down the center with 'X' shapes between them. Teacher's Tip: Use a sharp pencil to keep the 'X' details neat and clean.
Drawing the Sleeves and Skirt
Complete the sleeves with a wavy lace edge. Extend two long, curved lines from the bodice to form the skirt, adding smaller lines to represent fabric folds. Teacher's Tip: Folds in fabric are just simple curved lines—don't overthink them!
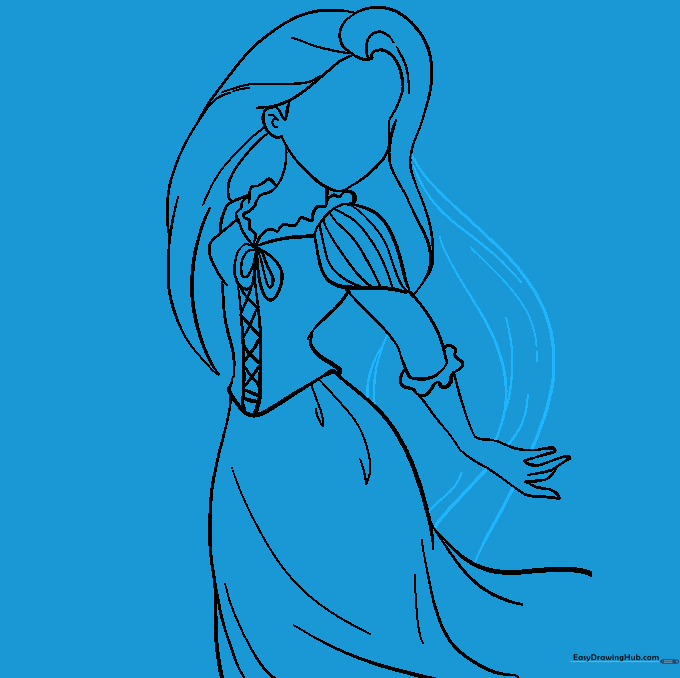
Sketching the Arm and Hand
Use a series of curved and 'U' shaped lines to draw the arm and fingers. Teacher's Tip: Hands can be tricky, so try drawing the arm first, then add the fingers as small, rounded shapes at the end.
Continuing the Hair Cascade
Continue drawing the long hair using long, sweeping lines. Add shorter lines to create depth and texture. Teacher's Tip: Vary the length of your lines to make the hair look more natural and voluminous.
Drawing the Second Arm
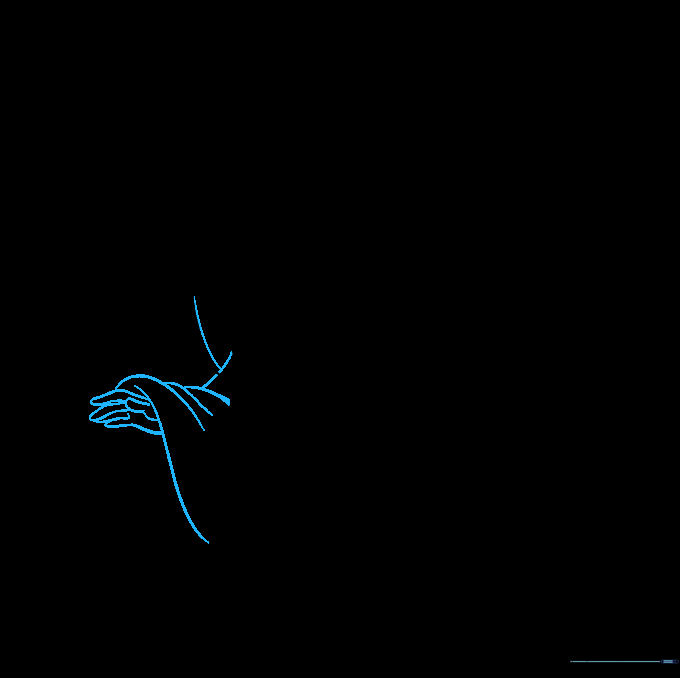
Draw the remaining arm holding up a section of hair. Use curved lines for the arm and 'U' shapes for the fingers. Teacher's Tip: Make sure the arm looks like it is interacting with the hair by overlapping the lines slightly.
Finalizing Hair and Facial Features
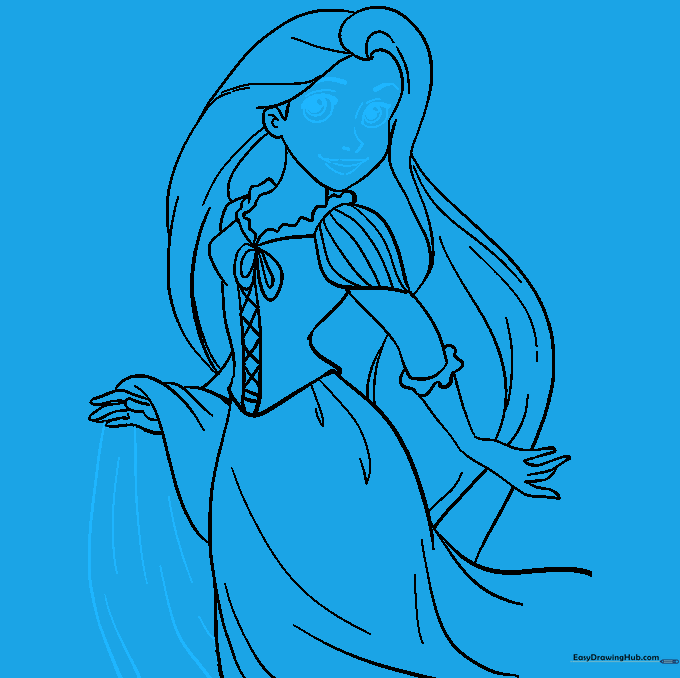
Finish the hair cascade. For the face, use circles for the eyes, shading the pupils. Add lashes, brows, a nose, and a mouth using simple, expressive curves. Teacher's Tip: Take your time with the eyes—they are the 'window' to your character's personality!
Adding Color
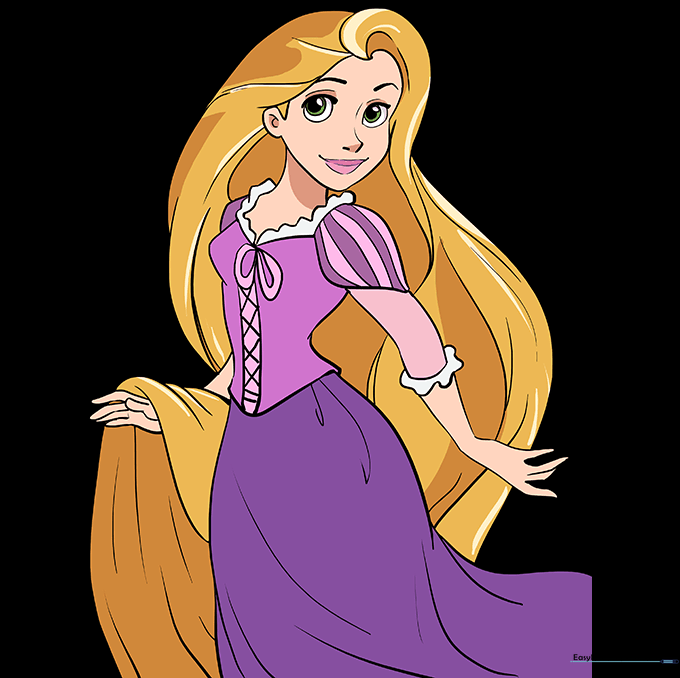
Bring your drawing to life! Use bright blonde for the hair and shades of purple and pink for the dress. Teacher's Tip: Use light pressure with your colored pencils to create soft gradients in the fabric.
More Tutorials


