How to Draw Raphael: Easy 10-Step TMNT Tutorial
Ready to bring the toughest turtle to life? This tutorial is perfect for young artists ages 6+ who want to master character drawing. Grab a pencil, an eraser, and some paper to follow along as we break down Raphael’s iconic look into simple, manageable shapes.
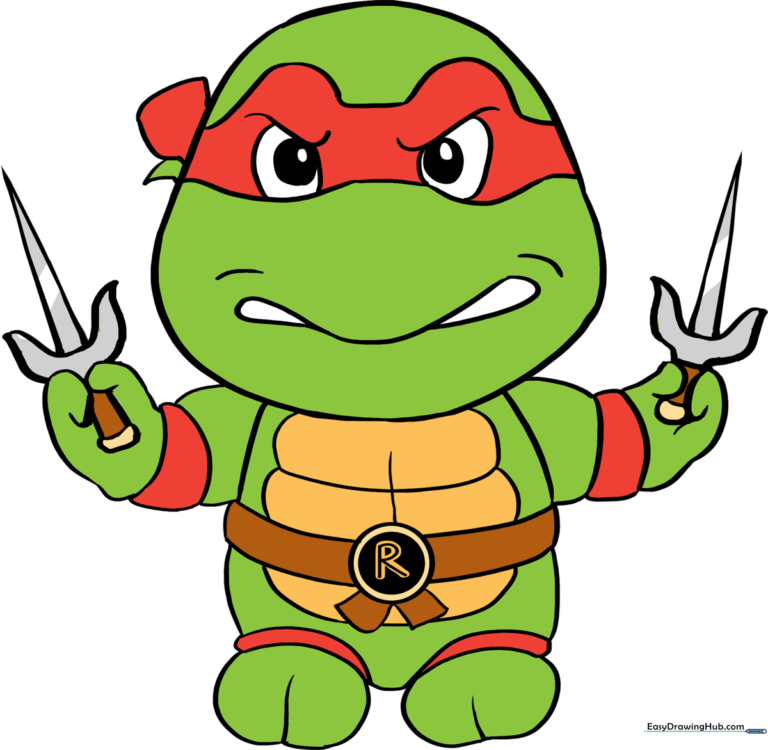
🎯 Final Result
Step-by-Step Instructions
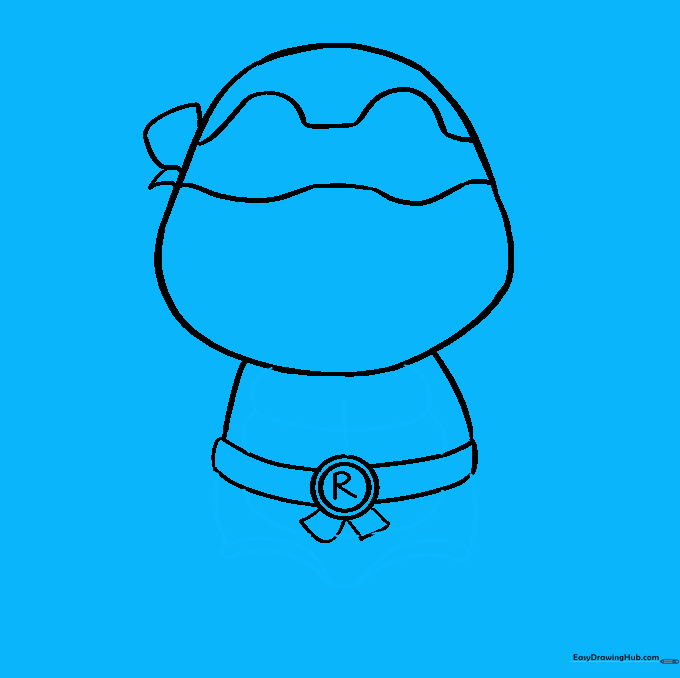
Step 1: Sketching the Jawline

Draw a smooth, curved line to form the side of Raphael's face and chin. Teacher's Tip: Keep your pencil pressure light so you can easily adjust the shape if it looks a bit lopsided.
Step 2: Closing the Head Shape
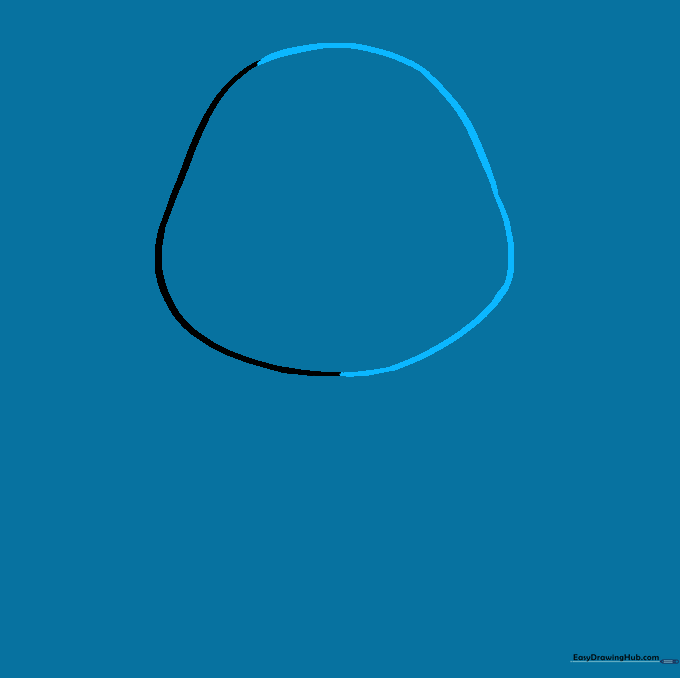
Complete the head by drawing a matching curved line on the opposite side. Tip: Imagine you are drawing a rounded egg shape; this helps keep the proportions balanced.
Step 3: Adding the Mask
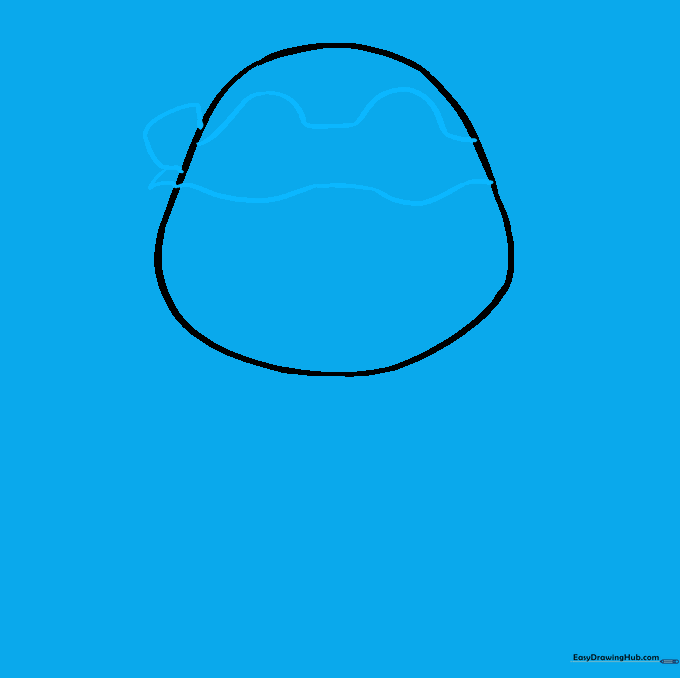
Draw two curved lines across the top of the face for the mask, adding small knots on the sides. Tip: Make the mask lines slightly wavy to show where the fabric wraps around his head.
Step 4: Sketching the Torso

Extend two curved lines downward from the chin to create the neck and shoulders. Tip: Keep these lines smooth to give him that strong, heroic posture.
Step 5: Drawing the Belt
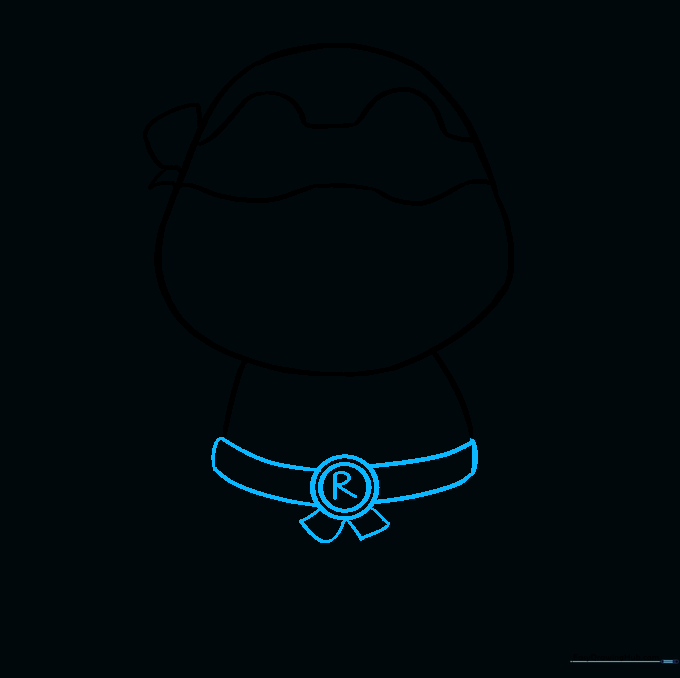
Draw a circle for the buckle with an 'R' inside, then add the belt straps. Tip: Use a ruler if you struggle with straight lines, but freehand adds more character!
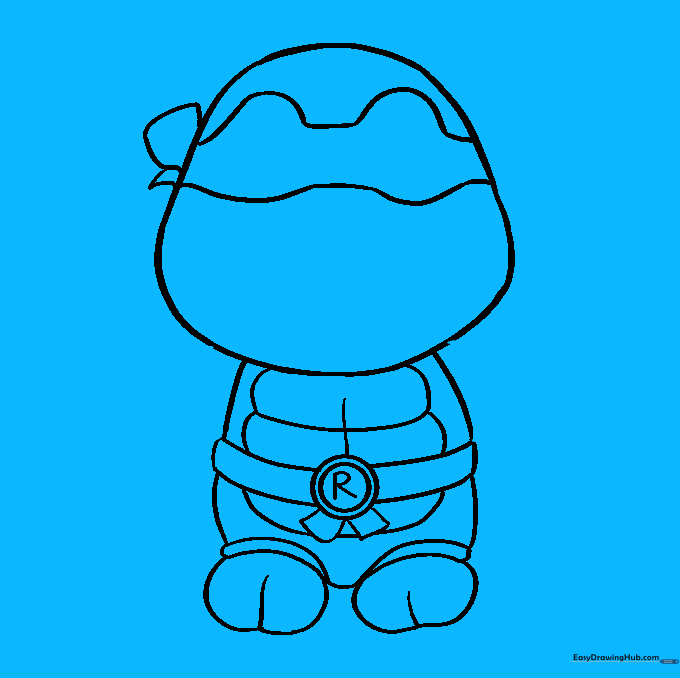
Step 6: Defining the Shell
Add the abdominal muscles and the shell outline. Tip: Think of the shell as a series of overlapping plates; keep your lines clean to show the texture.
Step 7: Sketching the Feet

Use simple curved shapes to outline the feet at the bottom of the torso. Tip: Keep the feet slightly wider than the legs to make him look sturdy.
Step 8: Adding Arms and Weapons
Draw the arms and his signature sai weapons. Tip: For the sai, draw a triangle first, then add the side prongs—it makes the shape much easier to manage.
Step 9: Final Facial Details
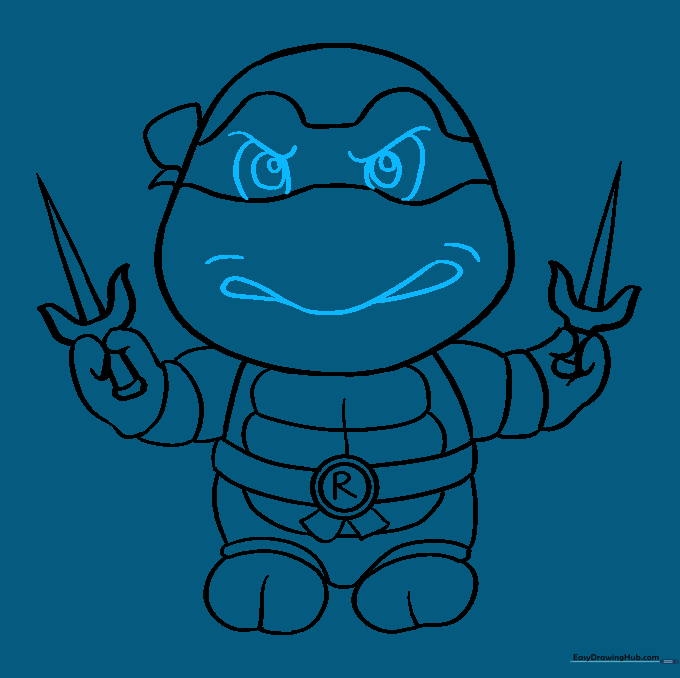
Add the eyes and a furrowed brow to give him his signature 'tough' look. Tip: Use small ovals for the eyes and keep the brow lines sharp to show his personality.
Step 10: Color Your Masterpiece

Time to bring him to life! Use a bright red for his mask and a deep green for his skin. Tip: Use light pressure for the base color, then press harder for the shadows to add depth.
More Tutorials


