How to Draw Rain: Simple 10-Step Guide for Kids
This tutorial is perfect for young artists ages 5+ looking to add weather elements to their landscapes. All you need is a pencil, an eraser, and a piece of paper. Follow these steps to build confidence in your line work and create a dynamic rainy scene.
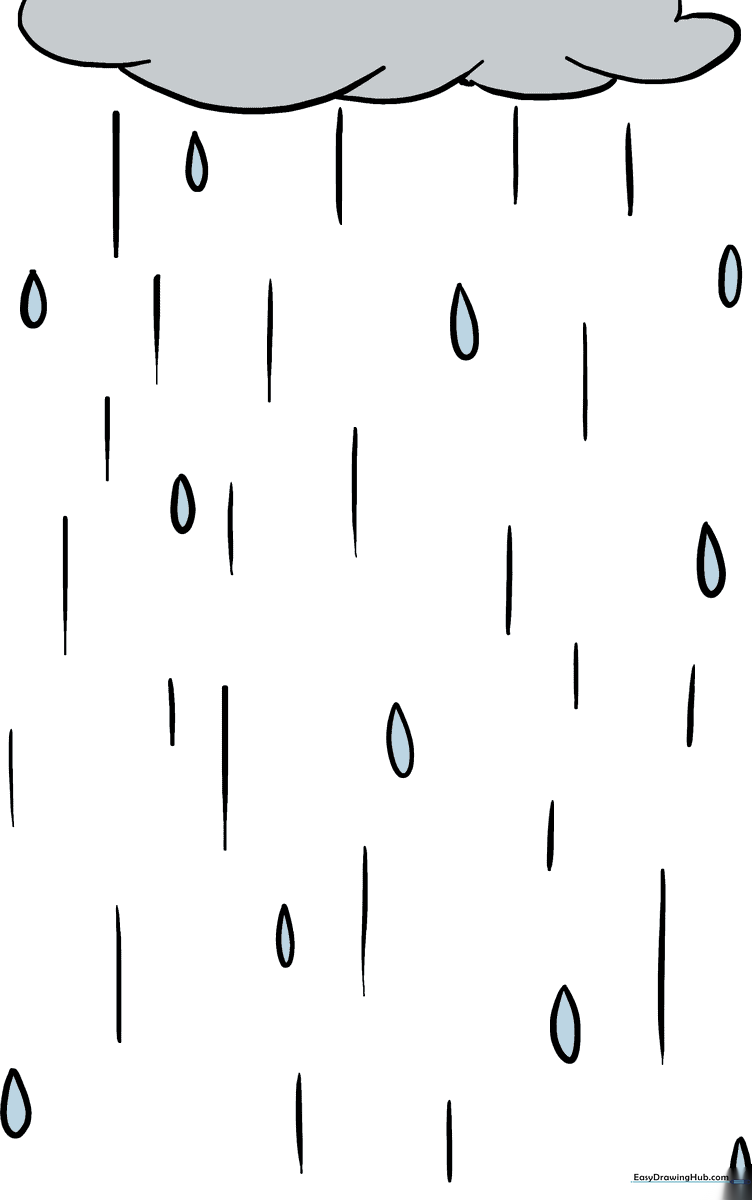
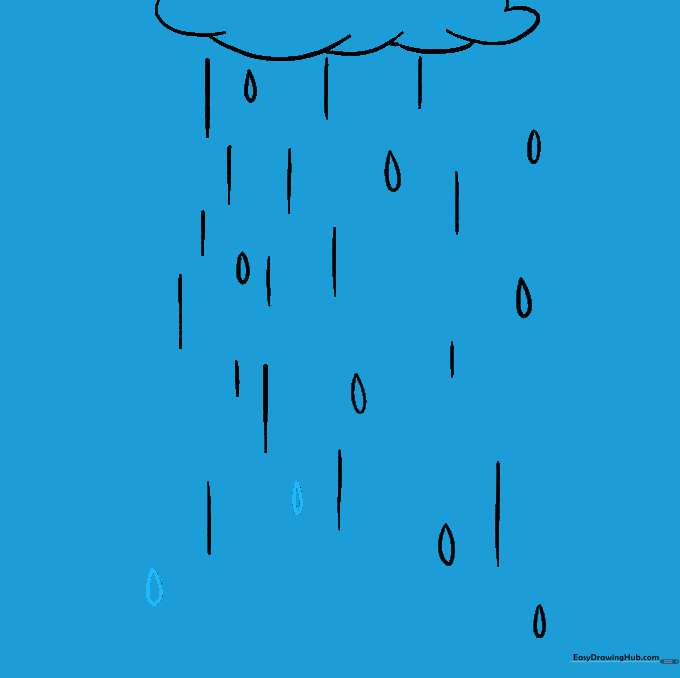
🎯 Final Result
Step-by-Step Instructions
Step 1: Sketching the Cloud Base

Draw a series of connected, downward-facing curves to form the bottom of your rain cloud. Tip: Keep your hand loose to make the cloud look soft and fluffy rather than rigid.
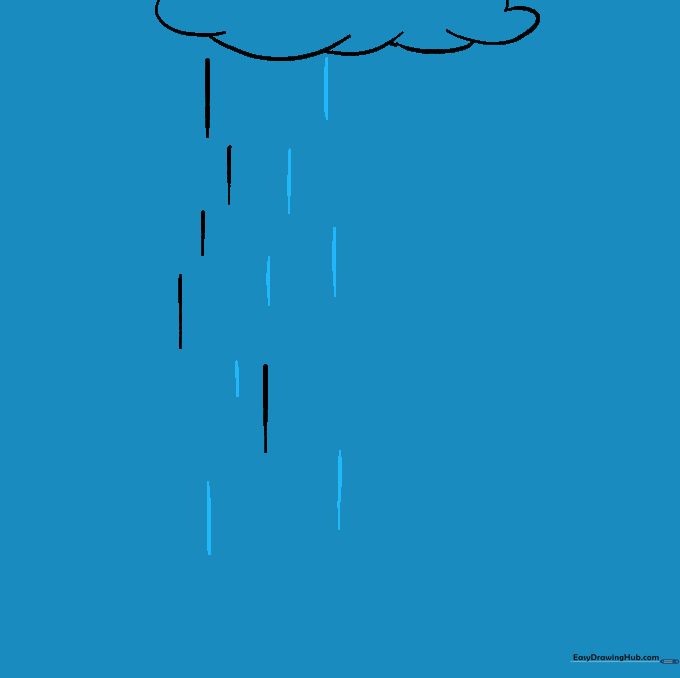
Step 2: Adding Initial Rain Streaks

Draw a few straight, vertical lines of varying lengths beneath the cloud. Tip: Varying the length of these lines creates the illusion of movement and depth.
Step 3: Building the Rain Density
Add more straight lines across the page. Tip: Don't worry about making them perfectly parallel; rain often falls at slight angles when it's windy!
Step 4: Filling the Space

Continue adding lines of different lengths to fill out the rainy area. Tip: Use a light touch with your pencil so the rain looks like a gentle mist rather than heavy bars.
Step 5: Drawing Individual Raindrops
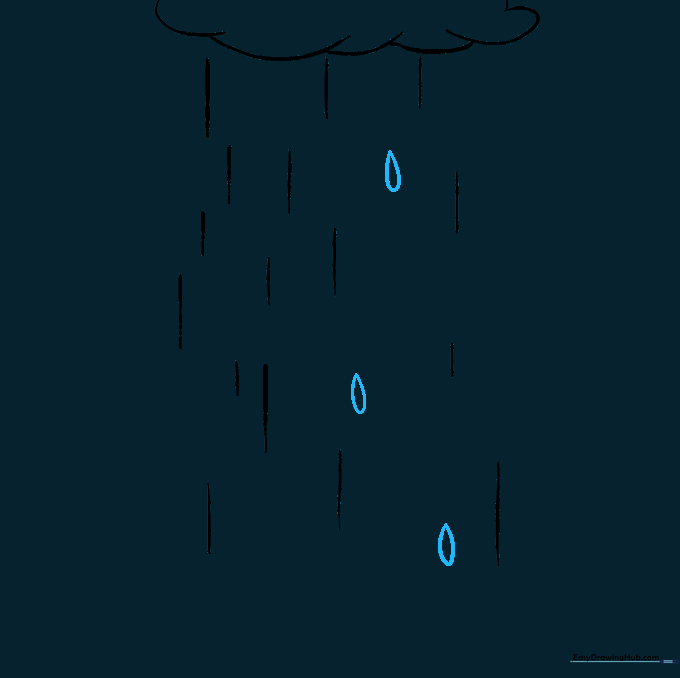
Draw a few teardrop shapes among the lines. Enclose a shape with a pointed top and a rounded bottom. Tip: Draw these at different heights to show depth.
Step 6: Adding More Raindrops
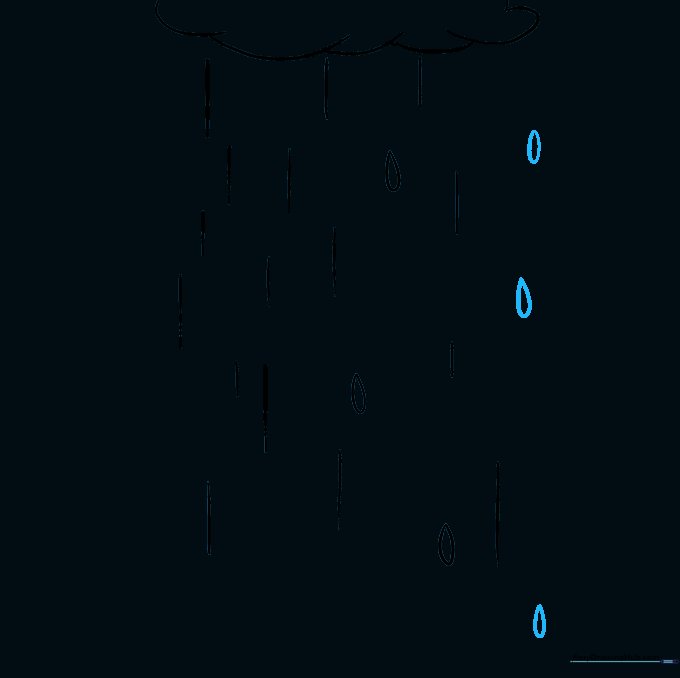
Continue adding more teardrop shapes to your drawing. Tip: Try to space them out randomly so they don't look like they are in a neat row.
Step 7: Balancing the Composition

Fill in the gaps between your straight lines with more raindrops. Tip: If you make a mistake, use your eraser to gently lift the graphite before drawing over it.
Step 8: Refining the Details
Add a few more raindrops to create a sense of a heavy downpour. Tip: Vary the size of the drops—smaller ones look further away, larger ones look closer.
Step 9: Finalizing the Outline

Review your drawing and add any final lines or drops to complete the scene. Tip: Make sure your lines are clean and dark enough for the final coloring stage.
Step 10: Adding Color

Bring your drawing to life with color! Use grey or blue for the cloud and light blue for the rain. Tip: Use a light blue colored pencil to shade the raindrops for a glossy effect.
More Tutorials


