How to Draw Raichu: Easy 10-Step Pokémon Tutorial
Ready to bring Raichu to life? This tutorial is designed for young artists and Pokémon fans who want to master this electric-type favorite. Grab your pencil, eraser, and paper, and follow along as we break down Raichu’s unique shape into simple, manageable lines.
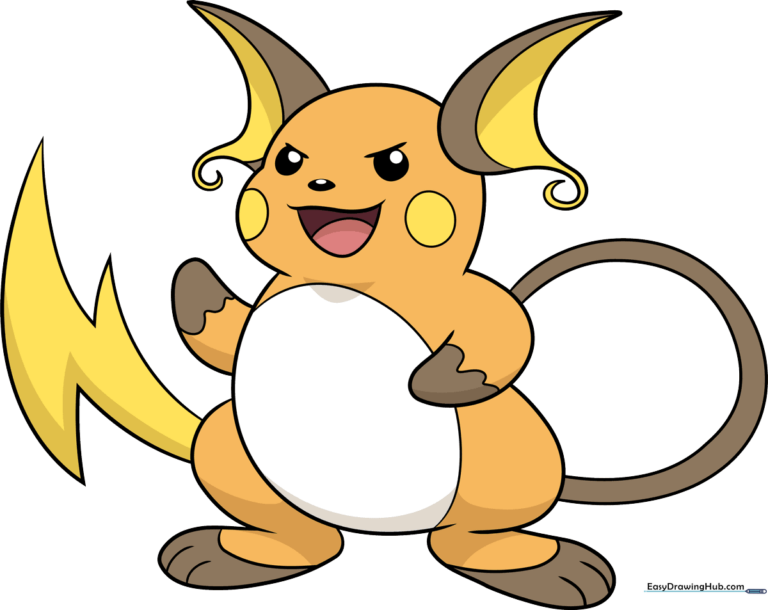
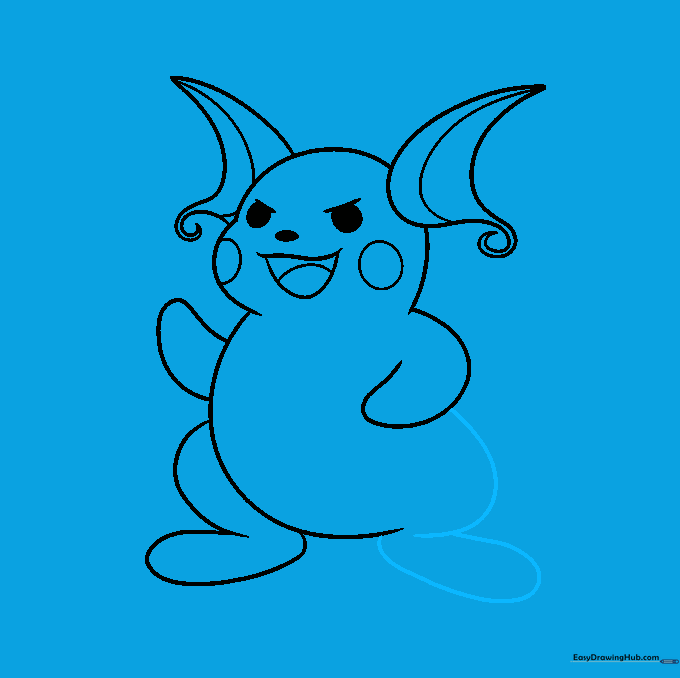
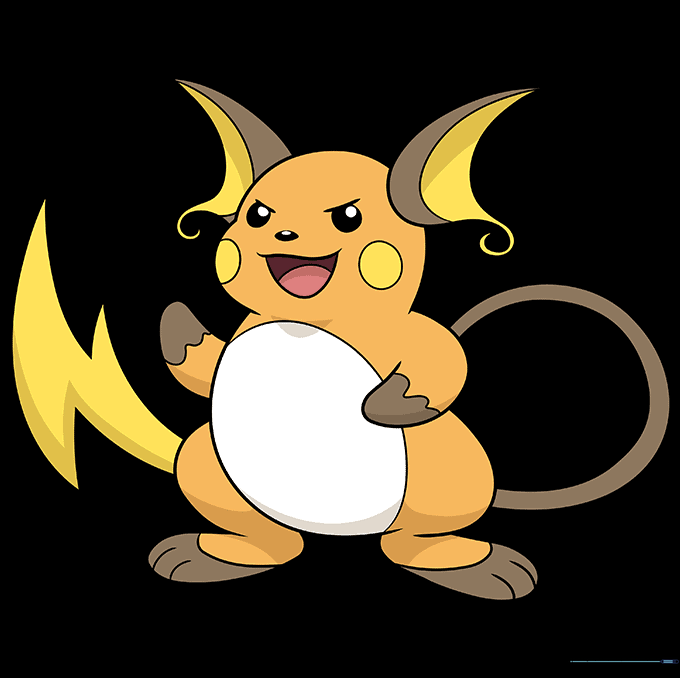
🎯 Final Result
Step-by-Step Instructions
Step 1: Sketching the Eyes and Mouth

Draw two small, solid black circles for the eyes. Add a tiny almond shape between them for the nose, and sketch a curved line below for the mouth. Teacher's Tip: Keep the eyes close together to give Raichu that cute, focused expression.
Step 2: Defining the Head Shape

Add a small loop inside the mouth for the tongue. Then, draw a soft, rounded dome shape around the face to form the head. Teacher's Tip: Use light, sweeping motions to get a nice, smooth curve for the head.
Step 3: Sketching the Ears
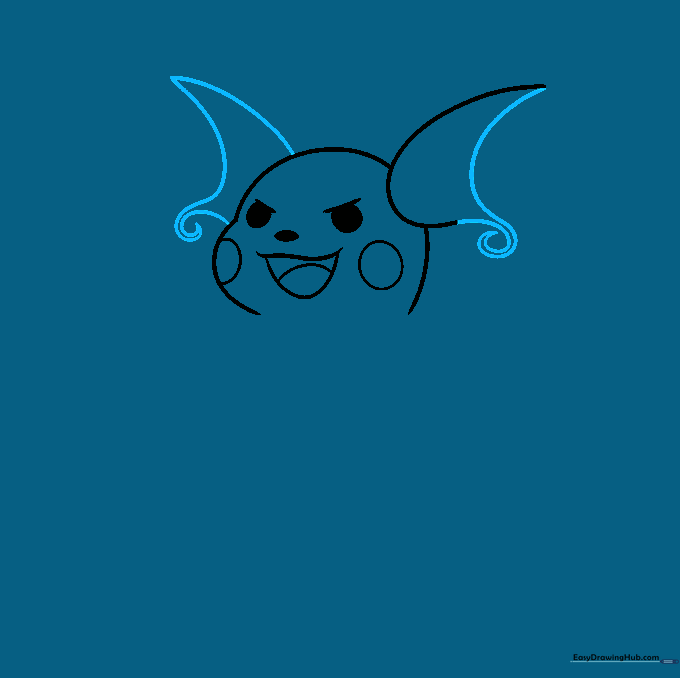
Draw two large, triangular shapes on top of the head that spiral slightly at the ends. Teacher's Tip: Raichu's ears are quite long, so don't be afraid to make them reach high above the head.
Step 4: Starting the Body
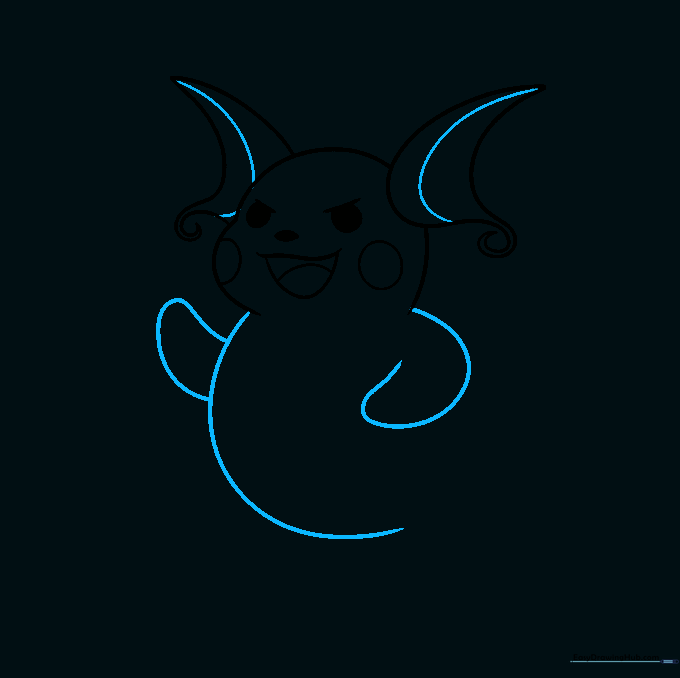
Draw a large semi-circle under the head for the torso, and add two oval-like shapes on the sides for the arms. Teacher's Tip: Think of these as 'potato chip' shapes to help keep your proportions consistent.
Step 5: Drawing the Legs
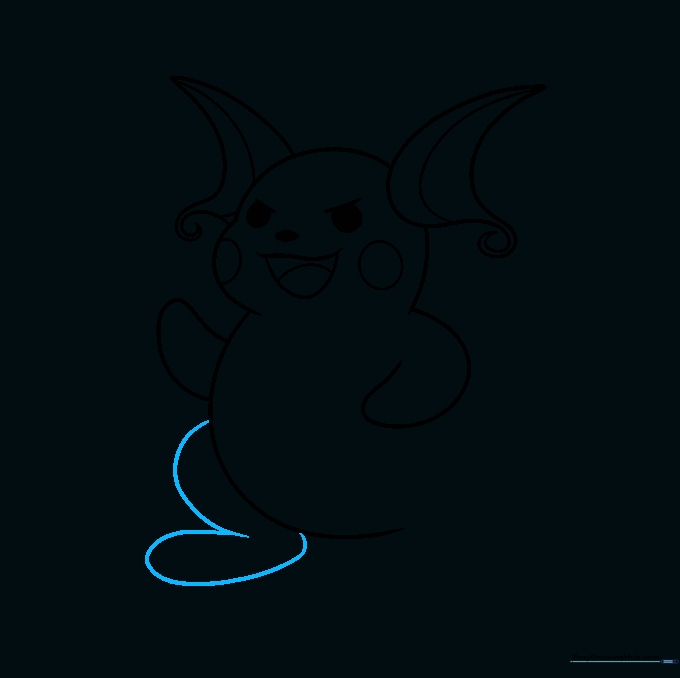
Sketch the legs using two sweeping curves that flatten out at the bottom. Teacher's Tip: Make the feet slightly wider than the legs to give Raichu a sturdy, grounded look.
Step 6: Refining the Lower Body
Add an elongated oval shape to the right side to complete the leg structure. Teacher's Tip: Ensure the shapes overlap slightly to show depth and connection.
Step 7: Adding Toes and Details
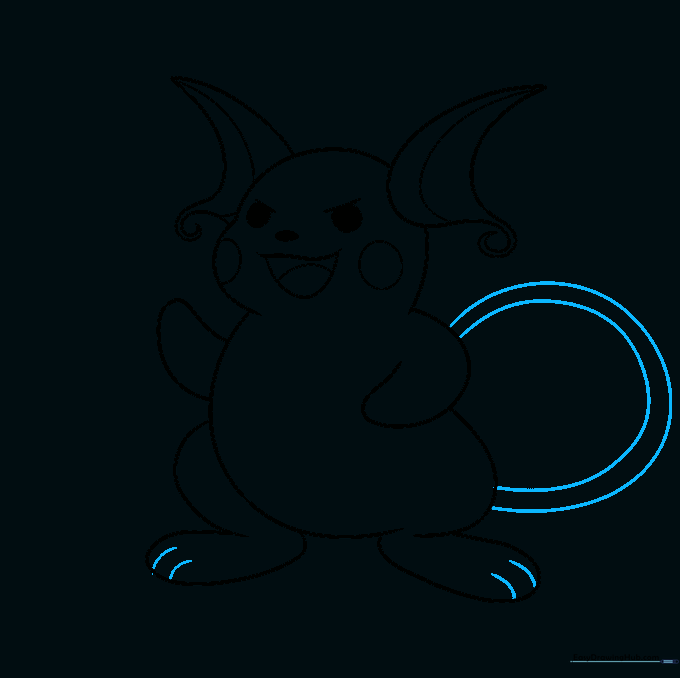
Draw small lines on the feet to define the toes. On the right side, add a circular loop detail. Teacher's Tip: Keep these lines simple; they don't need to be perfect circles.
Step 8: Drawing the Tail
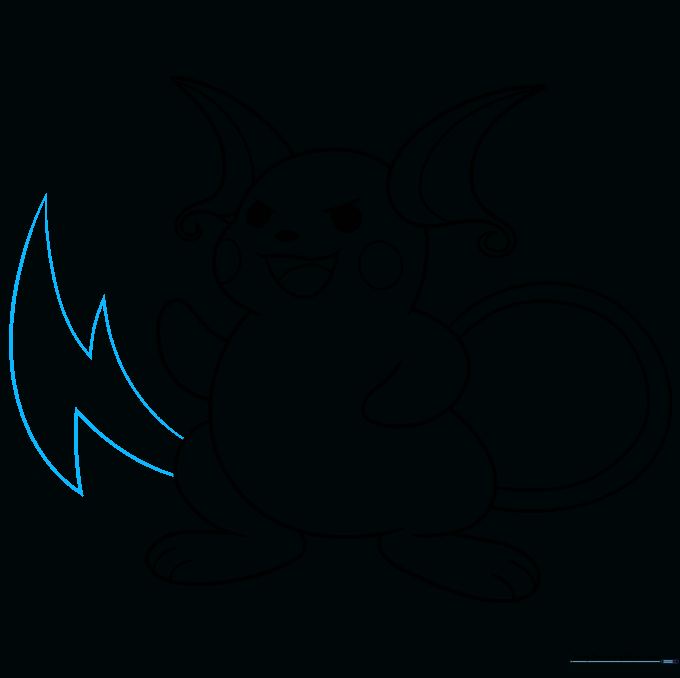
Use bold, zigzag lines to create the iconic tail. Connect it firmly to the body. Teacher's Tip: The zigzag motion creates that 'electric' feel, so make your strokes confident and sharp.
Step 9: Finalizing the Outline
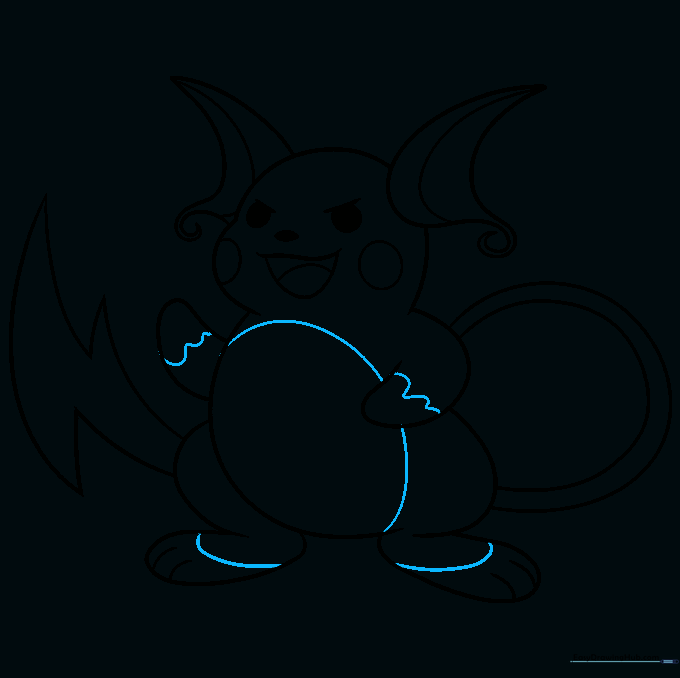
Add a loose circle on the belly and small hill-like loops on the hands. Teacher's Tip: This is the time to clean up any stray pencil marks before coloring.
Step 10: Bringing Raichu to Life with Color
Time to color! Use light orange for the body, brown for the ears and tail, and bright yellow for the cheeks and tail tip. Teacher's Tip: Leave a small white spot in the eyes to give Raichu a lively, sparkling look.
More Tutorials


