How to Draw Pusheen the Cat: Easy 10-Step Guide
Bring everyone's favorite chubby tabby to life with this screen-free drawing activity. Perfect for artists ages 5 and up, you only need a pencil, an eraser, and a piece of paper to get started. Follow these simple steps to master Pusheen's iconic rounded shape and playful expression.
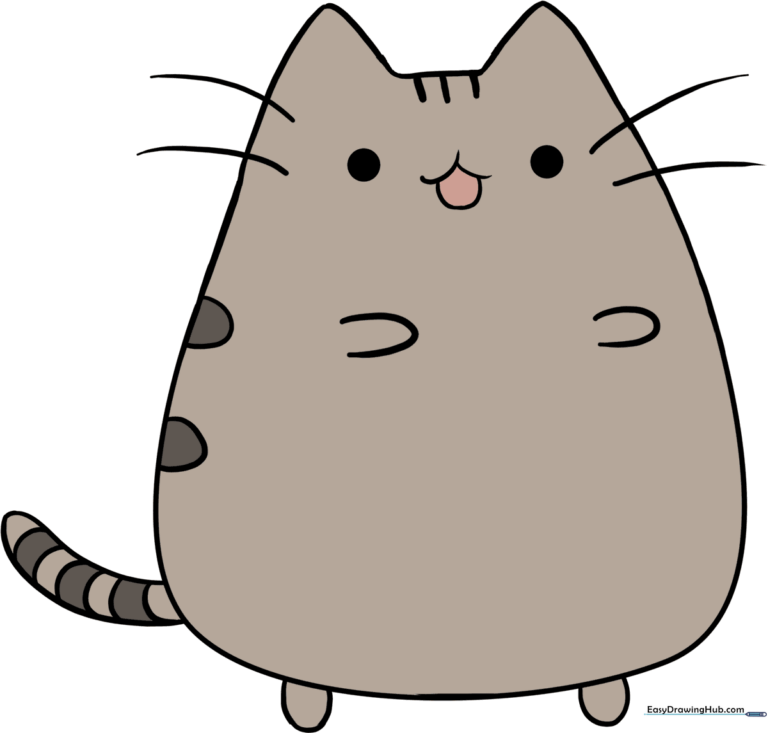
🎯 Final Result
Step-by-Step Instructions
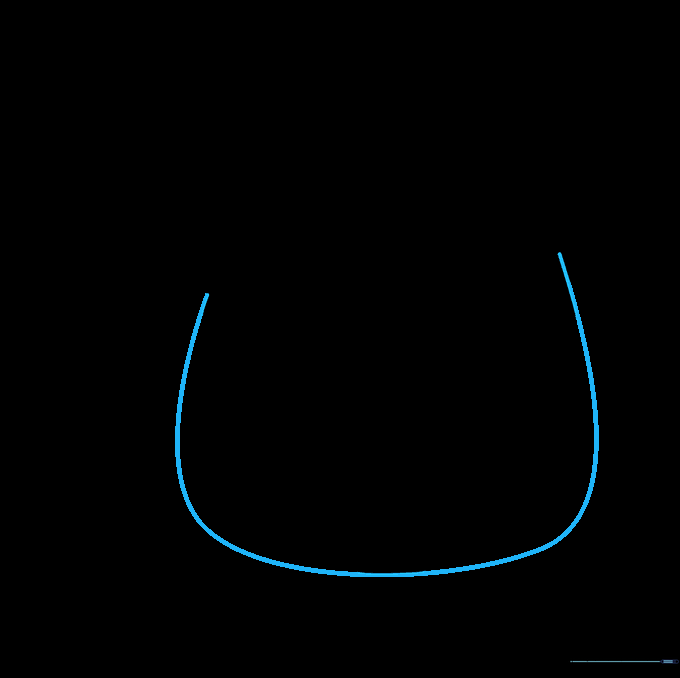
Step 1: Sketching the Base Oval

Draw a large, light oval in the center of your page. Teacher's Tip: Keep this shape loose and light—it's just a guide for Pusheen's round body, so don't press too hard with your pencil!
Step 2: Adding the Ears

Extend two small, pointed triangles upward from the top of your oval. Teacher's Tip: Make sure the ears are slightly rounded at the tips to keep her looking soft and cute.
Step 3: Defining the Body Contour
Draw a smooth, curved line connecting the sides of the ears to the base. Teacher's Tip: Try to keep your hand relaxed to get a nice, fluid curve for her chubby tummy.
Step 4: Cleaning Up the Guide Lines

Gently erase the overlapping lines inside the head and body. Teacher's Tip: Use a clean eraser and brush away the crumbs so your paper stays smudge-free for the final details.
Step 5: Drawing the Face

Add two small, shaded circles for eyes and a tiny 'W' shape for the mouth. Teacher's Tip: Keep the eyes close together to give her that signature sweet, innocent look.
Step 6: Adding Whiskers and Head Stripes
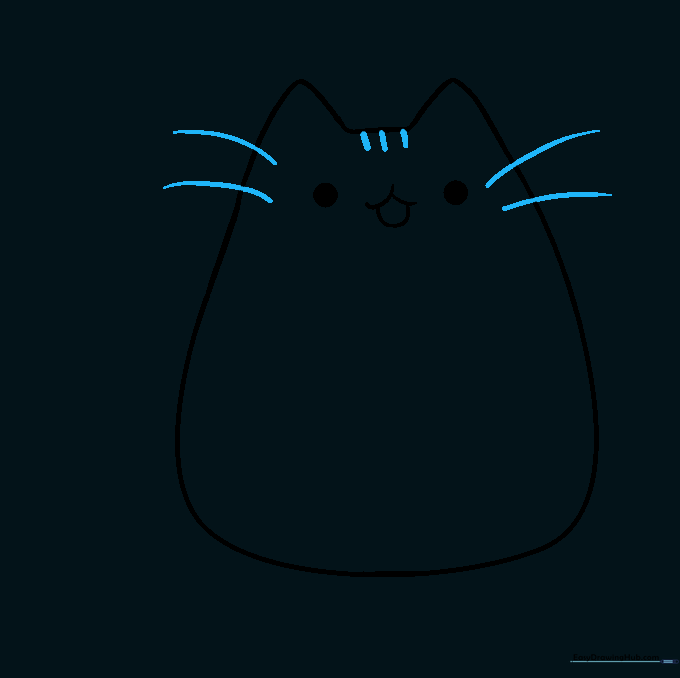
Draw three simple, curved lines on each cheek for whiskers and three small 'V' shapes on top of the head for stripes. Teacher's Tip: Make the whiskers quick, flicking motions with your pencil for a natural look.
Step 7: Sketching the Arms and Side Stripes
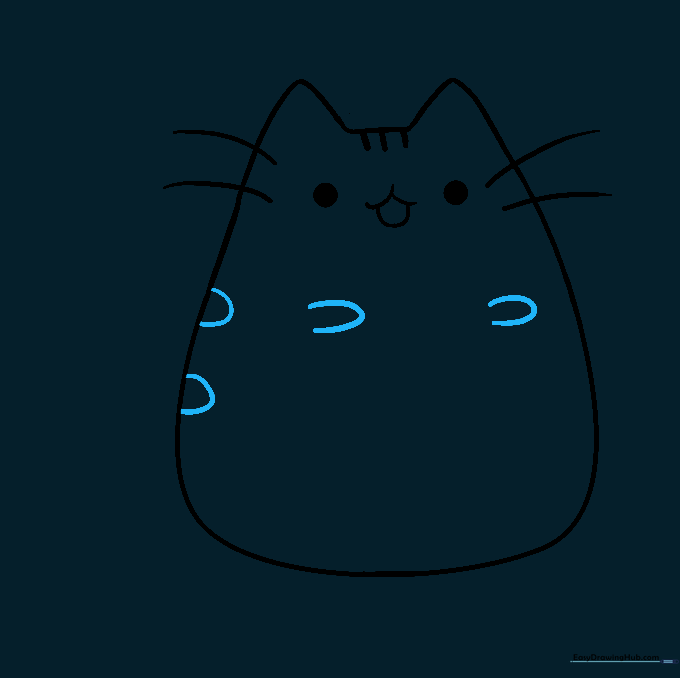
Add small, curved 'C' shapes on the sides for arms and stripes. Teacher's Tip: Keep these shapes small; they should look like little nubs tucked against her body.
Step 8: Adding the Feet
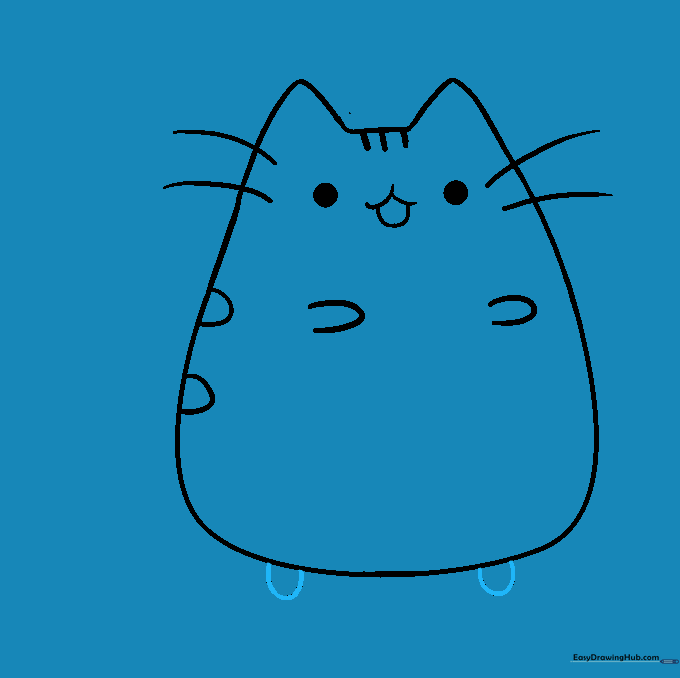
Draw two small, inverted 'C' shapes at the bottom for her feet. Teacher's Tip: Imagine she is sitting down—keep the feet close to the bottom edge of her body.
Step 9: Drawing the Tail
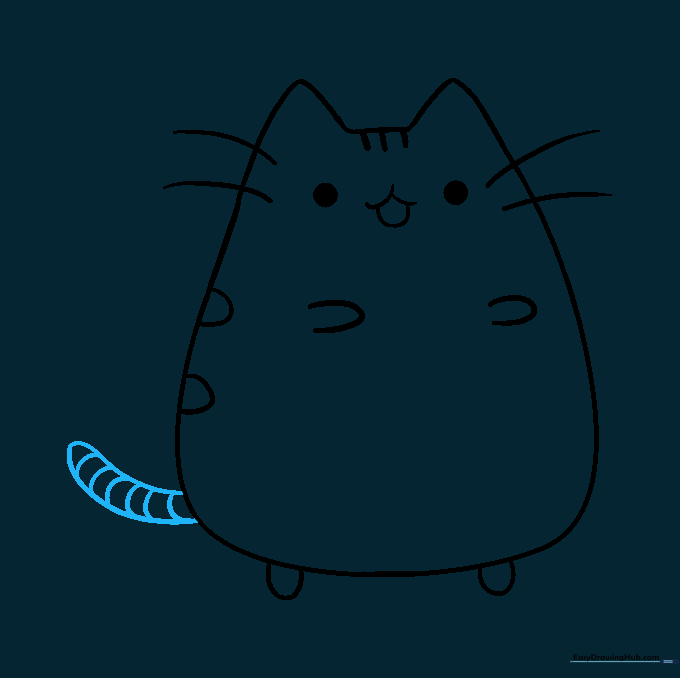
Draw a long, curved tail extending from the side, adding stripes for detail. Teacher's Tip: Make the tail look soft and slightly rounded at the end.
Step 10: Final Coloring
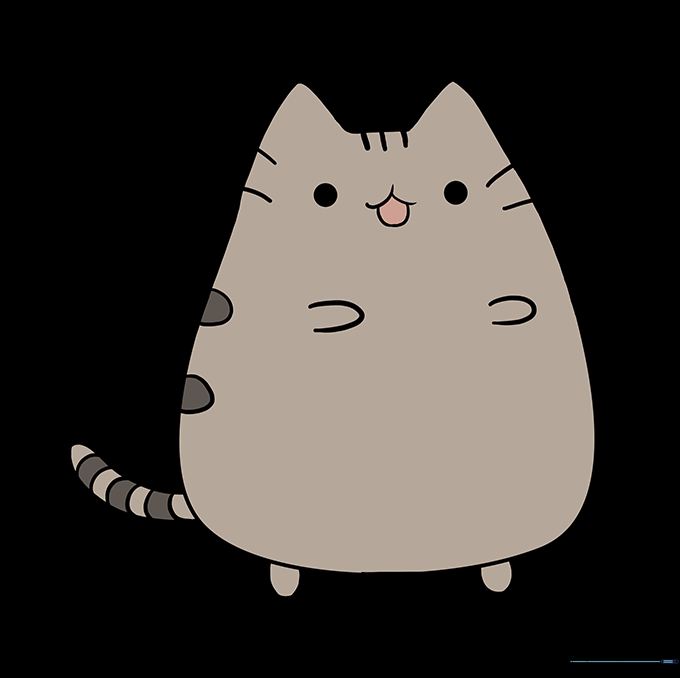
Fill in your drawing with soft grey for the fur and darker grey for the stripes. Teacher's Tip: Use light, circular motions with your pencil or marker to get an even, smooth color.
More Tutorials


